The foundation of the Chantilly Cake lies in the aeration of heavy cream, a technique that transforms simple dairy into a stable, cloud-like structure through precise mechanical agitation.

This Chantilly Cake represents the pinnacle of refined simplicity, where the delicate balance of fats and sugars produces a dessert that feels remarkably light on the palate. You will observe that the fine-crumbed vanilla sponge acts as a structured canvas for the ethereal whipped cream and seasonal berries. By maintaining exact temperatures and mixing stages, your result will be a cake of professional quality that honors the heritage of French pastry technique.
The Craft Behind This Chantilly Cake
Prep: 20 min · Serves: 8 · Difficulty: Medium
- Fine crumb structure ensures stability.
- Pure dairy fat provides depth.
- Precise aeration creates cloud-like textures.
- Natural sweetness highlights fresh fruit.
- Technical simplicity allows ingredient quality.
This method follows the principles of a classic vanilla layer cake to ensure your layers are resilient yet tender. Every step in this process serves the final texture of the crumb.
Get The Full Cake Recipe
Print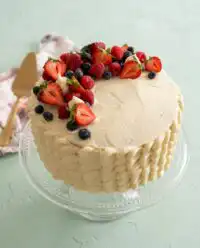
Chantilly Cake
- Total Time: 50 mins
- Yield: 8 servings
Description
Experience the perfect balance of a light, fine-crumbed vanilla sponge layered with ethereal, freshly whipped cream and seasonal berries. This refined French-inspired dessert relies on precise aeration and high-quality dairy to create a cloud-like texture that is elegant enough for any celebration.
Ingredients
- All-purpose flour
- Granulated sugar
- Baking powder
- Salt
- Whole milk
- Large eggs
- Vanilla extract
- Heavy whipping cream (at least 36% milkfat)
- Fresh berries
Instructions
- Prepare oven and pans. Preheat your oven to 175 degrees Celsius and line two round cake pans with parchment paper and grease.
- Whisk dry ingredients. In a large mixing bowl, combine flour, sugar, baking powder, and salt until the mixture is uniform and aerated.
- Emulsify wet ingredients. In a separate container, whisk together whole milk, eggs, and vanilla extract until fully integrated into a smooth yellow liquid.
- Combine the batter. Gradually incorporate the liquid mixture into the dry ingredients, whisking until a pale ribbon consistency is achieved.
- Bake the layers. Pour batter into pans and bake for 25-30 minutes until the edges pull away and the crumb is set.
- Cool the cake. Rest layers in pans for 10 minutes before transferring to a wire rack to cool completely.
- Prepare chantilly cream. Whisk heavy cream in a chilled bowl until stiff, upright peaks form, ensuring not to overwork the mixture.
- Assemble the cake. Spread cream and berries between the cake layers and finish by coating the entire exterior with remaining cream.
Notes
- Ensure all dairy and egg components are at room temperature before starting the batter to prevent a coarse crumb.
- Use a digital scale to measure exactly 250 grams of flour for the most accurate and consistent sponge texture.
- Always dry fresh berries thoroughly with a cloth at least an hour before assembly to prevent the whipped cream from losing stability.
- Chill your metal mixing bowl and whisk attachment in the freezer for fifteen minutes to guarantee the cream reaches a stiff peak.
- Prep Time: 20 mins
- Cook Time: 30 mins
- Category: Dessert
- Method: Baking
- Cuisine: French
The Mise en Place
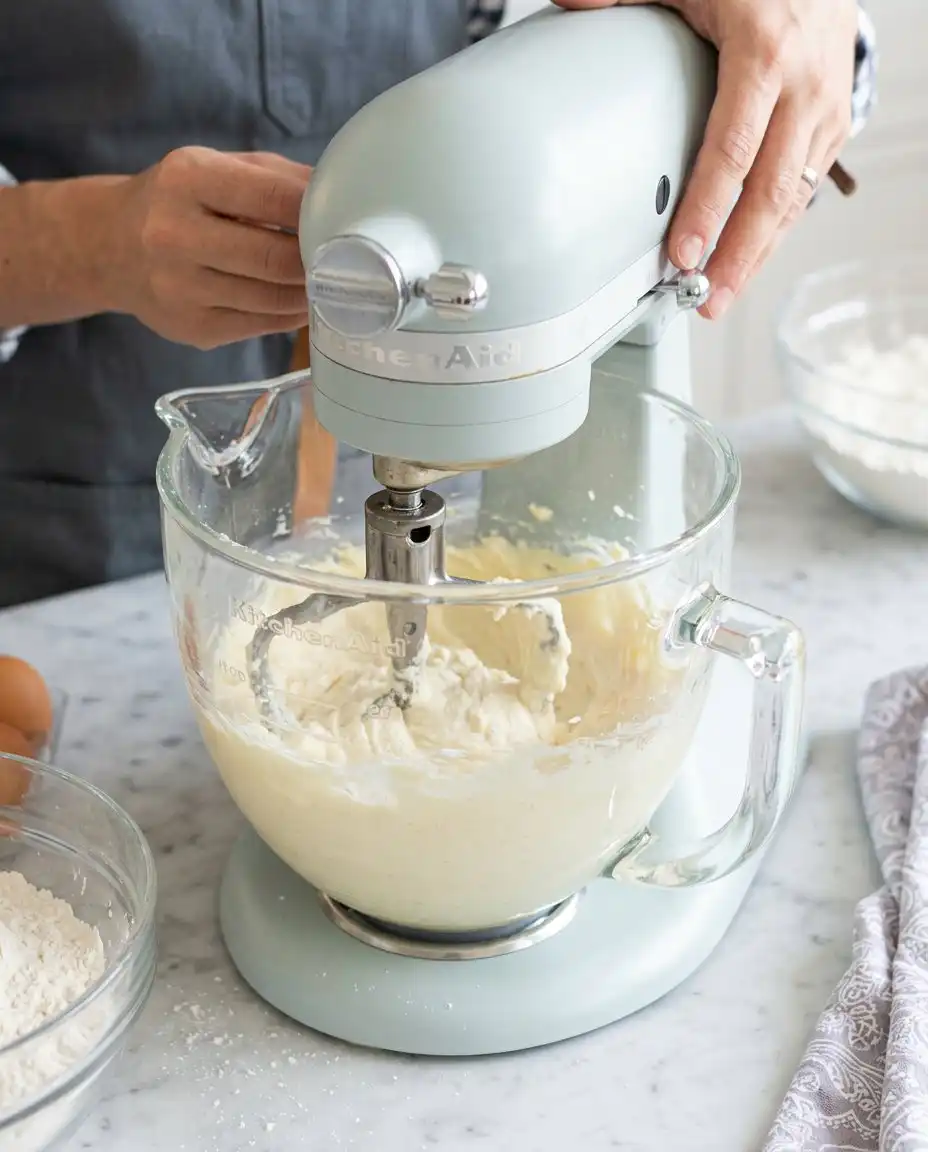
To achieve the specific architecture of this cake, each ingredient must be selected for its structural contribution and tempered to the correct state before you begin. Precision in your measurements ensures that the chemical reactions within the oven proceed without deviation or failure.
- All-Purpose Flour: Provides the necessary protein structure to support the weight of the berries without becoming overly tough or bread-like.
- Heavy Whipping Cream: Must contain at least thirty-six percent milkfat to maintain the structural integrity of the Chantilly finish.
- Granulated Sugar: Beyond sweetness, sugar interferes with gluten development to produce a tender, yielding crumb that melts easily.
- Whole Milk: The liquid component provides the steam for lift while the lactose contributes to the golden color of the crust.
- Large Eggs: Acting as both an emulsifier and a leavening agent, they bridge the gap between fats and liquids in the batter.
| Ingredient | Why It Matters |
|---|---|
| Baking Powder | Provides immediate chemical leavening for a light lift. |
| Vanilla Extract | Offers a complex aromatic base that defines the profile. |
| Fresh Berries | Adds acidity to balance the richness of the cream layers. |
| Salt | Sharpens the flavor of the butter and sugar molecules. |
The Technique Laid Out
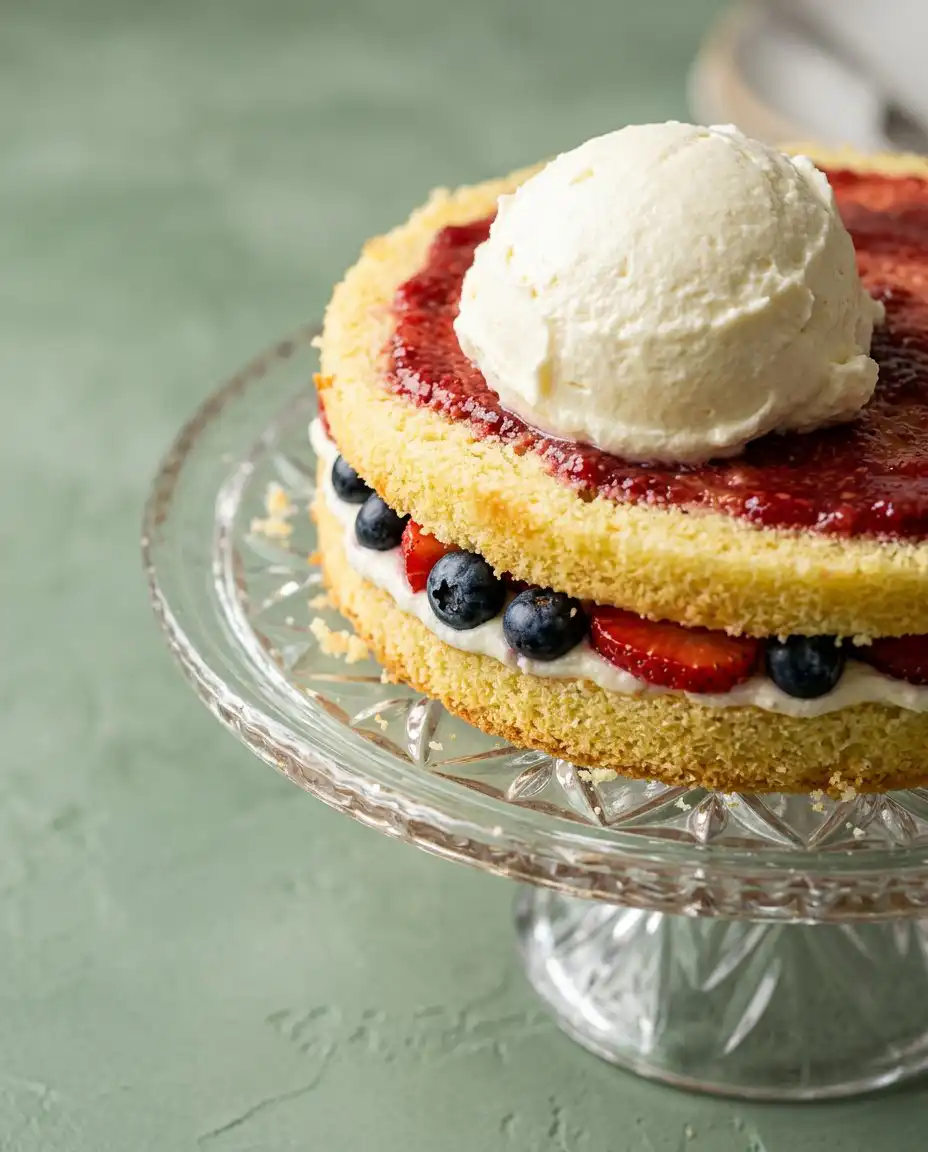
Step 1: Prepare the Foundation
You will begin by preheating your oven to 175 degrees Celsius and preparing two round pans with parchment and grease. This ensures that the batter can rise evenly against the sides of the pan without sticking or tearing upon removal. Having your pans ready before mixing prevents the leavening agents from losing their potency while the batter sits on the counter.
Step 2: Sift and Integrate Dry Components
In a large bowl, you will whisk together the flour, sugar, baking powder, and salt until the mixture is uniform and aerated. This step is vital for the distribution of the leavening agent, as localized clumps of baking powder can cause uneven air pockets in the finished crumb. You are looking for a fine, sand-like texture that shows no streaks of individual ingredients.
Step 3: Emulsify the Chantilly Cake Liquids
In a separate vessel, whisk the whole milk, eggs, and vanilla extract until the proteins in the eggs have fully integrated with the fats in the milk. You will notice the mixture becomes a pale, consistent yellow with no visible strands of egg white or yolk remaining. This emulsion is the secret to a smooth batter that does not break during the final folding process.
Step 4: Combine to the Ribbon Stage
Gradually pour the liquid mixture into the dry ingredients while whisking with a steady, measured hand until the batter is just smooth. You should observe a pale ribbon that holds its shape for a second when the whisk is lifted above the bowl. Avoid overworking the batter at this stage, as excessive agitation will develop gluten and result in a dense, tough texture.
Step 5: Execute the Bake
Divide the batter equally between your prepared pans and place them in the center of the oven for approximately twenty-five to thirty minutes. You will know the cake is finished when the edges pull slightly away from the pan and a tester comes out with a clean, dry crumb. The surface should be a pale gold, indicating that the sugars have caramelized without burning.
Step 6: The Cooling Interval
Allow the layers to rest in their pans for exactly ten minutes before transferring them to a wire rack to finish cooling completely. This resting period allows the internal structure to set, preventing the cake from collapsing when it is moved. Patience here is an instruction, as warm cakes will melt the delicate cream topping you are about to prepare.
Step 7: Stabilize the Chantilly Finish
Whisk the heavy whipping cream in a chilled bowl until the fat globules begin to trap air and form stiff, upright peaks. You will see the cream lose its liquid sheen and take on a matte, billowy appearance that holds its shape against the whisk. Do not exceed this point, or the cream will break and become grainy as the butter solids separate.
Step 8: Assembly and Presentation
Place one cooled layer on your stand and spread a generous portion of the whipped cream to the very edges before adding fresh berries. Position the second layer on top and coat the entire exterior with the remaining cream using a palette knife for a clean finish. The final result should look structured and elegant, ready to be chilled before the final slice is made.
The Details That Elevate This
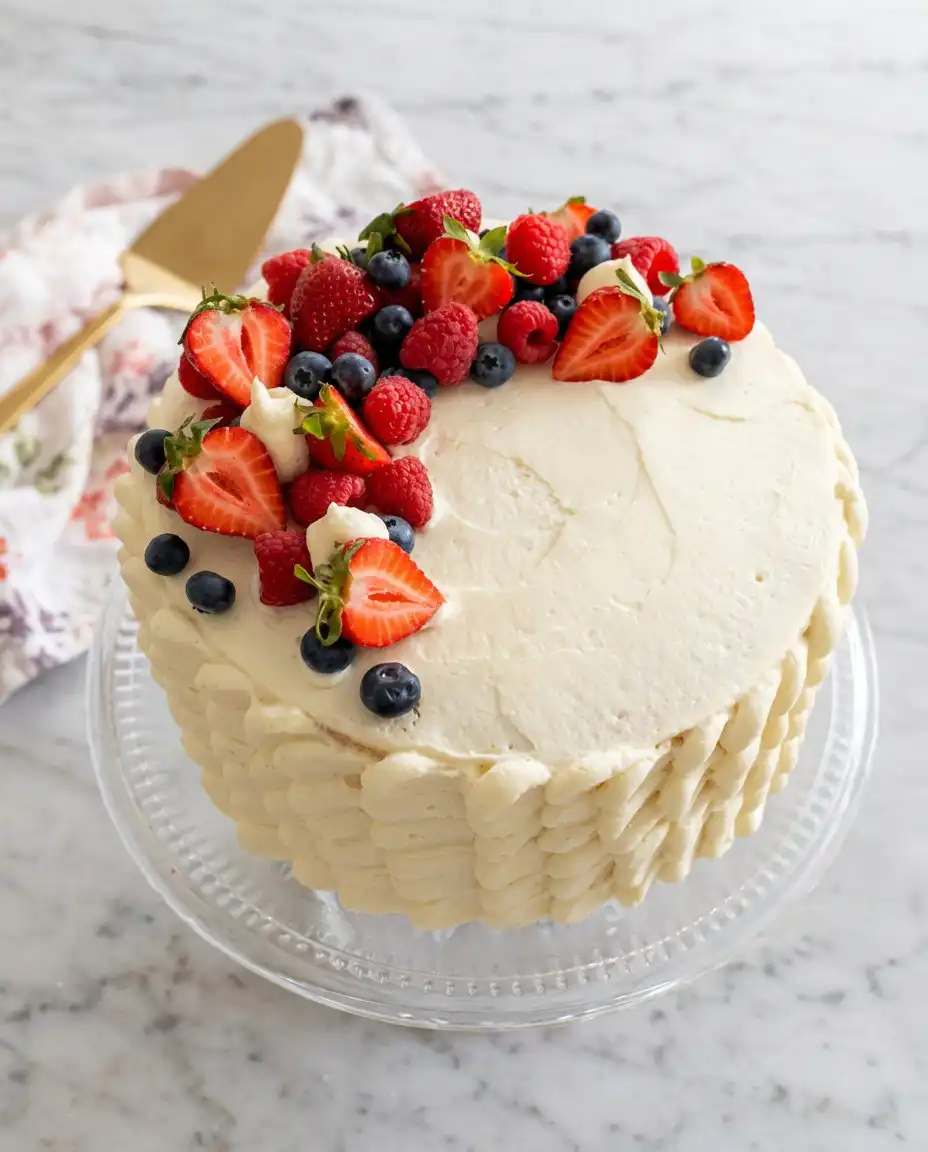
Temperature control is the most frequent point of failure when working with whipped cream in a professional setting. If your cream remains soupy after several minutes of whisking, your bowl or the cream itself is too warm to hold air. Chill your metal bowl and whisk attachment in the freezer for fifteen minutes before you begin to ensure the fat stays firm.
When measuring your flour, use a scale to ensure exactly two hundred and fifty grams rather than relying on volume cups. Volume measurements vary significantly based on how tightly the flour is packed, which can lead to a dry or heavy sponge. For a more delicate alternative, you might look into the techniques used for an angel food cake coconut whipped cream berries assembly.
Fresh berries must be washed and dried thoroughly at least one hour before they are placed on the cake. Any residual moisture on the fruit will cause the whipped cream to weep and slide, ruining the clean lines of your layers. Pat each berry with a soft cloth to ensure it is perfectly dry before you begin the assembly process.
For a truly professional finish, use a long, serrated knife to level the tops of your cakes before stacking them. Removing the domed top creates a flat surface that prevents the layers from sliding or leaning as the cream sets. This small discipline ensures that your cross-section remains level and symmetrical when you finally cut into the cake.
Understand that the quality of your vanilla extract determines the aromatic depth of the entire dessert. Using a high-quality bean paste or a pure extract rather than an imitation flavoring provides a floral complexity that complements the dairy. You can learn more about how to properly stabilize whipped cream to ensure your cake holds its shape for hours.
If you find your cake crumb is too coarse, it is likely that your eggs were too cold when they were added to the batter. Room temperature eggs emulsify much more effectively with the fats in the milk and the sugars in the bowl. Set your eggs in a bowl of warm water for five minutes if you have forgotten to take them out of the refrigerator in advance.
Frequently Asked Questions
What is chantilly cake?
A Chantilly cake is a classic dessert composed of light sponge layers filled and frosted with sweetened whipped cream. Unlike standard cakes that use heavy buttercreams, this version focuses on the airy texture of the dairy. It is almost always paired with fresh, seasonal berries to provide acidity and color.
How do I make chantilly cream for my cake?
To make this cream, you must whisk cold heavy cream with sugar and vanilla until it reaches stiff peaks. The key is to stop the mixer immediately once the cream holds its shape to prevent it from turning into butter. Using a chilled bowl helps maintain the cold temperature necessary for a stable emulsion.
Can I customize my chantilly cake?
Yes, this cake is highly adaptable to different fruit pairings and extract flavors beyond the traditional vanilla. You may use citrus zests in the batter or layer the cream with different types of jams for added depth. However, ensure any additions do not introduce excessive moisture that might collapse the whipped cream.
How long will chantilly cake last?
Because it relies on fresh whipped cream and fruit, this cake is best consumed within twenty-four hours of assembly. If stored in the refrigerator in an airtight container, it will remain safe for up to three days. Note that the berries may begin to release juice, which can slightly soften the sponge over time.
Why did my whipped cream frosting melt?
Whipped cream is highly sensitive to heat and will melt if the cake layers are not completely cold before frosting. It can also lose stability if the cream was not whipped to a sufficiently stiff peak or if the cake is left at room temperature for too long. Always keep the finished cake refrigerated until the moment you intend to serve it.
Can I freeze a cake with chantilly cream?
Freezing a fully assembled Chantilly cake is not recommended because the texture of the whipped cream and fresh berries will degrade upon thawing. You may, however, freeze the sponge layers individually by wrapping them tightly in plastic wrap once they are cool. When you are ready to serve, thaw the layers and apply fresh cream and fruit for the best results.
Thoughtful Alternatives
If you prefer a cake with a richer, more buttery profile, you may substitute the whole milk sponge with a denser base. A strawberry cake foundation offers a natural pink hue and a concentrated fruit flavor that pairs beautifully with the traditional Chantilly topping. This variation requires slightly longer baking times due to the moisture content of the fruit puree.
For an autumnal interpretation, consider replacing the vanilla extract with a high-quality almond extract and using sliced stone fruits. The nuttiness of the almond provides a sophisticated contrast to the lightness of the cream and the tartness of plums or cherries. You might also find inspiration in a well-made coconut cake if you wish to experiment with different fat sources in the sponge.
Smaller celebrations may call for a scaled-down version of this recipe using six-inch pans instead of the standard eight-inch size. This creates a taller, more dramatic profile that is ideal for photography and intimate gatherings. You will need to reduce the baking time by approximately five to seven minutes and monitor the internal temperature closely to avoid over-baking the smaller layers.
Presentation and Service
This cake is best served chilled, which allows the whipped cream to firm up and the flavors of the berries to meld with the sponge. Use a sharp, thin-bladed knife dipped in hot water and wiped dry between each cut to ensure clean, professional slices. This technique prevents the cream from dragging across the face of the cake and preserves the beautiful internal layers.
For a formal gathering, you might serve a slice alongside a glass of chilled dessert wine or a light herbal tea. The simplicity of the cake is enhanced by a base of a classic vanilla butter cake if you require a sturdier slice for outdoor events. Present each portion on a chilled plate to maintain the integrity of the cream for as long as possible while your guests enjoy the dessert.
Consider garnishing the plate with a few extra mint leaves or a dusting of powdered sugar just before the cake hits the table. These small visual cues signal to your guests that the dessert has been prepared with care and attention to detail. The contrast of green mint against the white cream and red berries creates a classic palette that never goes out of style.
A Word Before You Slice
Mastering the Chantilly Cake is a significant milestone for any home baker, as it requires a balanced understanding of both heat and cold. By respecting the cooling times and the mechanical limits of heavy cream, you have created a dessert that is far superior to any store-bought alternative. The result of your patience is a cake that celebrates the pure essence of dairy and fruit in a way that is both timeless and sophisticated.
You may find that this coconut cake offers another path for those looking to expand their repertoire of light, airy desserts. Precision in these small disciplines is what transforms a simple hobby into a true craft. I invite you to share your results and continue your journey into the exacting world of fine pastry.