I remember the soft creak of the wooden stool as I climbed up to watch Grandma scrape the black flecks from a vanilla bean with a heavy silver knife on a quiet Sunday afternoon.

This Classic Vanilla Bean Layer Cake is more than a dessert; it is a celebration of the quiet moments shared over a dusting of flour in the family kitchen. Every slice offers a tender crumb and a rich depth that only pure ingredients can provide to those we love. We often found ourselves waiting by the oven door while the scent of warming sugar filled the narrow hallway of our old home. Bringing this cake to the table feels like opening a handwritten letter from the past, reminding us of the importance of slowing down.
A Bite of Pure Nostalgia: Classic Vanilla Bean Layer Cake
Prep: 10 min · Serves: 16 · Difficulty: Intermediate
- Delicate crumb from traditional cake flour
- Rich specks of real vanilla beans
- Silky smooth Swiss meringue buttercream finish
- Creamy pastry center like old-fashioned pudding
- Stays moist through the family celebration
This cake has been loved for generations in our home as a centerpiece for the most meaningful gatherings.
You can find this same level of comfort in our classic vanilla layer cake which uses a similar traditional method.
Get The Full Cake Recipe
Print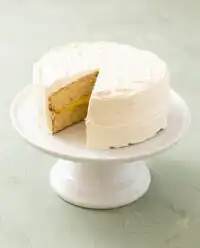
Classic Vanilla Bean Layer Cake
- Total Time: 1 hour 30 mins
- Yield: 16 servings
- Diet: Vegetarian
Description
This exquisite layer cake features a delicate, airy crumb infused with real vanilla bean seeds and a decadent pastry cream filling. Finished with a silky Swiss meringue buttercream, it is the perfect centerpiece for meaningful family gatherings and celebrations.
Ingredients
- Cake flour
- Granulated sugar
- Baking powder
- Salt
- Unsalted butter, softened
- Large egg whites
- Vanilla bean seeds
- Vanilla extract
- Almond extract
- Whole milk
- Cornstarch
- Egg yolks
- Cream of tartar
Instructions
- Prepare the pans. Preheat your oven to 350°F (177°C), butter your 8-inch round pans, and line them with parchment paper for easy release.
- Combine dry ingredients. In a mixer, blend the cake flour, sugar, baking powder, and salt, then gradually incorporate the softened butter until the mixture resembles coarse cornmeal.
- Whip egg whites. In a separate bowl, beat the large egg whites for about two minutes until they are frothy, light, and hold air bubbles.
- Incorporate liquids. Stir vanilla bean seeds, vanilla extract, and almond extract into the milk, then alternate adding the egg whites and milk mixture to the batter while mixing on low.
- Bake the layers. Divide the batter between pans and bake for 25 to 30 minutes, or until a skewer inserted in the center comes out clean.
- Cool the cakes. Rest the cakes in their pans for ten minutes before transferring them to wire racks to cool completely to room temperature.
- Craft pastry cream. Whisk egg yolks, sugar, salt, milk, and cornstarch in a saucepan over medium-low heat until thickened, then finish with vanilla bean paste and butter before chilling.
- Prepare the meringue. Whisk egg whites, sugar, cream of tartar, and salt over simmering water until the mixture reaches 160°F (71°C).
- Whip the frosting. Transfer the meringue to a mixer and whip until glossy and cool, then gradually beat in room-temperature butter until smooth and creamy.
- Assemble the cake. Trim the cooled layers, fill with chilled pastry cream, apply a crumb coat, and frost the exterior with the Swiss meringue.
Notes
- Ensure all ingredients are at room temperature to achieve a perfectly smooth emulsion in both the batter and the buttercream.
- Use a digital scale for measuring flour to avoid packing, which keeps the cake crumb delicate rather than heavy or dense.
- Create a sturdy border of buttercream around the edges of the cake layers to prevent the pastry cream filling from leaking out.
- If your Swiss meringue frosting looks curdled while adding butter, continue whipping steadily; the fat will eventually emulsify into a silky texture.
- Prep Time: 45 mins
- Cook Time: 30 mins
- Category: Dessert
- Method: Baking
- Cuisine: American
Gathering Your Ingredients
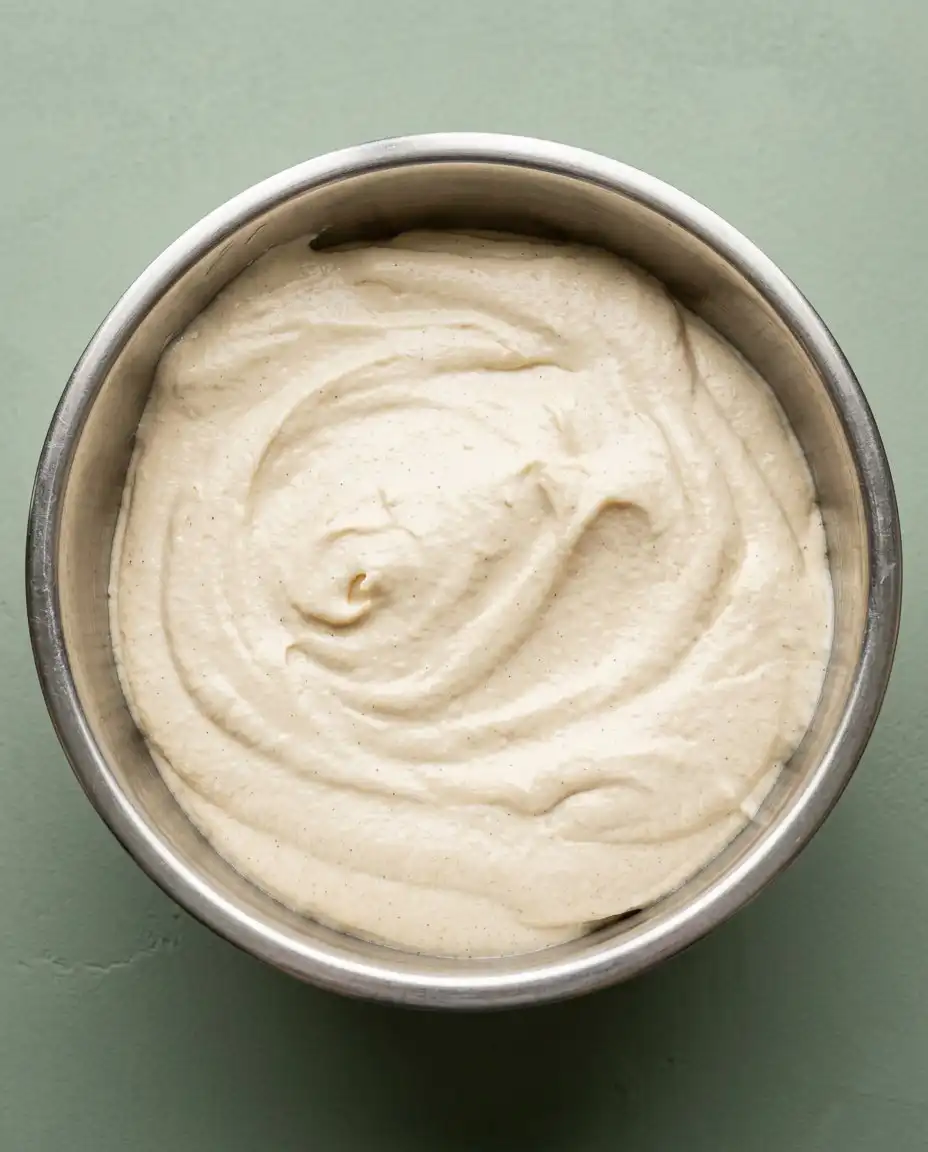
The secret to a heritage bake lies in the quality of the staples kept in the pantry and the care taken in their selection. Each component plays a vital role in creating a texture that is both sturdy enough for layering and light enough to melt away.
- Cake flour provides the fine, tight crumb that distinguishes a professional-style bake from a standard loaf.
- Unsalted butter must be softened to room temperature so it incorporates into the flour like fine cornmeal.
- Egg whites are whipped until frothy to provide the necessary lift without the weight of the yolks in the batter.
- Vanilla bean seeds offer those characteristic dark flecks and a floral aroma that extracts alone cannot replicate.
- Whole milk adds the essential fat content needed for a moist, tender mouthfeel in every single bite.
- Cornstarch acts as the thickening agent for the rich, pudding-like center that makes this cake truly decadent.
| Ingredient | Why It Matters |
|---|---|
| Vanilla Bean | Provides deep floral notes and visual elegance |
| Cake Flour | Ensures a delicate and velvety crumb structure |
| Egg Whites | Creates a light, airy, and bright white color |
| Cream of Tartar | Stabilizes the meringue for a silky frosting texture |
Step by Step in Teresa’s Kitchen
Step 1: Prepare the Pans and Oven
Preheat your oven to 350°F (177°C) and find your favorite 8-inch round cake pans from the cupboard. Lightly butter the pans, line the bottoms with parchment paper, and butter the parchment to ensure the layers release without a struggle. This preparation is the foundation of a successful bake, mirroring the careful rituals our grandmothers performed before a single measure of flour was taken.
Step 2: Combine the Dry Staples
In the glass bowl of an electric mixer, combine the cake flour, sugar, baking powder, and salt. Turn the mixer on its lowest speed and add the room-temperature butter one tablespoon at a time, allowing it to disappear into the flour for thirty seconds. The mixture should eventually resemble coarse cornmeal, a technique that coats the flour in fat to prevent excessive gluten development and keep the cake soft.
Step 3: Aerate the Egg Whites
In a separate bowl, whisk the large egg whites until they are frothy and light, which usually takes about two minutes of steady work. This step introduces tiny air bubbles that will expand in the heat of the oven, providing a natural lift to the heavy batter. It is a quiet moment of transformation where simple clear liquids become a cloud-like foam, ready to lighten the dense crumb.
Step 4: Baking Your Classic Vanilla Bean Layer Cake
Add the vanilla bean seeds, vanilla extract, and almond extract to the whole milk, stirring gently to distribute the fragrant flecks. With the mixer running on low, add half of the frothy egg whites followed by half of the milk mixture until just incorporated. Repeat this process with the remaining liquids and mix for only thirty seconds more to avoid overworking the delicate structure of the flour.
Step 5: Into the Heat
Transfer the batter evenly between your prepared pans and place them in the center of the preheated oven. Bake for 25 to 30 minutes, or until a wooden skewer inserted into the middle comes out clean with only a few moist crumbs clinging to it. The kitchen will begin to smell of toasted sugar and warm vanilla, a scent that always draws the family toward the counter in anticipation.
Step 6: The Cooling Period
Remove the pans from the oven and let them rest on the counter for ten minutes before attempting to turn them out. Carefully remove the cakes from their pans, peel away the parchment paper, and place the layers on wire racks to cool completely. Patience is required here, as a warm cake will melt the delicate frosting and ruin the architectural integrity of your beautiful layers.
Step 7: Craft the Pastry Cream
In a heavy-bottomed saucepan, whisk together the egg yolks, sugar, salt, milk, and cornstarch until no lumps remain. Set the pan over medium-low heat and whisk constantly until the mixture thickens and begins to bubble gently, resembling a thick custard. Remove it from the heat and stir in the vanilla bean paste and cold butter, then chill it in the refrigerator with plastic wrap pressed against the surface.
Step 8: Prepare the Swiss Meringue
Combine egg whites, sugar, cream of tartar, and salt in your mixer bowl and set it over a pot of simmering water. Whisk the mixture until the sugar has fully dissolved and the temperature reaches 160°F (71°C) on a digital thermometer. This process cooks the whites safely while creating a stable base for the most luxurious frosting you will ever taste.
Step 9: Whip the Frosting
Move the bowl to the mixer and whip on medium-high speed until the meringue is glossy, stiff, and has returned to room temperature. Gradually add the room-temperature butter one tablespoon at a time, allowing each piece to fully incorporate into the silky clouds. The frosting will eventually become thick and creamy, perfect for swirling onto the sides of your cooled cake layers.
Step 10: Assemble the Layers
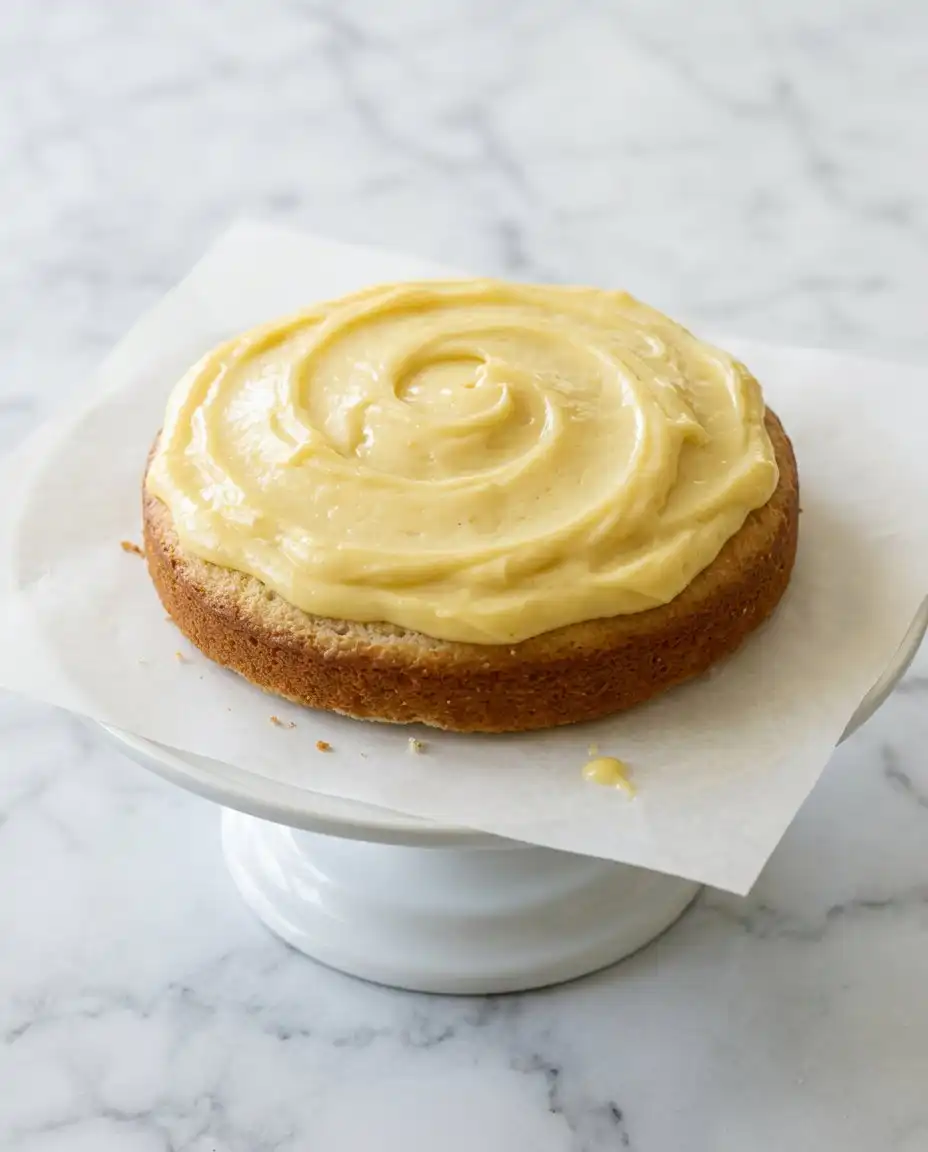
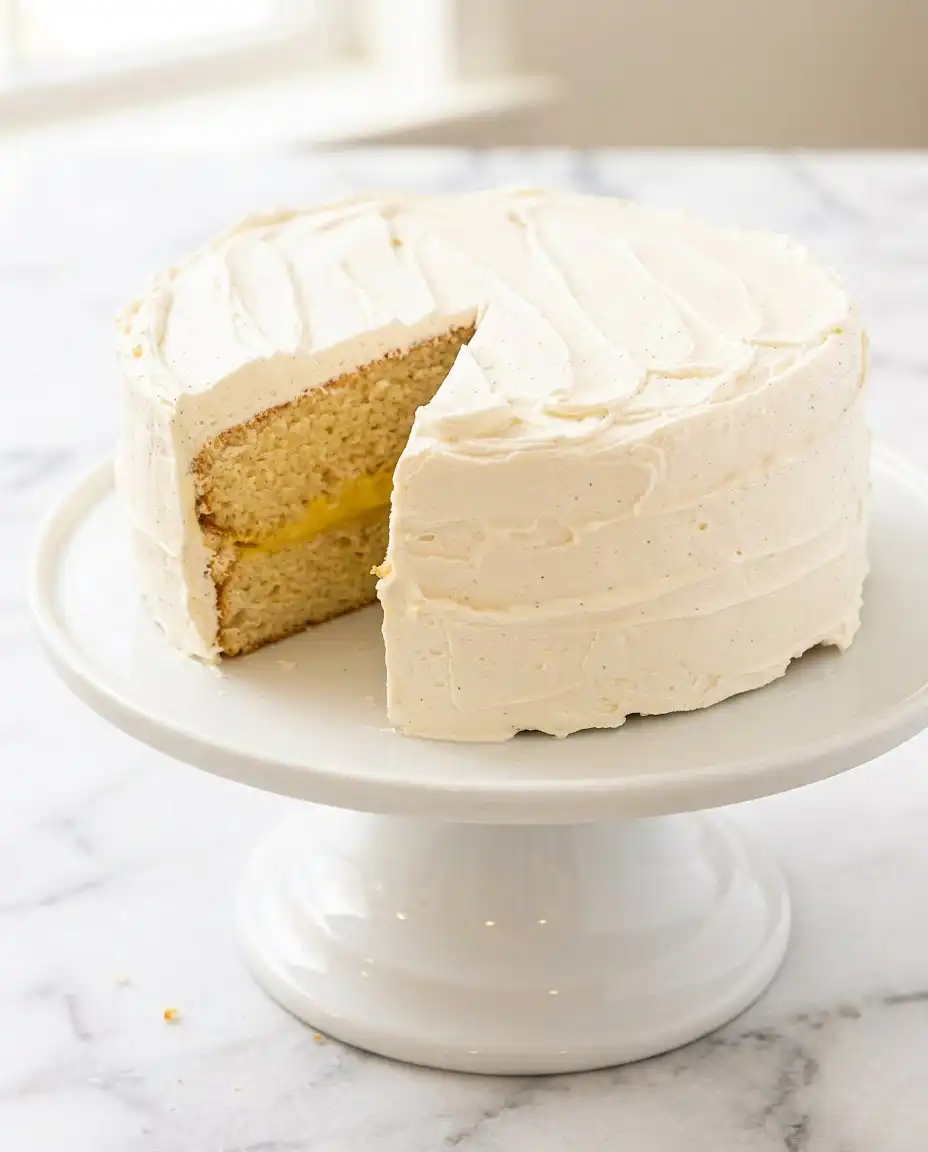
Trim the tops of your cooled cakes with a serrated knife to create a flat surface for stacking. Spread the chilled pastry cream onto the first layer, leaving a small border, then top with the second layer and a thin crumb coat of frosting. After a short chill in the refrigerator, apply the final thick layer of Swiss meringue, creating soft peaks that catch the light like a winter morning.
Secrets from the Recipe Box
Always ensure your butter is truly at room temperature, which means it should give slightly when pressed with a thumb but still hold its shape. If the butter is too cold, it will not incorporate into the flour properly, resulting in a cake with an uneven, greasy texture. You may want to read about the classic vanilla butter cake to understand how different temperatures affect the final crumb of your dessert.
When scraping a vanilla bean, use a small, sharp knife to split the pod lengthwise and then use the back of the knife to gather the seeds. This method ensures you get every fragrant speck without cutting through the outer husk of the bean itself. The discarded pods can be placed in a jar of sugar to create a scented sweetener for your morning coffee or tea.
If your Swiss meringue frosting appears curdled or soupy after adding the butter, do not lose heart. This often happens if the butter was slightly too cold or the meringue was still a bit warm when you started mixing. Simply continue to whip the mixture on medium-high speed for several minutes, and the fat will eventually emulsify into a perfectly smooth and silky frosting.
Weighing your cake flour with a digital scale is the only way to ensure accuracy in the kitchen. Traditional measuring cups can pack the flour down, leading you to use more than the recipe requires, which results in a dry and heavy cake. For more details on ingredient ratios, you can look at this guide on preparing a traditional vanilla cake for best results.
To prevent the pastry cream from leaking out the sides, create a small dam of frosting around the edge of the first cake layer. This ring of stiff buttercream acts as a wall that keeps the soft, pudding-like center exactly where it belongs. It is a small step that makes a significant difference in the professional appearance of your finished dessert.
Frequently Asked Questions
Can I make this cake in advance?
Yes, you can bake the cake layers up to one week in advance if they are wrapped tightly in plastic and stored in the freezer. Thaw them in the refrigerator before assembling to ensure they stay moist. The pastry cream can also be made a day ahead of time.
What is the best way to store leftovers?
Store any remaining slices in an airtight container in the refrigerator for up to three days. Because of the butter content in the frosting, it is best to let the cake sit at room temperature for thirty minutes before serving. This allows the crumb and the buttercream to soften to their ideal texture.
Can I use all-purpose flour instead of cake flour?
While all-purpose flour will work in a pinch, it will produce a heartier and slightly tougher crumb. If you must use it, replace two tablespoons of flour with two tablespoons of cornstarch for every cup used. This helps mimic the lower protein content found in traditional cake flour.
Why did my pastry cream turn out runny?
If the pastry cream is too thin, it likely did not reach a sufficient temperature to activate the cornstarch. You must wait until the mixture begins to bubble gently before removing it from the heat. Ensure you whisk constantly during this process to avoid scorching the bottom of the pan.
Is there a substitute for whole milk in this recipe?
Whole milk provides the fat necessary for a tender cake, so low-fat or skim milk may result in a drier texture. If you must use a dairy-free alternative, full-fat oat milk or almond milk are the best options. However, the flavor and richness will be slightly altered from the traditional version.
Why is my Swiss meringue frosting so soft?
Soft frosting usually occurs if the butter was too warm or the environment in the kitchen is particularly humid. Place the entire mixing bowl in the refrigerator for fifteen minutes to firm up the fats. Once chilled, return it to the mixer and whip again until it reaches the desired consistency.
Through the Seasons
During the height of summer, you might consider adding a layer of fresh raspberries or sliced strawberries on top of the pastry cream. The tartness of the fruit cuts through the richness of the vanilla bean and the buttery frosting, offering a bright contrast that feels appropriate for an outdoor garden party. You can also explore our white almond sour cream cake if you prefer a different flavor profile for your seasonal gatherings.
In the cooler months, replacing the almond extract with a touch of ground cardamom or cinnamon can bring a warm, spicy undertone to the batter. This variation pairs beautifully with a cup of hot tea and a crackling fire in the hearth, making the house feel cozy and inviting. The old way of baking always allowed for these small adjustments based on what was available in the local market.
If you find yourself without vanilla beans, a high-quality vanilla bean paste is a wonderful substitute that still provides those beautiful dark specks. While the flavor is slightly less complex than a fresh bean, it is a reliable choice for a busy weekday when you still want to provide a special treat for the family. Using the right extracts is essential for maintaining the integrity of this classic recipe.
The Perfect Occasion
Serve this cake on a vintage pedestal stand to highlight its height and the delicate swirls of the Swiss meringue frosting. Slicing with a warm, thin knife will ensure that every piece is clean and the pastry cream center remains perfectly intact. You might find that this vanilla cake recipe is the perfect choice for a birthday celebration or a quiet anniversary dinner.
A small scoop of lightly sweetened whipped cream or a dusting of powdered sugar can add a simple elegance to each plate. We often serve this with a side of fresh berries to provide a bit of acidity against the sweet, floral notes of the vanilla. It is a dessert that invites people to linger at the table and share stories of the old days.
Accompany each slice with a pot of Earl Grey tea or a dark roast coffee to balance the richness of the buttercream. The warmth of the beverage helps to melt the frosting on the tongue, enhancing the complex flavors of the vanilla bean. Sitting down together with a piece of cake and a hot drink is a tradition that never goes out of style.
Baking Memories
As you pull this cake from the oven and breathe in the scent of real vanilla, remember that baking is a quiet act of devotion. Taking the time to scrape a bean and whip a meringue by hand connects us to the generations of women who did the same. We hope this recipe finds a permanent home in your own collection, tucked away in a tin box for years to come. For more inspiration, you can look at our yellow cake recipe which carries a similar sense of history.
We invite you to share your results with us as you bring this heritage bake to your own family table. Each kitchen has its own rhythm, and we love to hear how these old ways continue to thrive in modern homes. May your kitchen always be warm and your flour bin never be empty as you continue your journey through the world of vintage baking.