An amateur confetti cake often yields a dry crumb and bleeding colors, whereas a precise version offers a velvety texture and a clean, sharp cross-section of suspended rainbow hues.

The Funfetti Birthday Layer Cake is frequently dismissed as a casual bake, yet its success depends entirely on the rigorous management of fat and air. By following this protocol, you will produce a crumb that is simultaneously sturdy and delicate. The technique is the recipe. You will notice that the inclusion of both butter and oil creates a profile that is rich in flavor yet remains moist far longer than traditional sponges. To achieve this, the baker must respect the specific temperatures of every ingredient involved.
What Careful Baking Produces in a Funfetti Birthday Layer Cake
Prep: 45 min · Serves: 12-14 · Difficulty: Advanced
- Provides a stable structure for vertical height.
- Maintains a tender crumb through precise emulsification.
- Uses quality fats for balanced flavor profiles.
- Suspends colors without bleeding into the batter.
- Requires patience for a professional finish.
This cake defines the standard for every family gathering and stands as one of my most requested celebration cakes.
Get The Full Cake Recipe
Print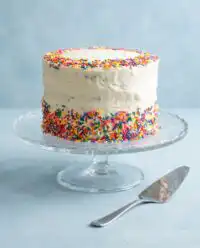
Funfetti Birthday Layer Cake
- Total Time: 1 hour 45 mins
- Yield: 12-14 servings
Description
This professional-grade funfetti layer cake features a velvety, stable crumb and a perfect suspension of rainbow sprinkles. Using a precise blend of butter, oil, and buttermilk, this recipe ensures a rich, moist sponge that remains tender for days.
Ingredients
- 2 1/2 cups cake flour
- 2 teaspoons baking powder
- 1/2 teaspoon baking soda
- 1/2 teaspoon salt
- 1 cup unsalted butter, softened
- 1 3/4 cups granulated sugar
- 1/4 cup vegetable oil
- 4 large eggs, room temperature
- 2 large egg whites, room temperature
- 1 tablespoon pure vanilla extract
- 1 cup buttermilk, room temperature
- 1/2 cup rainbow jimmies sprinkles
- 1 cup butter (for frosting)
- 4 cups confectioners’ sugar
- 2 tablespoons heavy cream
Instructions
- Prepare the pans. Preheat oven to 350°F and grease three 8-inch or 9-inch cake pans, lining the bottoms with parchment paper.
- Combine dry ingredients. Whisk together the cake flour, baking powder, baking soda, and salt in a bowl to ensure even aeration.
- Cream the fats. Beat the softened butter and granulated sugar with a stand mixer on high speed for five minutes until pale and fluffy.
- Emulsify wet ingredients. Mix in the oil, then add the eggs, egg whites, and vanilla, beating until the batter is smooth and uniform.
- Incorporate remaining components. Alternately add the dry mixture and buttermilk in three batches, mixing until just combined, then fold in the sprinkles.
- Bake the layers. Divide batter into pans and bake for 25 to 28 minutes, tenting with foil at the 15-minute mark to prevent over-browning.
- Cool the sponges. Rest cakes in their pans for 20 minutes before inverting them onto a wire rack to cool completely.
- Prepare the buttercream. Beat the butter until creamy, then gradually add confectioners’ sugar, heavy cream, vanilla, and salt, whipping until light and airy.
- Assemble the cake. Level the cooled cakes, stack with layers of frosting, and apply a thin crumb coat before chilling.
- Final presentation. Spread the remaining frosting over the chilled cake for a smooth finish and decorate with extra sprinkles.
Notes
- Ensure all dairy and egg components are at room temperature to prevent the batter from curdling during the mixing process.
- Use wax-based jimmies rather than sugar-based sprinkles to prevent the colors from bleeding into the batter during the bake.
- Stop the mixer immediately once the flour is incorporated to avoid developing excess gluten, which can lead to a tough or sunken cake.
- Apply a thin crumb coat and chill the cake for 30 minutes before final frosting to lock in loose crumbs and ensure a clean, sharp finish.
- Prep Time: 45 mins
- Cook Time: 28 mins
- Category: Dessert
- Method: Baking
- Cuisine: American
Ingredients, Chosen with Purpose
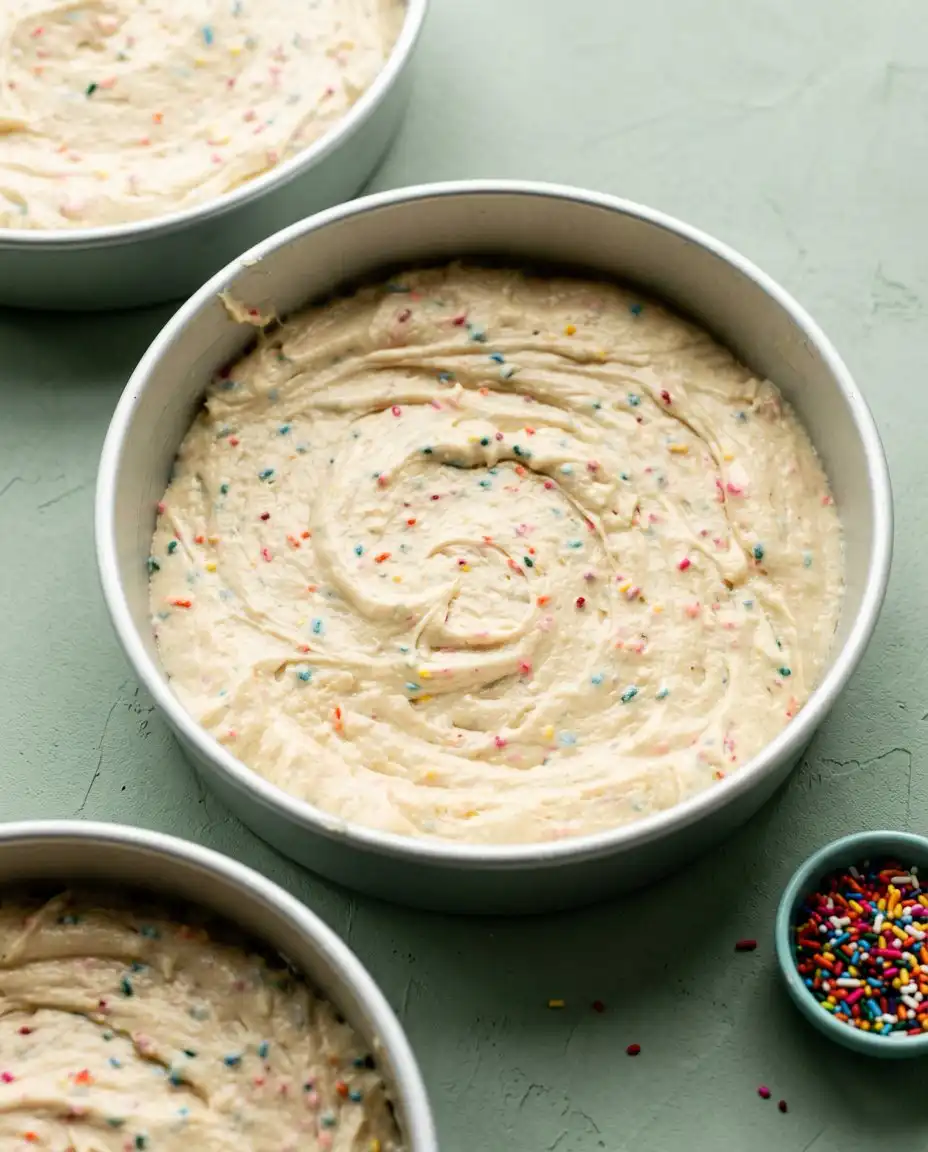
Success in the kitchen begins with a proper mise en place, where every component is measured by weight rather than volume. These specific selections are not interchangeable, as each plays a vital role in the structural integrity and final mouthfeel of the sponge.
- Cake Flour: This low-protein flour is essential for creating a fine, tight crumb that resists toughness.
- Unsalted Butter: Quality butter provides the foundational flavor and the necessary aeration during the creaming stage.
- Vegetable Oil: Adding a liquid fat ensures the cake remains moist and tender even after refrigeration.
- Buttermilk: The acidity reacts with the leavening agents to produce a significant lift and a soft texture.
- Rainbow Sprinkles: Choosing wax-based jimmies prevents the colors from bleeding into the pale batter during baking.
- Egg Whites: Two additional whites provide structural lift without the heavy richness of extra yolks.
| Ingredient | Why It Matters |
|---|---|
| Cake Flour | Reduces gluten development for a tender bite |
| Buttermilk | Tenderizes the crumb and activates leavening |
| Vegetable Oil | Provides lasting moisture at room temperature |
| Pure Vanilla | Adds a sophisticated aromatic depth to the sugar |
The Technique Laid Out
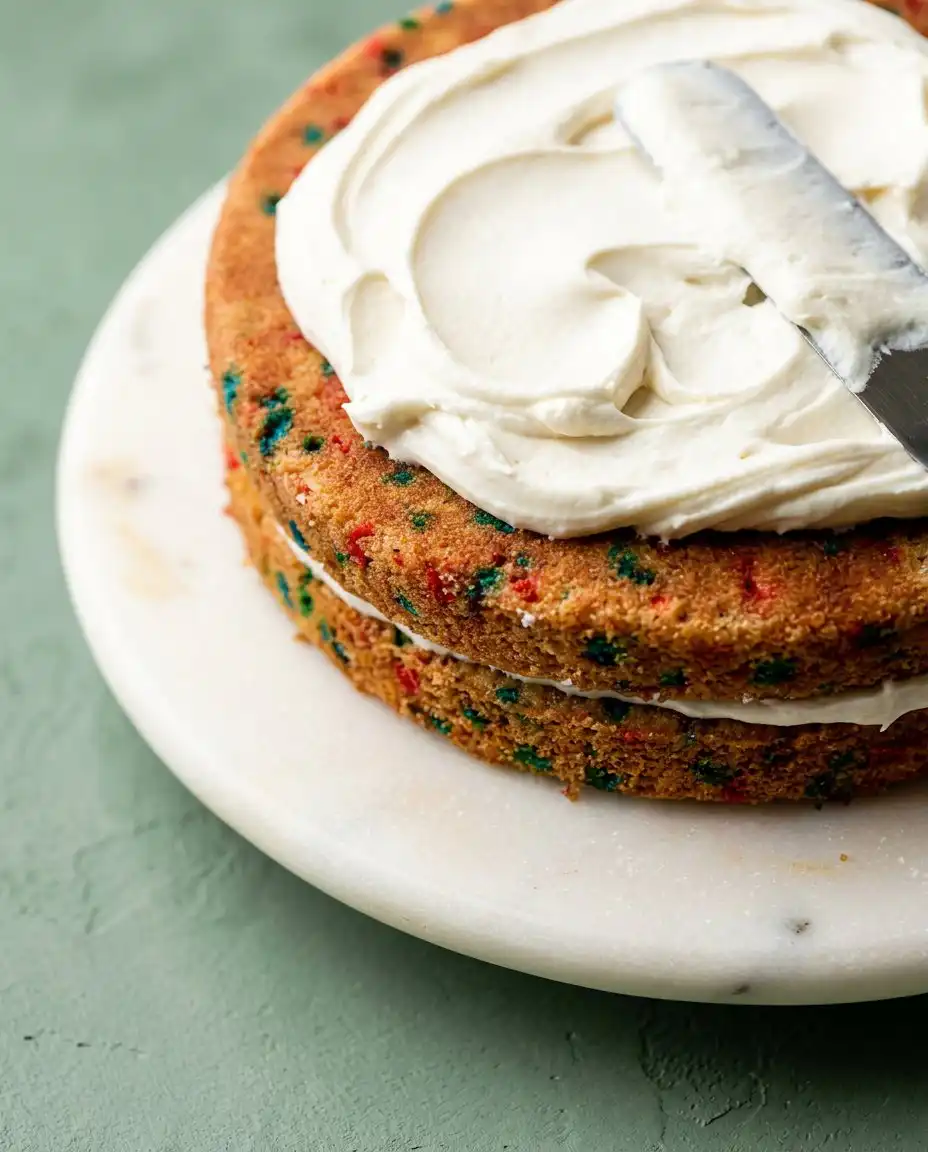
Step 1: Prepare the Foundation
You will begin by preheating your oven to 350°F (177°C) to allow the heat to stabilize before the pans enter. Grease three 8-inch or 9-inch cake pans and line the bottoms with parchment paper rounds. This step is a non-negotiable discipline that allows the cakes to release with a clean, sharp edge rather than tearing. Confirm that the parchment is also lightly greased to prevent any sticking during the cooling process.
Step 2: Combine the Dry Elements
In a spacious bowl, whisk together the cake flour, baking powder, baking soda, and salt. You should notice the mixture becoming lighter as the whisk introduces air and breaks up any clumps. This thorough distribution of leavening agents prevents uneven rising or large pockets of air in the final crumb. Set this mixture aside and confirm your wet ingredients are all at room temperature before proceeding.
Step 3: The Creaming Stage
Using a stand mixer fitted with a paddle attachment, beat the softened butter and granulated sugar on high speed for five minutes. You will watch the mixture transform from a dense yellow paste into a pale, voluminous fluff that looks almost like whipped cream. This process creates the microscopic air pockets that the baking powder will later expand. Do not shorten this time, as it is the foundation of the cake’s height.
Step 4: Emulsify the Fats and Liquids
Reduce the mixer speed and add the vegetable oil, beating for one full minute until it is fully integrated. Add the four whole eggs, two egg whites, and vanilla extract, continuing to mix on medium-high speed. The batter should appear smooth and uniform; if it looks curdled, your ingredients were likely too cold. Scrape the bowl to ensure no streaks of butter remain at the bottom.
Step 5: Incorporate the Flour into your Funfetti Birthday Layer Cake
You will now add the dry ingredients and buttermilk in three alternating additions, beginning and ending with the flour. Mix only until the last streaks of white disappear to avoid over-developing the gluten. The resulting batter should fall in a slow, pale ribbon from the paddle, indicating the perfect balance of aeration and structure. Gently fold in the sprinkles with a spatula to keep them from breaking.
Step 6: The Controlled Bake
Divide the batter equally among your prepared pans and smooth the tops with an offset spatula. Bake for 25 to 28 minutes, or until a toothpick inserted into the center emerges with a few dry crumbs attached. At the 15-minute mark, tent the pans with foil to prevent the surfaces from over-browning. You will smell the sweet, toasted vanilla aroma as the cakes finish their transition from liquid to solid.
Step 7: The Cooling Discipline
Allow the cakes to rest in their pans on a wire rack for exactly 20 minutes before attempting to remove them. Run a thin knife around the perimeter to release the edges, then invert the cakes onto the rack to cool completely. The logic of resting here is to allow the internal structure to set; frosting a warm cake will result in a disastrous melt. The cakes must feel cool to the touch throughout before you begin assembly.
Step 8: Prepare the Buttercream
Beat the softened butter on medium speed for two minutes until it reaches a creamy, spreadable consistency. Slowly add the confectioners’ sugar, heavy cream, vanilla, and salt while mixing on a low setting. Once combined, increase the speed to high and beat for two full minutes to create a light, airy frosting. If the consistency feels too loose, add a small amount of sugar; if too stiff, add a drop of cream.
Step 9: Assembly and the Crumb Coat
Slice the domed tops off your cooled cakes using a long serrated knife to create perfectly flat surfaces. Place the first layer on a turntable and spread one cup of frosting evenly across the top. Repeat this with the subsequent layers, then apply a very thin layer of frosting over the entire exterior of the cake. This crumb coat should be chilled for at least 30 minutes to lock in any loose fragments before the final decoration.
Step 10: The Final Presentation
Spread the remaining buttercream over the chilled crumb coat using a bench scraper to achieve a smooth, professional finish. You may add additional sprinkles for decoration while the frosting is still soft and tacky. If the cake will not be served immediately, store it in a cool environment to maintain the integrity of the layers. A clean, sharp knife will be necessary to reveal the vibrant interior during service.
What Experience Teaches Here
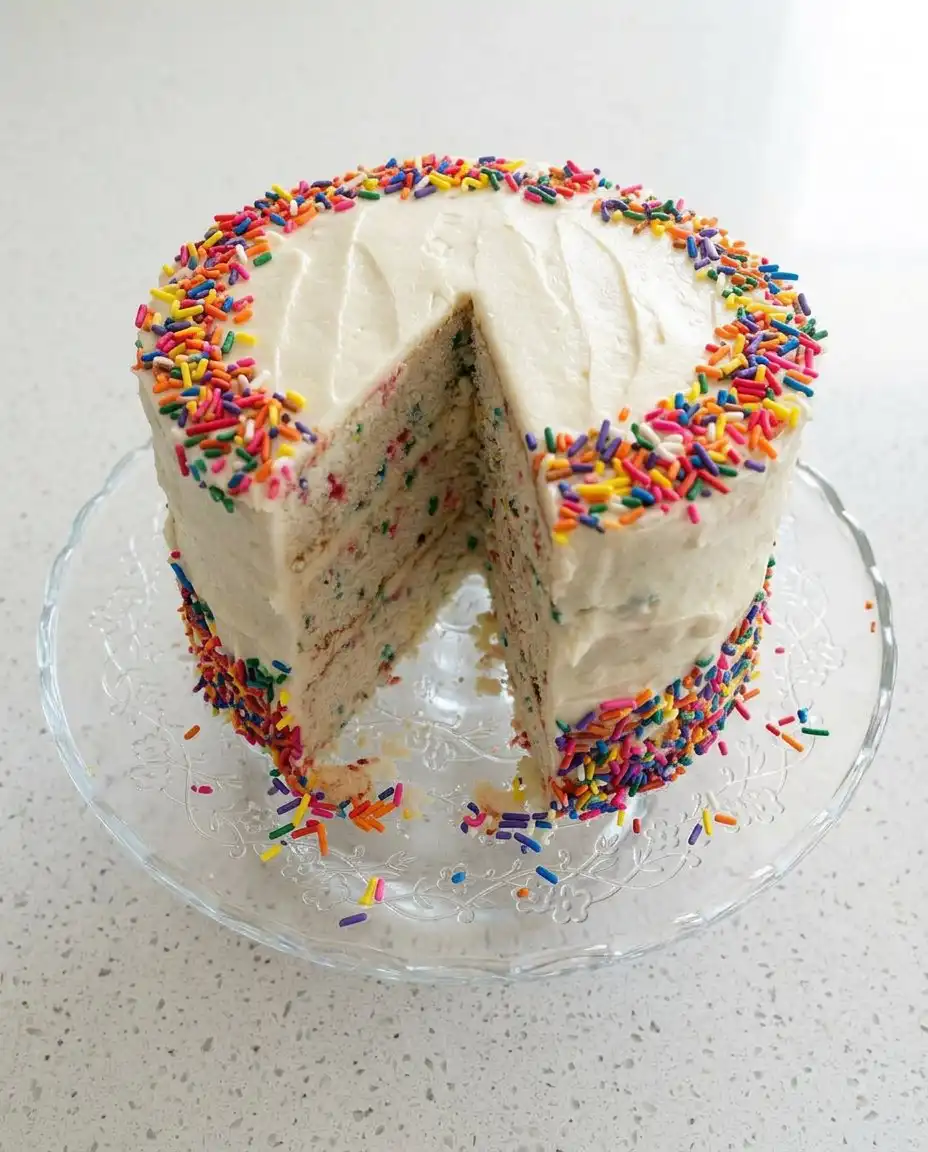
Precision is not a constraint; it is the freedom to repeat success. When measuring your cake flour, you must use a scale or the spoon-and-level method to avoid packing the flour too tightly. A dense measurement will result in a heavy, dry sponge that lacks the signature lightness of a classic vanilla layer cake.
Room temperature is an instruction, not a suggestion, because cold ingredients will not emulsify properly. If your butter is too cold, it will not trap air; if your eggs are cold, they will seize the fat in the batter. This leads to a broken emulsion that produces a greasy, sunken cake rather than a proud, tall layer cake.
If your cake layers sink in the middle, it is often a sign of over-mixing after the flour was added. This mistake develops too much gluten and traps excessive air that collapses once the cake is removed from the oven’s heat. To fix this in the future, stop the mixer the moment the last trace of flour is incorporated into the batter.
Managing the heat of your oven is another critical discipline for the serious baker. Most home ovens do not run at the temperature displayed on the dial, which can lead to uneven baking. Using an external thermometer helps you understand the chemistry of crumb structure in party cakes by ensuring the rise happens at the correct speed.
When applying the final layer of frosting, keep your bench scraper at a 45-degree angle against the side of the cake. This creates a smooth, even surface without pulling the buttercream away from the sponge. Consistent pressure and a steady hand on the turntable will produce the sharp edges seen in professional patisseries.
Frequently Asked Questions
Can I use all-purpose flour instead of cake flour?
While all-purpose flour can be used in a pinch, it will significantly alter the texture of the Funfetti Birthday Layer Cake. Cake flour has a lower protein content, which results in a softer, more delicate crumb. If you must substitute, remove two tablespoons of all-purpose flour from each cup and replace them with cornstarch.
Why did the sprinkles bleed into my cake batter?
Color bleeding typically occurs when using nonpareils, which are the small round balls, instead of jimmies or quins. The moisture in the batter dissolves the coating on the nonpareils during the mixing and baking process. Always choose high-quality wax-based jimmies and fold them in gently at the very end of the process.
How should I store the finished Funfetti Birthday Layer Cake?
The frosted cake can be kept at room temperature in a dedicated cake carrier for up to four hours. For longer storage, refrigerate the cake for up to one day before serving to maintain freshness. Always allow the cake to sit at room temperature for 30 minutes before slicing to soften the butter in the sponge.
My frosting is too sweet; how can I balance the flavor?
Vanilla buttercream is inherently sweet due to the high volume of confectioners’ sugar required for stability. You can add an extra pinch of fine sea salt to the frosting to cut through the sugar. Alternatively, a small squeeze of lemon juice can provide the necessary acidity to balance the profile without altering the texture.
Can the cake layers be frozen ahead of time?
Yes, the unfrosted layers freeze exceptionally well for up to three months when wrapped tightly in plastic wrap and foil. Thaw the layers overnight in the refrigerator while they are still wrapped to prevent condensation from forming on the surface. Frost the cakes while they are slightly chilled for easier handling and less crumbling.
What is the best way to get clean slices?
To achieve a professional cross-section, use a long, sharp serrated knife and dip it in hot water between every slice. Wipe the blade clean with a dry cloth before making the next cut through the layers. This prevents the frosting from dragging into the crumb and ensures the colorful sprinkles remain clearly visible.
Thoughtful Alternatives
You may choose to adapt this recipe for a different flavor profile by substituting the vanilla extract with almond or lemon. Using almond extract provides a nostalgic, cherry-like undertone that pairs beautifully with the sweetness of the sprinkles. This variation works particularly well if you are seeking a flavor similar to a traditional yellow cake recipe with a colorful twist.
For a different visual presentation, you can bake this batter in a 10-cup Bundt pan for a more casual gathering. You will need to increase the baking time to approximately 60 minutes and ensure the pan is greased with meticulous care. This version is best finished with a simple vanilla glaze rather than a thick layer of buttercream frosting.
If you prefer a stark white appearance for your frosting, consider using clear imitation vanilla extract instead of the pure brown liquid. This is a common technique used to maintain a clean, snowy look that makes the rainbow colors of the sprinkles stand out even more. This small change does not compromise the structure but offers a different aesthetic for modern celebrations.
Presentation and Service
When you are ready to present the Funfetti Birthday Layer Cake, place it on a pedestal stand to give it the prominence it deserves. The cake should be the centerpiece of your table, surrounded by clean white plates that do not distract from the brilliant colors within. If you are looking for more birthday cake ideas, consider pairing this cake with a simple glass of cold milk or a light prosecco.
For a formal gathering, you may serve individual slices with a small dollop of lightly sweetened whipped cream. This provides a textural contrast to the dense, rich buttercream and helps to cleanse the palate. Ensure your service area is clear of clutter, allowing the guest to focus entirely on the precision of the layers you have constructed.
A Word Before You Slice
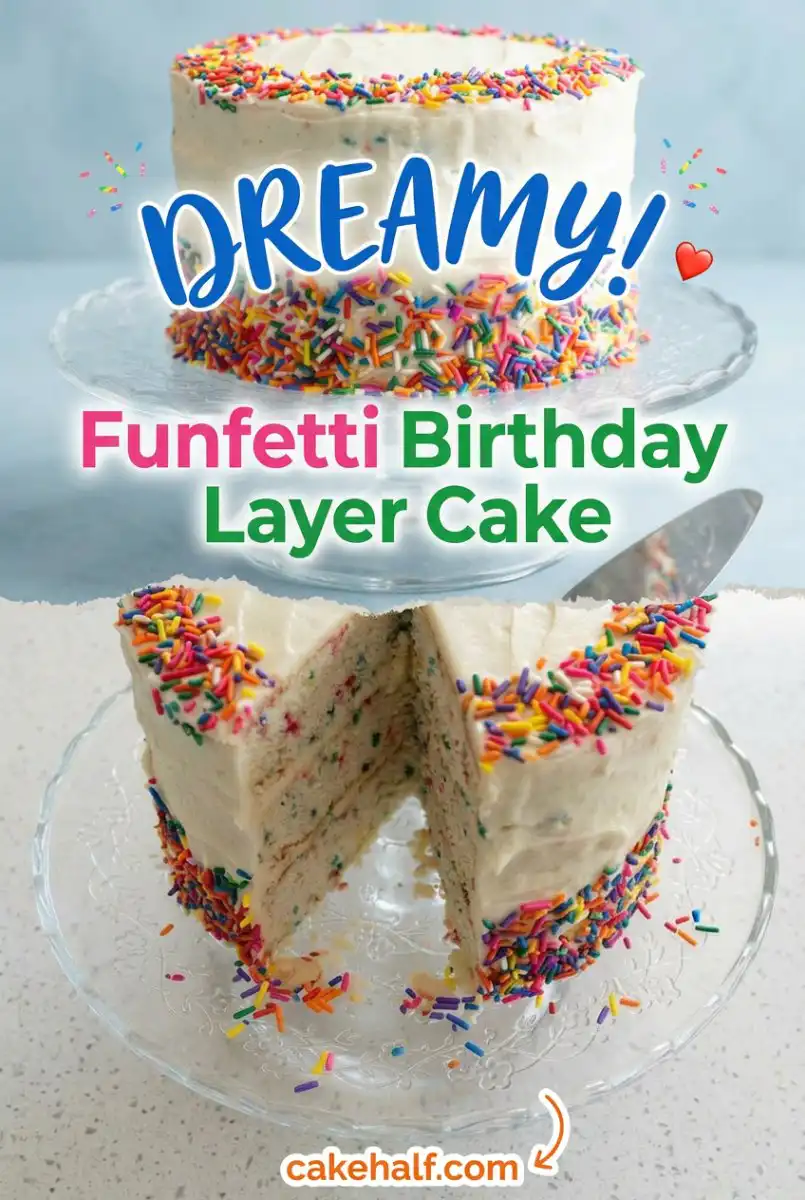
Baking a Funfetti Birthday Layer Cake of this caliber is a testament to your commitment to the craft. By following these exact steps and respecting the science of the ingredients, you have created a dessert that is as structurally sound as it is beautiful. Small things, done exactly right, lead to a result that far exceeds the sum of its parts. I hope this funfetti cake brings a sense of accomplishment to your kitchen and joy to your guests.
Please share your results with our community of dedicated bakers. Seeing your precision in practice is the greatest reward for any instructor. You can find more inspiration and technical guidance on our social channels below.