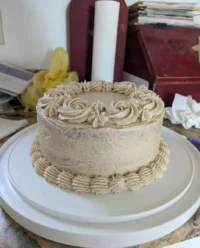
Before you weigh a single gram of flour, I ask you to set aside the urge to rush, for a true Devil’s Food Layer Cake requires a tempo of deliberate, unhurried precision to achieve its crumb.

This recipe is not merely a confection; it is a study in the harmony between fats, acids, and high-quality Dutch-processed cocoa. You will find that the inclusion of both butter and oil creates a structure that remains tender while supporting the weight of a rich buttercream. By following these exact intervals of mixing and resting, you will produce a cake with a fine, velvet-like texture that distinguishes it from common sponges. It is a rewarding exercise for any baker who values the quiet discipline of the craft.
Why This Devil’s Food Layer Cake Rewards Attention
Prep: 20 min · Serves: 12 · Difficulty: Medium
Success in this bake rests upon your willingness to respect the chemical reactions of the ingredients.
- Precisely balanced fats create a lasting, tender moisture.
- Dutch-process cocoa provides a deep, sophisticated chocolate profile.
- A controlled crumb structure ensures perfectly stable cake layers.
- Coffee hydration intensifies the natural cocoa notes effectively.
- Classic devils food cake techniques provide a reliable and consistent result.
Patience in the mixing process is the primary instruction for a flawless result.
Get The Full Cake Recipe
Print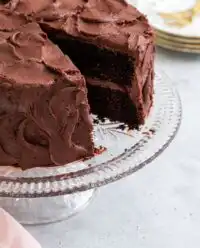
Devil’s Food Layer Cake
- Total Time: 1 hour 5 mins
- Yield: 12 servings
Description
This refined Devil’s Food Layer Cake achieves a perfect velvet-like crumb through a precise emulsion of butter, oil, and Dutch-processed cocoa. By blooming the cocoa with hot coffee and utilizing sour cream, this recipe delivers an intensely chocolatey, moist, and stable cake perfect for layering.
Ingredients
- 240g all-purpose flour
- 1 teaspoon baking soda
- 1/2 teaspoon baking powder
- 1/2 teaspoon salt
- 1/2 cup unsalted butter, softened
- 1 cup granulated sugar
- 1/2 cup light brown sugar
- 1/2 cup vegetable oil
- 3/4 cup Dutch-processed cocoa powder
- 3 large eggs, room temperature
- 1 cup sour cream
- 1/2 cup milk
- 1 cup hot brewed coffee
Instructions
- Prepare the equipment. Preheat oven to 350°F and grease two 9-inch round pans, lining the bottoms with parchment paper.
- Combine dry ingredients. Whisk together flour, baking soda, baking powder, and salt in a large bowl and set aside.
- Cream butter and sugars. Beat softened butter and both sugars in a stand mixer for five minutes until light and aerated.
- Emulsify cocoa paste. Whisk cocoa powder into the vegetable oil until smooth, then incorporate into the butter mixture followed by eggs one at a time.
- Alternate additions. Add the flour mixture to the batter in three parts, alternating with the milk and sour cream, beginning and ending with the dry ingredients.
- Bloom with coffee. Pour hot coffee into the batter and whisk by hand until fully incorporated and glossy.
- Bake the layers. Divide batter into pans and bake for 40 to 45 minutes until the center is resilient and edges pull away.
- Cool and invert. Allow cakes to cool in pans for fifteen minutes before inverting onto a wire rack to cool completely.
Notes
- Ensure all dairy and egg ingredients are at room temperature to prevent the batter from curdling during the emulsion stage.
- Use a digital scale to measure exactly 240 grams of flour to maintain the delicate structural integrity of the crumb.
- Monitor internal temperature with a probe; the cakes are perfectly set when they reach between 205°F and 210°F.
- Avoid over-mixing once the hot coffee is added to ensure the gluten does not toughen, which keeps the cake layers flat.
- Prep Time: 20 mins
- Cook Time: 45 mins
- Category: Dessert
- Method: Baking
- Cuisine: American
Your Ingredients and Their Roles
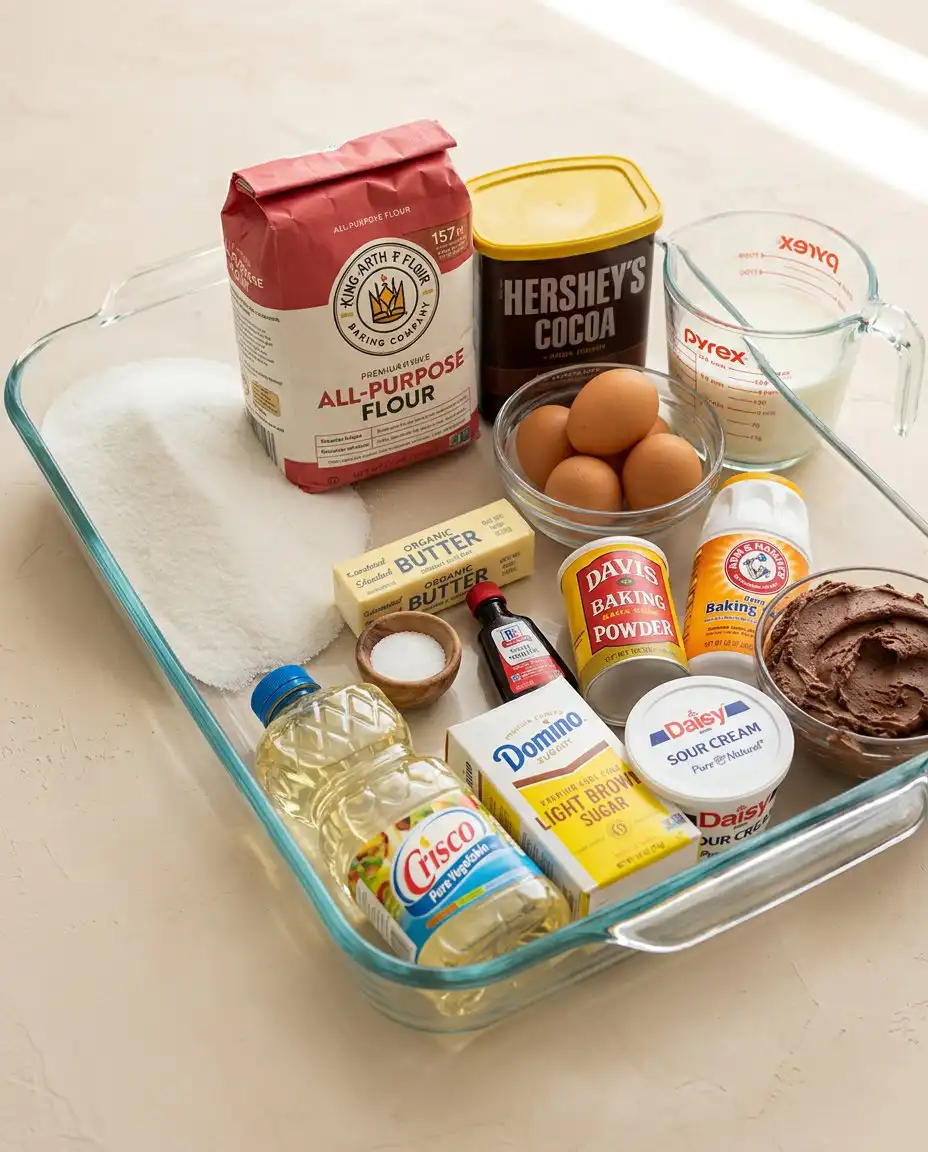
The selection of your ingredients determines the structural integrity and the sensory experience of the final crumb. We do not use room temperature as a vague suggestion; it is the environment required for emulsion. When the butter, eggs, and dairy share the same temperature, they form a stable network that traps air and creates a pale ribbon stage.
- Dutch-Processed Cocoa Powder: Unlike natural cocoa, this is treated with alkali to neutralize acidity, providing the characteristic dark color and smooth flavor profile. Sifting this ingredient is vital to avoid pockets of dry powder in your finished batter.
- Unsalted Butter and Vegetable Oil: The butter contributes flavor and a sturdy crumb when creamed with sugar, while the oil ensures the cake remains moist even after several days of storage.
- Hot Coffee: The heat from the liquid serves to bloom the cocoa solids, releasing the aromatic oils and deepening the chocolate presence without leaving a discernible coffee taste.
- Sour Cream: This provides the necessary acidity to activate the baking soda while contributing a richness that milk alone cannot achieve.
- Baking Soda and Powder: This specific combination provides the lift needed for a tall layer cake while reacting with the sour cream to create a tender, porous structure.
| Ingredient | Why It Matters |
|---|---|
| Dutch Cocoa | Provides a deep color and non-acidic chocolate base. |
| Hot Coffee | Blooms the cocoa solids for maximum flavor extraction. |
| Sour Cream | Tenderizes the crumb and activates the leavening agents. |
| Light Brown Sugar | Adds moisture and a faint hint of molasses depth. |
| Room Temp Eggs | Ensures a stable emulsion without breaking the batter. |
The Method, Step by Step
Step 1: Prepare the Environment and Pans
Preheat your oven to 350°F (175°C) and prepare two 9-inch round pans with meticulous care. Butter the sides and bottom, then line the base with parchment paper to ensure a clean release later. This step allows the batter to climb the sides of the pan evenly during the initial rise.
Step 2: Sift the Dry Foundation
In a large bowl, whisk together the all-purpose flour, baking soda, baking powder, and salt. You must ensure these leavening agents are distributed evenly throughout the flour to prevent uneven tunneling in the cake. Set this mixture aside where it will remain dry and ready for the final integration.
Step 3: Cream the Butter and Sugars
Place the room temperature butter in the bowl of your mixer and beat on medium speed until it appears pale and creamy. Add the granulated and brown sugars, continuing to beat for a full five minutes until the mixture is light and aerated. You are looking for a visible change in volume and a texture that resembles a soft frosting.
Step 4: Emulsify the Cocoa and Oil
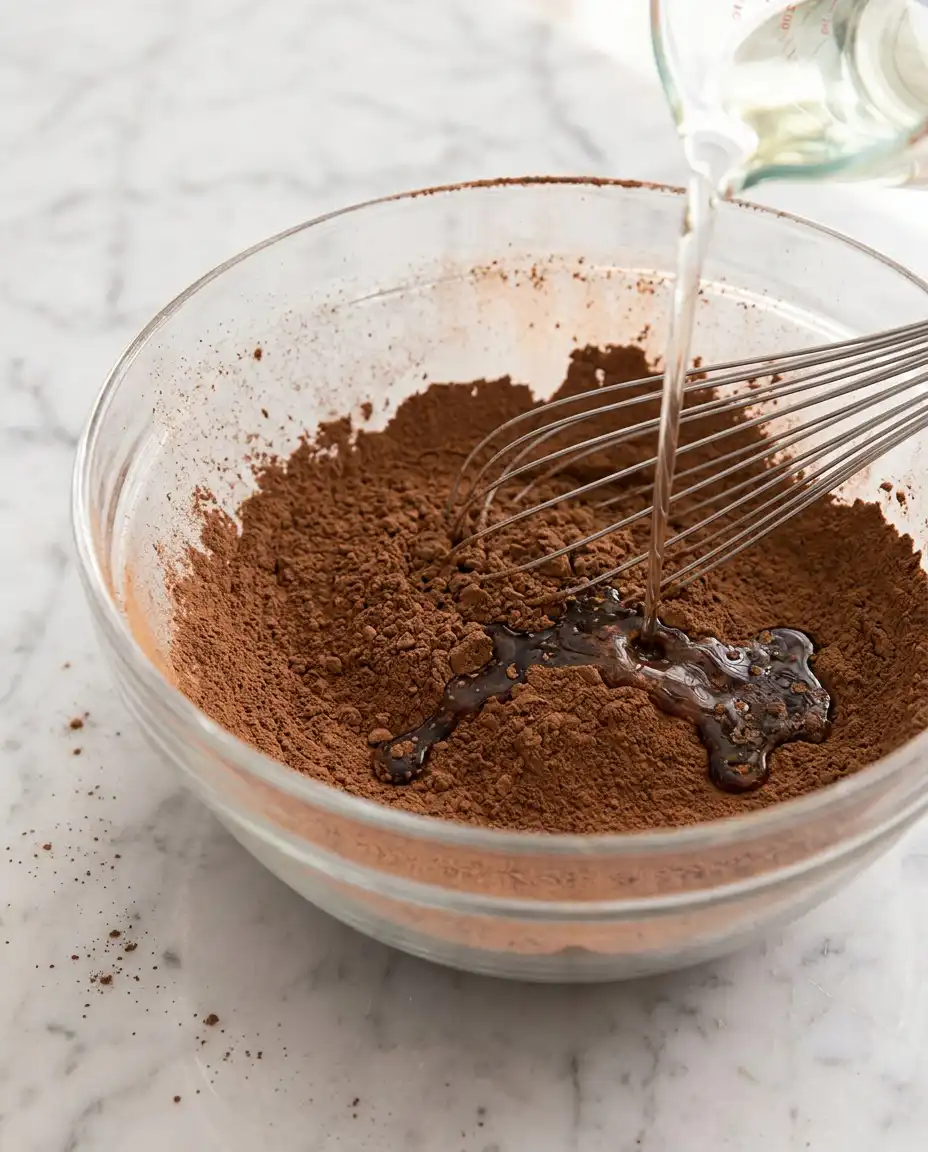
In a separate vessel, whisk the sifted cocoa powder into the vegetable oil until a smooth, dark paste forms. Incorporate this into your butter and sugar mixture, then add the eggs one at a time, beating thoroughly after each addition. Each egg should be fully integrated before the next is added to maintain the structure of the Devil’s Food Layer Cake batter.
Step 5: The Alternating Addition
Set your mixer to its lowest speed to begin adding the flour mixture in three parts, alternating with the milk and sour cream. Start and end with the flour, as this protects the fat emulsion and prevents the batter from curdling or becoming over-worked. Your batter should look thick and glossy before the final liquid is introduced.
Step 6: Bloom the Batter with Coffee
Pour the hot coffee into the bowl and whisk by hand until the liquid is fully incorporated. The batter will appear thin, which is the correct consistency for this specific style of heavy-crumbed cake. This heat immediately begins the process of dissolving the sugars and hydrating the cocoa particles.
Step 7: Bake for Structure
Divide the batter equally between your prepared pans and bake for 40 to 45 minutes. You will know they are ready when the edges begin to pull away from the pan and the center feels resilient to a light touch. Avoid opening the oven door too early, as the sudden temperature drop can cause the delicate structure to collapse.
Step 8: Cooling and Inversion
Allow the cakes to rest in their pans for at least fifteen minutes before attempting to move them. As the cake cools, the internal structure sets, making it safe to invert onto a wire rack. Remove the parchment paper only once the layers are completely cold to prevent the tender surface from tearing.
Technical Notes
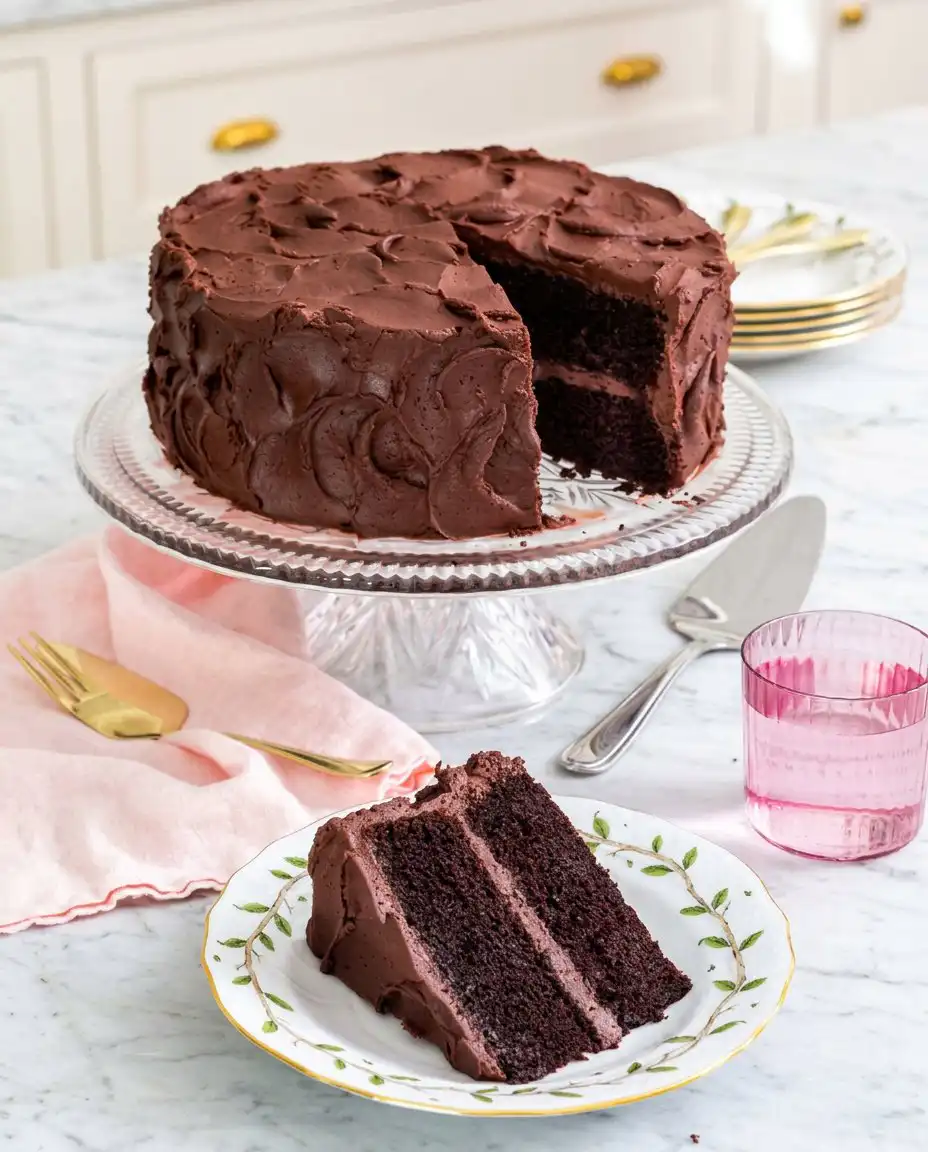
Precision in the temperature of your ingredients is not a constraint; it is the freedom to repeat success. If your batter appears curdled or broken after adding the eggs, it is likely because the eggs were too cold. You may gently warm the bowl over a pot of simmering water for ten seconds to encourage the fats to re-emulsify.
Sifting your cocoa powder is a non-negotiable step because Dutch-process cocoa is prone to forming dense clumps. These clumps will not dissolve in the oven and will leave bitter, dry spots in your otherwise perfect crumb. This attention to detail separates the amateur from the practiced baker.
When measuring your flour, use a digital scale rather than a volume cup to ensure you have exactly 240 grams. Excess flour is the most common reason for a dry cake that lacks the signature velvet texture we desire. For those seeking a simpler approach to chocolate, an easy chocolate cake might suffice, but this recipe demands the weight of accuracy.
To achieve the flattest possible layers, do not over-mix once the hot coffee has been added. The gluten is most vulnerable at this stage, and excess movement will lead to a domed, tough cake rather than a level one. Always stop the mixer the moment the last streak of liquid disappears.
If your cake layers shrink excessively from the sides of the pan, you have likely over-baked them. Here is why and how to fix it: the internal moisture has evaporated, causing the protein structure to contract. To prevent this, check the internal temperature with a probe; it should reach 205°F to 210°F for a perfect set.
Understanding the science of chocolate cake structure helps you realize why we use both soda and powder. The baking soda reacts with the acidic sour cream for immediate lift, while the powder provides the secondary rise during the bake.
Frequently Asked Questions
Can I substitute natural cocoa powder for Dutch-processed?
It is not recommended because the pH balance of this recipe is specifically calibrated for Dutch-processed cocoa. Natural cocoa is more acidic and may react differently with the baking soda, potentially causing the cake to rise unevenly or taste metallic. If you must use natural cocoa, the texture and color will be significantly lighter.
How should I store the finished layer cake?
This cake can be stored at room temperature in an airtight container for up to five days. The combination of oil and sour cream ensures the moisture remains trapped within the crumb. If your environment is particularly humid, refrigeration is acceptable, though you should allow the cake to return to room temperature before serving.
Why did my cake layers sink in the middle?
Sinking usually occurs if the oven door was opened too frequently during the first 30 minutes of baking. The sudden change in temperature weakens the rising structure before the proteins have set. Additionally, ensure your baking soda and powder are fresh, as expired leavening agents lack the strength to hold the weight of this rich batter.
Is the coffee flavor prominent in the finished cake?
No, the coffee acts as an enhancer rather than a primary flavor. It serves to hydrate the cocoa and deepen the chocolate notes without leaving a coffee-like aftertaste. If you prefer to avoid caffeine, a hot decaffeinated coffee or even hot water will provide the necessary heat for blooming.
Can I freeze these cake layers for future assembly?
Yes, these layers freeze exceptionally well due to their high fat content. Wrap the completely cooled layers tightly in plastic wrap and then in aluminum foil to prevent freezer burn. They can be stored for up to three months; thaw them slowly in the refrigerator before frosting to maintain the delicate crumb.
Why do I need to use room temperature sour cream and milk?
Cold dairy will cause the creamed butter to seize and clump together, breaking the emulsion you worked to build. When ingredients are at the same temperature, they incorporate smoothly into a uniform batter. This uniformity is essential for a consistent, fine-textured crumb in the finished bake.
Considered Variations
While the classic version is peerless, you may adapt the flavoring agents to suit specific needs without compromising the structural integrity. Replacing the vanilla extract with a high-quality almond or orange extract can provide a subtle, sophisticated shift in the aromatic profile. This allows the baker to tailor the result to a specific season or occasion.
For a different textural experience, you might consider using this base to create a homemade chocolate cake that utilizes a ganache filling. The density of the Devil’s food crumb is particularly well-suited to the weight of a heavy chocolate ganache or a fruit-based preserve. This modification requires no changes to the baking time or temperature.
You may also experiment with the type of coffee used for the blooming stage. A dark roasted espresso will emphasize the bitter notes of the cocoa, while a lighter roast may bring out floral undertones. Ensure the liquid remains hot, as the temperature is the active catalyst for the cocoa solids regardless of the flavor profile.
Finishing and Presenting
When you are ready to present your work, ensure the cake is positioned on a sturdy, chilled cake stand. A clean, sharp knife and a steady hand when cutting are essential to reveal the beautiful cross-section of the layers. Dipping your knife in hot water and wiping it clean between every slice will ensure the most professional presentation.
This cake is best enjoyed at a cool room temperature where the buttercream is soft and the crumb is most receptive to the palate. For an elegant touch, serve each slice with a small dollop of unsweetened whipped cream or a few fresh berries to balance the intensity of the chocolate. Following a reliable chocolate cake recipe allows you to focus your attention on these final, aesthetic details.
For a formal gathering, consider individual plating with a light dusting of cocoa powder on the rim of the plate. This subtle nod to the primary ingredient provides a sensory cue to your guests before they take their first bite. Small things, done exactly right, are what transform a simple dessert into a memorable event.
The Result of Your Care
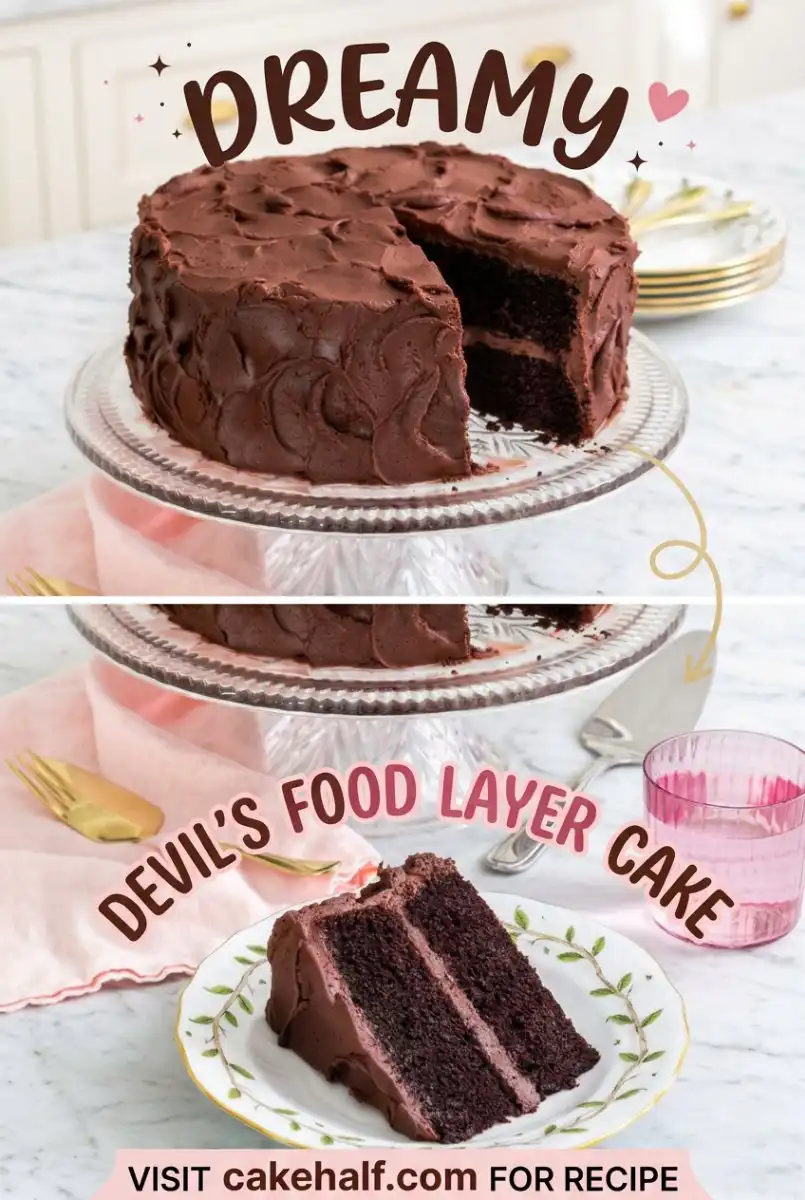
Baking this cake is an exercise in patience and precision that yields a result far superior to any rushed attempt. By respecting the temperature of your ingredients and the timing of your mixing, you have created a crumb that is both sturdy and remarkably tender. This is the reward for the baker who understands that technique is the recipe.
As you slice into the layers, take a moment to observe the even distribution of the crumb and the depth of the color. This triple chocolate layer cake experience is something to be shared and savored with those who appreciate the craft of fine pastry. I invite you to share your results and continue refining your skills with each subsequent bake.
For more technical guides and seasonal inspiration, you may follow our journey on Pinterest or join our community on Facebook. Your dedication to the art of baking is what makes these recipes come to life in your own kitchen.