The emulsion of fats and liquids forms the structural bedrock of the Neapolitan Anniversary Cake, a discipline that rewards the baker with a crumb of exceptional silkiness and stability.

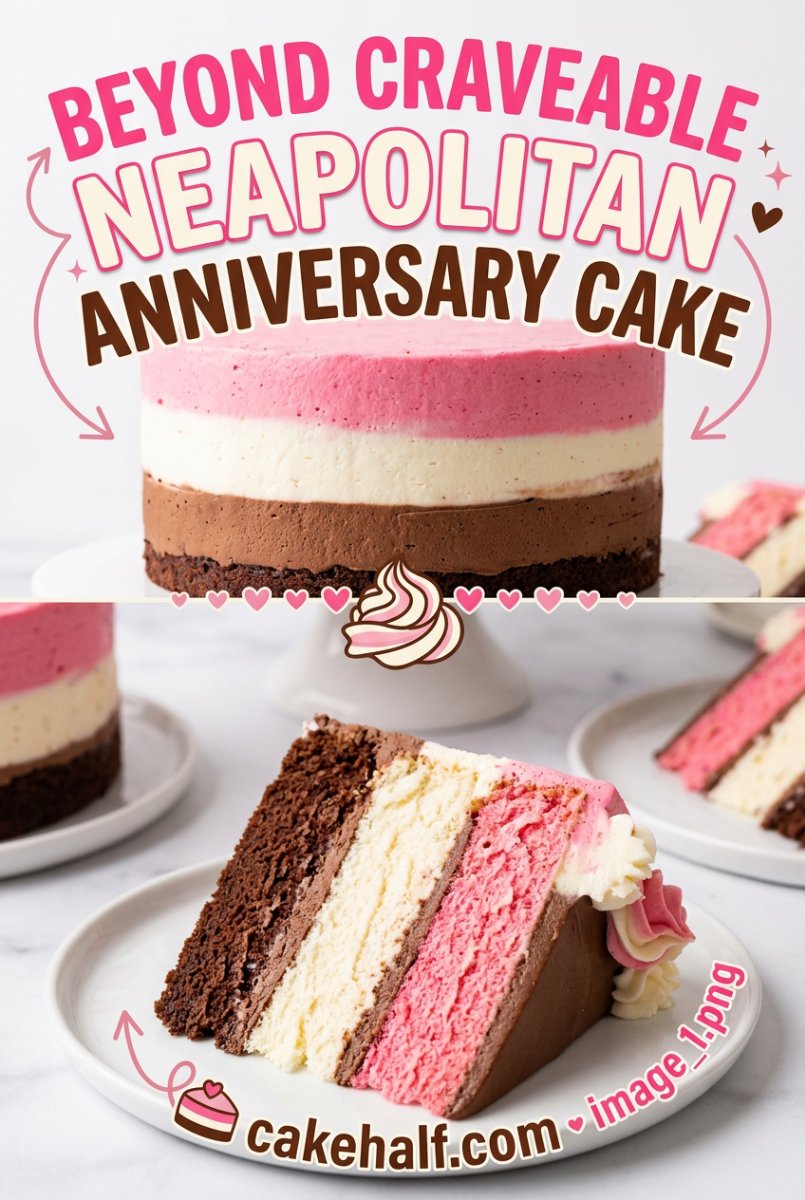
This tiered composition pays homage to the classic tripartite harmony of strawberry, vanilla, and chocolate, refined through the precise reduction of fruit and the tempering of chocolate. You will notice that the Neapolitan Anniversary Cake is not merely a dessert but a study in balance, where each distinct layer maintains its integrity while contributing to a unified whole. It is a celebratory centerpiece designed for those who appreciate the quiet satisfaction of a technically sound bake.
The Craft Behind This Neapolitan Anniversary Cake
Prep: 120 min · Serves: 14 · Difficulty: Advanced
- Layered precision creates a balanced flavor profile
- Natural strawberry reduction provides authentic fruit intensity
- Structured crumbs allow for clean sharp slicing
- Refined aesthetics honor the heritage of patisserie
- Measured techniques produce a reliable celebratory result
This is the recipe I choose when the occasion demands a display of both skill and heart, making it ideal for the most cherished celebration cakes in your collection.
Get The Full Cake Recipe
Print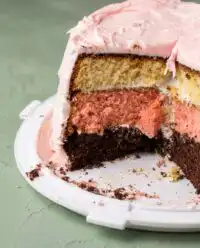
Neapolitan Anniversary Cake
- Total Time: 145 mins
- Yield: 14 servings
Description
A sophisticated tiered cake featuring harmonious layers of strawberry, vanilla, and chocolate. This technically precise dessert offers a stable, silky crumb and a balanced profile perfect for elegant celebrations.
Ingredients
- Fresh strawberries, chopped
- Unsalted butter, softened
- Bittersweet chocolate (60% cacao)
- Whole milk, room temperature
- Large eggs, room temperature
- Natural cocoa powder
- Granulated sugar
- All-purpose flour
- Vanilla extract
- Red food coloring
- Heavy cream
- Semi-sweet chocolate chips
- Powdered sugar
Instructions
- Reduce strawberry essence. Simmer chopped strawberries in a saucepan over medium heat until volume reduces by half, then cool to room temperature.
- Prepare cake pans. Preheat oven to 176°C (350°F), line three 8-inch pans with parchment, and grease the sides.
- Cream fat mixture. Beat butter, oil, sugar, and vanilla for four minutes until light, fluffy, and aerated.
- Incorporate liquid base. Add eggs one by one, then alternate adding dry ingredients and milk until just combined.
- Divide and flavor. Separate batter into three parts: fold strawberry reduction into one, chocolate and cocoa into the second, and leave the third plain vanilla.
- Bake the layers. Transfer batters to pans and bake for approximately 25 minutes, or until a toothpick comes out clean.
- Craft the buttercreams. Whip butter with powdered sugar and respective flavorings (cocoa, vanilla, or strawberry) until smooth and resilient.
- Construct the cake. Level cooled layers and stack with corresponding frostings, smoothing the exterior with a bench scraper.
- Apply ganache drip. Pour simmered cream over chocolate chips, stir until glossy, and carefully drizzle over the chilled cake edges.
Notes
- Ensure all dairy and egg components reach room temperature to prevent the batter from seizing.
- Use a digital scale for dry ingredient measurements to maintain the precise hydration ratio.
- Chill the frosted cake before applying the ganache drip to achieve clean, controlled edges.
- If buttercream breaks, warm a small portion and whip it back into the main batch to restore the emulsion.
- Prep Time: 120 mins
- Cook Time: 25 mins
- Category: Dessert
- Method: Baking
- Cuisine: French
Your Ingredients and Their Roles
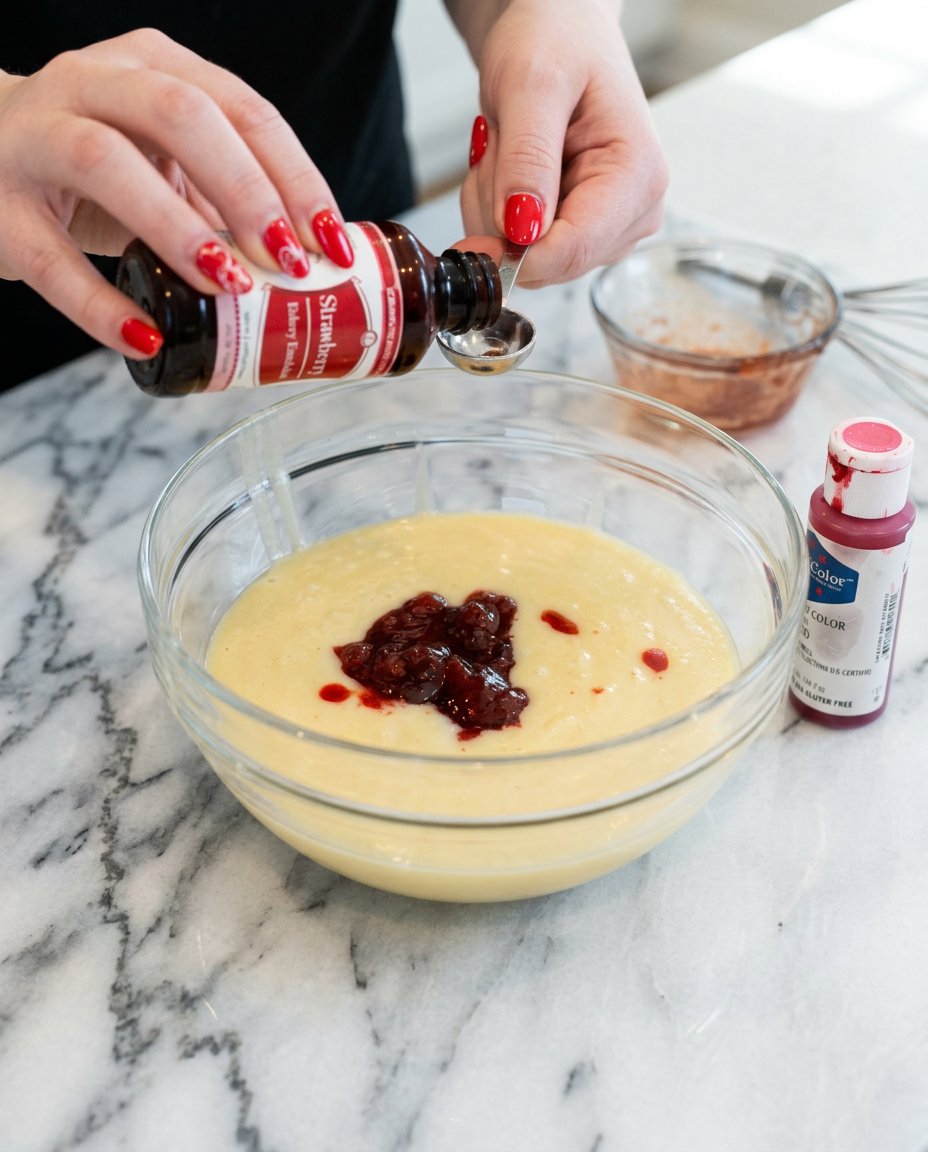
Success in high-level baking begins with the deliberate selection of each element, making certain they are tempered to room temperature to facilitate a faultless emulsion. Your ingredients already know what to do; give them the conditions to do it.
- Fresh Strawberry Puree: This component provides the foundational acidity and moisture for the fruit layer, requiring a slow reduction to concentrate its natural sugars without burning the delicate polyphenols.
- Unsalted Butter: With a fat content typically near eighty-two percent, this ingredient provides the plasticity needed for a tender crumb and the structural base for a stable buttercream.
- Bittersweet Chocolate: Choosing a sixty percent cacao content provides a sophisticated depth that avoids cloying sweetness, allowing the natural cocoa notes to stand firm against the vanilla.
- Whole Milk: The proteins and fats in whole milk provide the necessary hydration for the flour’s starches while contributing to the final cake’s richness and golden exterior.
- Large Eggs: These act as the primary emulsifiers and structural supports, where the proteins set during the bake to hold the delicate aeration created during the creaming stage.
- Natural Cocoa Powder: This provides a robust chocolate profile and a specific pH balance that reacts with the leavening agents to produce a consistent rise.
| Ingredient | Why It Matters |
|---|---|
| Strawberry Puree | Concentrates flavor and controls moisture levels |
| Bittersweet Chocolate | Provides a refined fat profile and deep color |
| Room Temperature Butter | Facilitates the aeration of sugar crystals |
| Whole Milk | Hydrates the crumb for a silky mouthfeel |
| Natural Cocoa | Balances the pH for a reliable structural rise |
The Technique Laid Out
Step 1: Reducing the Strawberry Essence
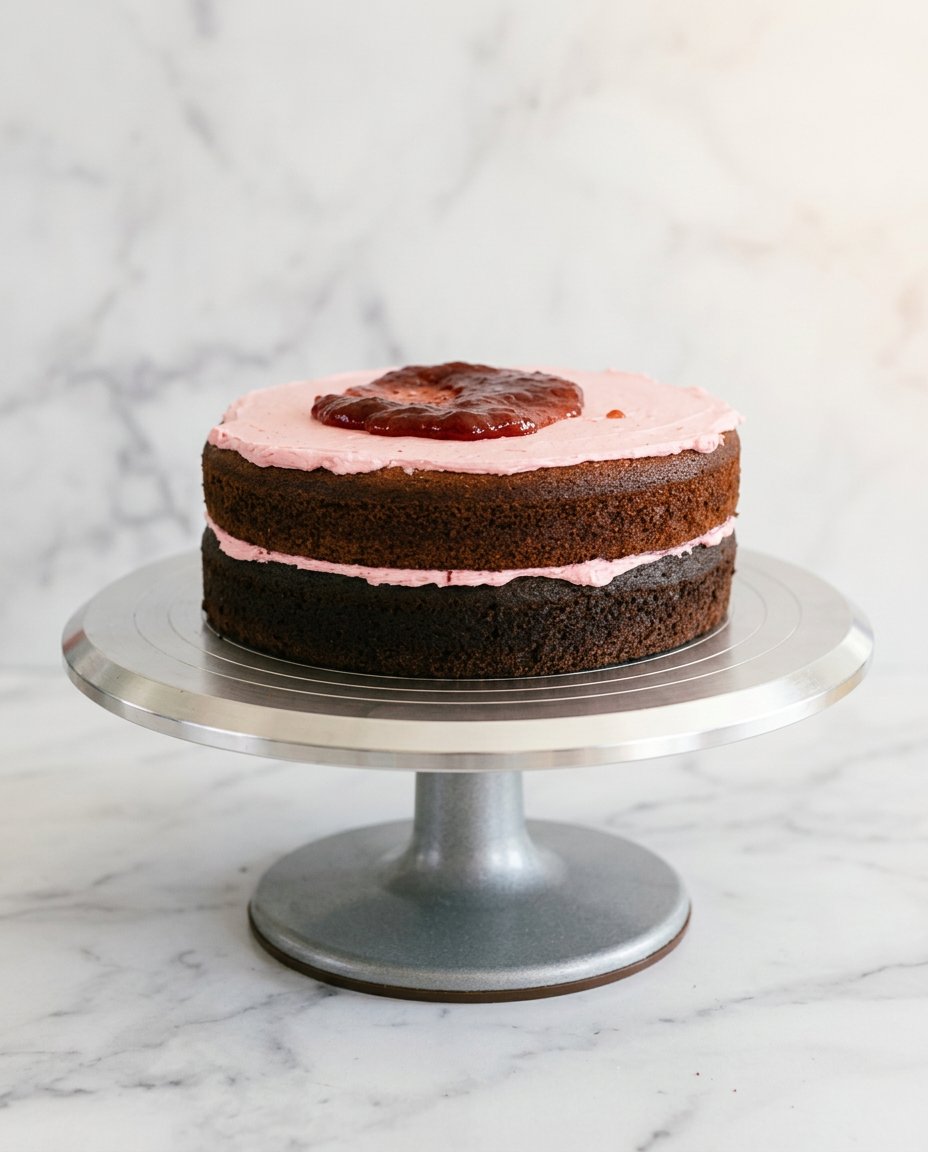
You will begin by placing the chopped strawberries into a saucepan over medium heat to begin the reduction. Patience here is not a virtue — it is an instruction. As the mixture reaches a slow boil, you will stir consistently to prevent scorching until the volume has decreased by half, leaving you with a thick, potent syrup that has reached room temperature before use.
Step 2: Preparing the Mise en Place
Position your three eight-inch cake pans on the bench, lining the bottoms with parchment circles and greasing the sides with a light coat of fat. Preheat your oven to 176°C (350°F) and weigh your dry ingredients into a medium bowl. This step is the patisserie apprentice’s first lesson — that a beautiful result is the sum of unremarkable-looking small disciplines done without deviation.
Step 3: Creaming for Aeration and Structure
In your mixer bowl, combine the butter, oil, sugar, and vanilla, beating for a full four minutes until the mixture is light in color and has a visible fluffiness. You are looking for a state where the sugar crystals have carved tiny air pockets into the fat, which will later expand in the heat of the oven. Do not shorten this time, as the structural integrity of the cake depends on this initial aeration.
Step 4: Incorporating the Liquid and Dry Foundations
Add the eggs one at a time, mixing until each is fully integrated before adding the next to maintain the emulsion. You will then alternate adding the dry ingredients and the milk in three stages, mixing only until the flour streaks disappear. The batter should appear thick and smooth, indicating that the gluten has been developed just enough to provide support without becoming tough.
Step 5: Dividing and Flavoring the Neapolitan Anniversary Cake Batters
Separate one-third of the batter into a secondary bowl and gently fold in the strawberry reduction and red food coloring until a uniform hue is achieved. For the remaining batter, divide it again, whisking the melted bittersweet chocolate and cocoa into one portion and leaving the final portion as pure vanilla. You must handle the batter with a steady hand to avoid deflating the air you worked so hard to incorporate.
Step 6: Executing the Precise Bake
Transfer each flavored batter into its designated pan, smoothing the tops with an offset spatula for an even rise. You will bake the layers for approximately twenty-five minutes, noting that the chocolate layer often requires an additional two minutes due to the density of the cocoa solids. A toothpick inserted into the center should emerge with a few dry crumbs, signaling a clean, dry crumb is established.
Step 7: Crafting the Silk-Finish Buttercreams
Prepare the chocolate buttercream by beating the butter until it reaches a pale ribbon stage before gradually adding the powdered sugar and cocoa. Repeat this process for the vanilla and strawberry frostings, ensuring the butter is soft enough to yield to the whisk but firm enough to hold its shape. These frostings serve as the mortar for your tiered construction, requiring a consistency that is both spreadable and resilient.
Step 8: Constructing the Layers with Intention
Level each cooled cake layer with a serrated knife to remove the domes, creating a flat surface for stacking. Place the chocolate layer on your base, followed by a measured amount of chocolate frosting, then repeat with the strawberry and vanilla layers. Applying the colored stripes to the exterior requires a steady hand and a bench scraper to achieve a smooth finish without blending the distinct colors into one another.
Step 9: Applying the Finished Ganache Drip
Heat the heavy cream until it reaches a gentle simmer and pour it over the semi-sweet chocolate chips, allowing it to sit undisturbed for five minutes. Whisk the mixture from the center outward until a glossy, dark ganache forms, then carefully drizzle it over the edges of the chilled cake. The contrast between the matte buttercream and the reflective ganache provides the final visual proof of your technical precision.
Where Precision Makes the Difference
When measuring your dry ingredients, always use a digital scale rather than volume cups to guarantee the hydration ratio remains exact. Over-packing a cup of flour can lead to a dense, dry crumb that lacks the elegance required for this classic vanilla layer cake base. Small things, done exactly right, define the professional baker.
If you find that your buttercream appears curdled or broken, it is likely because the butter and liquid temperatures were too disparate. You can fix this by taking a small portion of the frosting, melting it briefly in the microwave, and then whipping it back into the main batch to restore the emulsion. This process recalibrates the fat crystals and returns the mixture to a smooth, workable state.
Temperature is an instruction, not a suggestion, particularly regarding your eggs and dairy. Cold ingredients will cause the creamed butter to seize, resulting in a lumpy batter that will not rise evenly in the oven. Set your ingredients out at least two hours before you begin your mise en place to verify they have reached eighteen to twenty degrees Celsius.
For the cleanest ganache drips, ensure the cake has been refrigerated for at least thirty minutes before application. The cold surface of the buttercream will slow the flow of the warm chocolate, allowing you to control the length and thickness of each drop. A squeeze bottle offers more precision than a spoon for those seeking a professional aesthetic.
When reducing the strawberry puree, do not be tempted to increase the heat to speed the process. High heat can alter the pectin structure and mute the fresh flavor of the fruit, leading to a jam-like consistency rather than a refined syrup. Maintain a low, steady simmer and watch for the color to darken into a deep, rich crimson.
Achieving the ribbon stage with your batter is a vital sensory checkpoint before the flour is added. When you lift the whisk, the batter should fall in a slow, unbroken stream that holds its shape on the surface for several seconds before disappearing. This indicates that the air and fat have reached a state of maximum stability.
Frequently Asked Questions
Can I Freeze Neapolitan Cake?
You may freeze the individual cake layers by wrapping them tightly in plastic film once they have cooled completely to room temperature. This preservation method maintains the moisture within the crumb for up to three months without loss of quality. When you are ready to assemble, thaw the layers in the refrigerator overnight to verify the structure remains firm enough for leveling and frosting.
What is the best way to cut clean slices?
To achieve a professional cross-section, use a long, thin serrated knife dipped in hot water and wiped dry between every single cut. The heat from the blade will melt through the ganache and buttercream without dragging the colors into the delicate cake layers. A steady hand and a single downward motion are required for the most precise results.
Why did my strawberry layer turn brown after baking?
The loss of color in fruit-based cakes is often due to the oxidation of natural pigments or a shift in the batter’s pH level. Using the specified amount of strawberry reduction and a touch of food coloring helps stabilize the hue against the heat of the oven. Ensure you are using fresh baking powder to maintain the correct chemical environment for color retention.
How should I store the finished cake?
The assembled cake should be stored in a cool environment, preferably in a dedicated cake box to prevent it from absorbing other scents. If refrigerated, allow the cake to sit at room temperature for at least sixty minutes before serving to ensure the butter-based crumb and frosting soften to their intended texture. It will remain at peak quality for three to four days.
Can I use frozen strawberries for the reduction?
Frozen strawberries are a qualified alternative when fresh fruit is out of season, as they are often processed at their peak ripeness. You must thaw them completely and include any released juices in the saucepan to capture the full spectrum of flavor. The reduction time may increase slightly due to the higher water content often found in frozen produce.
Why is my chocolate ganache dull instead of shiny?
A dull ganache is usually the result of over-stirring or incorporating too much air, which breaks the delicate fat emulsion. You should whisk gently from the center of the bowl in small circles until the chocolate and cream are just combined. Maintaining the correct ratio of fat to liquid is essential for that signature reflective finish.
Thoughtful Alternatives
For those seeking a more intense cocoa profile, you may substitute the bittersweet chocolate with a seventy-two percent cacao bar. This adjustment will result in a more sophisticated, less sweet profile that pairs beautifully with the acidity of the strawberry reduction. When making this change, you may need to increase the milk in the chocolate cake recipe layer by a single tablespoon to account for the higher cocoa butter content.
While strawberry is the traditional choice, a raspberry reduction provides a sharper, more floral alternative that works equally well with the Neapolitan structure. You will need to strain the reduction through a fine-mesh sieve to remove the seeds, ensuring the silkiness of the crumb is not compromised by unwanted texture. Precision is not a constraint; it is the freedom to repeat success with new flavors.
If you prefer a more understated presentation, you can omit the exterior stripes and finish the cake in a monolithic coat of vanilla bean frosting. This creates a moment of surprise during the reveal of the cross-section, where the hidden layers of chocolate and strawberry are showcased in their full clarity. For further guidance on technical finishing, you might review how to make a chocolate drip cake to master the art of the perfect edge.
Finishing and Presenting
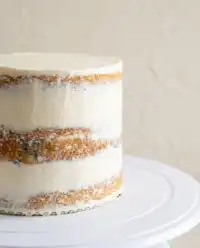
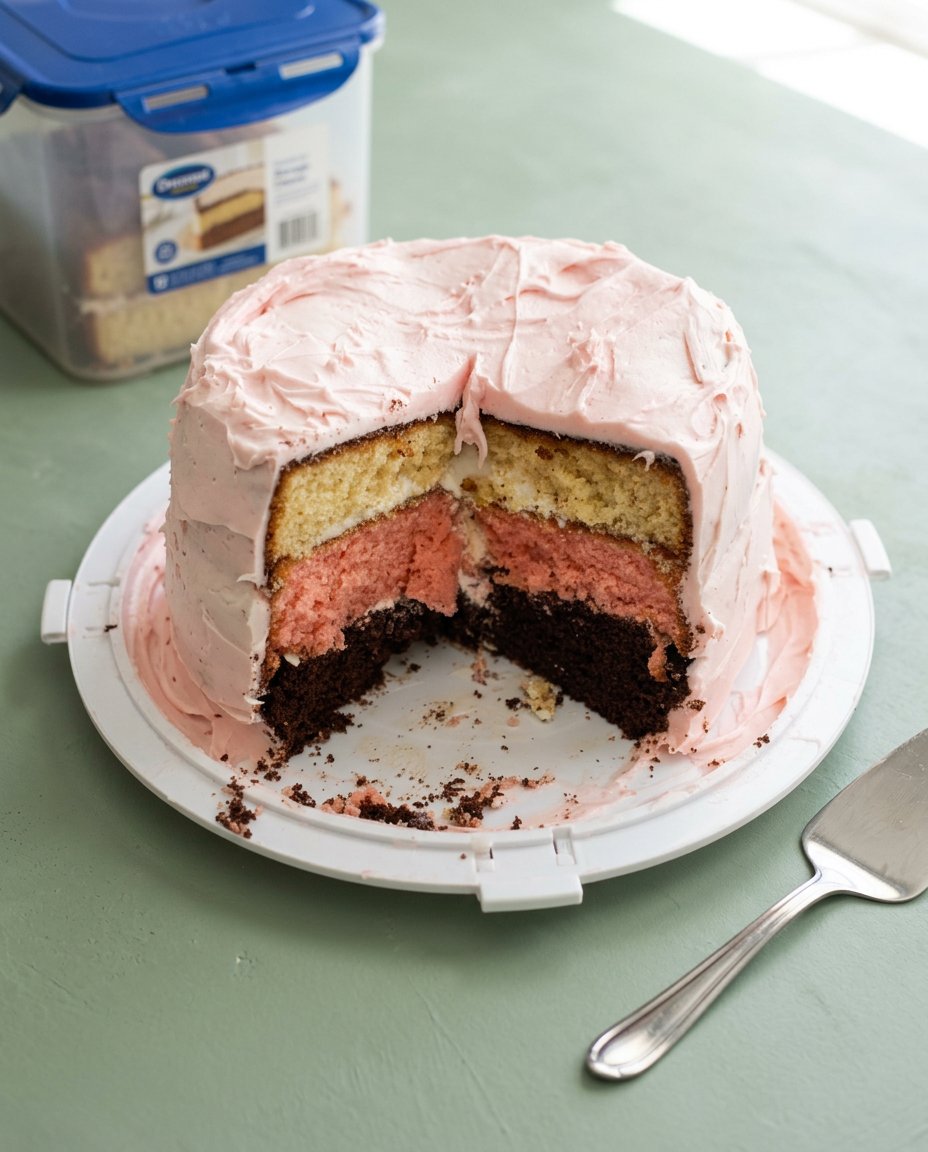
When presenting this Neapolitan Anniversary Cake, the reveal of the interior is the final proof of technique. I suggest serving each slice on a chilled white porcelain plate to provide a neutral background that highlights the distinct color gradients of the three layers. A clean, sharp knife and a steady hand are your most important tools in this final stage of service.
This cake is best accompanied by a lightly sweetened Earl Grey tea or a glass of cold whole milk, which complements the richness of the cocoa and the brightness of the strawberry. If the occasion is a milestone, a dry sparkling wine provides a sophisticated contrast to the density of the buttercream. You may find further inspiration for your table in my notes on the strawberry cake recipe for seasonal pairings.
For an added touch of refinement, garnish the top swirls with fresh, halved strawberries that have been glazed with a small amount of apricot jam. This provides a professional sheen and prevents the fruit from drying out while the cake sits on the display. Remember that the beauty of the cake lies in its ordered layers, so avoid cluttering the presentation with excessive decorations that might distract from the craft itself.
A Word Before You Slice
Baking this Neapolitan Anniversary Cake is an exercise in patience and a commitment to the small disciplines that define great patisserie. From the slow reduction of the fruit to the careful emulsion of the batters, every step you have taken has been with the intention of creating a balanced and beautiful result. You have not just followed a recipe; you have practiced the technical mastery that sets a dedicated baker apart.
As you share this cake, take a moment to appreciate the clean lines of the cross-section and the harmony of the three classic flavors. This recipe serves as a foundation for many other happy birthday mom cake variations you may choose to master in the future. The technique is the recipe, and your success today is a testament to the care you have invested in your craft.
I invite you to share your results and continue your journey into the world of refined baking. You may find more inspiration and technical guidance through our community on Pinterest, Facebook, and TikTok. I look forward to seeing the precision and beauty you bring to your next celebration.