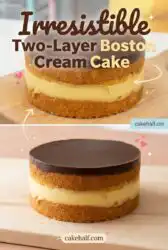
The most common failure in this heritage bake is rushing the custard before it reaches structural integrity, a mistake that yields a collapsed center instead of a proud, stable dessert.

This Two-Layer Boston Cream Cake represents the intersection of a delicate butter sponge and a silky pastry cream, shielded by a dark chocolate glaze. You will find that when each element is tempered and rested with care, the result is far superior to any commercial imitation. Achieving the correct density in your sponge ensures it can support the weight of the filling without becoming compressed or dry. This is a cake built on the quiet disciplines of patience and temperature control.
Why This Two-Layer Boston Cream Cake Rewards Attention
Prep: 30 min · Serves: 12 · Difficulty: Medium
- Achieves a professional architectural stability
- Balances rich pastry cream with dark chocolate
- Utilizes a classic heritage yellow cake recipe base
- Develops deeper flavors through mandatory resting
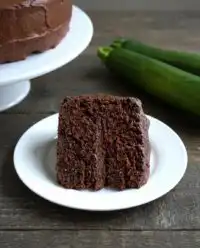
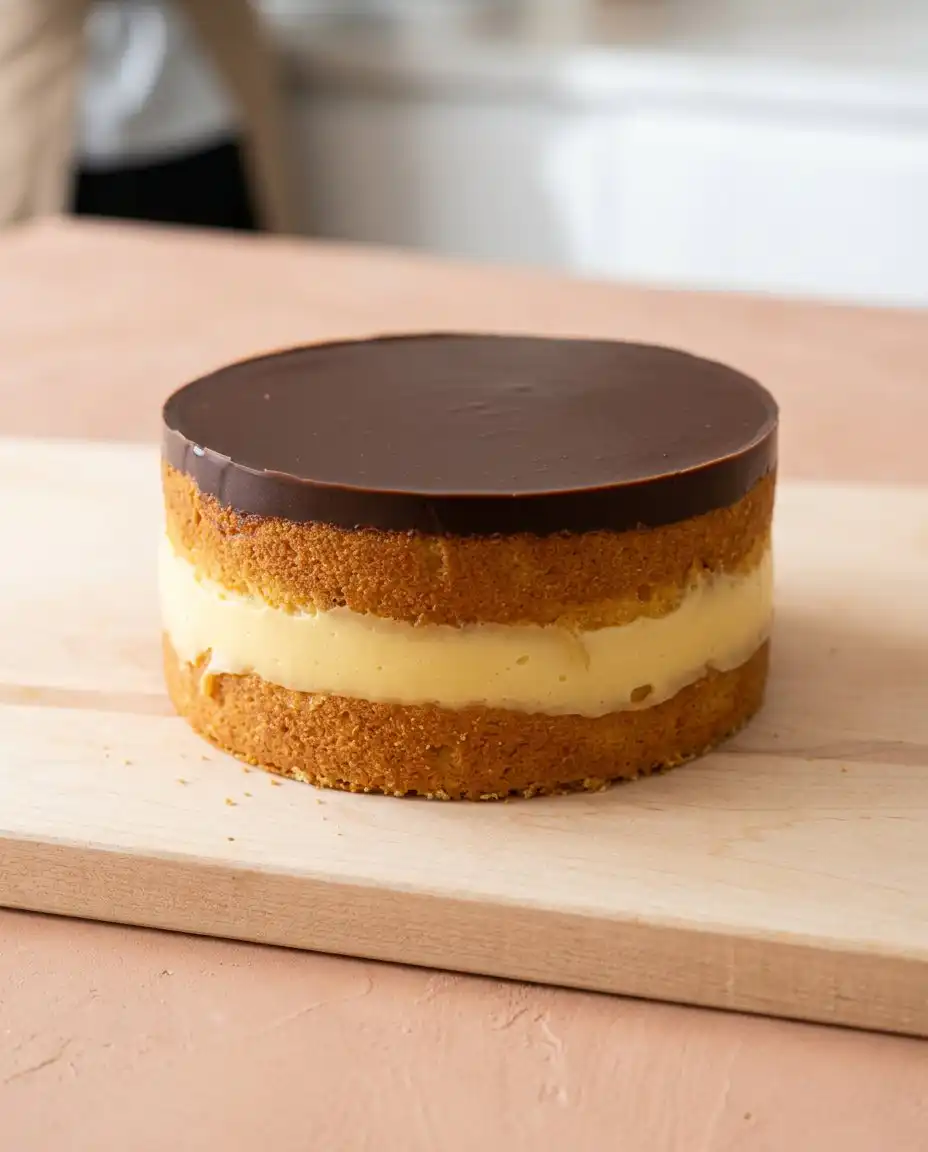
- Provides a clean, sharp cross-section reveal
Precision is not a constraint; it is the freedom to repeat success.
Get The Full Cake Recipe
Print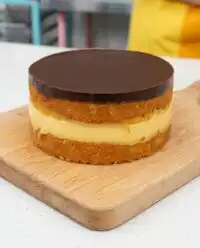
Two-Layer Boston Cream Cake
- Total Time: 2 hours 15 mins
- Yield: 12 servings
Description
A classic heritage dessert featuring a delicate, buttery sponge layered with a silky French-style pastry cream. The entire assembly is crowned with a glossy dark chocolate ganache for a professional and elegant finish.
Ingredients
- Butter
- Egg yolks
- Granulated sugar
- Cornstarch
- Salt
- Half and half
- Pure vanilla extract
- Milk chocolate chips
- Heavy cream
Instructions
- Prepare cake base. Follow the creaming method for your sponge layers, ensuring ingredients are at room temperature and batter achieves the ribbon stage before baking.
- Combine dry base. Whisk granulated sugar, cornstarch, and salt together until perfectly uniform to prevent grainy textures.
- Temper egg yolks. Beat yolks until pale and thick, then incorporate into the sugar mixture to create a smooth, homogenous paste.
- Heat dairy components. Warm the half and half and butter in a heavy-bottomed saucepan until bubbles appear at the edges, avoiding a rolling boil.
- Thicken the filling. Gradually whisk hot dairy into the egg mixture and cook over heat, whisking constantly until the custard reaches a thick, glossy consistency.
- Cool the cream. Stir in vanilla, then pour into a shallow dish and press plastic wrap directly against the surface; chill thoroughly until firm.
- Assemble the layers. Whisk cold pastry cream until smooth, then spread between cooled cake rounds, leaving a small margin at the edges.
- Emulsify the ganache. Melt chocolate chips and heavy cream together until smooth, then cool until it reaches a pourable, pudding-like consistency.
- Apply final glaze. Pour the warm ganache over the chilled cake, guiding it gently toward the edges for a mirror-like finish.
Notes
- Use a digital scale for measuring flour and cornstarch to ensure the cake structure remains stable.
- Wipe your knife clean between every slice to maintain the crisp, clean layers in your presentation.
- Ensure the custard reaches a full boil during the thickening stage to properly activate the cornstarch.
- Allow the cake to rest in the refrigerator for at least two hours after glazing to set the ganache properly.
- Prep Time: 30 mins
- Cook Time: 45 mins
- Category: Dessert
- Method: Baking and Stovetop
- Cuisine: American
The Mise en Place
Before you begin, you must understand that the quality of your fats will dictate the mouthfeel of the finished Two-Layer Boston Cream Cake. Using European-style butter with a higher fat content provides a richer crumb and more stable custard emulsion.
- Half and Half: This provides the specific milk fat percentage required for a custard that is creamy yet firm enough to hold its shape between cake layers.
- Egg Yolks: These act as the primary emulsifier, creating the characteristic pale yellow hue and the velvet-like texture of a true French-style pastry cream.
- Corn Starch: This thickening agent provides the necessary structural bond that allows the custard to be sliced cleanly without weeping or sliding.
- Milk Chocolate Chips: Combined with heavy cream, these form a ganache that remains soft enough to bite through while maintaining a glossed finish.
- Pure Vanilla: A non-negotiable for flavor depth, it must be added after the heat is removed to preserve its volatile aromatic compounds.
| Ingredient | Why It Matters |
|---|---|
| Egg Yolks | Creates the rich, emulsified structure of the filling |
| Corn Starch | Provides the stable gelatinization needed for slicing |
| Butter | Adds necessary lipids for a tender, moist cake crumb |
| Heavy Cream | Thins the chocolate into a pourable, glossy ganache |
| Half and Half | Balances richness and fluidity in the pastry cream |
| Salt | Sharpens the contrast between the sugar and chocolate |
The Technique Laid Out
Step 1: Prepare the Butter Cake Base
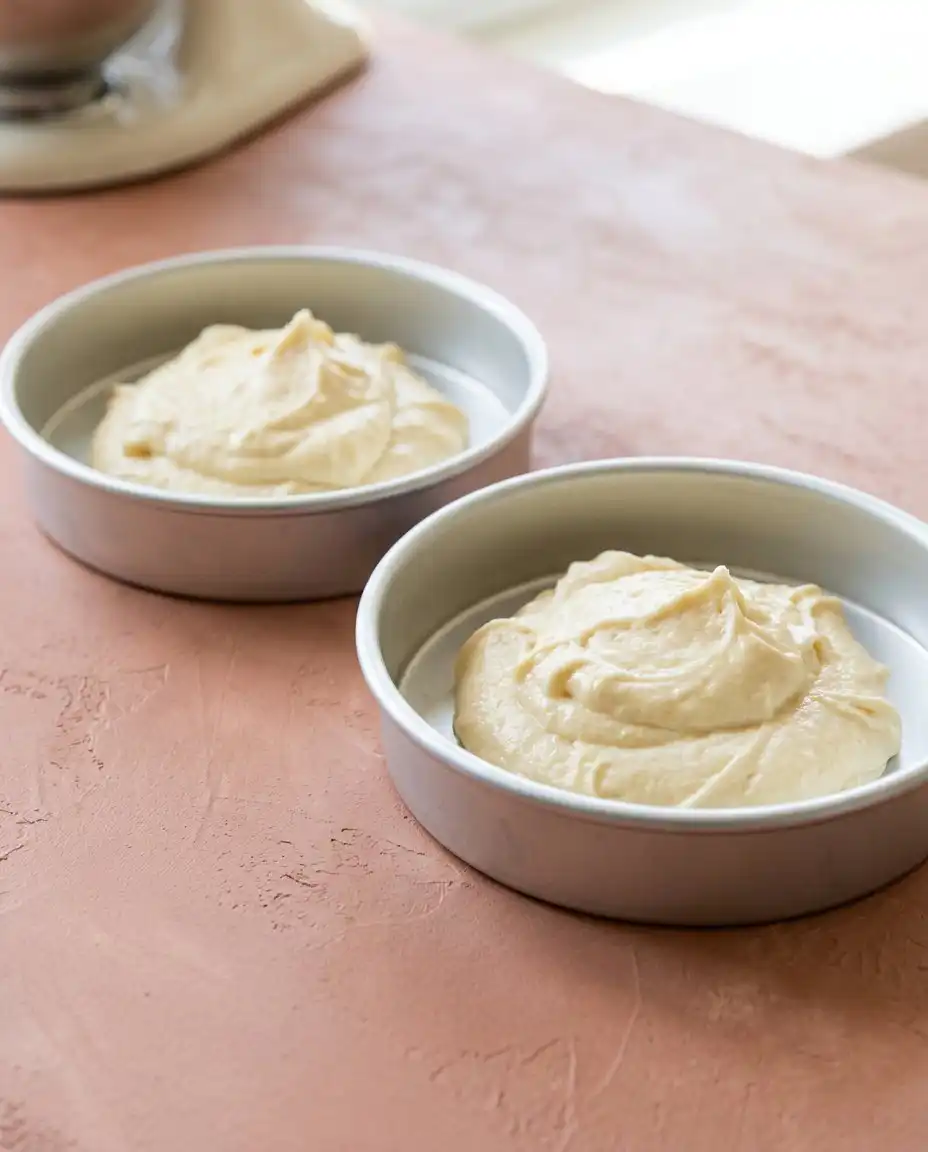
You must follow the creaming method for your base layers, ensuring your butter and eggs are at exactly room temperature. When you lift your whisk, the batter should fall in a slow, unbroken stream—the ribbon stage—indicating proper aeration. Bake the rounds until a wooden skewer comes out with a dry crumb, then wrap them in plastic once cooled to retain their internal moisture.
Step 2: Combine the Dry Custard Bases
In a small, clean bowl, you will whisk the granulated sugar, cornstarch, and salt until no clumps remain. This step is a small discipline that prevents the starch from blooming unevenly when it meets the liquid. If the starch is not fully dispersed in the sugar, your custard will develop a grainy texture that cannot be corrected later.
Step 3: Temper the Egg Yolks
Whip the egg yolks until they are pale and thick before incorporating them into your dry sugar mixture. This creates a buffer that protects the proteins in the eggs from curdling when the hot liquid is introduced. You are looking for a smooth, homogenous paste that shows no traces of raw starch or sugar crystals.
Step 4: Heat the Dairy and Butter
Place the half and half and butter into a heavy-bottomed saucepan over medium-high heat. You must watch for the exact moment the butter melts and small bubbles begin to form around the edge of the pan. Avoid a rolling boil at this stage, as you only require enough heat to initiate the starch gelatinization in the next step.
Step 5: Thicken the Two-Layer Boston Cream Cake Filling
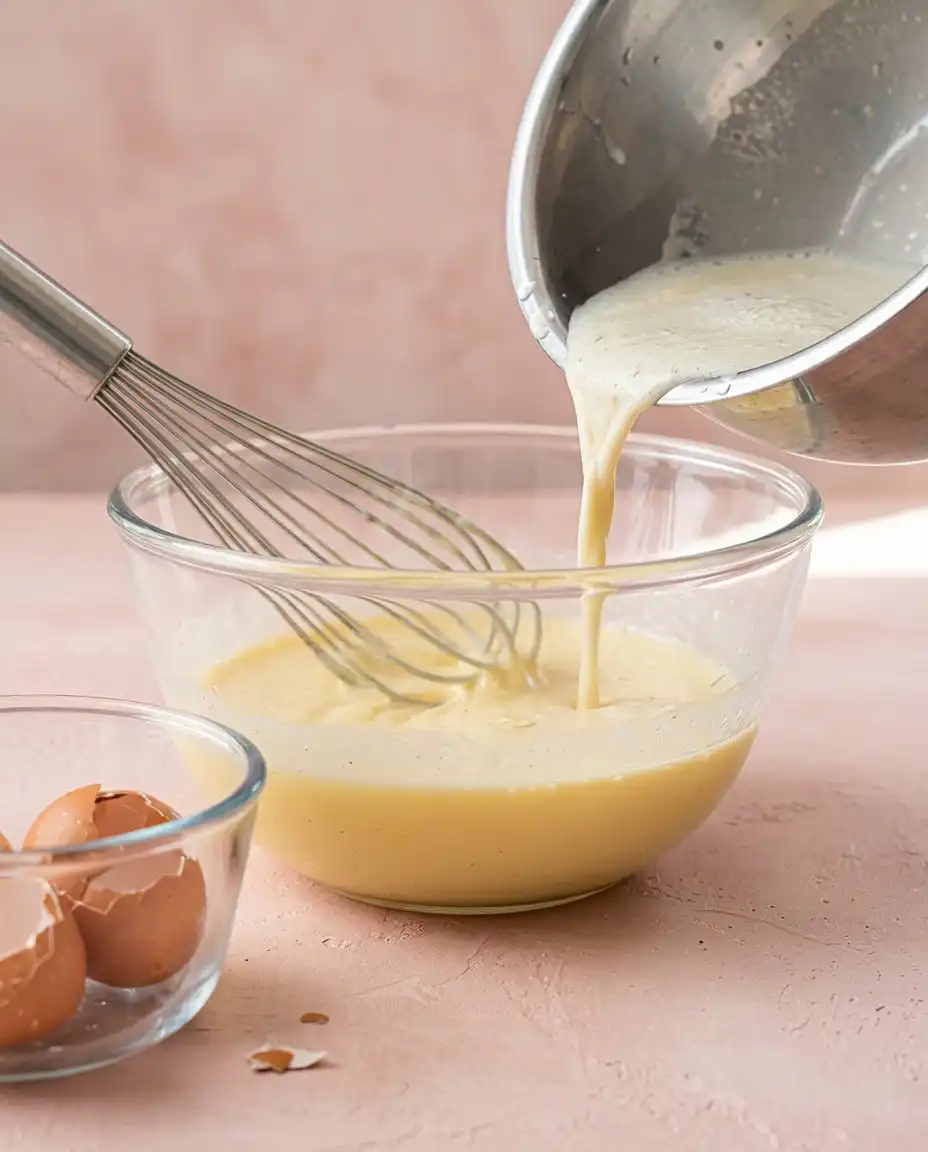
Slowly whisk the hot dairy into your egg mixture, then return the entire contents to the saucepan. Continue whisking constantly for two minutes as the mixture boils and thickens into a heavy, glossy cream. You will notice the resistance against your whisk increases significantly as the cornstarch molecules expand and trap the liquid.
Step 6: Cool and Set the Pastry Cream
Remove the pan from the heat and stir in the vanilla until fully incorporated. Pour the hot custard into a shallow bowl and press plastic wrap directly onto the surface to prevent a skin from forming. This resting period is an instruction that must be followed; the cream requires total chilling to reach its final structural strength.
Step 7: Assemble the Cake Layers
Once the cream is cold, whisk it briefly to restore its smooth, spreadable consistency. Center your first cake round and apply half of the cream, leaving a small margin at the edge to account for the weight of the second layer. Repeat this process, placing the final cake round on top and chilling the assembly to lock the layers in place.
Step 8: Emulsify the Chocolate Ganache
Gently melt the chocolate chips and heavy cream together using a double boiler or controlled bursts in a microwave. Stir from the center outward until the mixture becomes a dark, uniform liquid with a mirror-like shine. You must wait until it reaches the consistency of a pourable pudding before applying it to the cake.
Step 9: Apply the Final Glaze
Pour the warm ganache over the center of the chilled cake, allowing it to move naturally toward the edges. You may use a steady hand and a small offset spatula to guide the drips, but do not overwork the chocolate. The goal is a smooth, undisturbed surface that reflects the light as it sets.
Where Precision Makes the Difference
If your custard appears thin or soupy after chilling, it is likely because the mixture did not reach a true boil for the full duration required. The cornstarch must reach a specific temperature to activate its thickening properties; if this happens, you must return it to the heat and whisk until it holds its shape.
Your ingredients already know what to do if you give them the conditions to do it, specifically regarding temperature. Using a classic vanilla layer cake base requires butter that is soft enough to indent with a finger but not so warm that it appears greasy.
When heating the dairy, a heavy-bottomed pan is essential to prevent the sugar from scorching at the base. Scorched sugar introduces a bitter, burnt note that will permeate the entire pastry cream and ruin the delicate balance of the vanilla.
Always use a digital scale for your measurements rather than volume cups when possible. A few extra grams of flour or a slight deficiency in cornstarch can be the difference between a cake that stands tall and one that compresses under its own weight.
For the cleanest presentation, you must use a clean, sharp knife and a steady hand when cutting the final slices. Wiping the blade between every single cut is a small discipline that ensures the chocolate glaze does not smudge into the pale yellow cream layers.
Frequently Asked Questions
How long can I store the assembled cake?
This cake must be kept in the refrigerator due to the high dairy content in the pastry cream. It will maintain its texture and flavor for up to three days if kept in an airtight container. Note that the chocolate glaze may lose some of its shine over time as it absorbs moisture from the fridge.
Can I use a different type of chocolate for the glaze?
While milk chocolate provides a classic sweetness, a dark chocolate with 60% cacao offers a more sophisticated flavor profile. Avoid using chocolate bars with high paraffin content as they will not emulsify smoothly with the heavy cream. The ganache should remain soft and biteable when chilled.
Why did my custard turn out lumpy?
Lumps usually occur if the egg and starch mixture is added too quickly to the hot liquid without constant whisking. To fix this, you can pass the finished custard through a fine-mesh sieve while it is still hot. This will remove any coagulated egg bits or starch clumps before the mixture sets.
Is it possible to freeze this cake for later?
Freezing is not recommended for an assembled Boston Cream Cake because the cornstarch-based custard will weep and become watery upon thawing. You may, however, freeze the butter cake layers individually. Wrap them tightly in several layers of plastic wrap and store for up to one month.
What if I do not have half and half for the filling?
You can create a substitute by mixing equal parts whole milk and heavy cream to reach the desired fat content. Do not use skim or 1% milk as the filling will lack the necessary richness and structural integrity. The lipids in the cream are essential for the silkiness of the final product.
Why is my chocolate glaze sliding off the cake?
The glaze will slide if it is applied while it is still too hot or if the cake itself has not been properly chilled. The cake should be cold to the touch to help the ganache set quickly upon contact. Wait until the chocolate has thickened to a slow-pouring consistency before glazing.
Thoughtful Alternatives
While the traditional version uses a vanilla sponge, you may choose to use a chocolate ganache cake base for a more decadent profile. This variation requires a slightly longer bake time to account for the cocoa solids, but it provides a striking visual contrast against the pale pastry cream.
If you prefer a lighter texture, you can fold a small amount of stiffly whipped cream into your chilled custard to create a Crème Diplomat. This yields a much softer filling that is reminiscent of a Bavarian cream, though it does require more careful handling during the assembly process.
You might also consider how to assemble a layered cake with pastry cream using individual sponge rounds for a miniature presentation. These smaller portions are ideal for formal gatherings where a full-sized cake may be difficult to serve with the necessary precision.
Presentation and Service
To honor the effort put into the assembly, serve this cake on a chilled porcelain platter. The contrast between the dark glaze and a white plate emphasizes the clean lines of the two-layer construction. You may find that a triple chocolate layer cake serves as a wonderful companion for a dessert buffet, offering guests a choice of textures.
The reveal of the cross-section is the final proof of technique, so do not rush the first slice. Ensure the cake has rested in the refrigerator for at least two hours after glazing to allow the ganache to firm up. This patience results in a slice that holds its shape perfectly from the plate to the fork.
Accompany each portion with a small pot of unsweetened coffee or a delicate black tea. The bitterness of the beverage cuts through the richness of the pastry cream and the sweetness of the butter sponge. This creates a balanced tasting experience that rewards the palate without becoming overwhelming.
The Result of Your Care
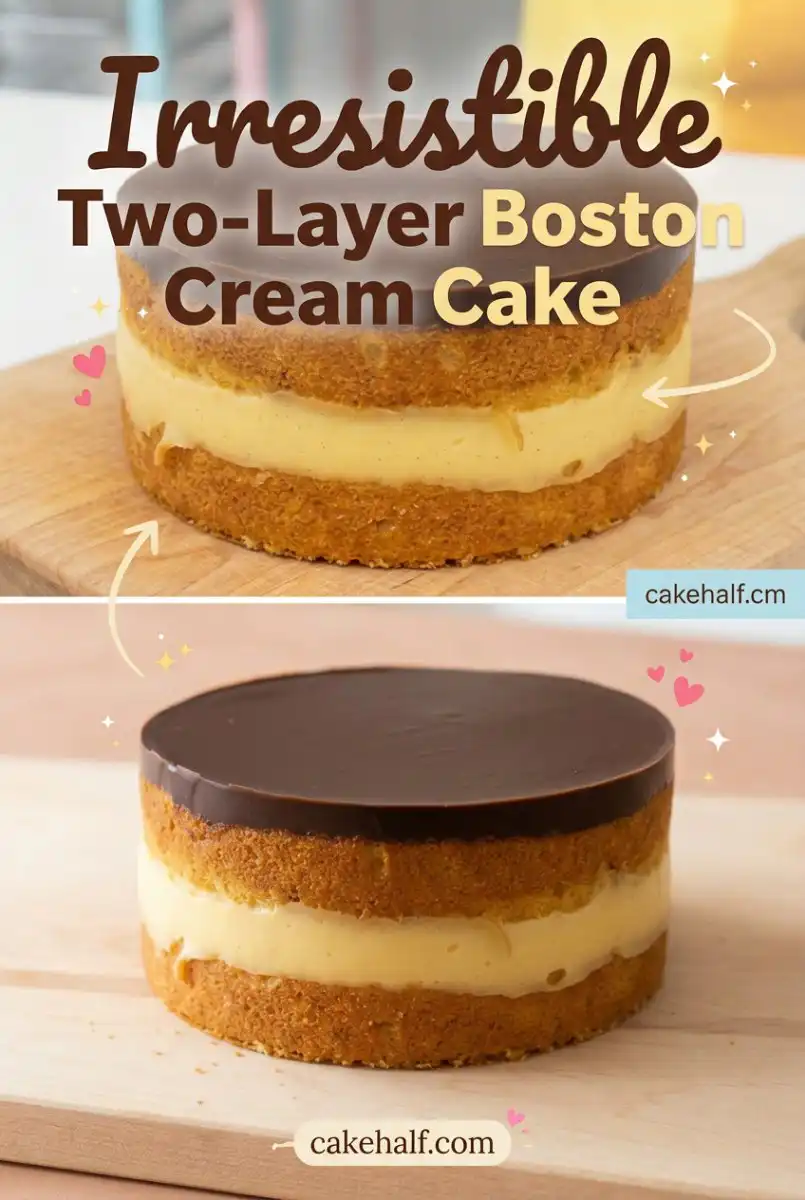
Mastering the Two-Layer Boston Cream Cake is a milestone for any dedicated baker. It requires you to balance the chemistry of a stable custard with the physics of a delicate sponge. When you see the final product standing tall on your table, you will understand why these small disciplines matter so much in the pursuit of quality.
If you found success with this recipe, you might enjoy the deeper challenge of a devils food cake in your next session. Each heritage bake provides a new opportunity to refine your understanding of ingredient behavior and temperature control. Sharing your results with a community of like-minded bakers is the best way to continue your education.
We invite you to share your progress and technical questions with us through our social channels. You can find more precise instructions and visual guides on our Pinterest and Facebook pages. Your commitment to the craft is what makes these recipes truly come to life.