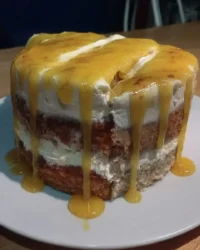
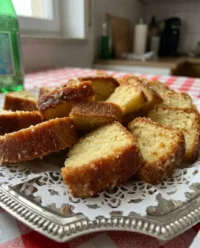
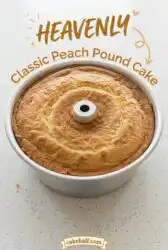
Most bakers drown their peach cakes in syrup and hope for the best, but the real secret to a Classic Peach Pound Cake is dehydration, not saturation.

When you take a bite of this Classic Peach Pound Cake, you aren’t just eating fruit and flour; you are experiencing the concentrated essence of late August. Traditional recipes rely on soggy canned fruit that ruins the structural integrity of a crumb, but we are pivoting toward a more scientific approach. By integrating peach powder and a controlled reduction of juice, we achieve a depth of flavor that a standard recipe simply cannot touch.
What Makes This Classic Peach Pound Cake Different
Prep: 45 min · Serves: 12 · Difficulty: Medium
- Concentrated fruit intensity via peach powder
- Heavy whipping cream for structural velvet
- Room temperature accuracy ensures emulsion
- A double-hit of liquid and paste
This is the peach cake that turns skeptics into believers. Small batch, full conviction.
Get The Full Cake Recipe
Print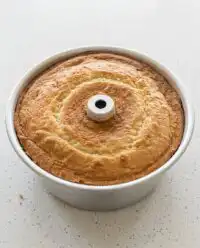
Classic Peach Pound Cake
- Total Time: 6 hours
- Yield: 12 servings
- Diet: Vegetarian
Description
This refined take on a classic peach pound cake uses freeze-dried fruit powder and precise ingredient temperatures to achieve a dense, velvety crumb with concentrated summer flavor. By avoiding soggy canned fruit and mastering the emulsion of fats, this dessert delivers a sophisticated, professional-quality texture.
Ingredients
- 1 can sliced peaches in 100% juice
- 1 oz freeze-dried peaches
- 3 cups cake flour
- 2 tsp baking powder
- 1/4 tsp salt
- 1 1/4 cups heavy whipping cream
- 1 tsp vanilla extract
- 1 tsp peach extract
- 1 drop orange gel coloring
- 3 sticks unsalted butter, softened
- 3 cups granulated sugar
- 5 large eggs
- 2 cups confectioners’ sugar
- 2 tbsp warm milk
- 1 tbsp melted butter
Instructions
- Prepare the peaches. Strain the peaches, reserving the juice for later use in both the batter and the glaze.
- Pulverize the fruit. Process the freeze-dried peaches in a food processor until they reach a fine, sandy powder consistency.
- Combine dry ingredients. Sift the cake flour, baking powder, salt, and peach powder into a bowl, mixing well to ensure even distribution.
- Mix liquid ingredients. Whisk together the heavy cream, reserved peach juice, vanilla extract, peach extract, and orange gel coloring until smooth.
- Cream butter and sugar. Beat the softened butter and sugar in a stand mixer on high for six minutes until light, fluffy, and voluminous.
- Incorporate the eggs. Add the eggs one at a time, mixing on medium speed until each is fully emulsified into the batter.
- Alternate the additions. Incorporate the flour mixture and liquid mixture into the butter base in three intervals, mixing just until combined.
- Prepare the pan. Grease a 15-cup tube pan and arrange the drained peach slices at the bottom before pouring the batter over them.
- Bake the cake. Bake on the bottom rack of a 325-degree oven for one hour and twenty minutes, avoiding opening the door early.
- Cool the cake. Allow the cake to rest in the pan for 4 to 5 hours to ensure the structure is properly set before unmolding.
- Whisk the glaze. Combine confectioners’ sugar, milk, peach juice, melted butter, and extracts, adjusting for a pourable consistency.
- Apply the drizzle. Transfer the glaze to a squeeze bottle and pipe it over the cooled cake, allowing it to set for 15 minutes.
Notes
- Use a kitchen scale to measure flour to avoid packing it too tightly and resulting in a dry cake.
- Ensure all fats and liquids are at room temperature to prevent the batter from curdling during mixing.
- Always scrape the bottom of the mixer bowl to avoid a layer of unmixed fat or sugar at the base.
- Wait for the full cooling time to prevent the fruit bed from sticking to the pan during release.
- Prep Time: 45 mins
- Cook Time: 80 mins
- Category: Dessert
- Method: Baking
- Cuisine: American
Build Your Mise en Place
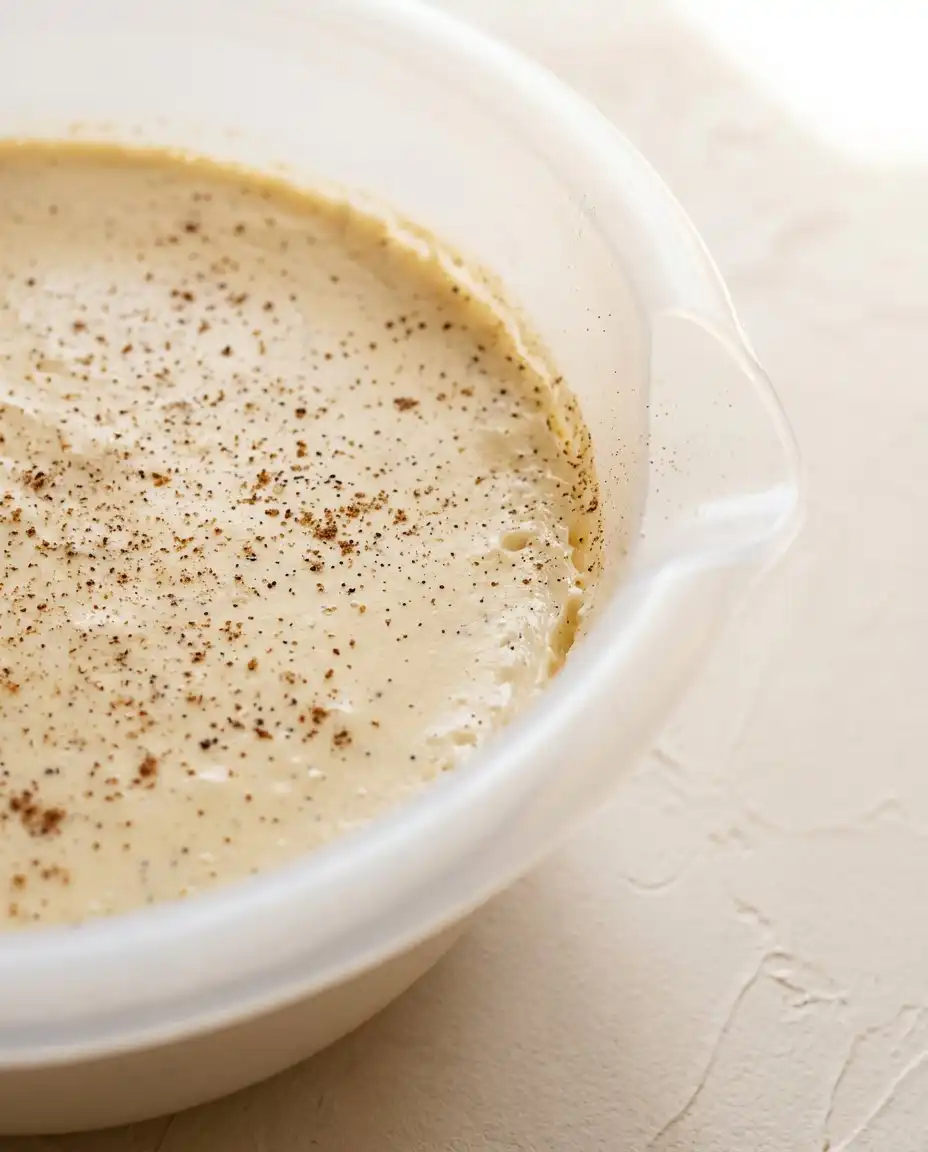
Baking is a sequence of chemical reactions where the temperature of your ingredients dictates the success of your emulsion. This Classic Peach Pound Cake requires precise thermal management to ensure the fat and liquids bond correctly.
- Freeze Dried Peaches: These provide the “rebel swap” by offering intense flavor without adding the excess moisture that creates a gummy crumb.
- Cake Flour: The lower protein content here ensures the gluten structure remains tender rather than bread-like.
- Heavy Whipping Cream: This acts as our primary fat and moisture source, providing a tighter, more luxurious grain than milk alone.
- Peach Extract: A high-quality extract bridges the gap between the subtle sweetness of the fruit and the richness of the butter.
- Unsalted Butter: Using unsalted varieties allows you to control the sodium levels exactly, preventing a metallic aftertaste.
| Ingredient | Why It Matters |
|---|---|
| Peach Powder | Provides concentrated flavor without adding water. |
| Heavy Cream | Adds fat for a velvety, dense texture. |
| Cake Flour | Ensures a delicate, fine-crumb structure. |
| Peach Extract | Amplifies the natural stone fruit notes. |
The Method
Step 1: Prep Your Peach Components
Add one can of sliced peaches in 100% juice into a mesh strainer set over a small bowl. Reserve the juice for later use in both the batter and the icing phases. This separation allows us to control the hydration of the crumb without sacrificing the flavor profile.
Step 2: Pulverize the Fruit Essence
Place one ounce of freeze-dried peaches into a food processor and pulse until they reach a fine, sandy consistency. This powder is our secret weapon for flavor density. Set this aside to be integrated with your dry reinforcements in the next stage.
Step 3: Combine Your Dry Fortifications
Sift three cups of cake flour, two teaspoons of baking powder, the prepared peach powder, and a quarter teaspoon of salt into a medium bowl. Sifting is non-negotiable here as it aerates the flour and prevents clumps of peach powder from forming. Stir with a large spoon to ensure the leavening agent is evenly distributed.
Step 4: Construct the Peach Cream Catalyst
Whisk together your heavy whipping cream, peach juice, vanilla extract, peach extract, and a drop of orange gel coloring. Use 1 1/4 cups of cream if using cake flour, as its higher absorption rate requires more liquid for a moist finish. This mixture should be at a stable room temperature to avoid shocking the butter later.
Step 5: Cream Butter and Sugar to High-Volume Air
Combine three sticks of softened butter and three cups of sugar in a stand mixer fitted with the paddle attachment. Beat on high speed for exactly six minutes until the mixture looks like whipped clouds. Stop the mixer twice during this process to scrape the bottom of the bowl for total incorporation.
Step 6: Incorporate Eggs for Structural Integrity
Add five large eggs one at a time while the mixer runs on medium speed. Wait until each egg is fully absorbed before adding the next to maintain the emulsion you built during creaming. Slow the speed toward the end to prevent over-aerating the proteins.
Step 7: Alternate Additions for the Classic Peach Pound Cake Batter
Introduce the flour mixture and the peach cream mixture into the butter base in three separate intervals. Mix on medium-low for only 15 to 20 seconds after each addition to keep the gluten development minimal. Scrape the sides of the bowl every time to ensure the batter is uniform and streak-free.
Step 8: Pan Preparation and Fruit Bedding
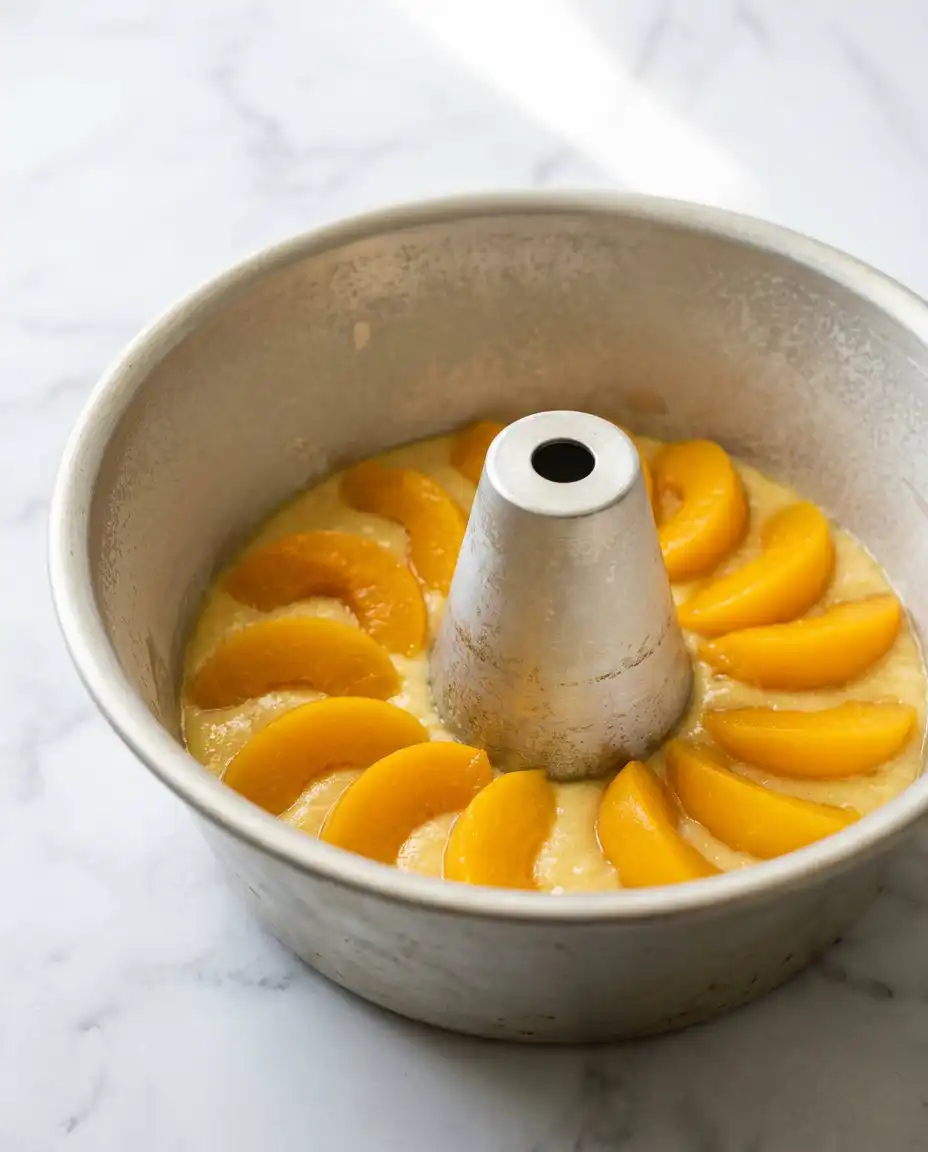
Coat your 15-cup tube pan with professional-grade non-stick spray and arrange the drained peach slices at the bottom. Pour the batter slowly over the fruit to avoid displacing the pattern. Use a spoon to level the top and give the pan a firm tap on the counter to release trapped air.
Step 9: The Low and Slow Bake Phase
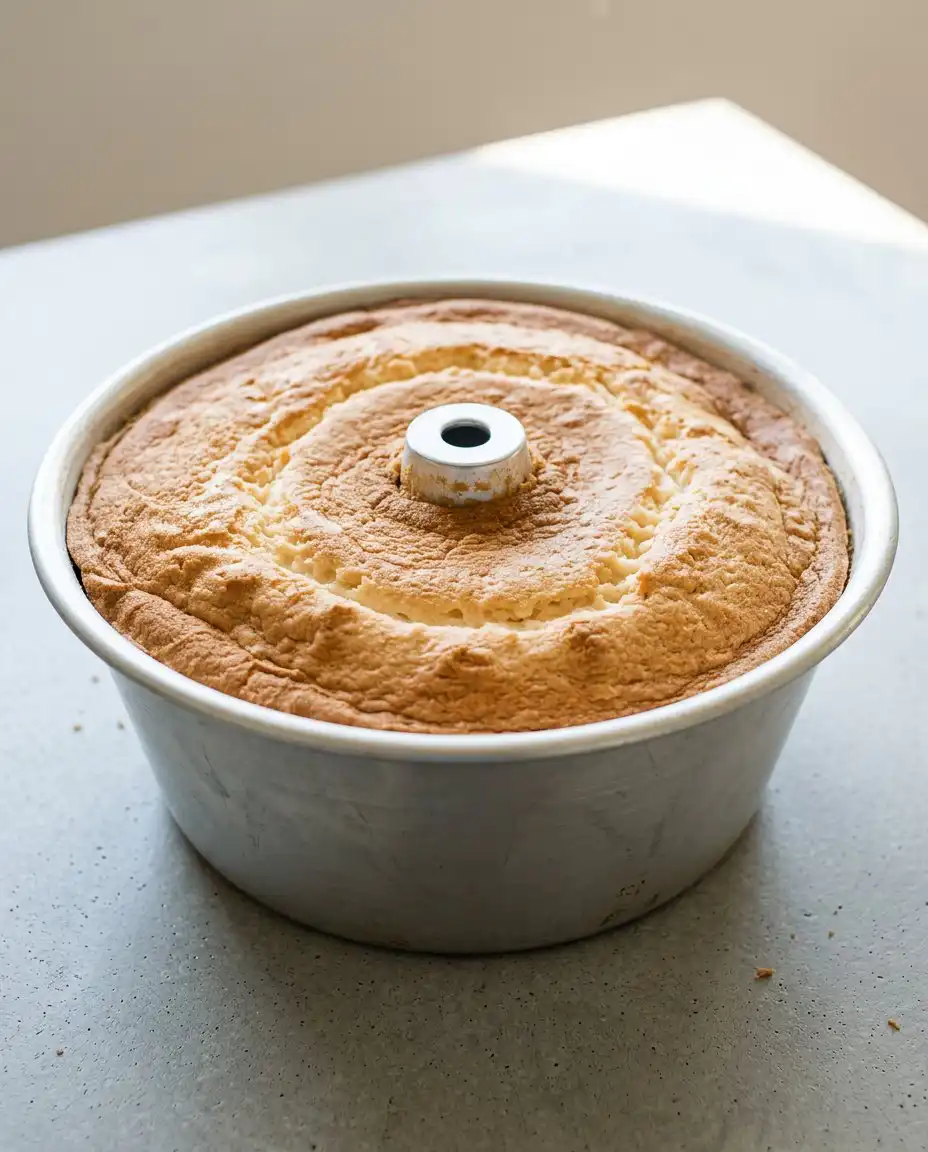
Slide the pan onto the bottom rack of a preheated 325-degree oven for one hour and twenty minutes. The bottom rack placement encourages a more even rise and prevents the top from browning too quickly before the center sets. Do not open the door before the 70-minute mark to check progress.
Step 10: Cooling and Controlled Release
Remove the cake once a toothpick comes out clean or with only a few dry crumbs attached. Let the cake rest in the pan for 4 to 5 hours; the structure needs this time to firm up. Rushing the release often results in the fruit bedding sticking to the pan.
Step 11: Emulsify the Peach Icing
Whisk confectioners’ sugar, warm milk, peach juice, melted butter, and extracts until the glaze is smooth and glossy. If the mixture feels too stiff, add a teaspoon of milk until it reaches a slow-moving lava consistency. Swirl in a tiny amount of gel coloring for a sunset-hue finish.
Step 12: The Final Zig-Zag Drizzle
Transfer the icing to a squeeze bottle and apply it in a rhythmic zig-zag motion across the cooled cake. If the icing thickens, microwave the bottle for 15 seconds to restore its flow. Allow the glaze to set for 15 minutes so it forms a delicate crust before slicing.
Where to Be Precise
The kitchen scale is a liberation device that removes the guesswork from this recipe. If you measure flour by the cup, you risk packing it too tightly, which leads to a dry and heavy result. Weighing your ingredients ensures that your classic vanilla butter cake foundation remains consistent every time you bake.
Room temperature means exactly 65 to 70 degrees Fahrenheit for your fats and liquids. If your heavy cream is cold, it will cause the butter to seize, resulting in a curdled batter that lacks volume. Set your ingredients on the counter at least two hours before you intend to start the mixing process.
If your cake feels dense or gummy at the bottom, here is why and how to fix it. This usually occurs when the batter is over-mixed after the flour is added, or if the oven temperature is too low. Ensure your oven is calibrated with a thermometer and stop the mixer the second the last streak of flour disappears.
To achieve the most vibrant fruit flavor, you must understand how to achieve a peachy flavor intensity through the layering of extracts and powders. Natural peaches are mostly water, so the extract acts as the bridge that brings the aromatic notes to the forefront. Never skip the salt, as it acts as a flavor magnifier for the sugar and fruit.
Scraping the bowl is a technical requirement, not a suggestion. A layer of unmixed butter and sugar often hides at the very bottom of the stand mixer bowl. If this un-aerated paste is poured into the pan last, it will create a literal “grease trap” in your cake structure.
Frequently Asked Questions
Can I use fresh peaches instead of canned ones for the bottom of the pan?
Yes, but you must peel and slice them thinly to ensure they soften at the same rate as the cake bakes. Fresh peaches contain more variable water content, so pat them dry thoroughly before placing them in the pan. If the fruit is too wet, it will create a soggy layer that prevents the cake from releasing cleanly.
Why did my pound cake shrink significantly after I took it out of the oven?
Significant shrinkage is usually a sign that the cake was over-baked or that the oven temperature was too high, causing the structure to expand and then collapse. It can also happen if you whisk too much air into the eggs during Step 6. Aim for a gentle incorporation to keep the crumb tight and stable.
Is it possible to make this cake in a smaller pan?
This recipe is designed for a 15-cup capacity pan, so splitting it into two smaller 6-cup pans is a better strategy than trying to cram it into one. You will need to reduce the baking time to approximately 50 to 60 minutes. Keep a close eye on the internal temperature to ensure the smaller cakes do not dry out.
How should I store the leftovers to keep the cake moist?
Store the cake in an airtight container at room temperature for up to three days. For longer storage, you can wrap individual slices in plastic wrap and freeze them for up to three months. Avoid refrigerating the cake, as the cold air will crystallize the starches and make the crumb feel stale.
What can I use as a substitute for freeze-dried peaches?
If you cannot find freeze-dried peaches, you can omit them and increase the peach extract by an additional half teaspoon. However, the flavor will lose that specific punch that the powder provides. Do not try to substitute with dried chewy peaches, as they will not integrate into the batter properly.
Why is my icing transparent instead of opaque and vibrant?
Transparent icing usually means there was too much liquid or the butter was too hot when mixed. To fix this, whisk in an additional quarter cup of confectioners’ sugar until the consistency thickens. The icing should be thick enough to hold its shape for a few seconds when drizzled.
Rebel Swaps
You can easily transform this recipe into a Peach Ginger Pound Cake by adding two teaspoons of ground ginger to the dry ingredients. The sharp heat of the ginger cuts through the richness of the butter and complements the stone fruit perfectly. This version is particularly effective when served during the transitional weeks of late summer.
If you want to experiment with presentation, try a peach upside down cake approach by caramelizing the peach slices in brown sugar before adding the batter. This creates a sticky, toffee-like topping that eliminates the need for the icing. The moisture levels will shift slightly, so reduce the peach juice in the batter by two tablespoons to compensate.
Tradition noted. Proceeding anyway by swapping the vanilla extract for a splash of dark bourbon in the icing. The oaky notes of the spirit pair beautifully with the peach juice, adding a sophisticated depth to the final drizzle. Ensure you use a high-quality bourbon to avoid any harsh alcohol burn in the glaze.
The Final Call
When it comes to serving this peach cobbler pound cake variation, temperature is your best friend. Serve the slices slightly warm to allow the butter to soften, which highlights the velvety texture of the crumb. A side of lightly sweetened mascarpone or a scoop of high-quality vanilla bean ice cream provides a cool contrast to the dense cake.
For a more formal presentation, garnish each plate with a sprig of fresh mint and a few raspberries. The tartness of the berries provides a necessary counterpoint to the deep sweetness of the peach glaze. This cake is the ultimate centerpiece for a Sunday brunch or a mid-afternoon garden party where the food is the main event.
Make less. Mean more. If you are serving this for a smaller group, consider slicing the cake into thick wedges and griddling them in a pan with a little butter. This caramelizes the exterior and creates a completely different sensory experience. The contrast between the crispy edges and the soft interior is a technical triumph 🍑.
Sign Off
Baking this cake is a testament to the idea that precision leads to better creativity. By mastering the temperatures and the ratios of fruit essence, you have created something far superior to a standard boxed mix. This lemon pound cake cousin proves that stone fruits deserve as much respect in the oven as citrus or chocolate.
The recipe is a starting point. You are the variable. Now that you have the mechanics down, don’t be afraid to tweak the glaze or the fruit arrangement in your next batch. This Classic Peach Pound Cake is yours to command, so share your results and let the world see the cross-section of your success.