The faint resistance of set ganache or the quiet glide of an offset spatula across chilled Swiss meringue buttercream signals the start of a truly intentional and precise decorating process.

Mastery of the Two-Layer Watercolor Buttercream Cake requires an understanding of temperature and movement rather than just a steady hand. You will notice that as the butter warms slightly under the pressure of the smoother, the colors begin to bleed into one another like an Impressionist oil painting. This technique creates a finish that is both sophisticated and ethereal, perfect for those seeking to refine their finishing skills. By the end of this process, your cake will possess a depth of texture that simple flat frosting cannot achieve.
The Craft Behind This Two-Layer Watercolor Buttercream Cake
Prep: 45 min · Serves: 12 · Difficulty: Advanced
- Achieve a professional artistic finish without specialized tools.
- Master the delicate balance of color blending techniques.
- Learn the specific physics of temperature-controlled buttercream.
- Create a unique visual profile for every bake.
Establishing a foundation with a classic vanilla layer cake allows you to focus entirely on the exterior artistry without distraction. This is the method I return to when a celebration demands both elegance and precision.
Get The Full Cake Recipe
Print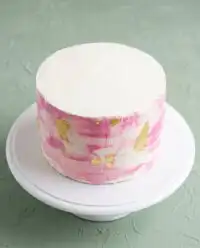
Two-Layer Watercolor Buttercream Cake
- Total Time: 1 hour 15 mins
- Yield: 12 servings
- Diet: Vegetarian
Description
Create a stunning, ethereal dessert with this artistic watercolor buttercream technique. By mastering temperature control and color blending, you can transform a classic cake into a sophisticated masterpiece that mimics an impressionist painting.
Ingredients
- Swiss Meringue Buttercream
- Gel food coloring (assorted colors)
- High-fat European butter
- Chilled vanilla cake layers
- Vanilla bean paste
Instructions
- Prepare the workspace. Ensure cake layers are level and properly chilled for at least two hours before gathering all necessary tools.
- Establish base layer. Frost the cake with a primary base color layer, ensuring it is thick enough to allow for subsequent artistic smoothing.
- Tint the buttercream. Divide reserved buttercream into bowls and add gel food coloring one drop at a time, folding carefully to avoid incorporating air.
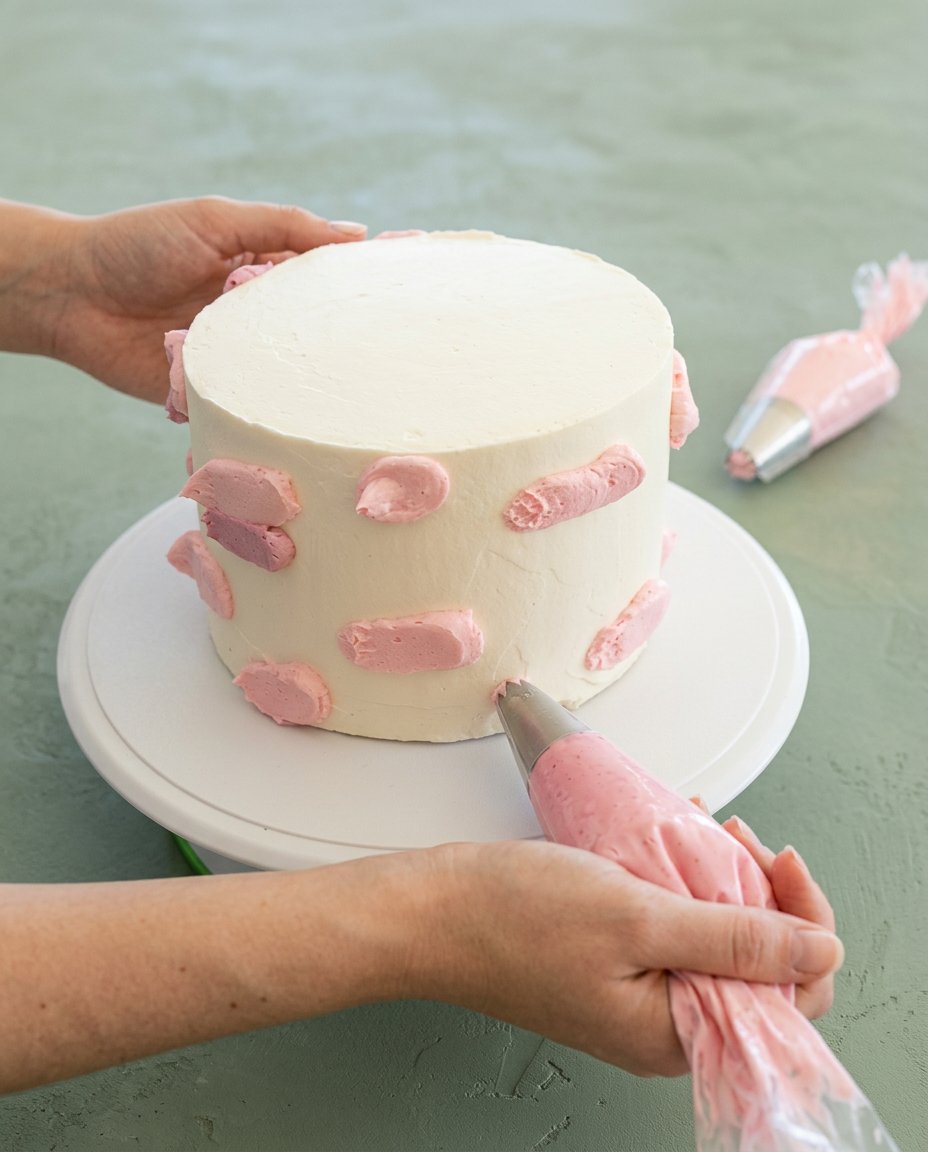
- Apply secondary tones. Use an offset spatula to place small, random patches of tinted buttercream around the sides of the cake.
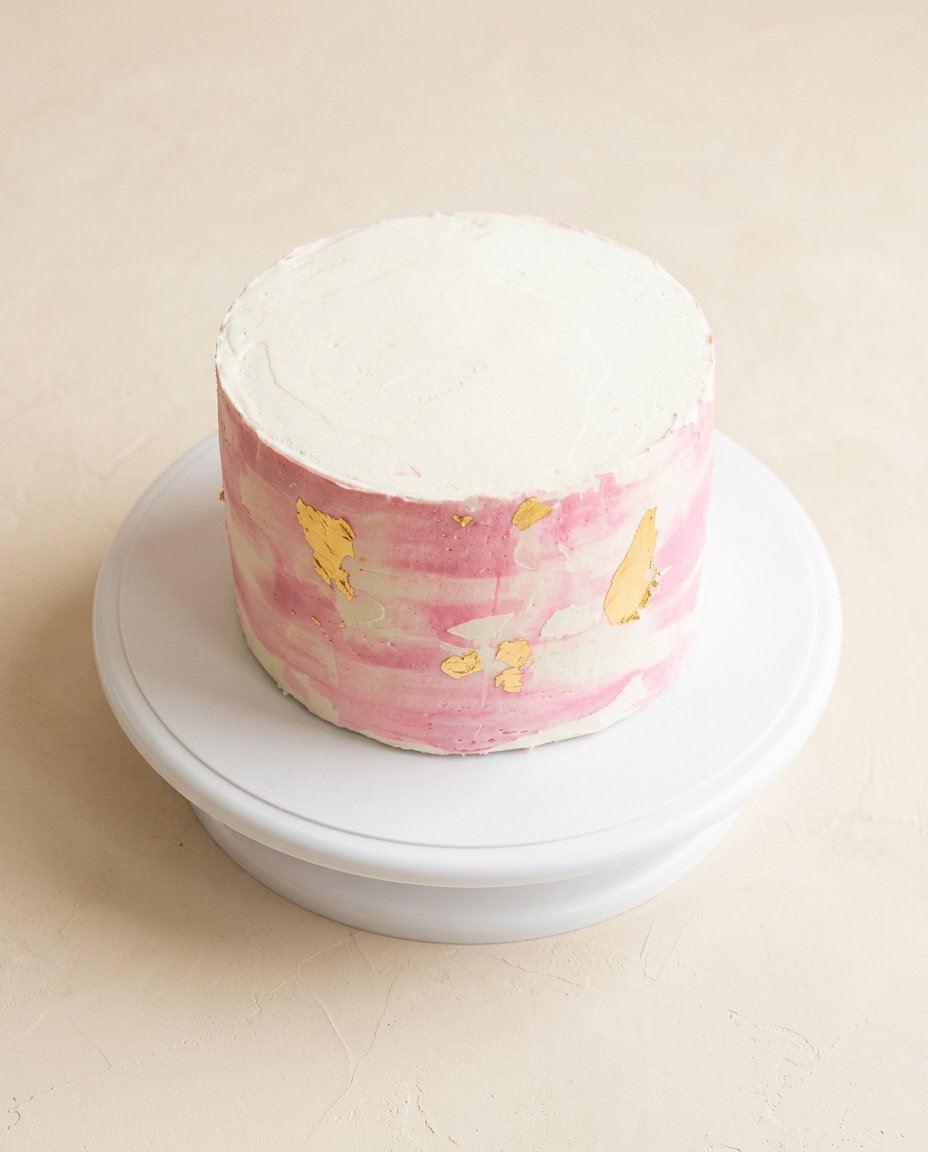
- Rotate and smear. Place an icing smoother against the side of the cake and rotate the cake stand continuously to stretch the colors into a blurred, watercolor effect.
- Refine the finish. Assess the blend, adding small amounts of base color if needed, then perform a final gentle rotation to polish the look.
- Chill to set. Pull top edges inward with a spatula and refrigerate for fifteen minutes to lock the design in place.
Notes
- Ensure the cake is thoroughly chilled to prevent the frosting from sliding during the smoothing process.
- Clean the icing smoother blade between every single rotation to prevent colors from muddling.
- Use gel food coloring instead of liquid drops to maintain the precise consistency of your buttercream.
- Stir your frosting with a wooden spoon before application to press out any trapped air bubbles for a smoother finish.
- Tint your frosting one shade lighter than the target goal, as gel colors often deepen after sitting.
- Prep Time: 45 mins
- Cook Time: 30 mins
- Category: Dessert
- Method: Cake Decorating
- Cuisine: Modern Bakery
What This Recipe Requires
A successful watercolor finish depends entirely on the stability and texture of your medium. You must ensure every component is at the correct temperature to maintain the integrity of the design throughout the application process.
- Swiss Meringue Buttercream: This serves as your canvas because its high butter content allows for a smooth, silk-like finish that remains workable.
- Gel Food Coloring: Use concentrated gels to achieve deep hues without altering the moisture balance of your frosting.
- High-Fat European Butter: The fat content ensures the Two-Layer Watercolor Buttercream Cake holds its structure during the multiple rotations of the smoother.
- Chilled Cake Layers: A cold cake provides a stable surface that prevents the frosting from sliding as you apply pressure.
- Vanilla Bean Paste: Use paste rather than extract to avoid adding unnecessary liquid to your primary base color.
| Ingredient | Why It Matters |
|---|---|
| Swiss Meringue Buttercream | Provides a stable, silky medium for artistic blending |
| Gel Food Coloring | Offers intense color without changing frosting consistency |
| Chilled Cake | Prevents the Two-Layer Watercolor Buttercream Cake from shifting |
| Offset Spatula | The essential tool for precise color placement and swiping |
How to Proceed
Step 1: Prepare Your Mise en Place
Before you begin, ensure your Two-Layer Watercolor Buttercream Cake layers are level and properly chilled for at least two hours. Organize your tools, including the rotating cake stand and clean spatulas, so that your focus remains entirely on the movement of the frosting. This initial discipline prevents errors caused by haste or searching for equipment mid-process.
Step 2: Establish the Primary Base Layer
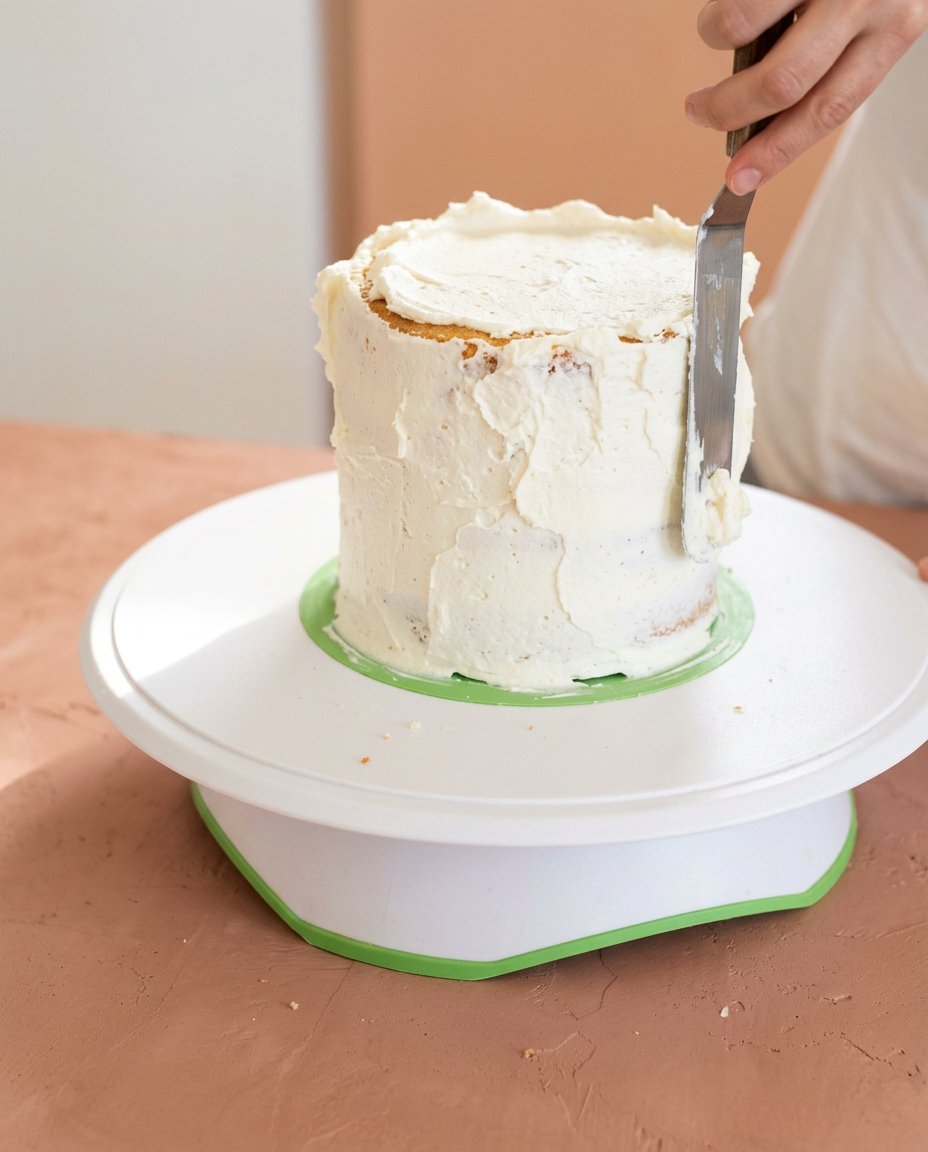
Frost your cake with the primary base color, ensuring a thick enough layer to allow for subsequent smoothing. You do not need to aim for a flawless finish at this stage, as the watercolor technique will eventually level the surface. The base layer should be cool to the touch but still slightly yielding to the pressure of your tools.
Step 3: Tint the Two-Layer Watercolor Buttercream Cake Palette
Divide your reserved buttercream into three separate bowls to begin the tinting process for your watercolor effect. Add your gel food coloring one drop at a time, folding carefully to avoid incorporating excess air bubbles into the mixture. You are looking for colors that are distinct but harmonious, reflecting a deliberate artistic choice.
Step 4: Apply Swipes of Secondary Tones
Using the tip of a clean offset spatula, add small swatches of your tinted buttercream around the sides of the cake. Place these patches randomly to mimic the natural variation of a painting, focusing on the mid-section and base of the Two-Layer Watercolor Buttercream Cake. The irregular nature of these applications is what creates the organic feel of the final result.
Step 5: Execute the Primary Rotation
Place your icing smoother against the side of the cake and begin a slow, continuous rotation of the cake stand. You will see the patches of color begin to stretch and smear, creating a blurred edge between the different tones. It is vital to maintain a steady pressure, neither digging into the cake nor lifting the smoother until the rotation is complete.
Step 6: Refine and Polish the Blending
Stop and assess the blend after one or two full rotations to see how the Two-Layer Watercolor Buttercream Cake is developing. If certain areas appear too sparse, add a small amount of the reserved base color and smooth once more. Avoid overworking the surface, as too many rotations will cause the colors to muddy and lose their distinct watercolor characteristics.
Step 7: Final Chilling and Set
Once the sides of your Two-Layer Watercolor Buttercream Cake meet your standards, use the spatula to pull the top edges inward for a sharp finish. Place the cake in the refrigerator for fifteen minutes to set the design and lock the colors in place. This final rest ensures that the delicate smears of buttercream remain crisp and do not bleed further during transport.
Technical Notes
The temperature of your kitchen plays a significant role in how the Two-Layer Watercolor Buttercream Cake behaves during the smoothing process. If the room is too warm, the butter will soften too quickly, leading to a runny appearance rather than a clean smear. Small things, done exactly right, include chilling your metal smoother in ice water and drying it before the final pass.
Quality butter is a non-negotiable for this technique because its fat content determines the “glide” of the spatula. If you notice your buttercream developing small holes or a porous texture, it is likely too cold or contains too much air. You can fix this by stirring the frosting vigorously with a wooden spoon to press out the bubbles before application.
Cleaning your smoother after every single rotation is a discipline that separates an amateur finish from a professional one. Any leftover residue on the blade will drag through your colors and create unwanted streaks across the Two-Layer Watercolor Buttercream Cake. This attention to detail ensures each swipe of color remains intentional and clean.
You may find that cake painting techniques offer further insight into how colors interact on a vertical surface. When working with deeper pigments, remember that gel colors darken as they sit in the frosting. It is often wise to tint your buttercream one shade lighter than your target to account for this natural oxidation.
If the colors begin to blend into a single muddy shade, here is why and how to fix it: you have likely performed too many rotations. Stop immediately, chill the cake for ten minutes, and then apply fresh dots of your primary base color over the muddy areas. Perform one single, slow rotation to restore the contrast and definition to your Two-Layer Watercolor Buttercream Cake.
Patience here is not a virtue — it is an instruction. Allow the cake to rest between heavy smoothing sessions to maintain its structural integrity. For a more detailed look at the chemical stability of this method, you can study how watercolor buttercream cake technique focuses on the interaction between fat and pigment.
Frequently Asked Questions
Can I use American buttercream for this technique?
While American buttercream is possible, its tendency to crust makes the blending process more difficult. Swiss meringue buttercream is preferred because it remains supple and workable for a longer period, allowing for multiple rotations. If you must use American style, ensure it is a high-fat recipe and work very quickly before it begins to set.
Why are my watercolor smears looking streaky instead of soft?
Streaking usually occurs when the buttercream is too cold or the smoother is not clean. Ensure your tinted frosting is at room temperature and that you wipe your icing smoother completely dry after every pass. This prevents old frosting from dragging through the new colors and creating harsh lines.
How do I prevent the colors from mixing into one muddy shade?
The key to the Two-Layer Watercolor Buttercream Cake is limiting the number of rotations. Every time you pass the smoother over the cake, the colors blend further. Aim for no more than three or four full rotations before stopping to assess and adjust the design manually.
Should the cake be room temperature or cold when I start?
The cake layers should be thoroughly chilled, but your frosting must be at room temperature. A cold cake provides the necessary resistance for the smoother to glide against without the cake shifting. If the frosting is also cold, it will not spread smoothly and will likely tear the surface of the cake.
Can I achieve this look with natural food dyes?
Natural dyes can be used, but they often lack the intensity required for a clear watercolor effect. You may find that the colors appear more muted and can fade faster when exposed to light. For the best results on a Two-Layer Watercolor Buttercream Cake, professional-grade gel colors are the standard choice.
How long will the watercolor effect stay crisp once finished?
Once the cake is chilled and the butter has solidified, the design is quite stable. It will remain crisp for several days if kept in a cool environment or the refrigerator. Avoid leaving the cake in direct sunlight, as the heat will soften the butter and cause the colors to bleed into one another over time.
Thoughtful Alternatives
For a softer transition of hues, you might consider an ombre cake approach where colors graduate from dark to light. This variation requires more bowls for tinting but results in a highly structured and predictable color flow. It is a beautiful alternative for those who prefer symmetry over the organic nature of the watercolor swipe.
You may also adapt the Two-Layer Watercolor Buttercream Cake by incorporating metallic leaf or edible gold paint once the frosting has chilled. Applying gold accents to the ridges created by the smoother adds a layer of luxury that complements the soft watercolor tones perfectly. This adaptation works particularly well for formal evening events or anniversary celebrations.
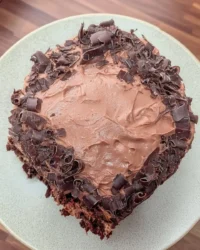
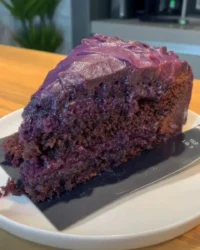
Changing the base flavor of the cake itself provides a different sensory experience without altering the external technique. A deep, rich crumb from a triple chocolate layer cake offers a striking contrast to pale pink or blue watercolor frosting. Ensure the cake is completely cooled before frosting, as even a hint of warmth from the chocolate layers will melt your carefully applied watercolor design.
Presentation and Service
When presenting your Two-Layer Watercolor Buttercream Cake, the final reveal of the cross-section is the ultimate proof of your technique. Use a clean, sharp knife dipped in hot water and wiped dry between every single cut to ensure the layers remain distinct. This precision prevents the colored frosting from dragging down into the internal crumb of the cake.
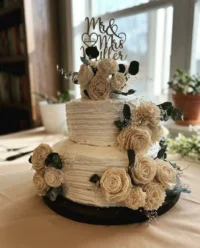
A floral cake arrangement can further enhance the artistic nature of the watercolor finish. Select blooms that match the secondary colors used in your frosting to create a cohesive and deliberate visual theme. Position the flowers slightly off-center to allow the watercolor texture on the sides of the cake to remain the primary focus.
Serve the Two-Layer Watercolor Buttercream Cake at a slight cool-room temperature to ensure the buttercream has the ideal mouthfeel. If served too cold, the butter will feel hard and the flavors will be muted; if too warm, the intricate design may lose its sharp edges. A light, sparkling tea or a dry Champagne makes an excellent beverage pairing to balance the richness of the Swiss meringue frosting.
A Word Before You Slice
The technique is the recipe when it comes to the Two-Layer Watercolor Buttercream Cake. What may initially feel like a chaotic application of color becomes a refined work of art through the steady, measured movement of your hand. You have learned that the beauty of this bake lies in the small disciplines of temperature control and mise en place.
As you move forward, consider practicing these skills on a triple chocolate layer cake to see how different color palettes interact with various cake bases. The more you work with the medium of buttercream, the more you will understand its nuances and its potential for artistic expression. Your ingredients already know what to do; you have simply given them the conditions to succeed.
I invite you to share the results of your Two-Layer Watercolor Buttercream Cake with our community of dedicated bakers. Precision is not a constraint; it is the freedom to repeat success and share the beauty of the craft with others. You can find more inspiration and technical guides on our Pinterest, Facebook, and TikTok channels.