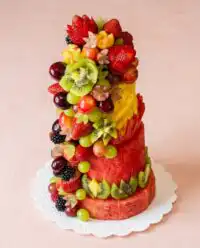
Most bakers attempt to stabilize tiered fruit with excessive sugar glues, but structural integrity actually relies on precision carving and strategic skeletal support from wooden skewers.

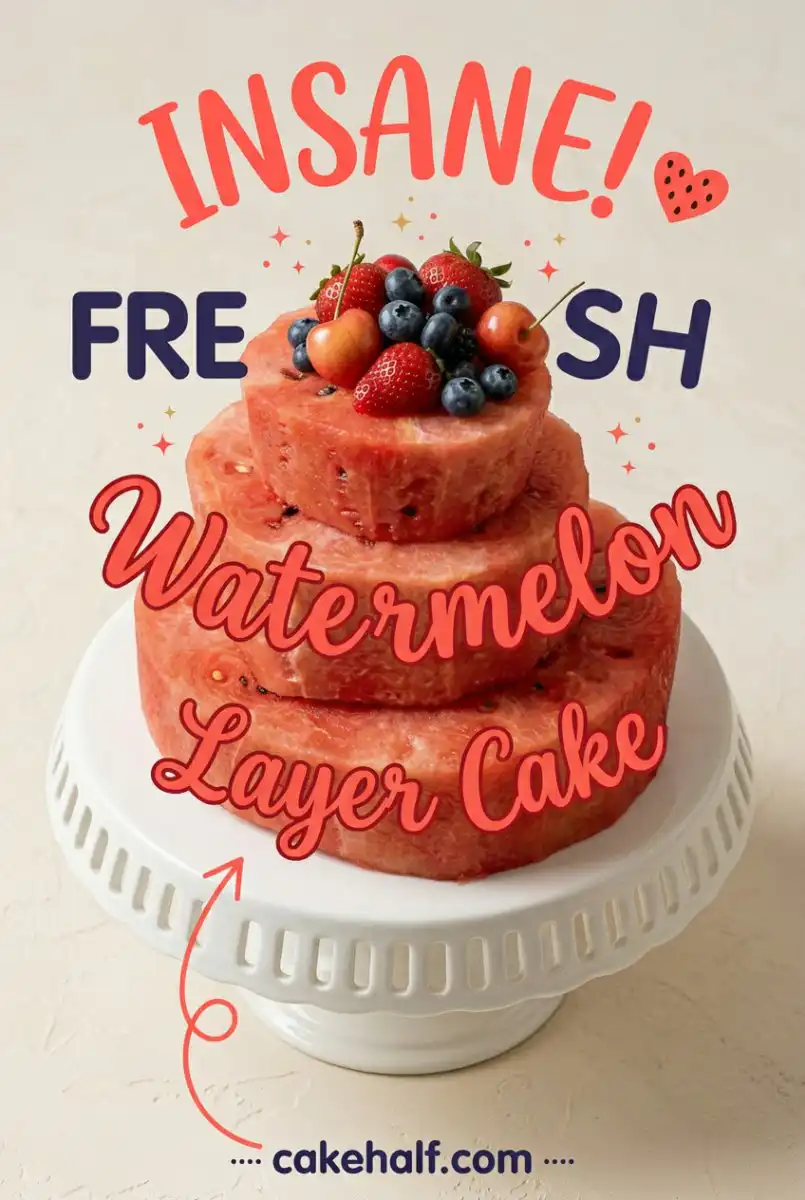
Building a Fresh Watermelon Layer Cake is an exercise in architectural baking where moisture management becomes your primary technical challenge. This centerpiece defies the heavy, oven-warmed tradition of summer desserts by offering a cold, hydrating alternative that still commands the visual presence of a professional patisserie build. You are trading flour and fat for crisp fruit and saturated color, creating a dessert that feels like a rebellious act of culinary physics. This small-batch construction ensures every slice is as rigid and refreshing as the first cut into a field-ripe melon.
What Makes This Fresh Watermelon Layer Cake Different
Prep: 45 min · Serves: 12 · Difficulty: Medium
- Zero oven time ensures your kitchen remains a cool sanctuary.
- Precision carving creates a tiered look without any heavy frostings.
- Structural skewers provide the stability needed for transport across hills.
- Fresh fruit toppings offer a saturated and neon visual profile.
- Naturally hydrating textures make this the ultimate hot-weather centerpiece.
This is the construction that proves you can build a towering masterpiece without ever touching a bag of flour or a stand mixer. If you want something traditional, you can always try my classic vanilla layer cake for a different kind of celebration.
Get The Full Cake Recipe
Print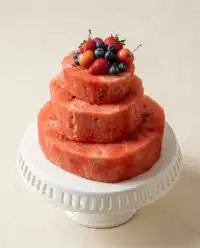
Fresh Watermelon Layer Cake
- Total Time: 45 mins
- Yield: 12 servings
- Diet: Vegan, Gluten-Free
Description
This architectural fruit masterpiece swaps traditional cake layers for carved, tiered watermelon cylinders, offering a refreshing and visually striking centerpiece. It is a structural engineering feat that relies on precise carving and internal supports to create a stable, hydrating dessert perfect for summer gatherings.
Ingredients
- 1 Large watermelon
- 1 Small watermelon
- 1 Pack wood skewers
- 1 Cup blueberries
- 1 Cup blackberries
- 1 Cup raspberries
- 1 Cup grapes
- 1 Bunch fresh mint
Instructions
- Carve foundation tiers. Slice both ends of the large watermelon to create flat surfaces, then trim away the rind and pith to form a uniform cylinder; repeat with the remaining melon to create smaller cylinders.
- Refine cylinder geometry. Use a sharp knife to shave away uneven edges and bumps from the sides of the cylinders to ensure they stack perfectly level.
- Stack and level. Place the largest cylinder on a cake stand, center the medium cylinder on top, and shave the bottom of the upper tier if necessary to correct any tilt.
- Stabilize with skewers. Drive four wooden skewers vertically through the top two cylinders into the base to lock the structure together, then add the smallest tier on top of the protruding skewers.
- Design fruit cascade. Use toothpicks at an upward angle to pin grape clusters to the tiers, starting from the top and flowing downward to create a natural visual transition.
- Detail saturated layers. Fill the remaining surface area by pinning berries and mint leaves into the melon using short toothpicks, mixing textures and colors for a cohesive aesthetic.
- Manage moisture and serve. Place a towel under the stand to catch excess juice, then use a thin serrated knife to slice through the structure, warning guests about the internal skewers.
Notes
- Ensure the watermelon is at room temperature before carving to make the rind easier to remove.
- Place a piece of cardboard or a heavy-duty cake board between tiers if the fruit is particularly soft for added stability.
- Pat the exterior of the melon dry with a paper towel before adding fruit to prevent the decorations from sliding.
- Assemble the cake no more than four hours before serving to ensure the fruit remains crisp and vibrant.
- Save the excess watermelon trimmings for a refreshing juice or fruit salad rather than discarding them.
- Prep Time: 45 mins
- Cook Time: 0 mins
- Category: Dessert
- Method: Assembly
- Cuisine: Modern American
The Lineup
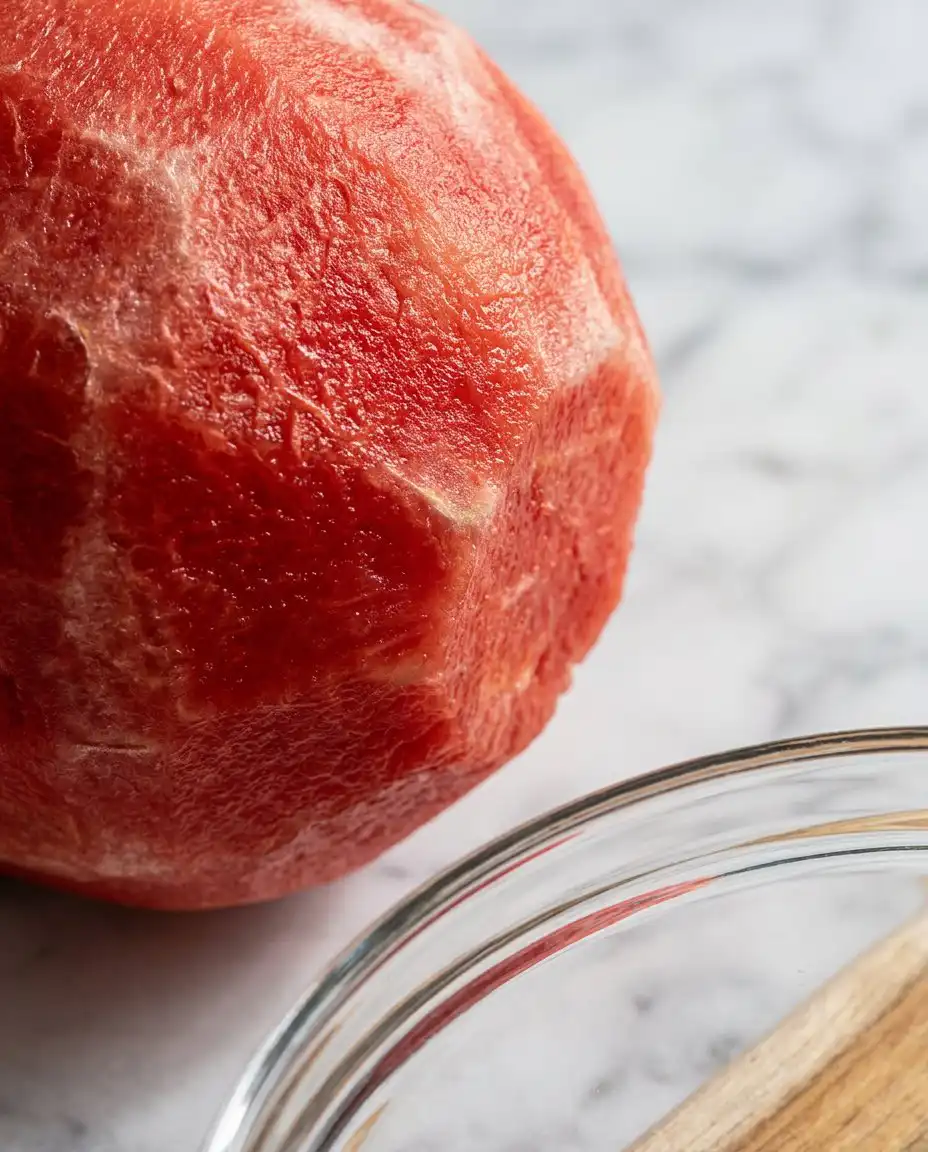
Successful fruit assembly requires specific melon geometries and fruit that can withstand being pierced by toothpicks without losing their juice or structural form. You are looking for melons that feel heavy for their size and berries that have a firm, matte finish rather than a soft, weeping texture.
- Large Watermelon: This serves as your foundation and requires a heavy, uniform melon that provides a stable, wide-diameter base for the upper tiers.
- Small Watermelon: This second melon provides the medium and small cylinders, ensuring you have enough height and diameter variation for a true tiered aesthetic.
- Wood Skewers: These act as the internal skeleton of the cake, pinning the moisture-heavy tiers together to prevent sliding during service or transport.
- Assorted Berries: Blueberries and blackberries offer dark, saturated contrast against the pink melon, while raspberries provide pockets for smaller fruit to nestle.
- Grapes: Use these in heavy clusters to create a cascading effect that mimics the movement of piped frosting down the sides of the cake.
- Fresh Mint: These leaves provide a sensory aromatic boost and the necessary green contrast to make the fruit colors pop.
| Ingredient | Why It Matters |
|---|---|
| Large Watermelon | Provides the structural base tier for weight distribution |
| Wood Skewers | Locks tiers together to prevent tectonic shifting |
| Fresh Grapes | Creates the visual flow and covers carving imperfections |
| Blueberries | Adds saturated dark tones and firm texture for pinning |
The Method
Step 1: Carving the Foundation Tiers
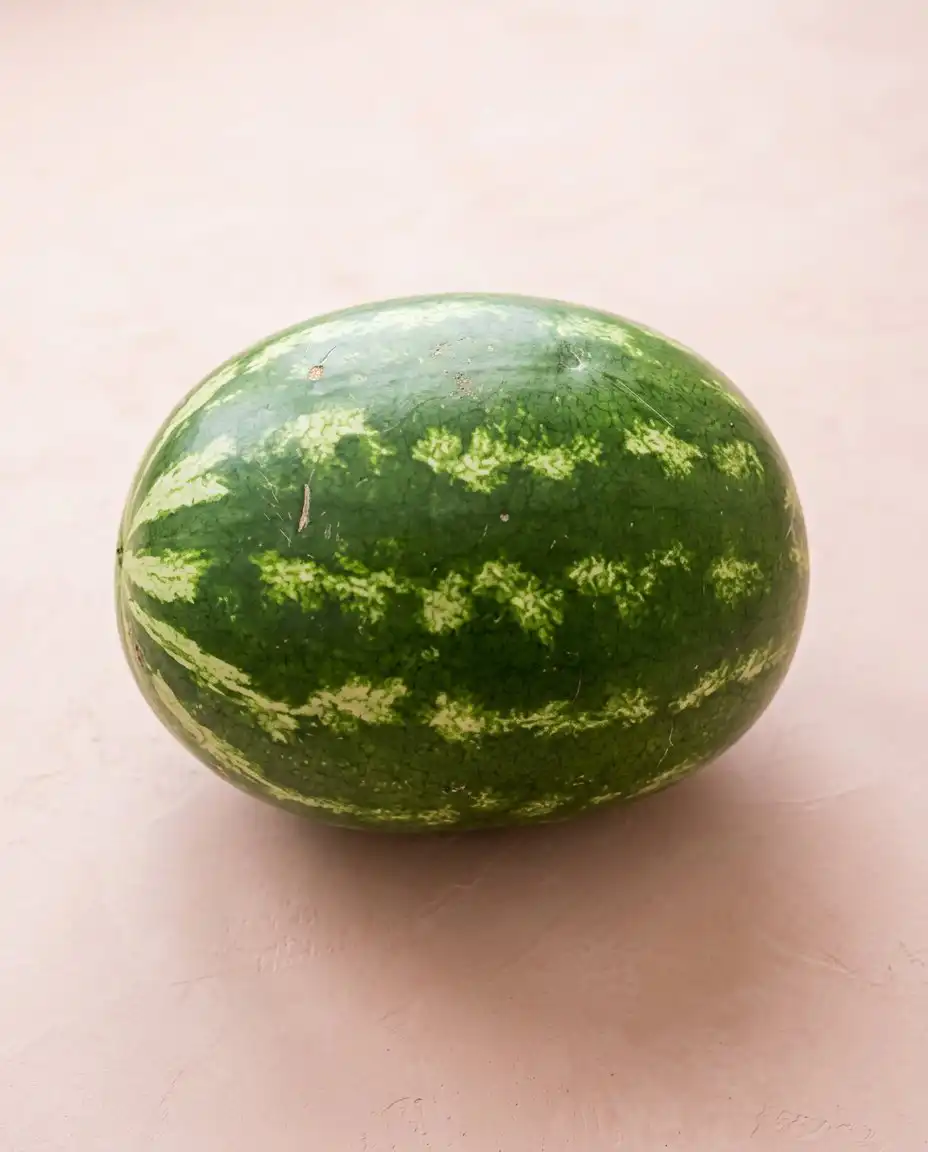
Select your largest melon and slice off both ends to create two flat surfaces that allow it to sit perfectly level on your cake stand. Use a long, sharp chef’s knife to trim away the green rind and white pith until you have a uniform pink cylinder. You want to focus on creating vertical walls that are perpendicular to the base to ensure the entire structure remains centered. Repeat this process with the remaining melon sections to create a medium and a small cylinder, ensuring each one is progressively smaller in diameter.
Step 2: Refining the Cylindrical Geometry
Once the basic shapes are cut, use your knife to shave away any corner edges or uneven bumps on the sides of the cylinders to create a smoother surface. This refinement is critical because any lean in the base cylinder will be magnified as you stack the upper tiers. Feel the surface of the melon for any soft spots or unevenness that might cause the cake to tilt later. A clean, smooth surface also allows the fruit toppings to sit closer to the ‘frosting’ layer for a more cohesive look.
Step 3: Stack and Level the Base
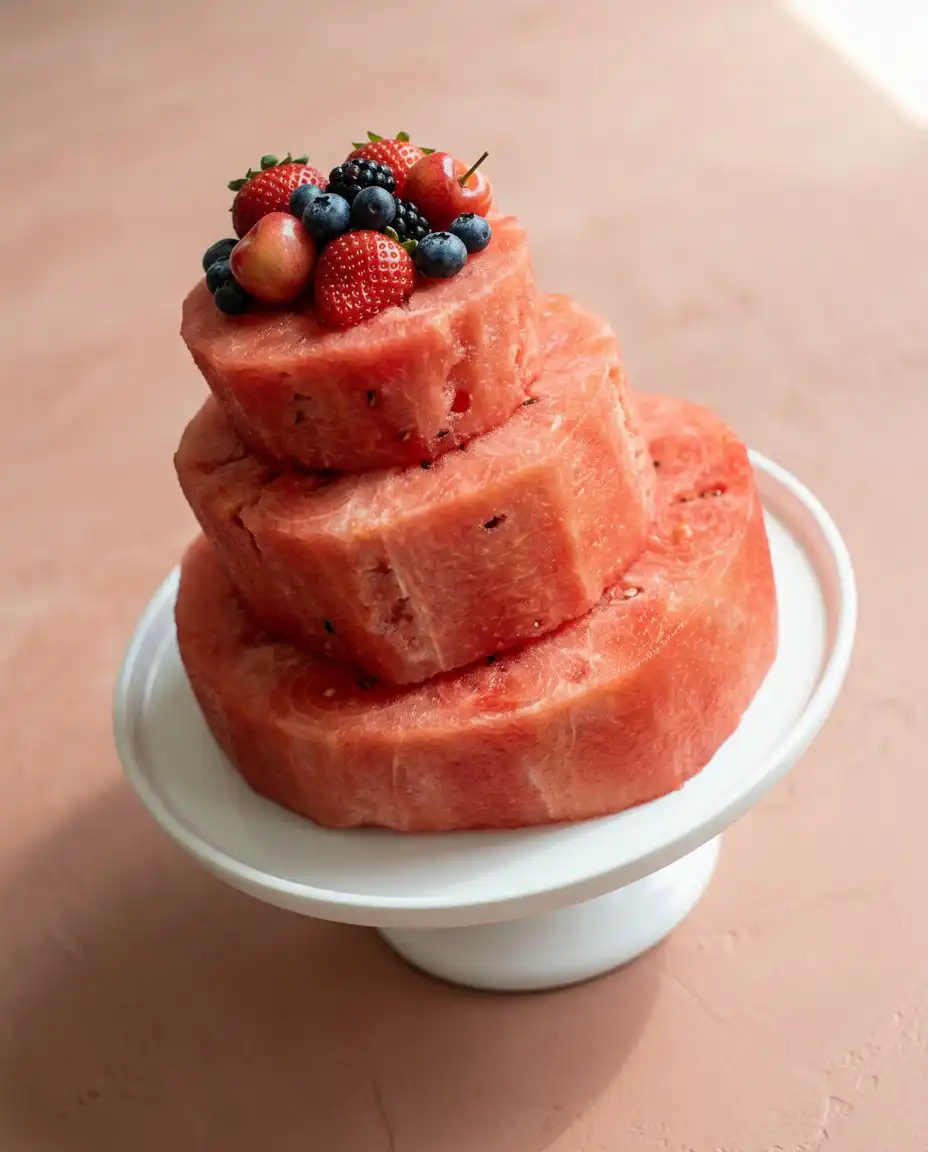
Place your largest watermelon cylinder directly in the center of a sturdy cake stand or a flat serving platter. Place the medium cylinder on top of it, checking from multiple angles to ensure it is perfectly centered over the base. If you notice a gap or a slight tilt, you can shave a thin sliver off the bottom of the medium tier to correct the level. This phase is where you establish the vertical axis of the entire Fresh Watermelon Layer Cake.
Step 4: Stabilizing Your Fresh Watermelon Layer Cake
Take four large wood skewers and drive them vertically down through the center of the top two watermelon cylinders until they are anchored deep into the base. Position these skewers near the center so they will be completely hidden once the smallest tier is placed on top. Press the smallest watermelon cylinder down onto the protruding skewers until it rests firmly against the medium tier. This internal bracing is what allows the cake to survive a bumpy car ride or a long afternoon on a display table.
Step 5: Designing the Fruit Cascade
Begin the decoration phase by using toothpicks to secure large grape clusters starting from the top tier and flowing down toward the base. These clusters should look like they are cascading naturally, which helps break up the rigid lines of the carved cylinders. Use the toothpicks at an upward angle so the weight of the fruit pulls the pick deeper into the melon rather than sliding out. This technique ensures that even heavy clusters of grapes stay exactly where you place them throughout the event.
Step 6: Detail the Saturated Layers
Fill in the remaining surface area by pinning blackberries, blueberries, and raspberries across the tiers using shorter toothpicks. I like to nestle blueberries inside the hollow centers of raspberries to add a multi-toned effect and extra texture. Mix halved and whole strawberries to create depth, placing the flat cut sides against the melon for better adhesion. Finish by tucking fresh mint leaves into the small gaps between the fruit to provide a crisp aroma and a bright green visual break.
Step 7: Managing the Moisture and Service
Slide a clean kitchen towel or several layers of heavy paper towels under the cake stand while it rests in the fridge to catch any weeping juice. When you are ready to serve, use a long, thin serrated knife to cut through the layers, starting from the top tier and working downward. Be sure to remove the fruit and toothpicks from each section as you plate the slices for your guests. Warn your diners about the internal skewers so they can easily navigate the slices as they enjoy the fruit.
Notes from Testing
Precision in carving is more important than the size of the melon, so use a kitchen scale to compare weights if you are unsure which melon has the best density. A denser melon holds skewers more securely and will not weep juice as quickly as one that is overripe or mealy.
If your watermelon tiers are sliding despite the skewers, here is why and how to fix it: the skewers may be too close together or the melon may be too soft. Try resetting the skewers at wider angles, forming a square pattern rather than a tight circle, to create a broader base of support.
Always pat the exterior of the carved cylinders dry with a lint-free towel before you begin pinning the fruit to ensure the toothpicks don’t slip. This moisture management is a small detail that makes a massive difference in how well the fruit stays attached during transport.
You can find more technical fruit assembly guidance that covers the specifics of melon density and carving angles if you want to master the geometry.
I recommend assembling the cake on the same day you plan to serve it, though the carving can be done a few hours in advance if the pieces are kept wrapped and chilled. If you are a fan of berry-forward builds, my fresh strawberry cake offers another way to showcase peak-season produce.
Avoid using melons that have a very thick white pith, as this will make the carving process more difficult and leave you with less edible fruit. Look for a melon with a deep yellow field spot, which indicates it ripened on the vine and has the structural integrity you need.
Frequently Asked Questions
How do I prevent the watermelon cake from leaking juice everywhere?
The key is to keep the carved cylinders chilled and to place a thick towel under the platter during storage. Watermelon naturally weeps juice once the rind is removed, so providing an absorbent layer during the first hour of refrigeration is essential. You can also pat the melon dry right before you bring it out for the final presentation.
Can I assemble this Fresh Watermelon Layer Cake the night before?
It is best to assemble the cake on the day of the event to ensure the fruit remains crisp and the mint doesn’t wilt. You can carve the melon cylinders the night before and store them in airtight containers, but wait to pin the berries until a few hours before serving. This prevents the berry juices from staining the pink melon surface over a long period.
What is the best way to transport this cake to a party?
Use a cake carrier with a non-slip mat inside to keep the platter from sliding during the drive. Wrap the entire assembly in plastic wrap to keep the fruit secure and place towels around the base of the stand to catch any drips. If you are driving on bumpy roads, have someone hold the cake to act as a natural shock absorber.
Do the skewers really keep the tiers together?
Yes, but they must be positioned vertically and driven deep into the bottom tier for maximum leverage. Think of the skewers as the rebar in a concrete pillar; they provide the shear strength that prevents the tiers from sliding sideways. Using at least four skewers in a wide pattern ensures the top tiers don’t pivot or lean.
Is it difficult to slice a cake made of solid fruit?
It is actually easier than slicing a sponge cake if you use a sharp serrated knife and a steady hand. Simply cut wedges as you would with a regular cake, making sure to remove the toothpicks from the fruit as you plate each slice. The fruit toppings actually help guide the knife and keep the slice intact as it moves to the plate.
Can I use different types of melon for the tiers?
You can use cantaloupe or honeydew for the smaller tiers, but watermelon is best for the base due to its superior weight and density. Mixing melon types adds a beautiful color gradient to the tiered look, though you must ensure the smaller melons are just as firm. Avoid using overripe cantaloupe, as it can be too soft to hold the weight of the fruit above it.
Rebel Swaps
Instead of a classic berry mix, try a tropical theme using kiwi slices, mango cubes, and pineapple stars secured with the same toothpick method. This swap changes the flavor profile significantly while maintaining the same structural requirements of the base melon tiers.
You could also experiment with a stone fruit version by pinning slices of plum and nectarine in a shingled pattern around each tier. If you enjoy working with these types of fruits, you might want to see how the flavors translate in a peach cake build later this season.
For a more monochromatic and sophisticated look, use only green fruits like honeydew melon balls, green grapes, and kiwi to contrast against the red watermelon. This variation looks stunning at outdoor garden parties and pairs beautifully with a strawberry cake recipe if you are serving multiple desserts.
Before You Slice
Presentation is everything with a Fresh Watermelon Layer Cake, so I suggest placing it on a marble or glass stand that highlights the neon colors of the fruit. Before you begin slicing, let the guests admire the tiered construction, as the visual drama is a significant part of the experience. You can also serve extra berry clusters in small bowls on the side for guests who want an additional hit of saturated flavor with their melon.
Pair each slice with a dollop of unsweetened Greek yogurt or a drizzle of balsamic glaze to add a sophisticated tang to the natural sweetness. If you find your guests are wanting a variety of fruit-based sweets, you can also offer a cake with fruit as a companion dessert. The contrast between the cold, raw melon and a baked fruit dessert provides a complete sensory experience for your celebration.
Keep the cake chilled until the very moment you are ready to present it to maintain the crispest texture possible. If the weather is particularly humid, a light dusting of lime zest over the top right before serving can add a bright aromatic note that cuts through the heat. This simple finish elevates the entire build from a fruit platter to a true gourmet centerpiece.
Sign Off
Mastering the Fresh Watermelon Layer Cake proves that the best desserts often come from a willingness to discard the traditional rulebook and focus on pure structural physics. You have created a centerpiece that is as refreshing as it is visually arresting, using nothing but precision carving and the best seasonal produce. This project is a reminder that small-batch baking — or in this case, assembling — allows you to focus on the fine details that larger recipes often overlook.
If you enjoyed this departure from the oven, I encourage you to see what else you can do with seasonal produce in my peach cake tutorial. There are endless ways to riff on these concepts once you understand the basic mechanics of fruit stability and flavor balance. Make it yours, experiment with different carvings, and never be afraid to let the ingredients dictate the final form of your creation.
Share your tiered fruit creations with me and the rest of the rebel baking community on our social channels. We love seeing how you adapt these methods to your own unique style and celebrations.