The dark, glossy stream of warm espresso meeting cocoa powder releases a deep, roasted aroma before you even turn on your mixer to build these Mini Chocolate Layer Cakes.
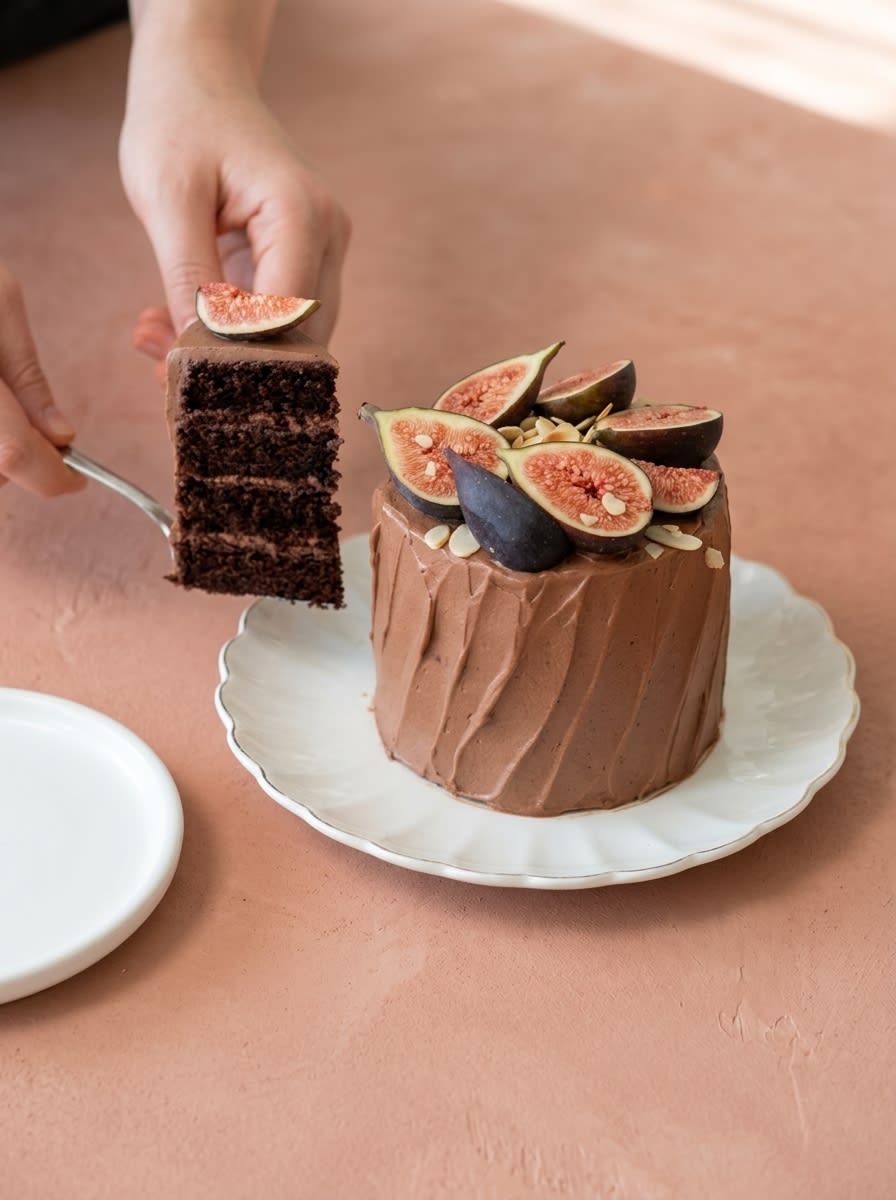
These Mini Chocolate Layer Cakes offer the ultimate sensory payoff without the burden of excessive leftovers. Baking in small-batch dimensions changes the structural game entirely, allowing the crumb to remain exceptionally soft and tender. By scaling down the pan size, you gain complete control over the heat distribution, resulting in level tops and clean, beautiful edges.
The Case for Making These Mini Chocolate Layer Cakes
Prep: 20 min · Serves: 1 · Difficulty: Easy
- Small-batch scale minimizes baking waste dramatically.
- Espresso bloom intensifies the deep cocoa flavor.
- Lightly whipped egg whites guarantee tender texture.
- Compact layers bake quickly and cool fast.
- Individual portions create elegant plate presentations.
This is the scaled-down chocolate masterpiece that proves less really is so much more. This petite bake delivers the same deep, rich satisfaction as my larger easy chocolate cake but keeps things elegantly focused. If you are tired of dry, oversized cakes that take up too much room in your refrigerator, scaling down is the ultimate creative solution.
Get The Full Cake Recipe
Print
Mini Chocolate Layer Cakes
- Total Time: 55 mins
- Yield: 2 mini cakes
- Diet: Vegetarian
Description
These decadent mini chocolate layer cakes feature an espresso-infused cocoa crumb that is exceptionally tender and moist. Perfectly portioned, this recipe uses a small-batch approach to ensure flawless results and an elegant presentation.
Ingredients
- 50g boiling water
- 15g instant espresso granules
- 15g cocoa powder
- 40g milk
- 30g flavourless oil
- 55g all-purpose flour
- 10g cornstarch
- 1/4 tsp baking soda
- 1/4 tsp baking powder
- 1 pinch salt
- 1 large egg, room temperature
- 50g white granulated sugar
- 100g heavy whipping cream
- 30g sugar (for frosting)
- 1.5 tbsp cocoa powder (for frosting)
- Fresh figs and almond slices for garnish
Instructions
- Bloom cocoa and espresso. Stir the instant espresso granules and cocoa powder into boiling water until dissolved; let cool completely to room temperature.
- Emulsify wet ingredients. Whisk the milk and oil into the cooled espresso-cocoa mixture until a uniform, dark emulsion forms.
- Whisk dry ingredients. In a separate bowl, whisk together the flour, cornstarch, baking soda, baking powder, and salt until evenly combined.
- Whip egg and sugar. Use a hand mixer to whip the egg and sugar until the mixture is pale, thick, and falls in ribbons.
- Combine and bake. Fold the chocolate emulsion into the egg mixture, sift in the dry ingredients, and divide between two 4-inch tins; bake at 340°F (170°C) for 25 minutes.
- Cool and level. Remove cakes from tins, cool completely, and use a serrated knife to trim the domed tops for even stacking.
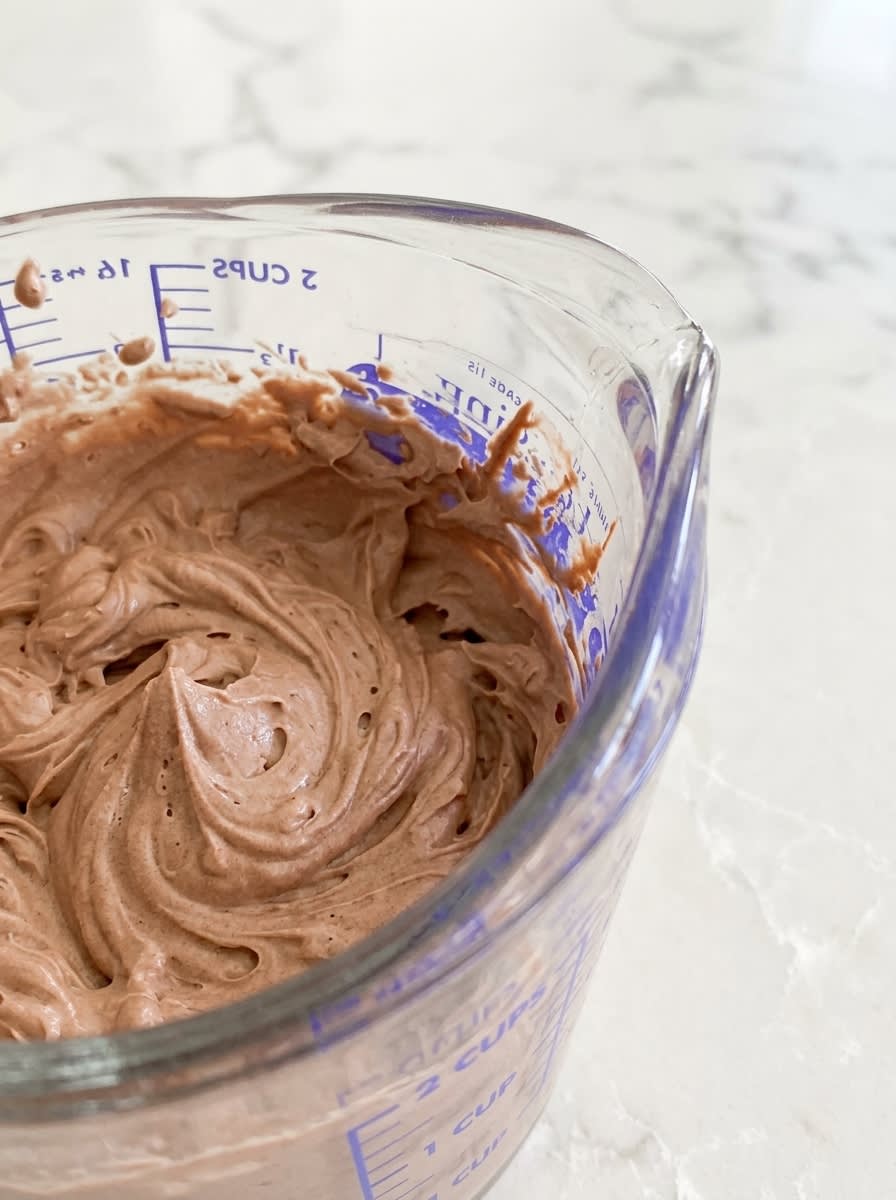
- Prepare the frosting. Whisk cocoa powder and sugar into the heavy cream, then whip on medium speed until medium-stiff peaks form.
- Assemble and decorate. Stack the layers with a generous amount of frosting in between, then frost the outside and garnish with fresh figs and toasted almond slices.
Notes
- Use a digital scale for precise measurement to ensure the delicate crumb structure is maintained.
- Ensure all ingredients are at room temperature to prevent the cocoa mixture from seizing during the mixing process.
- Chill the baked cake layers in the freezer for thirty minutes before slicing to achieve clean, crumb-free edges.
- If the frosting becomes grainy from over-whipping, gently fold in a small amount of liquid heavy cream to restore a smooth texture.
- Prep Time: 20 mins
- Cook Time: 25 mins
- Category: Dessert
- Method: Baking
- Cuisine: Modern
The Lineup
Every component in this small-batch recipe plays a specific chemical role, guaranteeing our bite-sized tiers achieve maximum moisture without collapsing. By weighing each item precisely on a kitchen scale, we eliminate the variance that typically plagues miniature bakes. Here is the carefully measured lineup of ingredients required to bring this deep, cocoa-rich creation to life.
- Instant espresso granules: These act as a flavor magnifier, deepening the natural complexity of the cocoa without leaving a distinct coffee taste in the finished crumb.
- Cocoa powder: Selecting a high-quality unsweetened cocoa provides the robust, bittersweet foundation that defines the overall character of our small-batch batter.
- Cornstarch: Whisking a small amount into our all-purpose flour weakens the gluten structure, resulting in a remarkably tender and delicate cake crumb.
- Whipping cream: Heavy cream provides the fat content and structural stability needed to whip up a luscious, stable cocoa frosting that holds its shape.
- Flavourless oil: Using liquid fat instead of butter keeps the cake exceptionally moist, even when chilled, by preventing the crumb from tightening up.
- Fresh figs and almond slices: These elegant toppings introduce a contrast of textures and a subtle, natural sweetness to the completed presentation.
| Ingredient | Why It Matters |
|---|---|
| Espresso Granules | Blooms the cocoa powder to release its deepest, roasted flavor notes. |
| Cornstarch | Weakens the gluten of all-purpose flour for a silkier crumb. |
| Flavourless Oil | Retains moisture at room temperature and prevents drying. |
| Whipping Cream | Forms stable, medium-stiff peaks that hold up the layers beautifully. |
The Method
Step 1: Bloom the Cocoa and Espresso
Boil your water and measure out fifty grams. Stir the instant espresso granules and fifteen grams of cocoa powder directly into the hot liquid until completely dissolved. You will notice a sudden release of deep, roasted aromas as the heat awakens the flavor compounds. Let this chocolate mixture cool completely to room temperature before moving forward so it does not cook the egg.
Step 2: Emulsify the Wet Liquids
Whisk forty grams of milk and thirty grams of flavourless oil into the cooled espresso-cocoa mixture. Stir vigorously until the liquids form a uniform, dark emulsion with no oily slick floating on top. This step makes sure that the fat is evenly distributed throughout the batter, which is critical for a uniform bake.
Step 3: Whisk the Dry Mixture
In a separate clean bowl, combine fifty-five grams of all-purpose flour, ten grams of cornstarch, a quarter teaspoon of baking soda, a quarter teaspoon of baking powder, and a pinch of salt. Whisk these dry elements together for at least thirty seconds to make sure the leavening agents are evenly dispersed. This dry base should look completely uniform, resembling a very light gray-brown powder.
Step 4: Whip the Egg and Sugar
Crack one large room-temperature egg into a third bowl and add fifty grams of white granulated sugar. Using a hand mixer, whip the mixture until it turns pale yellow, thickens slightly, and falls back into the bowl in ribbons. This step introduces vital air pockets that help our petite layers rise evenly in the oven.
Step 5: Bake Your Mini Chocolate Layer Cakes
Gently fold the cooled chocolate emulsion into the whipped egg mixture until they are fully integrated. Carefully sift the dry ingredients over the wet mixture, folding with a flexible spatula until a smooth, glossy batter forms. Divide the chocolate batter equally between two lined four-inch cake tins and bake at 340°F (170°C) for twenty-five minutes until a toothpick inserted into the center emerges clean.
Step 6: Cool and Slice the Tiers
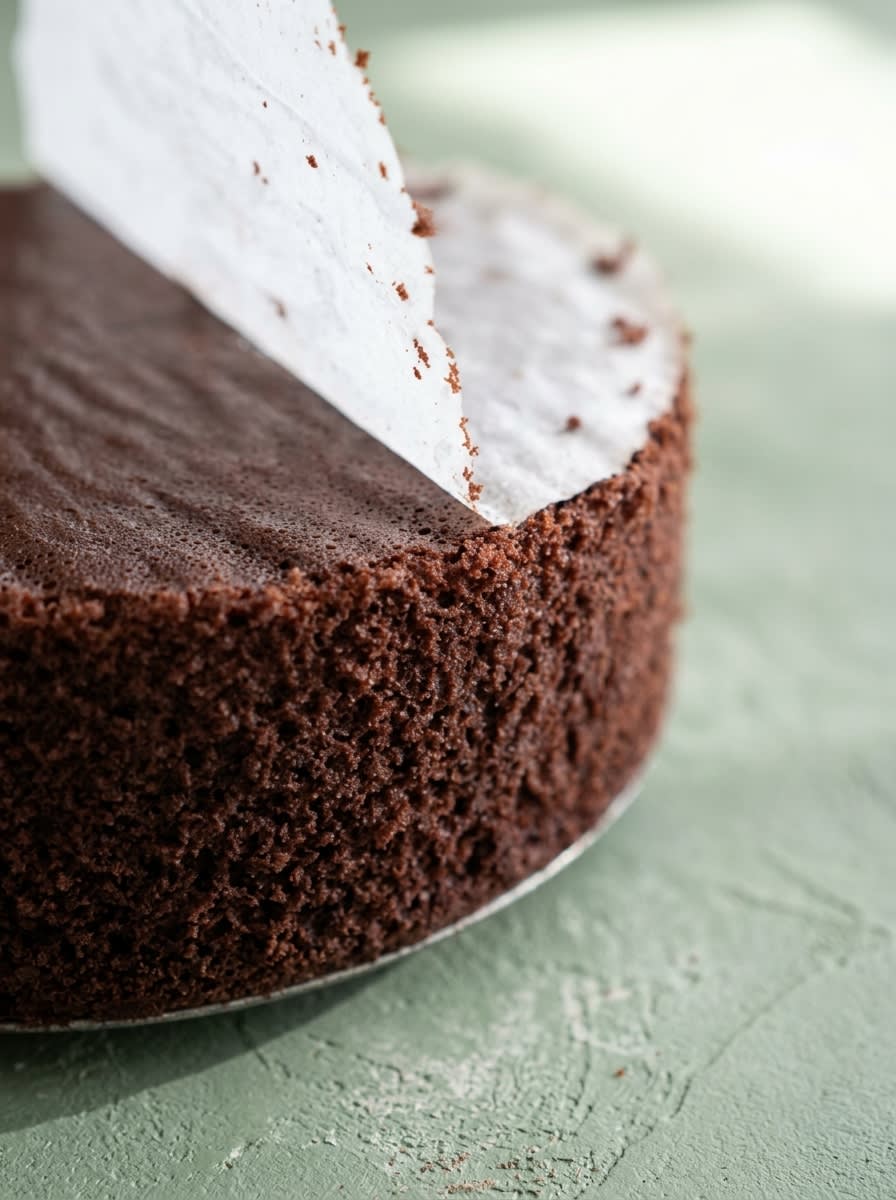
Remove the tins from the oven and let them rest on a wire rack for ten minutes before turning them out. Peel off the parchment paper carefully and let the layers cool completely to room temperature. Once cold, use a sharp serrated knife to slice each domed top off to create completely flat surfaces for stacking.
Step 7: Whip the Chocolate Frosting
In a chilled bowl, whisk one and a half tablespoons of cocoa powder with thirty grams of sugar to break up any stubborn clumps. Pour in one hundred grams of heavy whipping cream and stir slowly to dissolve the dry ingredients. Whip the mixture on medium speed until medium-stiff peaks form, guaranteeing the texture remains silky rather than grainy.
Step 8: Assemble and Decorate
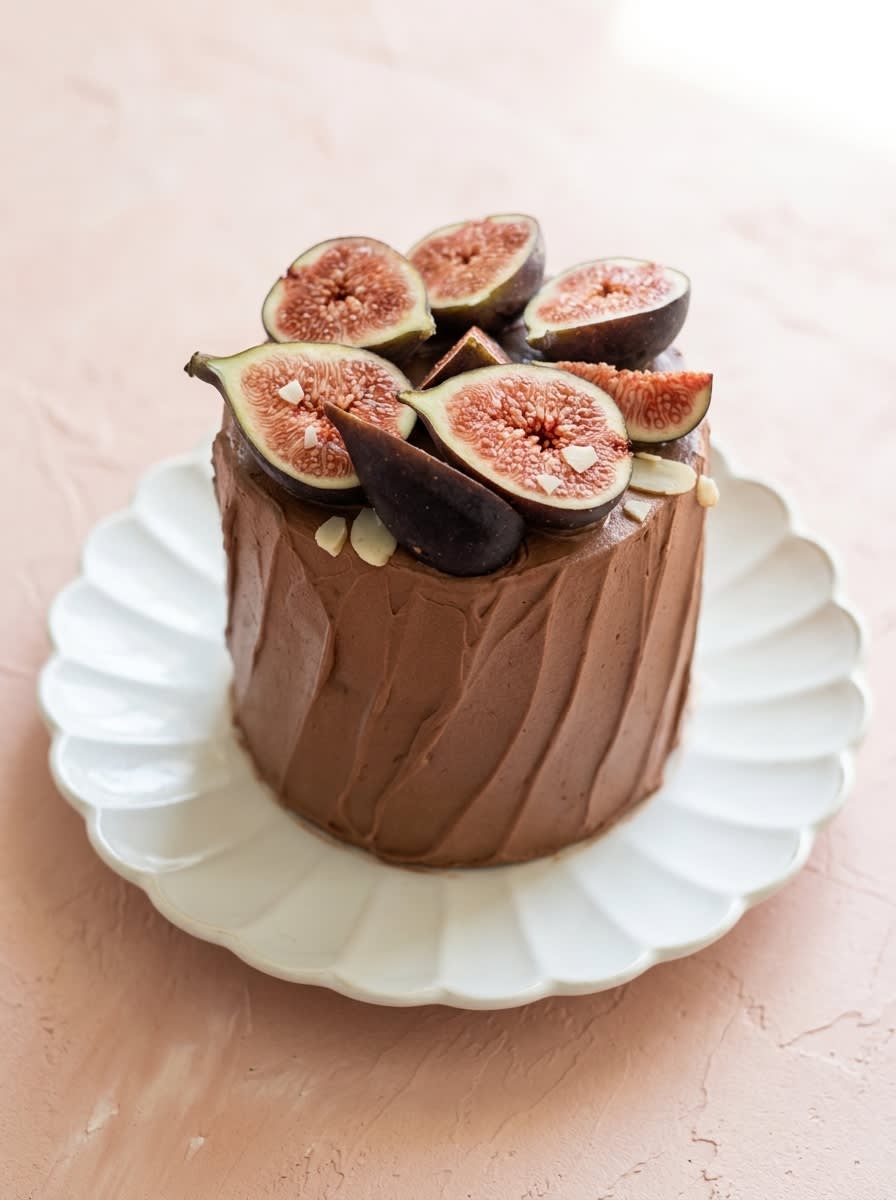
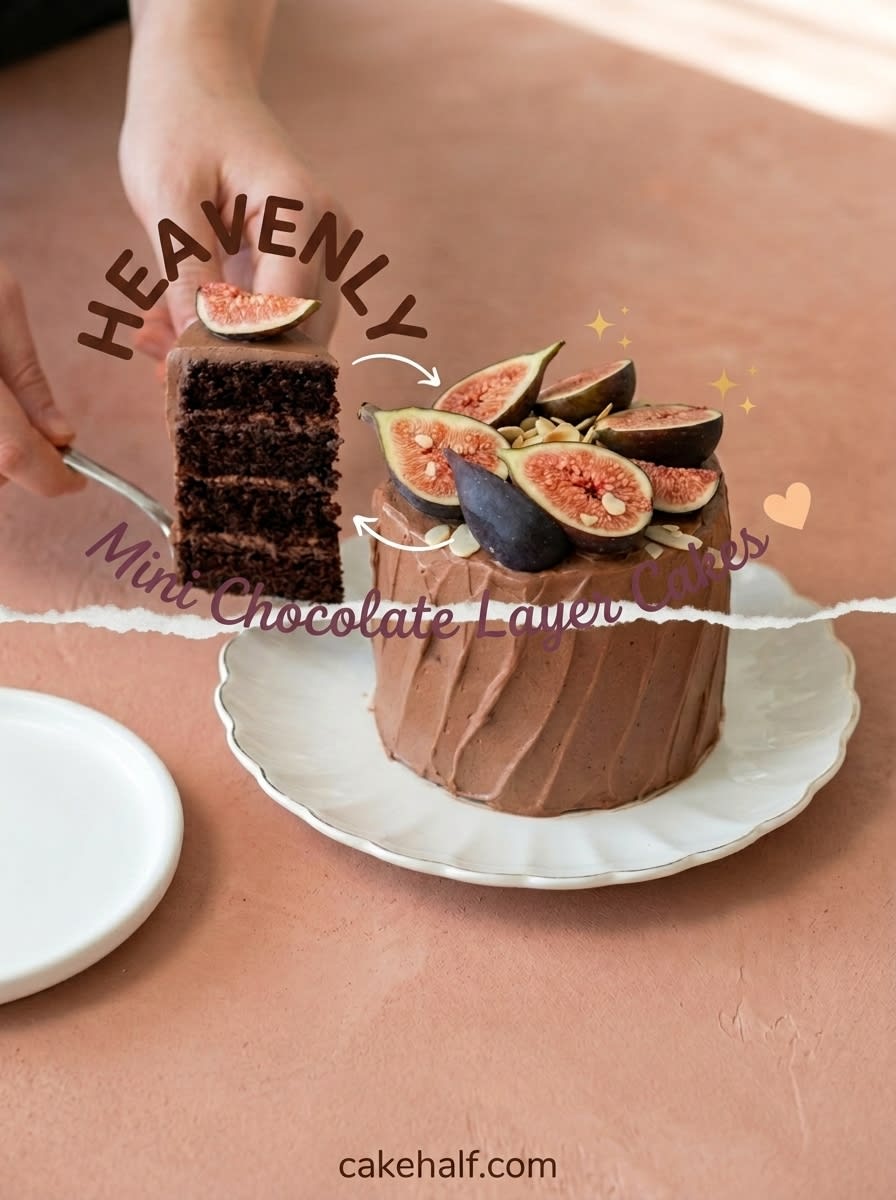
Place your first cake layer onto a serving plate and spread a generous layer of chocolate frosting over the top. Position the second layer directly on top, pressing down very gently to secure it. Frost the top and sides of the cake, then garnish with fresh sliced figs and toasted almond slices for a beautiful, textured finish.
The Details That Matter
Investing in a digital kitchen scale is the ultimate way to guarantee success with a small cake recipe. When you work with such small quantities, even a deviation of five grams of flour or milk can ruin the structural balance of the crumb.
If your whipping cream begins to separate and look grainy during the frosting step, here is why and how to fix it. This happens because the cream has been over-whipped, forcing the fat molecules to clump together. To save it, gently fold in a tablespoon of unwhipped, liquid heavy cream with a spatula to restore a smooth, glossy consistency.
Room temperature ingredients are non-negotiable for this recipe to emulsify correctly. Cold milk or eggs will cause the melted cocoa mixture to seize up, resulting in a dense batter that cannot rise properly.
If you find that your four-inch tins are baking unevenly, try wrapping them in wet cake strips before placing them in the oven. For further reading on troubleshooting these petite bakes, you can review this helpful mini single serving chocolate cake recipe to refine your technique.
Chilling the baked layers for thirty minutes in the freezer before slicing makes the process remarkably clean. Cold cakes produce far fewer crumbs and slice beautifully without tearing.
Avoid over-mixing the batter once the flour is added to prevent gluten development. Stop folding the second the last streak of flour disappears to keep the texture melt-in-your-mouth soft.
Frequently Asked Questions
How Do You Make Mini Chocolate Layer Cakes?
To make these petite treats, you dissolve cocoa and espresso in hot water, emulsify them with oil and milk, and combine with whipped eggs and dry ingredients. The batter is baked in small four-inch pans and then layered with freshly whipped cocoa cream.
What is the Best Frosting for a Mini Chocolate Layer Cake?
A light, cocoa-infused stabilized whipped cream works best because it provides a silky texture that does not overpower the delicate cake layers. You can also use a classic chocolate buttercream if you prefer a sweeter, more traditional finish.
How Many People Does a Mini Chocolate Layer Cake Serve?
A single four-inch cake typically serves one to two people, making it the perfect dessert for a date night or a personal celebration. If you cut thinner slices, you can easily share it among three people.
Why Do You Put Coffee or Hot Water in Chocolate Cake?
Hot liquid blooms the starch molecules in cocoa powder, which releases a much deeper chocolate flavor. The espresso granules do not make the cake taste like coffee; instead, they act as a natural flavor booster.
Can I freeze these miniature cake layers?
Yes, you can freeze the un-frosted layers by wrapping them tightly in plastic wrap and aluminum foil for up to three months. Thaw them in the refrigerator overnight before assembling and frosting.
What can I use if I do not have four-inch pans?
You can use large ramekins or clean, empty soup cans lined with parchment paper to achieve a similar miniature shape. Be sure to monitor the baking time closely, as different materials conduct heat differently.
How do I store the assembled cake?
Since the frosting is made with heavy whipping cream, you must store the completed cake in an airtight container in the refrigerator. It will stay fresh and moist for up to three days.
Rebel Swaps
If you prefer a fruit-forward profile, replace the fresh figs with fresh raspberries or a quick cherry compote between the layers. The sharp acidity of the berries cuts through the intense chocolate richness, offering a classic flavor profile. This approach works wonderfully if you are transforming this recipe into a cute, giftable bento cake for someone special.
Try swapping the instant espresso granules for a splash of pure orange extract in the batter. The combination of dark cocoa and bright citrus notes creates a sophisticated flavor profile reminiscent of high-end artisanal truffles. You can also garnish the top with candied orange peel instead of almonds.
Substitute the whipping cream frosting for a decadent dark chocolate ganache if you desire a heavier, richer dessert. Melt equal parts dark chocolate and heavy cream together, let it cool to room temperature, and spread it over the cake for a glossy, professional finish.
Cutting, Plating, Presenting
Presenting these miniature creations is all about highlighting their individual charm. Place each cake on a clean white dessert plate to let the dark chocolate tiers stand out visually. You can sift a light dusting of powdered sugar over the top right before serving to create a beautiful contrast against the fresh sliced figs.
Pair this dessert with a glass of dry red wine or a warm cup of espresso to complement the deep, roasted notes of the cocoa. The bitterness of the coffee beautifully balances the sweet, creamy layers of the whipped frosting. If you enjoy multi-textured desserts, serving a small slice alongside a velvety chocolate mousse cake creates a magnificent tasting experience.
To make clean cuts, run a sharp chef’s knife under hot water and wipe it dry before slicing. This heats the blade, allowing it to glide smoothly through the delicate layers of cake and whipped frosting. Wipe the blade clean between every single cut to keep the exposed cross-sections looking neat and professional.
The Takeaway
Baking is a science, but scale is where you can truly experiment with texture and flavor. This miniature chocolate recipe shows that you do not need a massive occasion to enjoy a decadent, freshly baked homemade chocolate cake. By mastering the balance of espresso blooming and gentle egg whipping, you can create a professional-quality dessert in your own kitchen.
Now it is your turn to head to the kitchen, weigh your ingredients, and bring this petite masterpiece to life. Share your baking triumphs and gorgeous cross-sections with our passionate community of flavor rebels. You can connect with us and find more inspiration on Pinterest, Facebook, and TikTok.