In the quiet morning of a Parisian patisserie, the most beautiful moments often begin with the rhythmic sound of a whisk against a copper bowl. There is a profound grace in the tradition of a birthday celebration, where the architecture of flour and butter becomes a vessel for memory. This particular recipe represents the mastery of the classic American celebration sponge, refined through the lens of French precision.

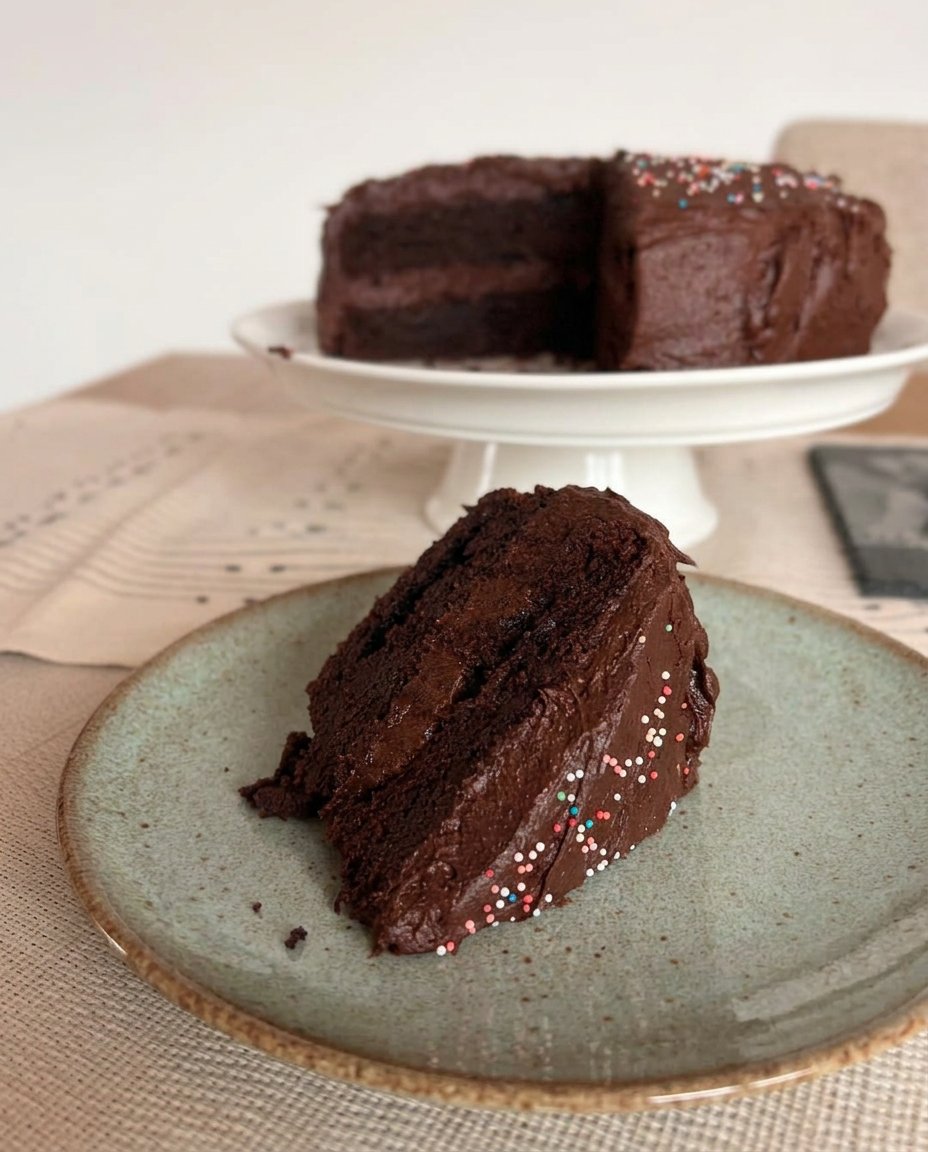
This cake offers a tender crumb that balances the playfulness of colorful sprinkles with a sophisticated, rich chocolate cream cheese frosting. By paying close attention to the temperature of your ingredients and the gentle physics of the mixing process, you will create a dessert that is far more than a simple treat. It is a testament to the beauty of small-batch baking and the joy found in fundamental techniques.
The Mastery of the Classic Celebration Sponge
You will find that this recipe respects the delicate balance required for a truly exceptional crumb. While many versions of this classic dessert rely on volume alone, our method focuses on the structural integrity provided by high-quality fats and the chemical harmony of buttermilk. The inclusion of vibrant sprinkles adds a touch of whimsy without compromising the sophisticated texture we strive for in a professional kitchen.
The chocolate cream cheese frosting serves as a refined counterpoint to the sweetness of the sponge. It provides a silky mouthfeel and a deep cocoa resonance that lingers pleasantly. This is not merely a cake for a party; it is a study in how simple ingredients, when treated with reverence and precision, can result in something truly extraordinary. You will appreciate the way the layers hold their shape while remaining incredibly moist, a hallmark of superior technique.
Print
Birthday Cake 2
- Total Time: 55 mins
- Yield: 12 servings
- Diet: Vegetarian
Description
This exquisite three-layer celebration sponge combines the nostalgic joy of a sprinkle-filled cake with the refined depth of a rich chocolate cream cheese frosting. Engineered for a perfect crumb using precise buttermilk and creaming techniques, it is a centerpiece designed for those who appreciate professional-quality home baking.
Ingredients
- 1 cup unsalted butter, softened to 65°F
- 2 cups granulated sugar
- 4 large eggs, room temperature
- 2 teaspoons pure vanilla extract
- 3 cups all-purpose flour
- 1 teaspoon baking soda
- 1 teaspoon baking powder
- 1/2 teaspoon salt
- 1 cup buttermilk, room temperature
- 1/2 cup colorful sprinkles (jimmies or quins)
- 8 oz full-fat brick cream cheese, softened
- 1/2 cup unsalted butter, softened (for frosting)
- 4 cups powdered sugar
- 1/2 cup unsweetened cocoa powder
Instructions
- Preheat your oven to 350°F (175°C) and prepare three 8-inch or 9-inch pans by greasing them with butter, dusting with flour, and lining the bottoms with parchment paper circles.
- In a stand mixer fitted with a paddle attachment, cream the softened butter on medium speed until smooth, then gradually add the sugar and beat for several minutes until the mixture is light, fluffy, and increased in volume.
- Incorporate the room-temperature eggs one at a time, beating thoroughly after each addition to maintain a stable emulsion, then stir in the vanilla extract.
- In a separate bowl, whisk together the flour, baking soda, baking powder, and salt to ensure even distribution of the leavening agents.
- Switching to manual stirring with a spatula, fold in the flour mixture and buttermilk in alternating batches, beginning and ending with the flour, to avoid overworking the gluten.
- Gently fold in the colorful sprinkles until just distributed, being careful not to let the colors streak through the white batter.
- Divide the batter evenly between the prepared pans and bake for 28-34 minutes (depending on pan size) until a skewer inserted into the center comes out clean; cool in the pans for 10 minutes before transferring to a wire rack.
- To prepare the frosting, beat the cream cheese and butter until creamy, add vanilla and salt, then gradually mix in the powdered sugar followed by the cocoa powder until the consistency is glossy and smooth.
Notes
To ensure a perfectly flat top for easy layering, try using wet cake strips around the exterior of your pans to regulate temperature during baking. Always allow your layers to become completely cold, or even chill them briefly in the refrigerator, before applying the chocolate cream cheese frosting to prevent it from melting or slipping.
- Prep Time: 25 mins
- Cook Time: 30 mins
- Category: Dessert
- Method: Baking
- Cuisine: American
The Foundation of Quality Ingredients

To achieve professional results, one must start with a thorough understanding of the components. Every gram of flour and every drop of vanilla contributes to the final architecture of the cake. When you choose your ingredients, look for the highest quality available, as small-batch baking allows no place for mediocrity to hide.
- Unsalted Butter: This is the heart of your cake’s flavor and texture. It must be softened to approximately 65°F (18°C) to allow for proper aeration during the creaming stage.
- Granulated Sugar: Beyond sweetness, sugar acts as a tenderizer. It interferes with gluten development and helps create that characteristic soft crumb.
- Large Eggs: Use eggs at room temperature to prevent the batter from curdling. They provide the protein structure necessary for the cake to rise and hold its shape.
- Pure Vanilla Extract: A high-quality extract or even vanilla bean paste provides a floral depth that synthetic imitations cannot match.
- All-Purpose Flour: This provides the necessary protein (gluten) for structure. Sifting it with the leavening agents makes certain that the lift is uniform across all three layers.
- Baking Soda and Baking Powder: This dual leavening system works with the acidity of the buttermilk to create a light, airy texture.
- Buttermilk: The acid in buttermilk breaks down long gluten strands, resulting in a cake that is remarkably tender. It also adds a subtle tang that balances the sugar.
- Colorful Sprinkles: Choose flat “quin” sequins or long “jimmies.” Avoid nonpareils, as their colors tend to bleed, muddying the pristine white of the sponge.
- Cream Cheese and Cocoa Powder: For the frosting, use full-fat brick cream cheese for stability and a natural, unsweetened cocoa powder for a deep, authentic chocolate flavor.
The Method of Precision Baking
Step 1: Preparation and Mise en Place
Begin by preheating your oven to 350°F (175°C). The environment must be stable before the cake enters. Prepare three 8-inch or 9-inch pans by greasing them with softened butter and dusting with flour. For the most professional finish, place a parchment paper circle at the bottom of each pan. This guarantees a clean release, which is vital for the structural integrity of your layers.
Step 2: The Art of Creaming
In the bowl of your stand mixer, place the softened butter. Using the paddle attachment, beat the butter on medium speed until it is smooth and pale. Gradually add the sugar and continue to beat for several minutes. This process, known as creaming, is not just about mixing; it is about forcing air into the fat. You are looking for a light, fluffy texture that has increased in volume.
Step 3: Emulsifying the Eggs
Add your room-temperature eggs one at a time. It is vital to beat the mixture thoroughly after each addition. This creates a stable emulsion between the water in the eggs and the fat in the butter. If the batter looks broken or curdled, your eggs may have been too cold or added too quickly. Once the eggs are incorporated, stir in the vanilla extract with a gentle hand.
Step 4: Sifting and Combining Dry Ingredients
In a separate bowl, whisk together the flour, baking soda, baking powder, and salt. Sifting these together ensures that the leavening agents are distributed evenly, preventing large air pockets or uneven rising. This step is a hallmark of the disciplined baker.
Step 5: The Alternating Addition Method
Turn off your electric mixer. From this point forward, use a large spoon or spatula to fold the ingredients. Add approximately one-fourth of the flour mixture and stir until just combined. Follow this with one-third of the buttermilk. Repeat this pattern, ending with the flour. This technique prevents overworking the gluten, which would result in a tough, bread-like texture. Scrape the sides and bottom of the bowl frequently to maintain a uniform batter.
Step 6: The Final Fold
Gently fold in your sprinkles. Do not over-mix here, as you want to distribute the colors without causing them to streak through the batter. The goal is a pristine white cake dotted with vibrant bursts of color.
Step 7: Baking and Cooling
Divide the batter evenly between your prepared pans. For 9-inch pans, bake for approximately 28 minutes; for 8-inch pans, 32 to 34 minutes. The cake is done when a wooden skewer inserted into the center comes out clean or with a few moist crumbs. Allow the cakes to rest in their pans for 10 minutes before inverting them onto a wire cooling rack. They must be completely cold before you even think of frosting them.
Step 8: Crafting the Chocolate Cream Cheese Frosting
Beat the softened butter and cream cheese together until perfectly creamy. Add the vanilla and salt. With the mixer on its lowest setting, gradually add the powdered sugar to avoid a cloud of dust. Once the sugar is incorporated, fold in the cocoa powder. Beat until the frosting is glossy and smooth. This frosting is rich and stable, perfect for piping or a rustic offset spatula finish.
Precision Secrets for the Perfect Crumb

Temperature is perhaps the most overlooked ingredient in the kitchen. When a recipe calls for room temperature, it is not a suggestion but a requirement for chemical success. If your buttermilk is cold, it will seize the butter, leading to a heavy cake. For those looking to master the basics of traditional recipes, understanding the yellow cake with chocolate frosting technique can provide a wonderful foundation for these more complex builds.
Another secret to a flat, professional cake top is to avoid over-beating the batter once the flour is added. The moment the dry ingredients meet the wet, gluten begins to form. By switching to manual stirring at the end, you maintain total control over the texture. If you find your cake is doming too much in the center, try using wet cake strips around the outside of the pans to slow down the baking of the edges.
Refined Twists on the Classic Theme
While the sprinkle-studded sponge is a delight, you can adapt this recipe to suit many sophisticated palates. One elegant variation is to add the finely grated zest of two organic lemons to the butter and sugar during the creaming stage. This citrus note pairs beautifully with the tangy buttermilk. For more inspiration on colorful bakes, you might look at our lemon rainbow cake which uses similar principles of color and light texture.
For a more decadent profile, consider replacing the colorful sprinkles with finely chopped toasted pistachios or high-quality dark chocolate shavings. You may also swap the chocolate frosting for a simple vanilla bean Swiss meringue buttercream if you prefer a less rich finish. The beauty of a well-mastered base recipe is that it allows for endless creativity while maintaining its structural excellence.
The Art of Presentation

When serving a three-layer cake, presentation is as important as the bake itself. To achieve clean, professional slices, use a long serrated knife dipped in hot water and wiped dry between every single cut. This prevents the frosting from smearing across the colorful interior of the cake. For a touch of nostalgia, you might consider the aesthetic of a vintage cake with ornate piping and delicate borders.
Pair a slice of this cake with a dry sparkling wine or a light Earl Grey tea. The effervescence of the wine or the tannins in the tea will cleanse the palate between bites of the rich chocolate frosting. Serve each slice on a chilled porcelain plate to maintain the integrity of the cream cheese frosting, especially during warmer months.
The Final Touch of Mastery
Baking a celebration cake is an act of devotion, a way to show care through the precision of your craft. As you master this recipe, you will find that the small details—the temperature of the butter, the gentle fold of the flour—are what define the difference between a good cake and a masterpiece. To continue your journey into the world of refined baking, I invite you to study our other celebration cakes for more technical guidance. You may also find further inspiration in this birthday cake recipe which explores similar classic flavors. I would be honored to see your creations; please share your progress with our community on Instagram, Facebook, or Pinterest. Happy baking, and may your kitchen always be a place of quiet excellence.

