Many years ago, during a quiet afternoon in a small patisserie near the Tuileries, I witnessed the assembly of a tray of delicate cakes with wings of sponge. These treats, often called fairy cakes, represent the pinnacle of simple elegance when executed with the correct technique and a patient hand. This butterfly cake recipe focuses on the delicate balance between a light, aerated crumb and a silky, buttery finish.

In our small-batch approach, every motion matters, from the temperature of the butter to the gentle fold of the flour. We are not merely making a snack; we are perfecting a classic technique that yields a texture far superior to anything found in a commercial bakery. By following these precise steps, you will create a sponge that is as light as the wings of the butterflies it mimics.
Mastering the Classic Butterfly Cake
There is a profound satisfaction in creating a dessert that feels both nostalgic and technically perfect. The butterfly cake is a masterclass in the creaming method, a fundamental skill for any serious home baker. When you master this technique, you gain the ability to create sponges that are consistently airy and tender, regardless of the occasion.
This recipe is particularly rewarding because of its visual charm and the refined textures it offers. Unlike a heavy pound cake, the butterfly cake relies on a carefully built emulsion of fat and sugar to create a melt-in-the-mouth sensation. It is the perfect project for those who value the quiet precision of British baking traditions viewed through a lens of French pastry excellence.
Moreover, making these in a small batch of twelve allows you to focus on the fine details. You can monitor the aeration of your butter and sugar more closely, and you can ensure that each egg is fully incorporated before the next is added. This level of attention results in a crumb that is uniform, delicate, and truly professional in its quality.
Print
Butterfly Cake
- Total Time: 40 mins
- Yield: 12 cakes
- Diet: Vegetarian
Description
Delicate and airy, these classic butterfly cakes combine a light vanilla sponge with a silky buttercream filling. Perfect for afternoon tea, these treats feature ‘wings’ made from the sponge itself, dusted with a fine layer of icing sugar for an elegant finish.
Ingredients
- 300g salted butter, softened
- 175g caster sugar
- 3 large eggs, room temperature
- 175g self-raising flour
- 1 teaspoon vanilla extract
- 4 tablespoons whole milk
- 250g icing sugar
Instructions
- Preheat oven to 180°C (350°F) and line a 12-hole muffin tin with paper cases.
- Beat 175g of butter and the caster sugar together for 3 to 5 minutes until the mixture is exceptionally pale and fluffy.
- Add the eggs one at a time, beating for at least one full minute after each addition to establish a stable emulsion.
- Stir in 2 tablespoons of the milk using a gentle hand to soften the batter.
- Sift in the self-raising flour and add the vanilla extract, then use a silicone spatula to fold the flour in by hand using a ‘J’ motion.
- Divide the batter evenly among the 12 paper cases, filling each about two-thirds full.
- Bake in the center of the oven for 18 to 22 minutes until golden brown and the tops spring back.
- Transfer the cakes to a wire rack to cool completely.
- Prepare the buttercream by beating the remaining 125g of butter with the icing sugar and remaining 2 tablespoons of milk until stiff.
- Cut a shallow circle out of the top of each cake, slice it in half to create wings, fill the hollow with buttercream, and press the wings into the frosting at an angle.
Notes
To ensure the lightest possible sponge, make sure your eggs and butter are at a similar room temperature (ideally 19°C) before you begin the creaming process. If the batter begins to curdle when adding eggs, add a tablespoon of your weighed flour to help stabilize the emulsion. Always use a small serrated knife for the ‘butterfly cut’ to avoid compressing the delicate crumb of the cooled cakes.
- Prep Time: 20 mins
- Cook Time: 20 mins
- Category: Dessert
- Method: Baking
- Cuisine: British
The Foundation of Quality Ingredients

To achieve a pastry-shop result, the quality of your ingredients must be beyond reproach. Each component plays a specific role in the structure and flavor of your butterfly cake, and understanding these roles is the first step toward mastery.
- Salted Butter (300g total): Use a high-fat European-style butter if possible. The butter must be soft enough to yield to a gentle press but not so warm that it appears oily. We use 175g for the sponge and 125g for the buttercream.
- Caster Sugar (175g): Also known as superfine sugar, its small crystals dissolve quickly into the butter, creating millions of tiny air pockets that provide the lift for our cakes.
- Large Eggs (3): Your eggs must be at room temperature to prevent the batter from curdling. They act as the primary emulsifier, binding the fat and liquids together.
- Self-Raising Flour (175g): This flour provides the necessary structure and built-in leavening agents. If you must make your own, whisk together all-purpose flour with 2 teaspoons of baking powder and a pinch of salt.
- Vanilla Extract (1 tsp): Choose a pure extract or vanilla bean paste for a deep, aromatic profile. This floral note balances the richness of the butter.
- Whole Milk (4 tbsp): A small amount of milk softens the crumb and helps the batter reach the perfect dropping consistency.
- Icing Sugar (250g): This finely milled sugar creates a smooth, velvet-like buttercream that holds its shape for the wings.
When these ingredients are brought together with care, the result is a cake that stands as a testament to the beauty of fundamental baking techniques.
The Method of Precision
Step 1: Prepare the Environment
Set your oven to 180°C (350°F) and confirm it is fully preheated before you begin. Place 12 paper cases into a standard muffin tin; this provides the necessary support for the batter as it expands. Preparing your space allows you to move through the recipe without interruption, which is vital for maintaining the air you will beat into the batter.
Step 2: Aerate the Butter and Sugar
In a large mixing bowl, combine 175g of room-temperature butter and 175g of caster sugar. Use an electric whisk or a stand mixer to beat these together until the mixture is exceptionally pale and fluffy. This step should take about 3 to 5 minutes; you are looking for a texture that resembles soft whipped cream, as this air is what makes the cakes light.
Step 3: Establish the Emulsion
Add your eggs one at a time, beating for at least one full minute after each addition. This patience is necessary to create a stable emulsion between the fat in the butter and the water in the eggs. If the batter appears to split or curdle, do not worry; simply continue beating at a medium speed until it smooths out again.
Step 4: Soften the Batter
Stir in 2 tablespoons of the milk using a gentle hand. This liquid begins to thin the batter slightly before the flour is added, making it easier to incorporate the dry ingredients without over-working the mixture. The goal is to keep the batter supple and responsive.
Step 5: Incorporate the Flour and Vanilla
Sift 175g of self-raising flour into the bowl and add the vanilla extract. At this stage, put away your electric mixer and use a silicone spatula to fold the flour in by hand. Use a ‘J’ motion—cut down through the center, scrape the bottom, and fold over the top—until no streaks of flour remain. This protects the delicate air bubbles we worked so hard to create.
Step 6: Portion with Care
Divide the batter evenly among the 12 cases. An ice cream scoop is a wonderful tool for this, as it ensures each cake is the same size, leading to even baking. Fill each case about two-thirds full, allowing room for the sponge to rise into a gentle dome.
Step 7: The Bake
Place the tin in the center of the oven and bake for 18 to 22 minutes. The cakes are finished when they are a beautiful golden brown and the tops spring back when lightly pressed with a fingertip. Avoid opening the oven door during the first 15 minutes to prevent the cakes from sinking.
Step 8: Cooling and Buttercream Prep
Transfer the cakes to a wire rack to cool completely. While they rest, prepare the buttercream by beating the remaining 125g of butter with 250g of icing sugar and the remaining 2 tablespoons of milk. Beat until the frosting is white and stiff enough to hold a sharp peak.
Step 9: The Butterfly Cut
Once the cakes are cold, use a small, sharp knife to cut a shallow circle out of the top of each cake. Remove this small cone of sponge and slice it in half vertically to create two wings. You should now have a small hollow in the top of each cake ready for the filling.
Step 10: Final Assembly
Place a generous dollop of buttercream into the hollow of each cake. Press the two ‘wings’ into the frosting at an angle so they resemble a butterfly in flight. Finish with a light dusting of icing sugar for a professional, elegant touch.
Pastry Wisdom for Perfect Wings

The secret to a truly remarkable butterfly cake lies in the plasticity of your butter. If the butter is too cold, it will not trap air efficiently; if it is too hot, the cakes will be oily and flat. Aim for a temperature around 19°C (66°F) for the best results. Additionally, when cutting the tops of the cakes, use a small serrated knife to ensure a clean cut without squashing the delicate sponge. For those looking to master even more complex designs, these techniques are foundational for creating celebration cakes that impress every guest. Make certain you also check the consistency of your buttercream; if it is too soft, the wings will slide down the sides rather than standing tall.
Refined Twists on a Classic
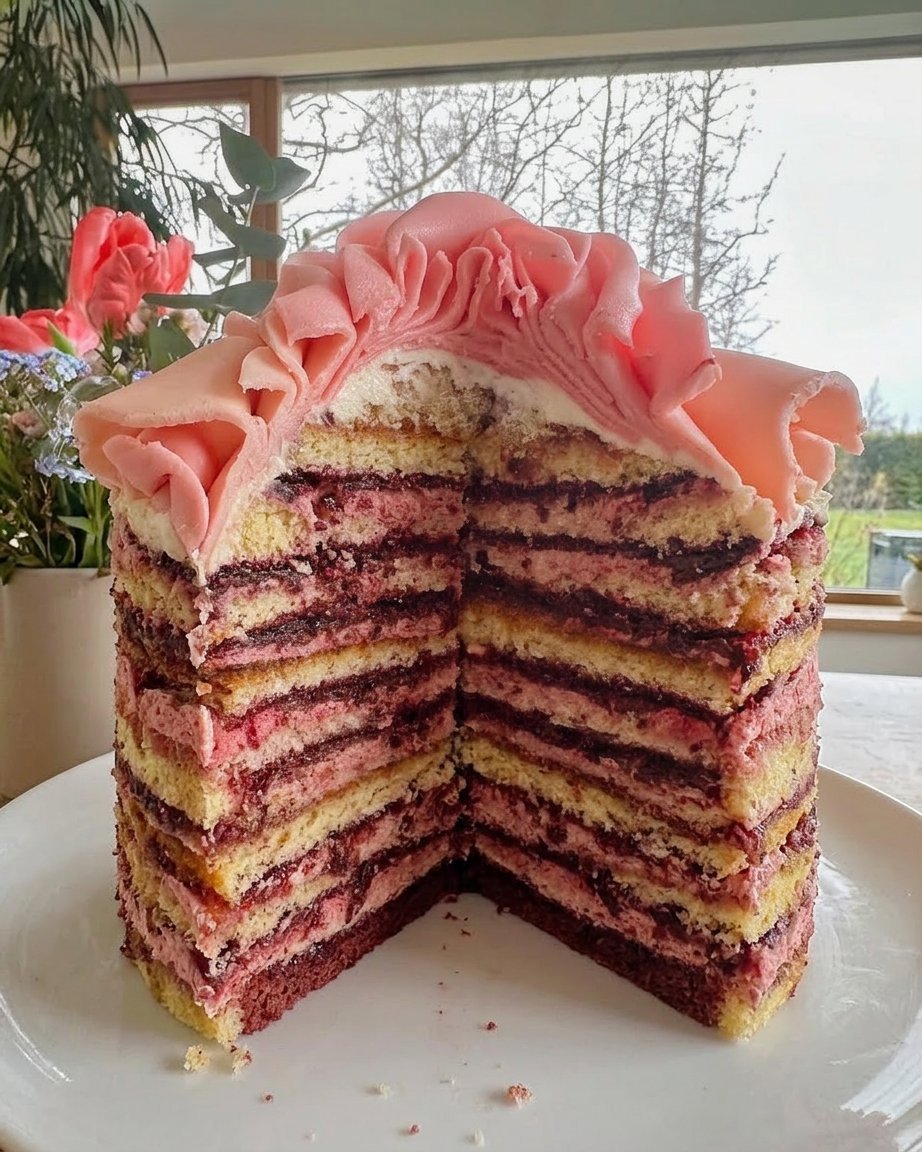
While the vanilla version is a timeless treasure, you may wish to try different flavor profiles to suit the season. Adding the finely grated zest of a lemon to the batter provides a bright, citrusy lift that pairs beautifully with a raspberry jam hidden beneath the buttercream. For a more modern approach, you might follow this guide for an Easy Butterfly Cake which offers creative ways to color the wings. You could also try a floral variation by adding a drop of lavender essence to the frosting, a technique we often use when preparing our lemon rainbow cake to add a layer of sophistication to the palate.
The Art of Presentation

To serve these cakes in the true French style, arrange them on a tiered porcelain stand. The height adds a sense of occasion to a simple afternoon tea. They are best enjoyed with a high-quality Darjeeling or a light floral infusion that does not overwhelm the delicate vanilla notes. For a more romantic setting, you might pair them with our heart cake as part of a larger dessert buffet. Always serve the cakes at room temperature to ensure the buttercream is soft and the flavors of the butter are fully expressive.
The Art of Small Batches
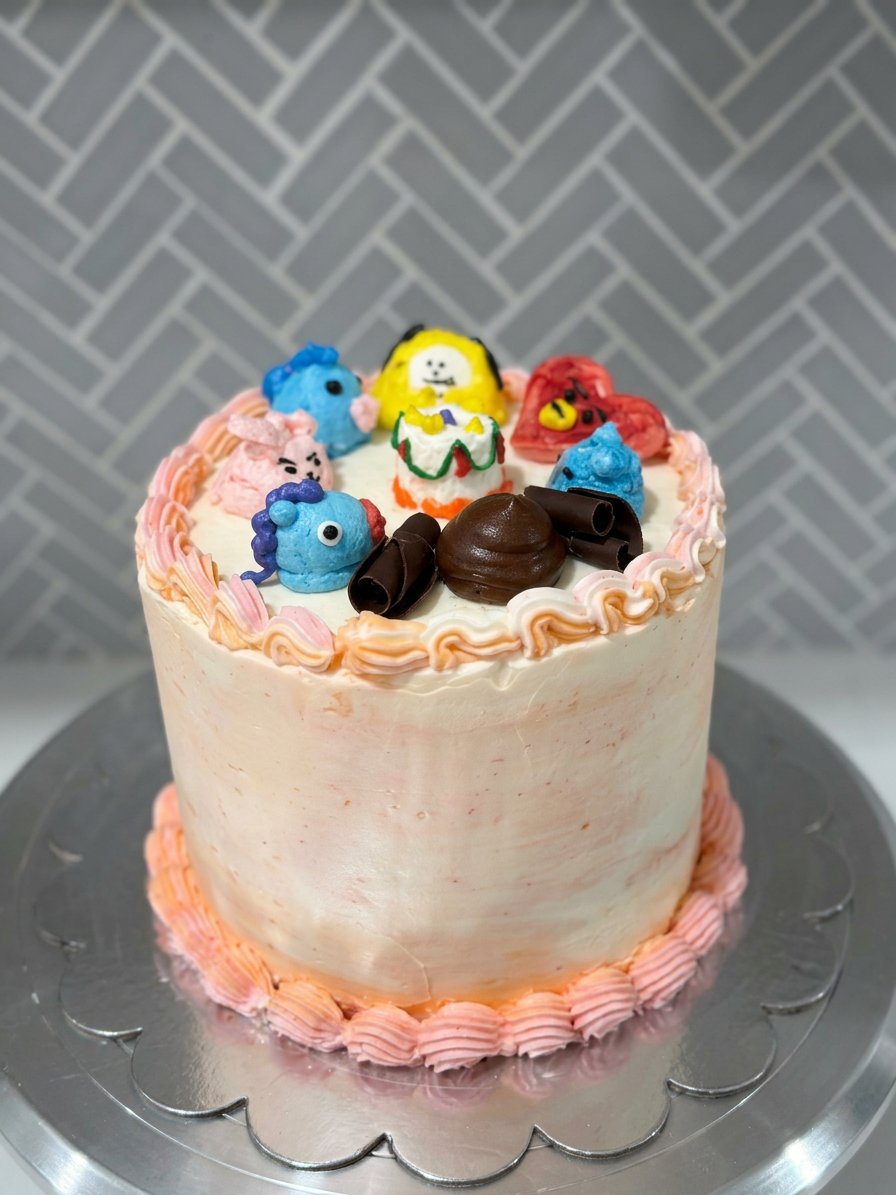
Mastering the butterfly cake is a journey into the heart of classic baking. By focusing on the precision of the creaming method and the gentle handling of the flour, you have created something far more valuable than a simple dessert—you have practiced the art of patience and care. If you enjoyed this project, you might find similar joy in constructing a car cake for your next gathering. Please share your beautiful creations with our community of bakers on Instagram, Pinterest, and Facebook. We look forward to seeing your technical mastery in action.


