What if the best part of the cake wasn’t the fluffy crumb, but the dense, fudgy bite you usually only get by accident? I’ve always believed that texture is just as important as taste, and sometimes you have to break a perfectly good cake to prove it. These bite-sized rebels take the familiar comfort of yellow cake and condense it into a rich, truffle-like explosion that challenges everything you think you know about baking.

We are ditching the forks and going straight for the good stuff. By mixing crumbled yellow cake with rich buttercream and a riot of rainbow sprinkles, we create a dense, doughy center that gets locked inside a snappy white chocolate shell. It’s precise, it’s messy in the best way, and it’s exactly the kind of kitchen experiment that makes small-batch baking so thrilling.
Why These Little Rebels Rule the Kitchen
Forget the idea that cake needs to be airy and light. We are leaning hard into the dense, fudgy texture that makes truffles so addictive. The contrast here is the real winner—the sharp *snap* of the white chocolate coating against the soft, confetti-flecked interior creates a sensory experience that a standard slice just can’t match.
Plus, this is the ultimate “play with your food” recipe. It turns a standard box mix into a canvas for creativity. Whether you’re making them for a party or just need a sweet bite to stash in the freezer for emergencies, these cake balls deliver maximum flavor impact without the commitment of a whole slice.
Print
Cake Balls
- Total Time: 3 hours 10 mins
- Yield: 48 balls
- Diet: Vegetarian
Description
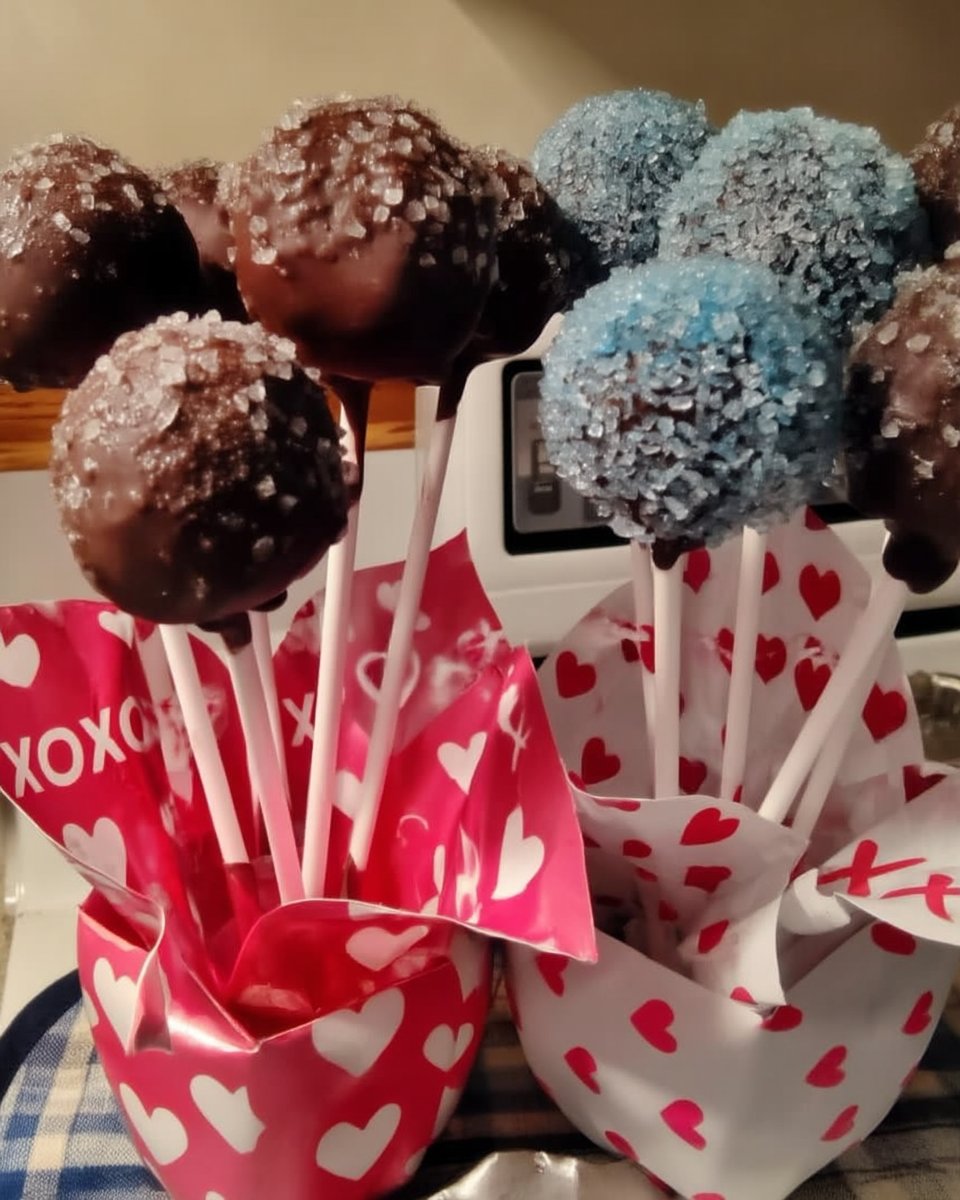
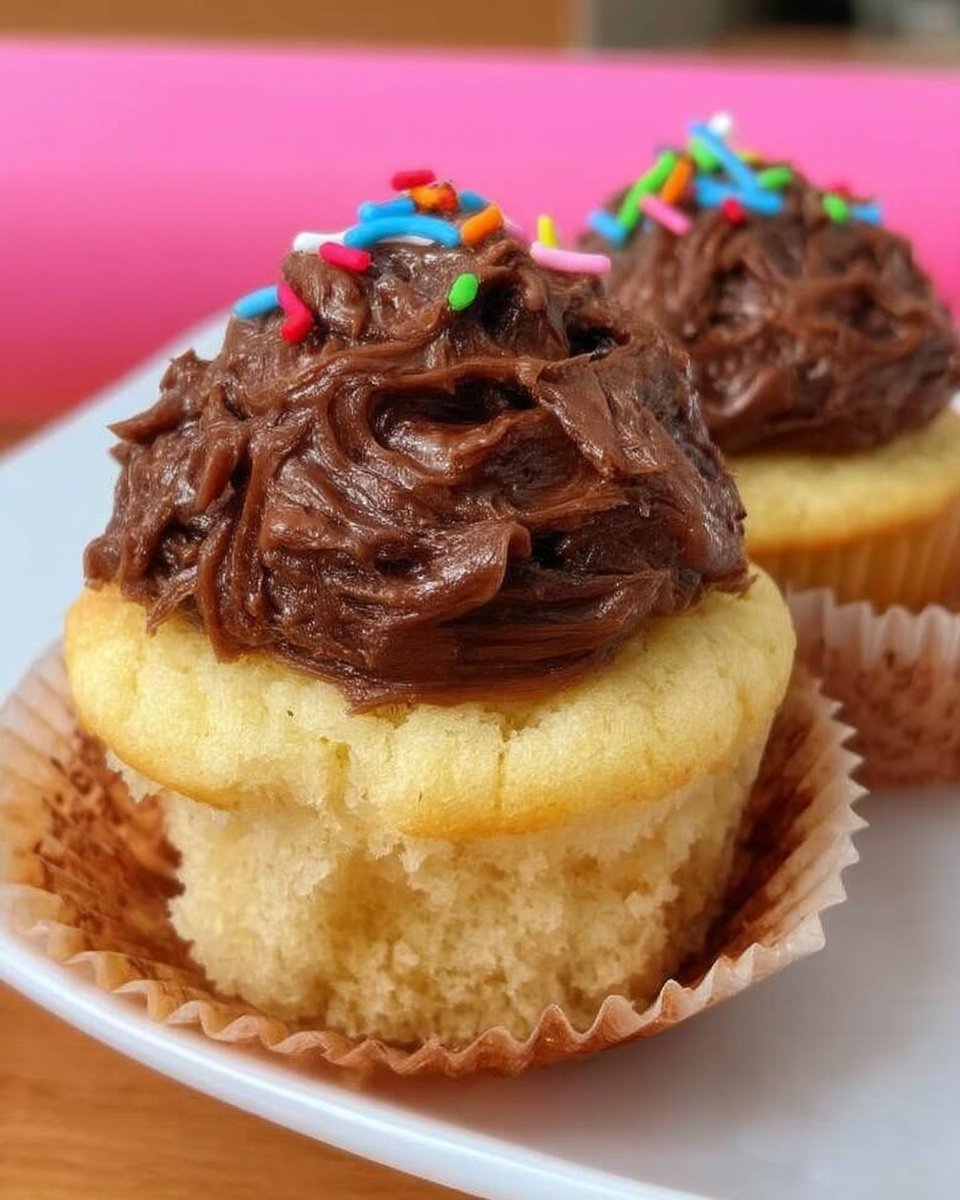
These festive cake balls transform a simple yellow cake into dense, fudgy truffles coated in a crisp white chocolate shell. Packed with rainbow sprinkles, they offer a delightful snap and a rich, melt-in-your-mouth interior that is perfect for any celebration.
Ingredients
- 15.25 oz Yellow Cake Mix
- 1 cup + 2 tbsp Buttercream Frosting
- 12 oz White Chocolate Melting Disks
- 1 ½ cups Rainbow Jimmies
Instructions
- Bake the yellow cake according to package directions and let it cool completely.
- Crumble the cooled cake into fine crumbs in a large bowl.
- Mix in the buttercream frosting and 1/2 cup of rainbow jimmies until the mixture reaches a dough-like consistency.
- Roll the mixture into 1-tablespoon sized balls and place them on a baking sheet.
- Freeze the cake balls for 60 minutes to ensure they stay intact during dipping.
- Melt the white chocolate in the microwave in 30-second intervals until smooth.
- Dip each frozen ball into the chocolate using a fork, tapping off any excess.
- Place on parchment paper, drizzle with extra chocolate, and top with remaining sprinkles before the coating sets.
Notes
To ensure a perfectly smooth finish, allow the melted chocolate to cool slightly so it is not piping hot when dipping the frozen centers. If the cake mixture feels too dry to roll, add an extra tablespoon of frosting at a time until it holds its shape. These treats store beautifully in the refrigerator for up to a week or in the freezer for a quick sweet snack later.
- Prep Time: 20 mins
- Cook Time: 30 mins
- Category: Dessert
- Method: Dipping
- Cuisine: American
The Flavor Arsenal

We aren’t reinventing the wheel here, just making it roll a lot smoother. Here is what you need to pull this off:
- Yellow Cake Mix (15.25 oz): The backbone of our operation. It provides that nostalgic, buttery vanilla base we need.
- Buttercream Frosting (1 cup + 2 tbsp): This is the glue. It transforms dry crumbs into fudgy gold. Homemade is great, but store-bought works if you’re in a pinch.
- White Chocolate Melting Disks (12 oz): Do not skimp on quality here. You want a coating that melts smooth and snaps hard.
- Rainbow Jimmies (1 ½ cups total): We are putting them *inside* for texture and *outside* for that classic celebration look.
How to Engineer the Perfect Bite
Step 1: Bake and Destroy
Bake your yellow cake according to the package directions. Once it’s out of the oven, let it cool completely. Then comes the fun part: destroy it. Crumble that cake into a large bowl until it’s nothing but fine crumbs.
Step 2: The Binding Agent
Add your buttercream frosting and ½ cup of the rainbow jimmies to the crumbs. Mix it all together—get your hands in there if you have to—until fully combined. You want a consistency that holds together like playdough.
Step 3: Roll and Freeze
Roll the mixture into 1-tablespoon sized balls. Place them on a baking sheet and freeze for exactly 60 minutes. Do not skip this! If they aren’t frozen, they will disintegrate in the warm chocolate.
Step 4: The Dip
Melt the white chocolate in a microwave-safe bowl in 30-second increments, stirring in between until silky smooth. Place a frozen cake ball on a fork and dip it into the chocolate. Tap the fork on the edge of the bowl to shake off excess coating.
Step 5: The Artistic Finish
Place the dipped ball onto a parchment-lined sheet. For a pro finish, put some extra melted chocolate in a small ziplock bag, snip the corner, and zig-zag a drizzle over the top. Hit it with the remaining sprinkles before it hardens completely.
Riley’s Rules for Dipping Success

Temperature is your best friend and your worst enemy here. If your coating is too hot and your balls are too cold, you might get cracks. If the balls are too soft, they fall apart. It’s a balancing act.
- The Fork Tap: When dipping, don’t just wait for the chocolate to drip off. Tap the handle of your fork against the side of the bowl vigorously. This thins the shell and prevents that annoying pool of chocolate at the bottom of the truffle.
- Keep ‘Em Cold: Only pull a few balls out of the freezer at a time. If they sit out too long while you’re dipping the first batch, the last batch will get too soft.
- Flavor Hack: Want to add more depth? Swap the standard buttercream for the frosting from my yellow cake with chocolate frosting to add a cocoa punch to the interior.
Twist It Up
Once you nail the technique, the flavor combinations are endless. This is where you get to be the rebel.
- The Chocoholic: Swap the yellow cake for a dark chocolate mix and dip in semi-sweet chocolate. If you really want to go bold, use my chocolate fudge cake as the base for a richer, denser truffle.
- Red Velvet: Use red velvet crumbs and cream cheese frosting. Dip in white chocolate for a stark color contrast when you bite in.
- Boozy Bites: Add a tablespoon of bourbon or rum to the cake-and-frosting mixture before rolling. It adds a warmth that cuts through the sugar.
Showtime

These cake balls are the ultimate party trick because they look impressive but are easy to eat while mingling. Serve them in mini muffin liners for a polished look, or pile them high on a platter for a “grab and go” vibe.
Flavor-wise, they are incredibly sweet, so I love pairing them with something bitter. A shot of espresso or a dark stout beer cuts right through the sugar and balances the palate. If you are planning a dessert table, these sit perfectly alongside other modern mini cakes for a spread that lets people sample a bit of everything without committing to a full slice.
The Final Bite
There is something satisfying about taking a perfectly good cake, destroying it, and rebuilding it into something even better. These cake balls are proof that you don’t always have to follow the standard slice-and-serve rules to make something delicious.
If you enjoyed this texture experiment, you might want to try a similar concept with my Ferrero Rocher cake, which plays with that same hazelnut crunch. And if you’re looking for even more truffle inspiration, check out this great guide from Dinner, Then Dessert.
Show me your creations! Tag me on Instagram or pin your batch to Pinterest. I want to see how bold you went with those sprinkles.

