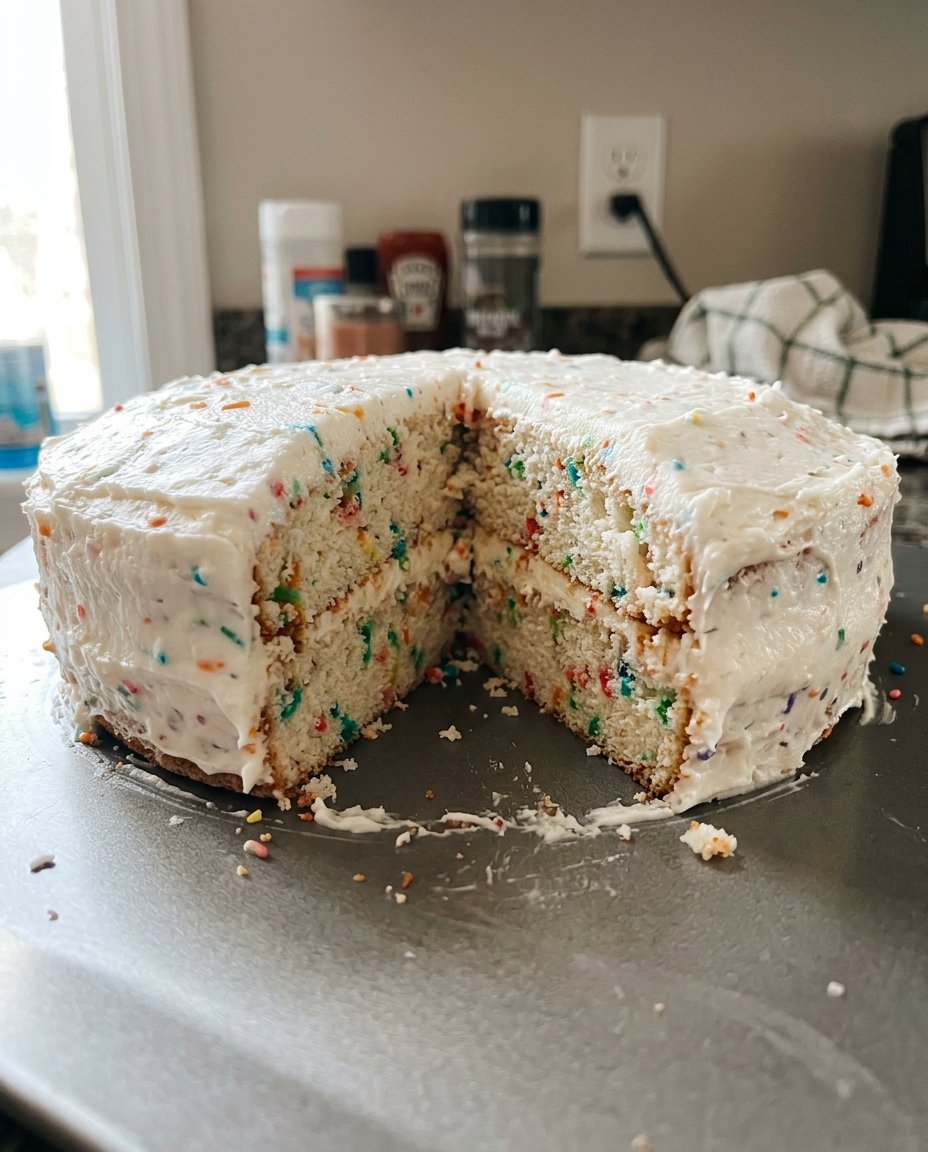
I was staring at a crumb-filled mess of a vanilla cake when I realized the old-school rules of frosting were actually holding my creativity back. What if I stopped fighting the crumbs and started commanding them with a technique that felt as fast and satisfying as a camera shutter? That is how I mastered the Cake Snap, a method that turns a chaotic, messy bake into a professional-tier masterpiece with zero stress and maximum attitude.

This process isn’t just about slapping sugar on flour; it’s about the architecture of flavor and the pure satisfaction of a clean finish. Whether you are a seasoned pro or a weekend rebel looking to make a statement, this guide to the ultimate Cake Snap will change how you build cakes forever. We are talking about stability, style, and a finish so smooth it looks like it was generated by a computer—except it tastes way better.
Why the Cake Snap is a Total Game-Changer
If you have ever felt the frustration of your cake layers sliding around like they are on ice, the Cake Snap is your new best friend. This technique is all about structural integrity and visual impact. Most people treat frosting as an afterthought, but we treat it as the glue that holds our culinary rebellion together. It provides a level of precision that makes even the simplest vanilla sponge look like a high-end boutique creation.
What makes this method so fearless is that it removes the fear of the “crumb disaster.” We have all been there—trying to spread beautiful white buttercream only to have little specks of brown cake ruin the vibe. The Cake Snap method locks those crumbs in their place, creating a canvas that is ready for any artistic explosion you can dream up. It is about taking control of your kitchen and proving that small-batch baking can have big-league results.
Beyond the looks, this method improves the eating experience. By leveling and stacking with intention, you create a perfect ratio of cake to frosting in every single bite. No more giant pockets of sugar or dry patches of sponge. It is balanced, it is bold, and it is exactly what your dessert table has been missing. This is not just baking; it is engineering for people who love to eat well.
Print
Cake Snap
- Total Time: 1 hour 10 mins
- Yield: 12 servings
- Diet: Vegetarian
Description
Elevate your baking with the Cake Snap technique, a method designed to create structurally sound and visually flawless layer cakes. This guide teaches you how to lock in crumbs and achieve a professional, smooth finish every time.
Ingredients
- 2 to 3 chilled cake layers
- 4.5 to 6 cups silky buttercream frosting
- Optional: fruit curd or salted caramel for interior filling
Instructions
- Level the chilled cake layers by slicing off the domed tops with a serrated knife or cake leveler to create flat surfaces.
- Place the first layer on a turntable, spread a thick layer of frosting to the edges, and stack subsequent layers upside down.
- Apply a thin crumb coat over the top and sides, smooth with a bench scraper, and refrigerate for 20 minutes to set.
- Apply a final thick layer of frosting, using a bench scraper for smooth edges, and chill for another 20 minutes before serving.
Notes
Always work in a cool environment to maintain the structural integrity of the buttercream. For the cleanest slices, dip your knife in hot water and wipe it clean between every cut.
- Prep Time: 30 mins
- Cook Time: 40 mins
- Category: Dessert
- Method: Frosting
- Cuisine: American
The Flavor Arsenal

To pull off a perfect Cake Snap, you need more than just ingredients; you need the right components for a structural triumph. We start with baked cake layers that have been chilled to perfection. Cold cake is a baker’s secret weapon—it is firmer, less prone to crumbling, and stands up to the pressure of an offset spatula without whining. Whether you are using a rich chocolate base or a zesty lemon sponge, the quality of your crumb determines the success of the snap.
Next, let’s talk about the frosting. You need a lot of it—about 4.5 to 6 cups depending on your layer count. I always recommend a high-quality buttercream that has been whipped until it is silky but still holds its shape. If your frosting is too runny, your cake will lean; if it is too stiff, you will tear the delicate sponge. You want that Goldilocks consistency that feels like soft velvet.
- Chilled Cake Layers: The foundation of your build. Cold cakes are easier to handle and level.
- Silky Frosting: Your medium for construction. It needs to be airy yet stable.
- Leveling Tools: A serrated knife or a dedicated cake leveler to ensure a flat playing field.
- Turntable: This is your command center. You cannot get a smooth finish without a rotating base.
- Bench Scraper: The key to those sharp, professional edges that define a true snap.
Let’s Build This Masterpiece
Step 1: Level the Cake Layers
Precision is power. Make sure your cakes are completely cool—or better yet, chilled—before you start. Use a cake leveler or a sharp serrated knife to slice off the domed top of each layer. We want a surface as flat as a desert highway. Do not throw those scraps away! I love to crumble them over a bowl of high-quality vanilla ice cream while I work. A level cake is a stable cake, and stability is the first requirement for a successful build.
Step 2: Stack and Fill
Place your first layer right side up on your turntable. Scoop about 3/4 to 1 cup of frosting (180–240g) right into the center. Using an offset spatula, spread that frosting out to the very edges with a confident, sweeping motion. Place your second layer upside down on top of the first. This gives you a perfectly flat base for the next level. If you are doing a three-layer cake, repeat the process. If you are sticking to two, you now have a solid tower ready for the magic.
Step 3: The Magic Crumb Coat
This is where the “snap” happens. Apply an extremely thin layer of frosting over the entire top and sides of the cake. This is not about looking pretty yet; it is about locking in every single loose crumb. Think of it as a primer for your paint. Once the cake is covered, run a bench scraper around the sides to smooth it out. Pop the cake in the fridge for at least 20 minutes. This sets the foundation so your final layer of frosting can be flawless.
Step 4: The Final Polish
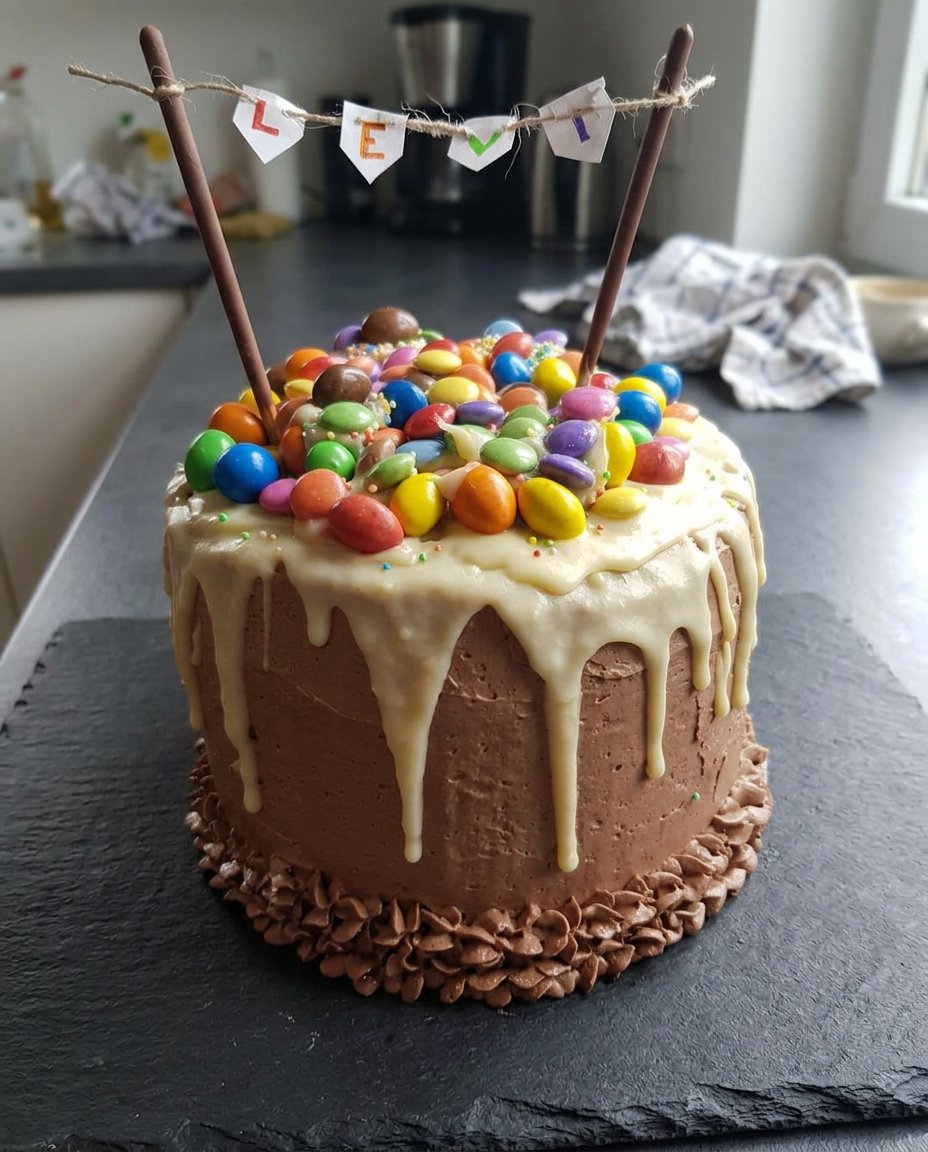
Once the crumb coat is firm to the touch, it is showtime. Apply a much thicker layer of frosting over the top and sides. Use your bench scraper to create smooth, sharp sides, or use your spatula to create bold, swirling textures. If you want a truly professional look, pipe a shell border around the base or the top edge. This final layer is your signature. Refrigerate the finished cake for another 20 minutes before slicing to ensure the cleanest possible cut.
Riley’s Flavor Secrets

One move that most people miss is the temperature of the room. If your kitchen is steaming like a sauna, your buttercream will lose its structural integrity faster than you can say “Cake Snap.” Work in a cool environment and keep your cake on a turntable to maintain consistent pressure. If you are looking for more ways to scale down your designs, check out my guide on modern-mini cakes for a different take on scale and style.
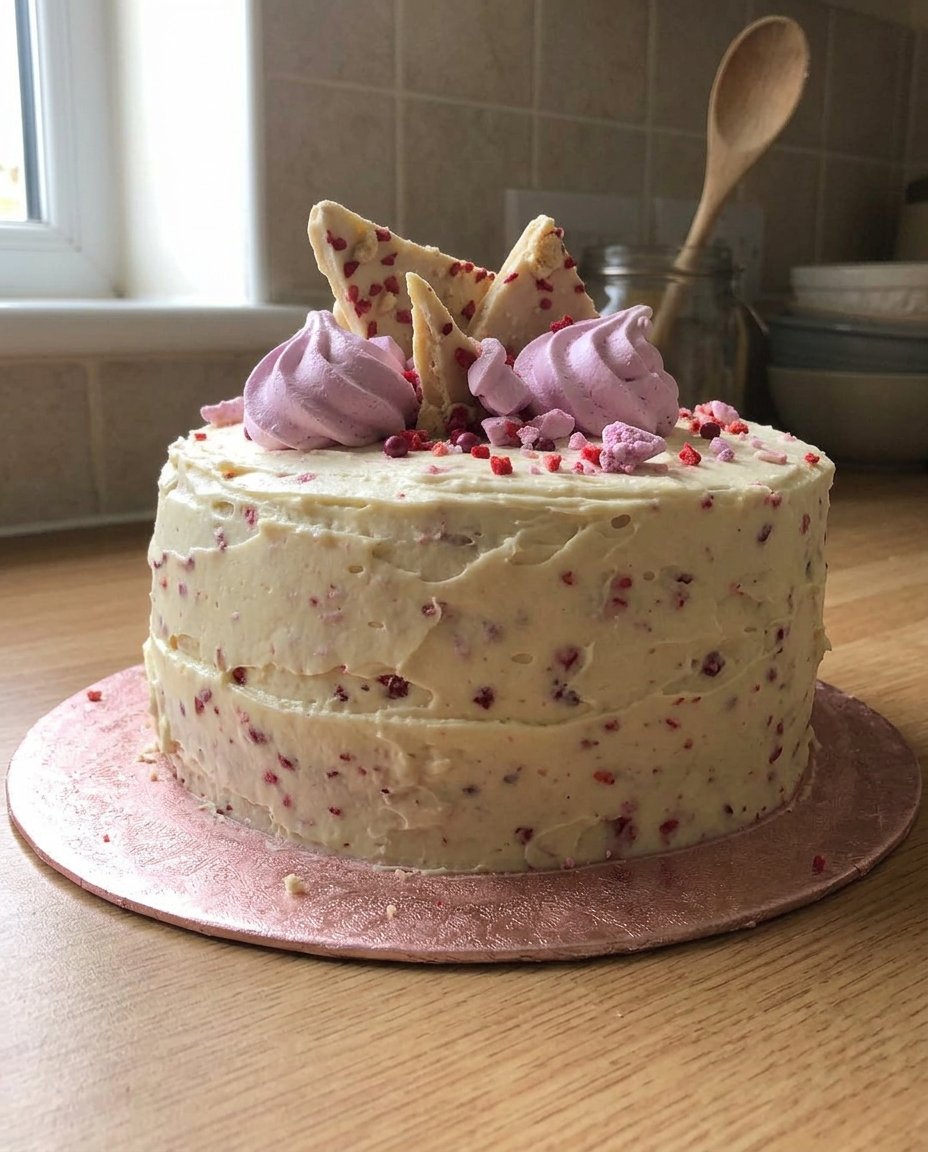
Another secret is the “double-scrape” method. When you are doing your final coat, dip your bench scraper in hot water and wipe it dry before the final pass. The heat slightly melts the outer layer of fat in the buttercream, resulting in a mirror-smooth finish that looks like porcelain. You can see a similar high-energy approach to decorating in this incredible cake video that captures the vibe perfectly. Always remember: confidence is your best tool. If you mess up a section, just scrape it off and try again. It is just frosting, after all.
Flavor Experiments and Bold Twists
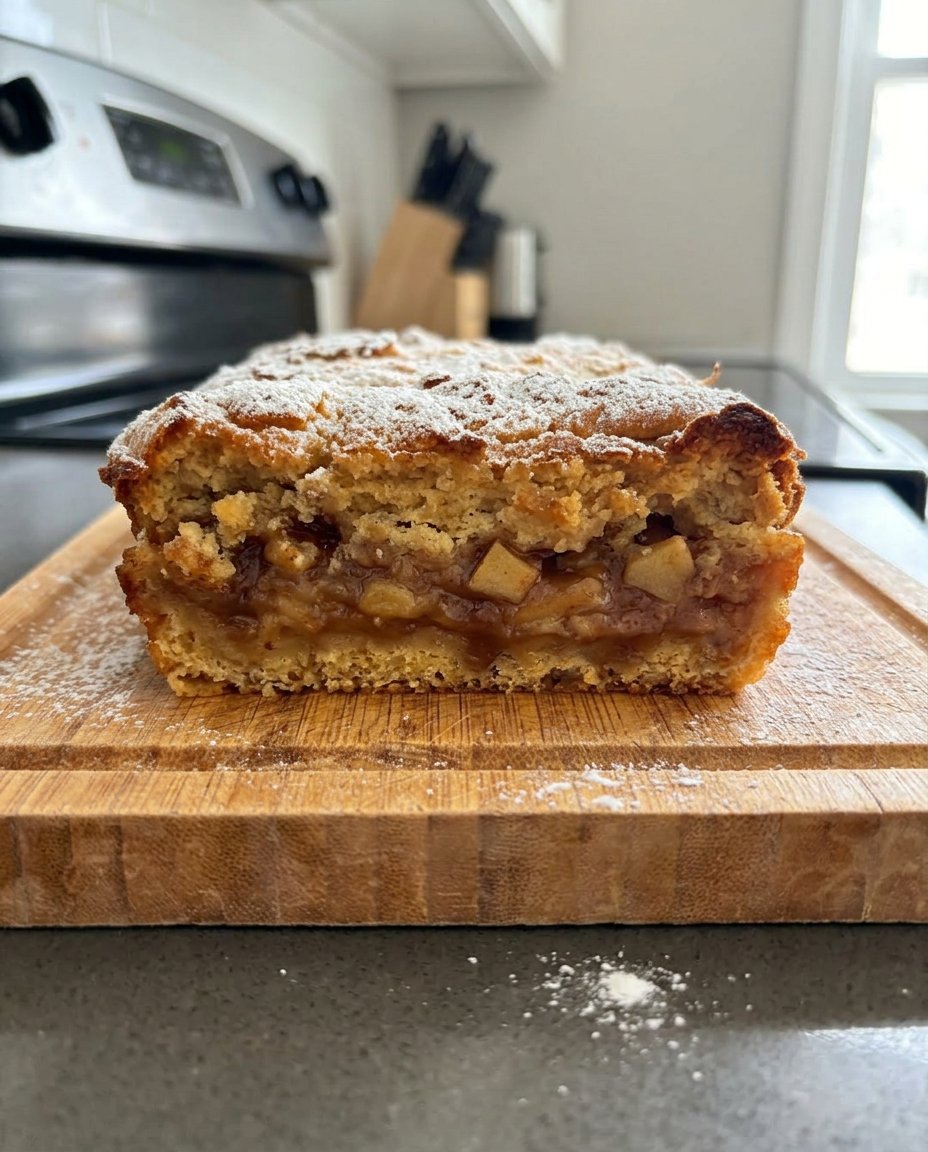
If you want to take this technique and push it into a different dimension, why not play with the interior? Instead of just frosting, try adding a layer of fruit curd or a salted caramel drip between the layers. Just make sure to pipe a “dam” of stiff buttercream around the edge of the layer first to keep the filling from leaking out. For those who want to move beyond the round shape, my heart-cake tutorial shows you how to apply these same stacking principles to more complex silhouettes.
For a more rustic, rebel-style finish, skip the final smooth coat and go for a “naked cake” look. You still do the crumb coat, but you leave it slightly translucent so the layers peek through. This works exceptionally well for spice cakes or rich chocolate sponges where the contrast between the cake and the frosting is a visual feature. You can even infuse your frosting with bold flavors like espresso or bourbon to give the classic build a modern, edgy kick.
Showtime and Plating

When it is finally time to serve your masterpiece, don’t just hack into it. To get those sharp, clean slices that show off your hard work, use a long thin knife dipped in hot water. Wipe the knife clean after every single cut. This ensures that the frosting from the top doesn’t smear down across the layers, keeping each slice looking as perfect as the whole cake. For a bigger event, these techniques work brilliantly for celebration-cakes that need to stand out on a crowded dessert table.
I love serving a bold vanilla cake with a side of tart berry compote or a scoop of high-fat coffee ice cream. The contrast between the sweet, structured cake and the cold, creamy side is a sensory explosion. If you are serving this at a party, consider a drink pairing—a dry sparkling wine or a bold bourbon cocktail can cut through the richness of the buttercream and make the flavors pop even more. Presentation is 50% of the fun, so make it count.
The Final Bite
Mastering the Cake Snap is about more than just a pretty dessert; it is about claiming your space in the kitchen and refusing to settle for “good enough.” Once you understand the mechanics of leveling, stacking, and crumb coating, the possibilities are endless. You can take this foundation and apply it to everything from a tiny personal treat to a massive vintage-cake that anchors a whole party. Stop following the boring rules and start creating the cakes you actually want to eat.
I want to see your creations! Whether you followed this to the letter or added your own wild twist, share your results with the community. Let’s keep pushing the boundaries of what home baking can be. Follow along for more flavor adventures and tag me in your latest bakes!
