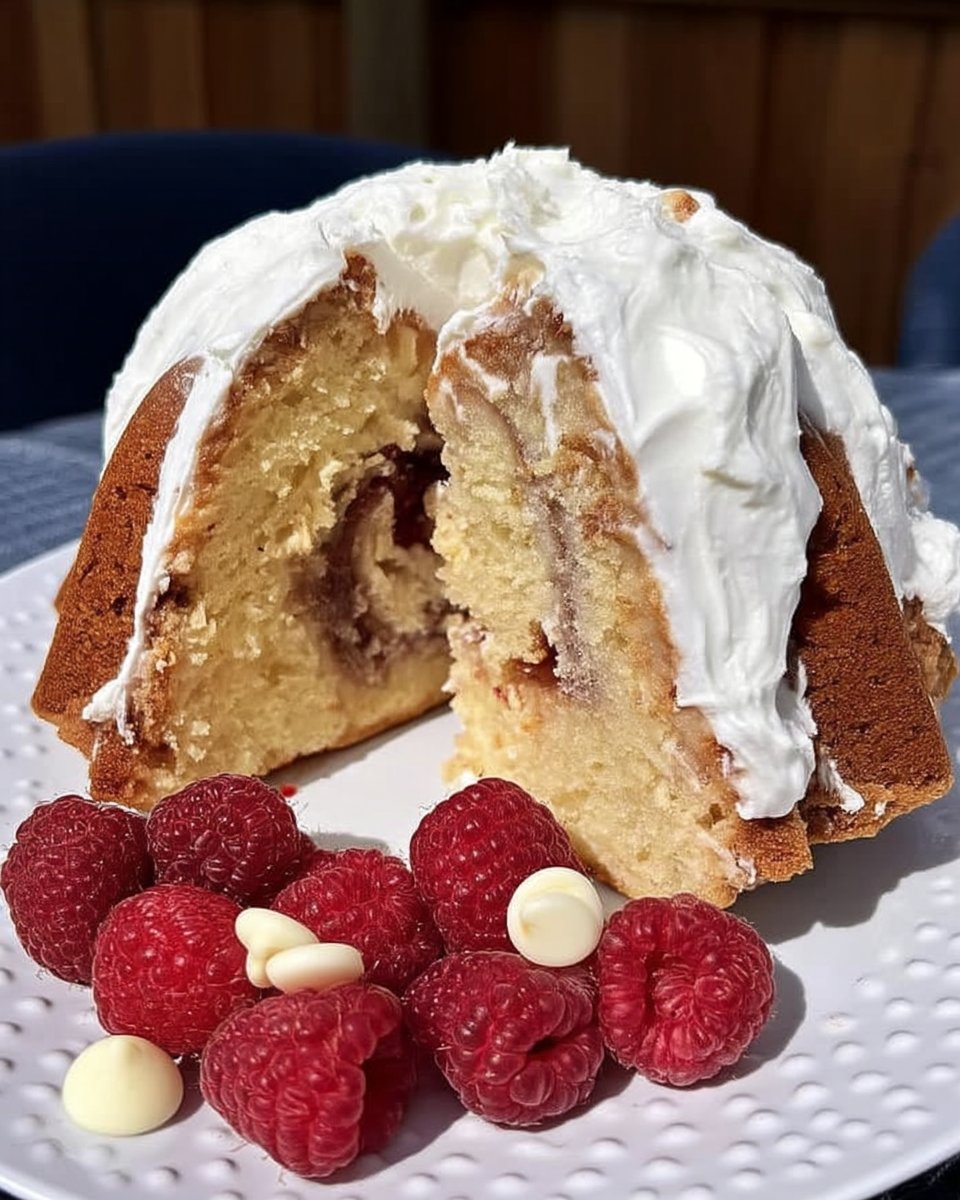
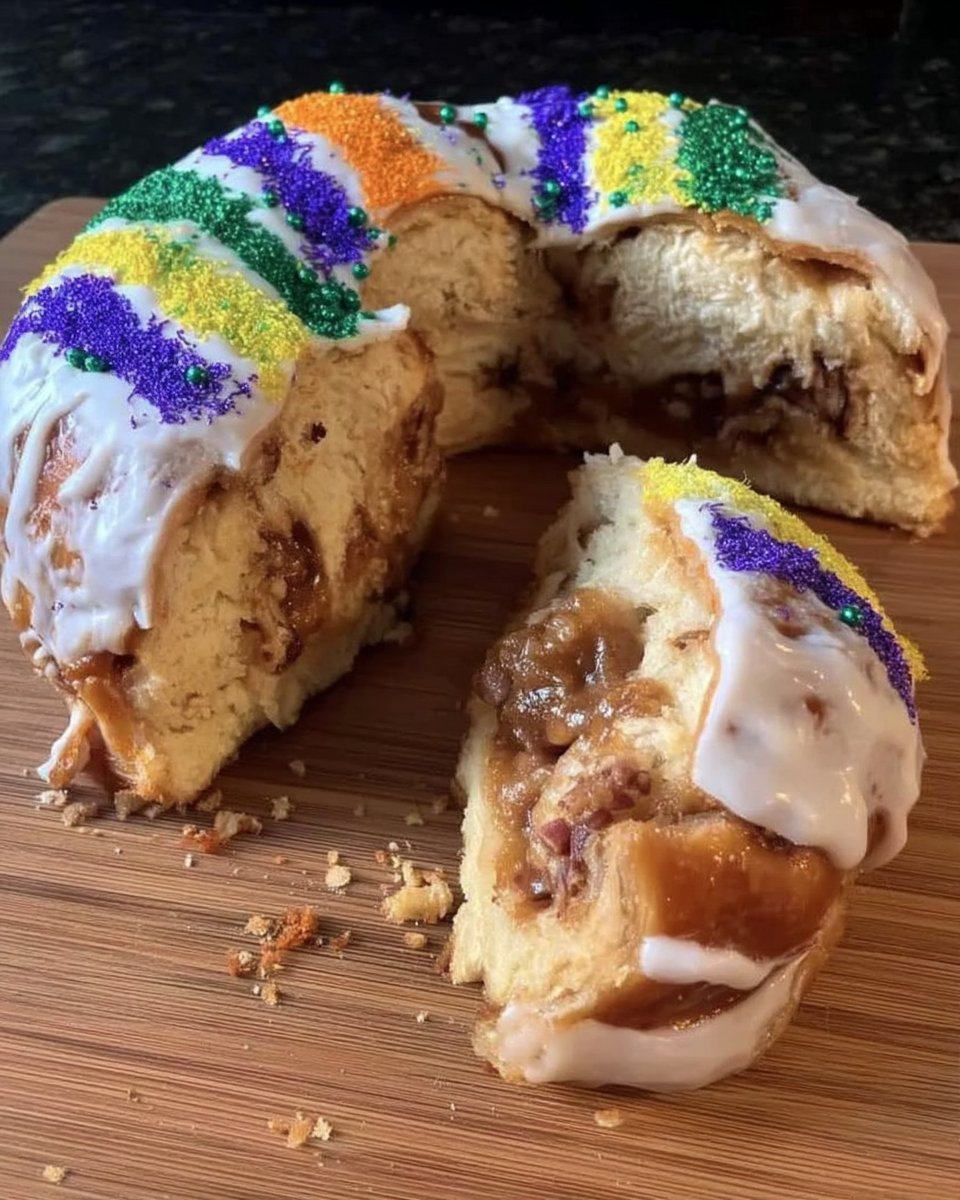
In the quiet corners of a Parisian confectionary, I first witnessed the magic of a *gateau surprise*. It was a moment of pure, unadulterated joy that reminded me why we bake: not just for the palate, but for the thrill of the reveal. This particular candy cake honors that tradition, blending the discipline of structured layers with the whimsical delight of a hidden treasure center.

To master this candy cake, one must understand the delicate balance between structural integrity and a tender crumb. By stacking four precise layers of golden sponge, we create a vessel strong enough to hold a cascade of pastel gems. It is a project that demands patience during the cooling phases, but the reward is a centerpiece that sparks wonder in every guest.
The Art of This Technique
There is a profound satisfaction in creating a dessert that carries a secret. This candy cake is more than a simple sweet; it is an architectural achievement in the world of home baking. When you master the art of the ‘surprise-inside’ method, you are learning how to manage the physics of cake density and the precision of assembly. The contrast between the silky vanilla frosting and the sudden crunch of candy-coated chocolate creates a sensory experience that standard cakes cannot replicate.
Choosing this recipe means embracing the joy of precision. We use small-batch techniques to treat each layer with individual care, making certain that the crumb is consistent and the leveling is exact. It is an ideal way to practice your knife skills while trimming the layers and your patience while setting the frosting. In my kitchen, we believe that even a cake inspired by childhood favorites deserves the respect of professional patisserie methods.
Print
Candy Cake
- Total Time: 2 hours 15 mins
- Yield: 12 servings
- Diet: Vegetarian
Description
A stunning four-layer surprise-inside cake featuring a golden sponge and a hidden reservoir of pastel candies. This architectural dessert combines professional layering techniques with a playful reveal, making it the perfect centerpiece for any celebration.
Ingredients
- 2 boxes yellow cake mix
- Water (as specified on cake mix boxes)
- Vegetable oil (as specified on cake mix boxes)
- Large eggs (as specified on cake mix boxes)
- Pastel candy-coated milk chocolates
- Mini chocolate eggs
- Baking chips
- 1/2 cup plus 3 tablespoons sprinkles
- Vanilla frosting
- Pastel gel food colors
Instructions
- Preheat oven to 350°F (or 325°F for dark pans) and grease two 8-inch round cake pans lined with parchment paper.
- Mix the first box of cake mix with water, oil, and eggs for two minutes; bake for 28-33 minutes and let cool.
- Repeat the mixing and baking process with the second box of mix to create a total of four cake layers.
- Once completely cool, use a serrated knife to trim the tops of all four layers until they are perfectly flat.
- Use a 4-inch round cutter to remove the centers of two cake layers to create rings for the middle sections.
- Combine the candies, mini eggs, baking chips, and 1/2 cup of sprinkles in a bowl to create the filling.
- Place a solid layer on a plate, frost, stack the two rings with frosting between them, fill the center cavity with the candy mix, and top with the second solid layer.
- Apply a thin crumb coat of frosting, chill for 30 minutes, then finish with tinted pastel frosting and the remaining sprinkles.
Notes
For the best results, ensure your candies are completely dry before filling the cake to prevent color bleeding into the crumb. If you find the cake shifting during assembly, insert a few wooden skewers vertically through the layers to stabilize it while the crumb coat sets in the refrigerator, removing them before the final decoration.
- Prep Time: 45 mins
- Cook Time: 1 hour
- Category: Dessert
- Method: Baking
- Cuisine: American
The Foundation of Excellence

To achieve a result that is both beautiful and delicious, we must start with a foundation of quality. While we use a base mix for stability, the additions and the assembly technique are what define the final product.
- Yellow Cake Base: We use two boxes of high-quality mix to create four substantial layers. The oil and eggs provide the necessary moisture and flexibility to prevent the layers from cracking during the hollowing process.
- Pastel Confections: A mixture of candy-coated milk chocolates and mini eggs provides various textures. The different sizes of the candies allow them to spill out more fluidly when the cake is sliced.
- Structural Frosting: Using a rich and creamy vanilla frosting is essential. It acts as the mortar between our cake ‘bricks,’ holding the weight of the internal candy column without sliding.
- Precision Gel Colors: We use concentrated gels rather than liquid drops. This allows us to achieve soft, elegant pastel hues without thinning the consistency of the frosting, which would compromise the finish.
The Method
Step 1: Preparing the Foundation
Begin by heating your oven to 350°F (175°C). For those using dark or nonstick pans, a temperature of 325°F (160°C) is preferred to prevent over-browning. Lightly spray the bottoms and sides of two 8-inch round cake pans. I recommend lining the bottoms with parchment paper rounds for a clean release, which is vital for the structural integrity of our layers.
Step 2: The First Phase of Baking
In a large glass bowl, combine one box of the cake mix with the water, oil, and eggs as specified. Beat with an electric mixer on medium speed for exactly two minutes. This duration is critical to develop the right amount of air without overworking the gluten. Divide the batter evenly between the two prepared pans and bake for 28 to 33 minutes. You are looking for a clean toothpick and a gentle spring back when the center is touched.
Step 3: Cooling and Repetition
Allow the first two layers to cool in the pans for 10 minutes before transferring them to wire racks. They must reach room temperature before you attempt any trimming. While these cool, repeat the entire mixing and baking process with the second box of mix. By the end of this stage, you will have four identical, beautiful golden layers.
Step 4: Architectural Trimming
Once the cakes are completely cold, use a long serrated knife to trim the rounded tops until each layer is perfectly flat. This level surface prevents the cake from leaning. Select two of these layers to be your middle sections. Using a 4-inch round cutter, remove the center of these two layers, creating a ring of cake. These rings will form the ‘well’ for our candy surprise.
Step 5: Preparing the Candy Reservoir
In a separate bowl, combine the pastel-colored chocolate candies, the mini eggs, the baking chips, and half a cup of the sprinkles. Toss them gently to distribute the colors and sizes evenly. This mixture is the heart of our candy cake and must be ready for the moment of assembly.
Step 6: The Assembly Process
Place one solid cake layer on your serving plate. Spread a thin, even layer of frosting over it. Place one of the hollowed rings on top. Apply frosting to the top of that ring, then stack the second hollowed ring. Fill the center cavity to the brim with your candy mixture. Finally, place the second solid cake layer on top to seal the treasure inside.
Step 7: The Art of the Crumb Coat
Apply a very thin layer of frosting over the entire exterior of the cake. This ‘crumb coat’ locks in any loose fragments and provides a smooth canvas for the final decoration. Chill the cake for at least 30 minutes to set this layer. While it chills, divide your remaining frosting into bowls and tint them with the pastel gel colors to your liking.
Step 8: Final Decoration and Finishing
Apply the tinted frostings in soft, overlapping strokes or a smooth finish as you prefer. Add the remaining three tablespoons of sprinkles to the base or top for a touch of elegance. The cake is now ready to be presented and eventually revealed.
Pastry Wisdom

Temperature control is the most significant factor in a successful assembly. If your kitchen is warm, your frosting may become too soft to hold the weight of the four layers. I suggest chilling your cake layers in the refrigerator for twenty minutes before you begin trimming; a cold cake yields much cleaner cuts with fewer crumbs. For a similar focus on texture and structure, you might look at our snickers cake which utilizes a similar layering philosophy. Always use a professional-grade serrated knife for the leveling process. A dull blade will tear the delicate crumb rather than slicing through it cleanly. When applying the gel colors, add them one tiny drop at a time using a toothpick; the pigment is incredibly strong, and it is much easier to add color than to correct a shade that has become too dark. For further inspiration on using premium ingredients in cake mixes, refer to this guide on surprise inside cakes.
Refined Twists
While the pastel theme is classic, you can adapt this technique to suit any season. For a more indulgent version, consider using a chocolate fudge cake as your base. The dark, rich crumb provides a stunning visual contrast when the colorful candies pour out. You might also consider a citrus variation by adding the zest of two lemons to the yellow cake batter and using a tart lemon curd between the layers instead of just frosting. This cuts through the sweetness of the candy centers. Another elegant touch is to use metallic-coated chocolate pearls for a wedding or anniversary version of the candy cake, which creates a much more sophisticated aesthetic while maintaining the playful reveal.
The Final Touch

When it comes time to serve, the presentation should be as refined as the bake itself. I suggest using a tall cake pedestal to give the dessert the prominence it deserves. For a truly grand event, you can find more ideas in our guide to celebration cakes. To ensure the ‘spill’ of the candy is dramatic, use a very sharp, thin knife dipped in hot water and wiped dry before each cut. This allows for clean slices that don’t drag the candies through the cake. Pair a slice of this candy cake with a light, unsweetened Earl Grey tea or a dry sparkling wine; the bitterness or acidity of these beverages perfectly balances the sweet, playful nature of the chocolate and frosting.
The Art of Small Batches
Mastering a candy cake is a rite of passage for the dedicated home baker. It teaches us that precision in the small things—the level of a layer, the chill of the frosting—leads to an extraordinary result. I hope this recipe brings a sense of wonder to your kitchen and reminds you that the best part of baking is the joy we share with others. For more intricate chocolate techniques, do not miss our ferrero rocher cake. Please share your creations with our community and continue your journey toward pastry mastery. Join us on Pinterest and Instagram for more daily inspiration.
