In the quiet mornings of my youth in the French countryside, I would watch the cattle grazing against the lush green backdrop, their bold black and white patterns a striking contrast to the soft landscape. This Cow Cake is a tribute to that pastoral beauty, translated into the medium of fine pastry through the classic art of marbling. We move beyond simple whimsy to create a dessert that relies on professional technique to achieve a crumb that is both sturdy and remarkably tender.

Achieving the perfect visual and textural balance in a themed cake requires more than just a playful eye; it demands an understanding of the reverse-creaming method. By coating our dry ingredients in fat before introducing liquids, we create a velvet-like texture that serves as the perfect canvas for our chocolate and vanilla swirls. This method produces a cake that is as sophisticated in its flavor profile as it is charming in its presentation.
The Beauty of Whimsical Precision
There is a profound satisfaction in mastering a recipe that appeals to both the heart and the palate. This Cow Cake is not merely a novelty; it is a meticulously designed dessert that uses a small-batch approach to guarantee excellence. When we bake in smaller quantities, we can pay closer attention to the state of our emulsion and the precise moment of integration, which is often lost in larger commercial batches.
You will find that the contrast between the deep, Dutch-processed cocoa and the fragrant Madagascar vanilla is not just visual but also sensory. The addition of buttermilk provides a subtle tang that balances the sweetness of the sugar, while the vegetable oil keeps the cake moist even after refrigeration. This is a cake that respects the tradition of the marble sponge while introducing modern techniques to make certain the result is nothing short of extraordinary. It is a treasure for any baker looking to prove that themed cakes can indeed be works of high-quality patisserie.
Print
Cow Cake
- Total Time: 1 hour 5 mins
- Yield: 12 servings
- Diet: Vegetarian
Description
This Cow Cake is a sophisticated tribute to pastoral beauty, featuring a tender marble sponge achieved through the professional reverse-creaming method. Its striking black and white patterns offer a whimsical yet refined aesthetic, perfect for high-quality patisserie enthusiasts.
Ingredients
- 260g all-purpose flour
- 150g unsalted butter, room temperature
- 240g buttermilk
- 155g egg whites
- 20g unsweetened baking cocoa
- Granulated sugar
- Baking powder
- Fine salt
- Vegetable oil
- Vanilla bean paste
- Extra sugar (for chocolate batter)
- Additional baking powder (for chocolate batter)
- 1 extra egg
- 3 tablespoons buttermilk (additional)
- Unsalted butter (for buttercream)
- Powdered sugar
- Vanilla extract
- Heavy cream
- Melted chocolate
- Black gel food coloring
- Pink gel food coloring
Instructions
- Preheat oven to 350°F (175°C) and grease three 6-inch round cake pans, lining the bottoms with parchment paper.
- In a stand mixer, combine flour, sugar, baking powder, and salt; mix on low while adding butter chunks until the texture resembles damp sand.
- Add egg whites, buttermilk, oil, and vanilla paste, then beat on medium speed for 30 seconds to aerate the batter.
- Separate half of the batter and whisk in cocoa powder, extra sugar, baking powder, one egg, and three tablespoons of buttermilk to create the chocolate portion.
- Alternate large dollops of vanilla and chocolate batter into the pans to create bold spot patterns; avoid over-swirling with a knife.
- Bake for 33–35 minutes until a skewer comes out clean, then cool in pans for 10 minutes before transferring to wire racks.
- Prepare the buttercream by beating butter until pale, then gradually whipping in powdered sugar, vanilla, salt, and heavy cream.
- Tint a portion of frosting with melted chocolate and black gel for the spots, and another small portion pink for the snout, using the remainder for the white base.
Notes
To ensure the most distinct ‘cow spots,’ avoid using a toothpick to marble the batter; instead, let the dollops settle naturally to maintain clean edges between the colors. For the smoothest finish, chill the cake after the initial white frosting layer so that the black spots can be applied without the colors bleeding together.
- Prep Time: 30 mins
- Cook Time: 35 mins
- Category: Dessert
- Method: Reverse-creaming
- Cuisine: French-inspired
Selecting the Foundation of Your Masterpiece

To achieve a professional result, the quality of your ingredients is paramount. Each component in this recipe serves a specific structural or flavor purpose, and their temperatures are just as important as their measurements.
- All-Purpose Flour (260g): This provides the essential structure. We measure by weight to maintain precision, as a few extra grams of flour can lead to a dry, heavy crumb.
- Unsalted Butter (150g): It must be at room temperature—soft enough to leave an indentation when pressed, but not greasy. This allows it to coat the flour particles effectively during the reverse-creaming process.
- Buttermilk (240g): The acidity in buttermilk reacts with the baking powder to create a light lift, while its fat content contributes to a rich, silky mouthfeel.
- Egg Whites (155g): By using only the whites in the vanilla portion, we maintain a pristine white color that contrasts sharply with the chocolate batter, mimicking the clean white coat of a Holstein.
- Unsweetened Baking Cocoa (20g): For the chocolate marbling, look for a high-quality cocoa that offers a deep color and robust flavor without excessive bitterness.
The Role of Temperature and Timing
Before you begin, make certain your egg whites, buttermilk, and butter are all at a consistent room temperature. When cold ingredients meet warm fats, the emulsion breaks, resulting in a coarse texture. By bringing everything to a uniform temperature, you allow the molecules to bond gracefully, creating a stable batter that rises evenly in the oven.
The Method of Professional Marbling
Step 1: Preparing the Workspace
Preheat your oven to 350°F (175°C). Prepare three 6-inch round cake pans by lining the bottoms with parchment paper and lightly greasing the sides. This small diameter allows for taller, more elegant layers that are easier to decorate with cow spots later.
Step 2: The Reverse-Creaming Technique
In the bowl of a stand mixer fitted with the paddle attachment, combine the flour, granulated sugar, baking powder, and fine salt. Mix on low speed for 30 seconds to distribute the leavening agents. Add the room-temperature butter in small chunks. Continue mixing on low until the mixture resembles fine, damp sand. This step is vital as it coats the gluten-forming proteins in fat, preventing a tough cake.
Step 3: Emulsifying the Liquids
With the mixer still on low, add the egg whites one by one, followed by the buttermilk. Scrape down the sides and bottom of the bowl to make sure no dry pockets remain. Add the vegetable oil and vanilla bean paste. Increase the speed to medium and beat for exactly 30 seconds. This brief period of aeration builds the final structure of the crumb.
Step 4: Creating the Chocolate Contrast
Remove half of the vanilla batter (approximately 625g) and place it in a separate bowl. To the remaining batter in the mixer, add the cocoa powder, extra sugar, and additional baking powder. Pour in the extra egg and the three tablespoons of buttermilk. Mix on low until the batter is a smooth, glossy chocolate brown.
Step 5: The Art of the Marble
Using a small scoop or spoon, alternate dollops of vanilla and chocolate batter into the prepared pans. Fill each pan about one inch high. Do not over-swirl with a knife; the beauty of this cow pattern comes from the distinct, bold patches of color rather than a fine, blurry marble.
Step 6: The Thermal Cycle
Bake for 33 to 35 minutes. The cakes are done when a wooden skewer inserted into the center comes out with just a few moist crumbs. Avoid over-baking, as the small size of these pans means the temperature penetrates the core quickly. Let the layers cool in the pans for 10 minutes before transferring them to a wire rack to reach room temperature.
Step 7: Crafting the Silky Buttercream
Beat the softened butter for about five minutes until it is pale and airy. Gradually add the powdered sugar, vanilla, and salt. Once the sugar is incorporated, add the heavy cream and whip on medium-high speed until the frosting is as smooth as silk. If air bubbles appear, stir the frosting by hand with a spatula for a minute to press them out.
Step 8: Creating the Spot Palette
Take one cup of the white buttercream and mix in the melted chocolate, cocoa, and black gel coloring. This will give you a rich, dark frosting for the cow’s spots. Color a small portion of the remaining frosting pink for the snout, and keep the rest white for the main body of the cake.
Secrets from the Patisserie

To achieve those perfectly smooth cow spots, I recommend chilling the cake thoroughly after applying the base white layer. Once the white frosting is firm to the touch, pipe your black ‘spots’ and use a small offset spatula to flatten them gently. Because the base is cold, the black frosting won’t bleed into the white, keeping your patterns crisp and professional. For those looking to master even more complex designs, studying the foundations of celebration cakes can provide the structural knowledge needed for multi-tiered whimsical designs. Additionally, for a visual guide on spot placement, you might look at the creative patterns found on Chelsweets which offers wonderful inspiration for themed decorating.
Refined Flavor Adaptations
While the classic vanilla and chocolate combination is traditional, you can adapt this technique for other sophisticated flavor profiles. Consider a ‘Strawberry Fields’ cow cake by replacing the chocolate portion with a concentrated strawberry reduction and a touch of natural pink coloring. Alternatively, a lemon-infused batter paired with poppy seed ‘spots’ creates a beautiful visual that remains within the spirit of the design. For a more vibrant approach, you might follow a similar marbling logic to the one used in our lemon rainbow cake, which demonstrates how to keep colors distinct and bright within a single sponge. Always remember that the key to a successful variation is maintaining the same density between the two different batters.
The Art of Presentation

When presenting this Cow Cake, simplicity is often the most elegant choice. Place the cake on a clean white ceramic pedestal to allow the bold patterns to be the focus of the display. For a touch of rustic charm that honors the recipe’s origins, serve each slice with a small glass of cold, high-quality whole milk or a delicate Earl Grey tea. If you are preparing this for a themed event, consider how it might sit alongside other sculpted treats, such as a car cake, to create a diverse and technically impressive dessert table. Use a sharp knife dipped in hot water and wiped dry between each cut to guarantee that the internal marble pattern remains clean and visible for your guests.
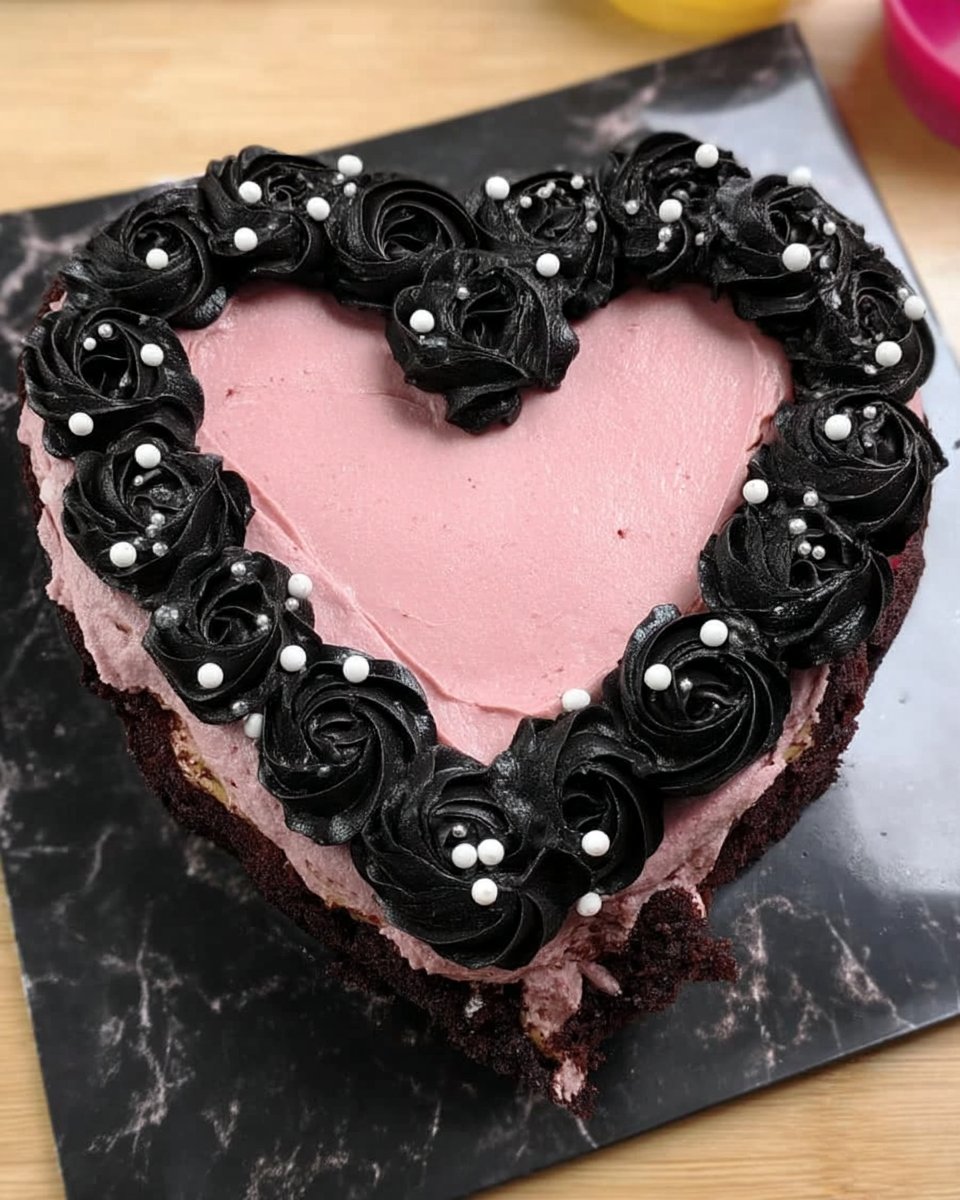
A Final Flourish of Mastery
Baking a cake of this nature is a celebration of both childhood joy and adult precision. By focusing on the fundamentals of the reverse-creaming method and the stability of your buttercream, you have created something that is far more than a simple party treat—it is a testament to your growth as a baker. I hope this recipe brings a sense of refined playfulness to your kitchen. For those who find joy in themed shapes, our heart cake offers another beautiful way to practice your precision frosting techniques. Please share your beautiful creations with our community of devoted bakers on Instagram, Pinterest, and Facebook. Happy baking, and may your crumb always be tender and your patterns always be bold.

