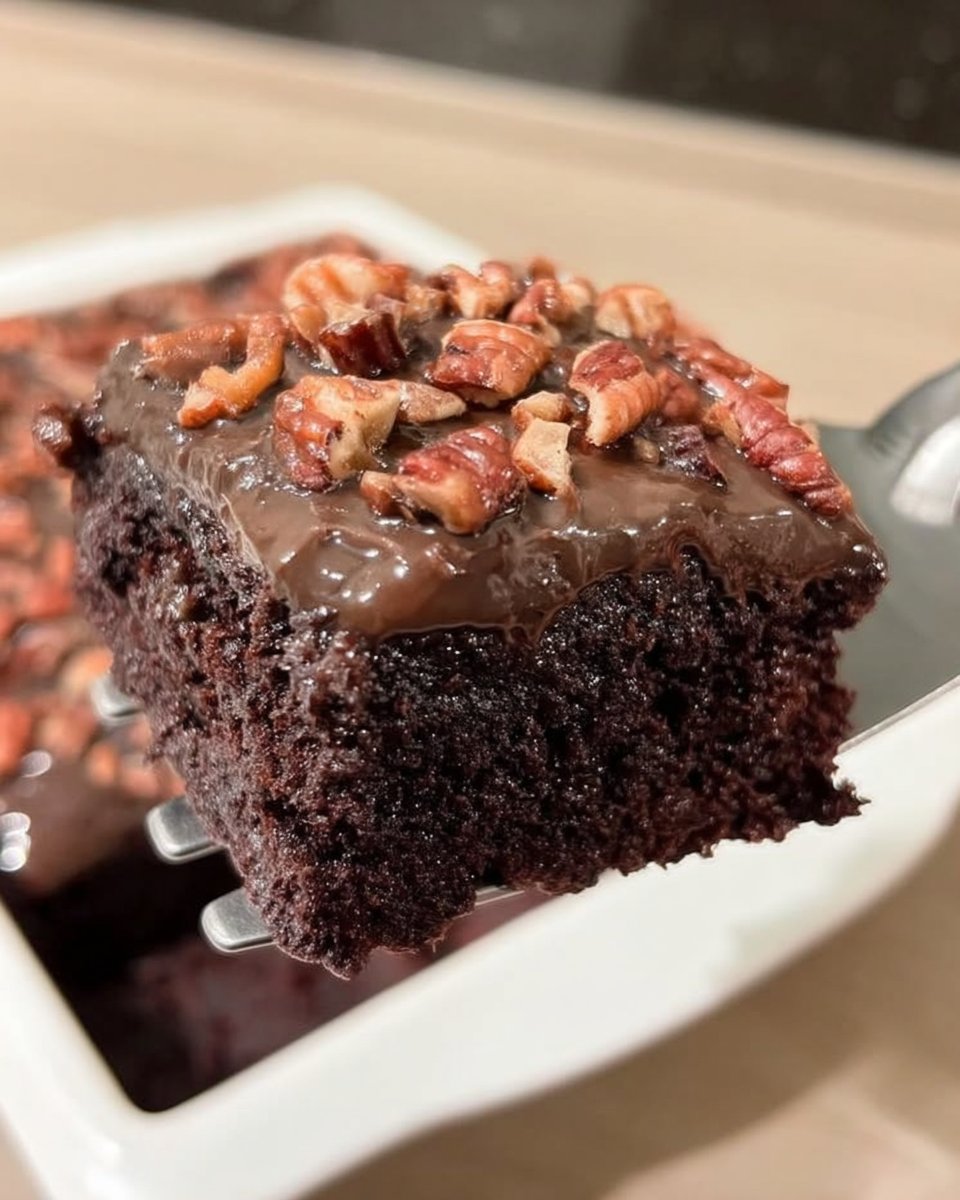
In the pastry arts, we often speak of balance and subtlety, but there are moments that demand intensity. A true Devil’s Food Cake is not merely a chocolate cake; it is a study in depth, distinguished by its profound cocoa flavor and a crumb so tender it almost melts upon the palate. Unlike the airy sponges we might brush with syrup in a French *entremets*, this American classic relies on a specific chemical reaction between acidic ingredients and baking soda to achieve its signature mahogany hue and velvety texture.

This recipe is an exercise in precision, yielding a cake that is exceptionally moist without being heavy. By blooming Dutch-processed cocoa with oil and finishing the batter with hot coffee, we awaken the full potential of the chocolate. Whether you are baking a centerpiece for a celebration or simply practicing the art of the perfect crumb, this method offers a result that is timeless, elegant, and deeply satisfying.
A Masterclass in Texture and Flavor
There is a distinct pleasure in creating something that looks unassuming on the outside but reveals extraordinary character once sliced. You will appreciate this recipe for its uncompromising texture; it possesses a unique plushness that many standard chocolate cakes lack. This is achieved through the dual use of butter for flavor and oil for lasting moisture, ensuring the crumb stays tender for days.
Furthermore, this formula respects the ingredient chemistry that defines traditional Devil’s Food. The combination of sour cream and brown sugar provides the acidity needed to tenderize the gluten, while the hot coffee—added at the very end—blooms the cocoa powder, intensifying the chocolate notes without adding an overt coffee flavor. It is a recipe that rewards patience and exactitude with a sophisticated, melt-in-the-mouth experience.
Print
Devil’s Food Cake
- Total Time: 1 hour 10 mins
- Yield: 12 servings
- Diet: Vegetarian
Description
This sophisticated Devil’s Food Cake is the pinnacle of chocolate baking, offering an intensely deep cocoa flavor and a luxurious, velvety crumb. By utilizing the blooming technique with hot coffee and a blend of fats, this recipe produces an exceptionally moist and elegant dessert.
Ingredients
- All-purpose flour
- Baking soda
- Baking powder
- Salt
- Dutch-processed cocoa powder
- Vegetable oil
- Unsalted butter, room temperature
- Granulated sugar
- Light brown sugar, packed
- Eggs, room temperature
- Vanilla extract
- Milk
- Sour cream, room temperature
- Hot coffee
Instructions
- Preheat oven to 350°F (175°C) and prepare two 9-inch round cake pans by greasing, flouring, and lining the bottoms with parchment paper.
- In a large bowl, sift together the all-purpose flour, baking soda, salt, and baking powder to ensure even leavening.
- In a medium bowl, whisk together the Dutch-processed cocoa powder and vegetable oil until a smooth, dark paste is formed.
- Using a stand mixer with a paddle attachment, beat the room-temperature butter until it is creamy and pliable.
- Add the cocoa-oil paste and both the granulated and light brown sugars to the butter; beat on medium speed for 5 minutes until highly aerated and fluffy.
- Add the eggs one at a time, beating thoroughly after each addition to maintain the emulsion, then incorporate the vanilla extract.
- Reduce mixer speed to low and alternate adding the flour mixture, milk, and sour cream, beginning and ending with the flour until just combined.
- Carefully whisk the hot coffee into the batter by hand until the mixture is glossy and smooth.
- Divide the batter evenly between the pans and bake for 40 to 45 minutes until the edges pull away and the center springs back.
- Cool the cakes completely in their pans on a wire rack before inverting and frosting.
Notes
Always prioritize high-quality Dutch-processed cocoa for this recipe, as its alkalized nature is essential for the cake’s dark color and smooth flavor profile. If you find your batter looking curdled after adding eggs, ensure your ingredients were truly at room temperature; a stable emulsion is the secret to the signature velvety texture of Devil’s Food.
- Prep Time: 25 mins
- Cook Time: 45 mins
- Category: Dessert
- Method: Creaming
- Cuisine: American
The Foundation of Flavor

To achieve the refined texture characteristic of this cake, we must pay close attention to the quality and temperature of our ingredients. In my kitchen, mise en place is not just preparation; it is the first step of baking.
- Dutch-Processed Cocoa Powder: This is the heart of the recipe. Unlike natural cocoa, Dutch-processed has been alkalized to reduce acidity, resulting in a darker color and a smoother, more earthy flavor profile. This is essential for the deep, dark appearance we desire.
- Unsalted Butter & Vegetable Oil: We use a blend of fats here. The butter, beaten until creamy, offers that unmistakable dairy richness, while the neutral vegetable oil ensures the cake remains moist even after it cools. It is the best of both worlds.
- Hot Coffee: Water alone is a missed opportunity. Hot coffee dissolves the cocoa solids more effectively, releasing flavor compounds that would otherwise remain dormant. It adds a complexity that makes the chocolate taste more like itself.
- Sour Cream: This ingredient provides acidity to activate the baking soda and adds fat for a luxurious mouthfeel. It creates a dense, velvety crumb structure that distinguishes this cake from a lighter genoise.
- Sugars (Granulated & Light Brown): We use brown sugar not just for sweetness, but for its hygroscopic properties—it draws moisture from the air, keeping the cake soft. The molasses in the brown sugar also complements the chocolate beautifully.
- All-Purpose Flour: A standard protein content is perfect here. It provides enough structure to hold the rich batter without becoming tough, provided it is not overmixed.
- Eggs: They must be at room temperature to emulsify properly with the butter and oil. Cold eggs can shock the batter, leading to a broken emulsion and a greasy final texture.
The Method
Step 1: Preparation and Sifting
Begin by preheating your oven to 350°F (175°C). Precision in temperature is vital, so an oven thermometer is a helpful tool here. Prepare two 9-inch round cake pans by buttering them and dusting with flour, or spraying with a baking spray. For a perfect release, I always insist on lining the bottoms with parchment paper. In a large bowl, sift together the flour, baking soda, salt, and baking powder. Sifting is not optional; it aerates the flour and ensures even distribution of the leavening agents.
Step 2: Creating the Cocoa Base
In a medium bowl, whisk together the sifted Dutch-processed cocoa powder and the vegetable oil until you have a smooth, dark paste. This is a crucial divergence from standard creaming methods. By mixing the cocoa with fat first, we encapsulate the flavor particles, ensuring they distribute evenly throughout the batter later. Set this aside.
Step 3: Creaming the Butter
Place your room-temperature butter in the bowl of a stand mixer fitted with the paddle attachment (or use a large bowl with a hand mixer). Beat on medium speed until the butter is creamy and pliable. This mechanical action begins to create the structure of your cake.
Step 4: Aerating the Mixture
Add the cocoa-oil mixture to the creamed butter, followed by the granulated sugar and packed light brown sugar. Beat this mixture on medium speed for about 5 minutes. Do not rush this step. We are looking for the mixture to become very light, fluffy, and aerated. The sugar crystals are cutting into the fat, creating millions of tiny air pockets that will expand in the oven. Stop to scrape down the sides and bottom of the bowl frequently to ensure no butter is trapped at the bottom.
Step 5: Emulsifying the Eggs
With the mixer running on low-medium speed, add the eggs one at a time. Beat well after each addition until the egg is fully incorporated. This allows the water in the egg whites to emulsify with the fats in the batter. Beat in the vanilla extract. Scrape down the bowl again; a uniform batter is the key to an even rise.
Step 6: Alternating Wet and Dry Ingredients
Reduce the mixer speed to low. This is critical to prevent over-developing the gluten. Add one-third of the flour mixture. Once barely combined, add half of the milk and half of the sour cream. Repeat with another third of the flour, then the remaining liquids, and finish with the final portion of flour. Mix only until the flour streaks have *just* disappeared.
Step 7: The Hot Liquid Finish
Scrape down the bowl one last time. With a hand whisk, carefully pour in the hot coffee. Whisk gently until the liquid is fully incorporated and the batter is smooth and glossy. The batter will be quite thin, which is normal for this type of cake. Pour the batter evenly into your prepared pans.
Step 8: Baking and Cooling
Bake for 40 to 45 minutes. The cakes are done when the edges begin to pull away from the pan and the center springs back lightly when pressed with a fingertip. You may also test with a toothpick; a few moist crumbs attached are perfect—a clean toothpick means the cake may be overbaked. Cool the cakes completely in the pans on a wire rack before inverting. These layers are delicate when warm, so patience is required.
Secrets for Pastry Perfection

Temperature is Everything
The most common error in home baking is using cold ingredients. When butter, eggs, and sour cream are all at a consistent room temperature (around 70°F/21°C), they form a stable emulsion. A broken or curdled batter will result in a cake with a coarse, uneven crumb. If you have forgotten to take your eggs out, place them in a bowl of warm water for five minutes before cracking.
The Art of Measuring
In the pastry kitchen, we measure by weight for consistency. If you use a cup, you might accidentally pack the flour, adding up to 20% more than the recipe intends, leading to dryness. I highly recommend using a digital scale. If you must use cups, fluff the flour, spoon it gently into the cup, and level it with a straight edge.
Respect the Crumb
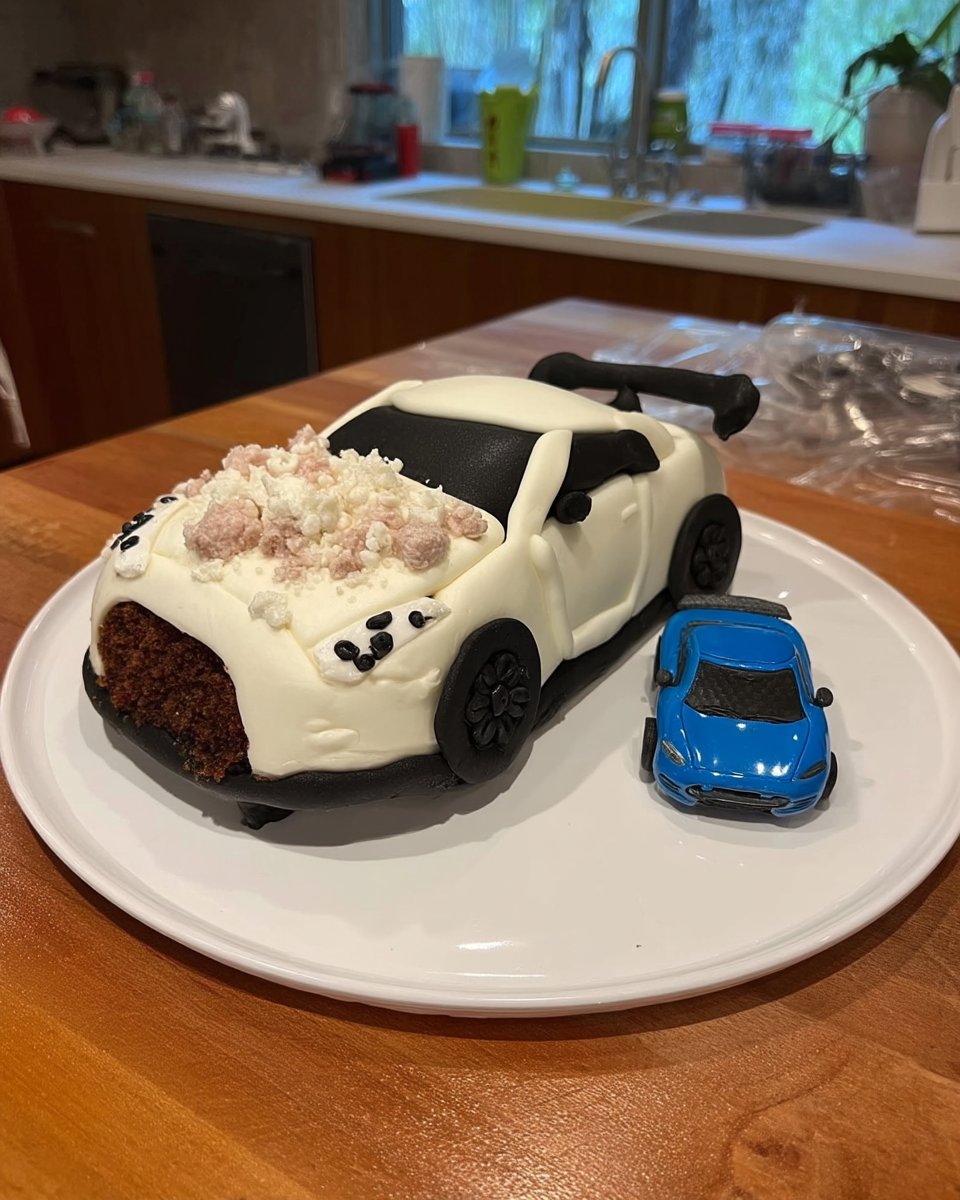
This cake is naturally tender, almost fragile. When handling the layers, use a wide cake lifter or the removable bottom of a tart pan to support them. If you are stacking them high, chilling the layers for 20 minutes makes them firmer and easier to frost. If you are looking for a slightly denser texture for carving or sculpting, our chocolate fudge cake is another excellent option that offers more structural stability while maintaining rich flavor.
Cocoa Blooming
The step of mixing cocoa with oil, and later adding hot coffee, is known as “blooming.” This releases the flavor oils in the cocoa powder. Never skip the heat; it is the catalyst for the deep, resonant chocolate profile we are seeking.
Refining the Classic
Once you have mastered this foundational recipe, there are elegant ways to adapt it to your palate or the occasion. The beauty of a classic technique is its versatility.
- Espresso Enhancement: If you wish to deepen the flavor further without adding liquid coffee, sift 1 teaspoon of high-quality instant espresso powder with your dry ingredients. This bridges the gap between the chocolate and the roasted notes.
- Berry Infusion: The richness of Devil’s Food pairs beautifully with the acidity of fruit. Consider filling the layers with a raspberry reduction or a tart blackberry compote before frosting.
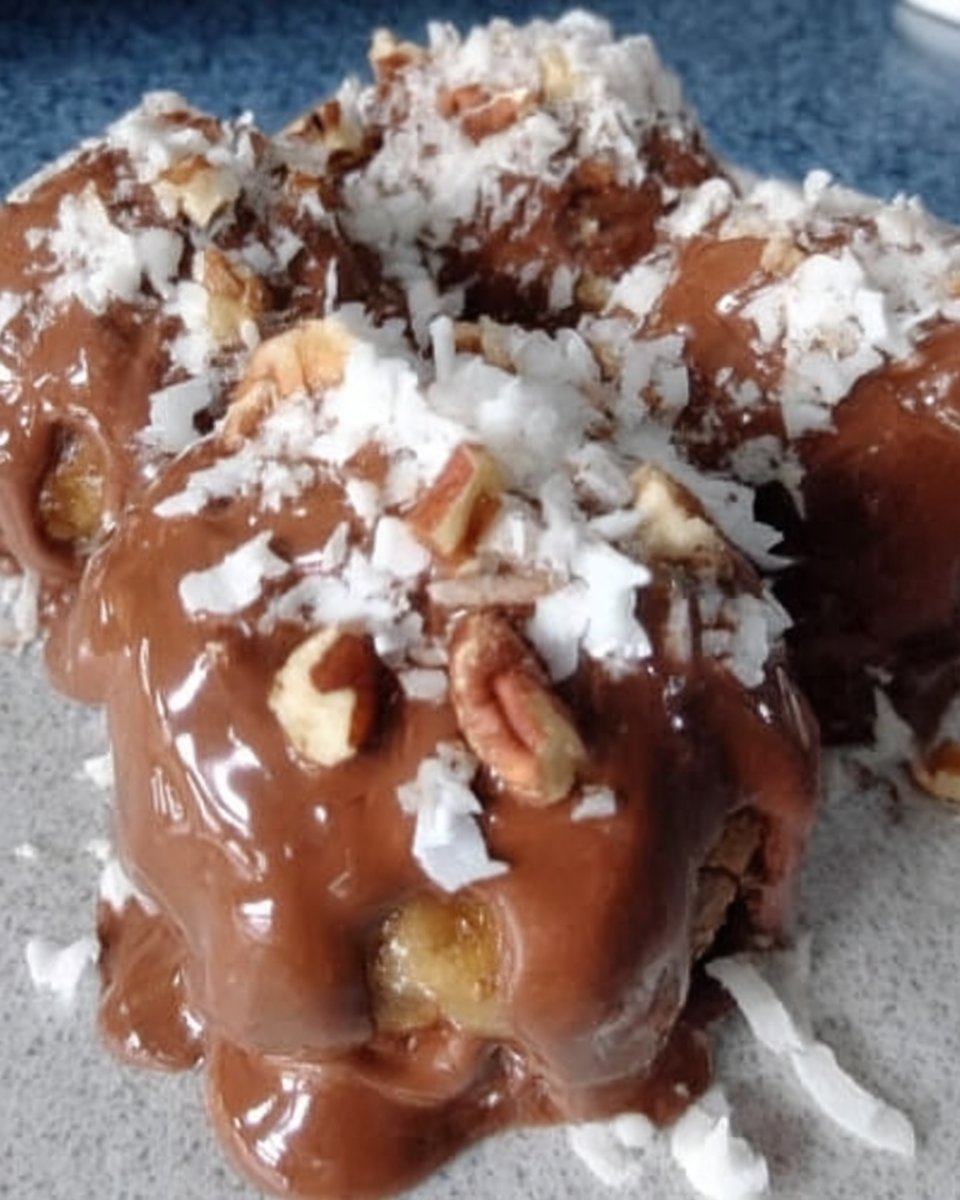
- The German Twist: While this recipe relies on a chocolate buttercream, you can easily adapt the presentation. For a textural contrast, fill this cake with the coconut-pecan filling found in our german chocolate cake. The moist, dark sponge complements the chewy, sweet filling perfectly.
- Ganache Finish: For a sleeker, more European presentation, forego the buttercream entirely and glaze the cake with a dark chocolate ganache (equal parts heavy cream and bittersweet chocolate). This allows the quality of the sponge to truly shine.
Presentation and Service

A cake of this caliber deserves a presentation that highlights its elegance. I prefer to finish this cake with a classic swirl of chocolate buttercream, using an offset spatula to create gentle waves rather than a perfectly smooth, factory-made finish. The handmade touch suggests care and attention.
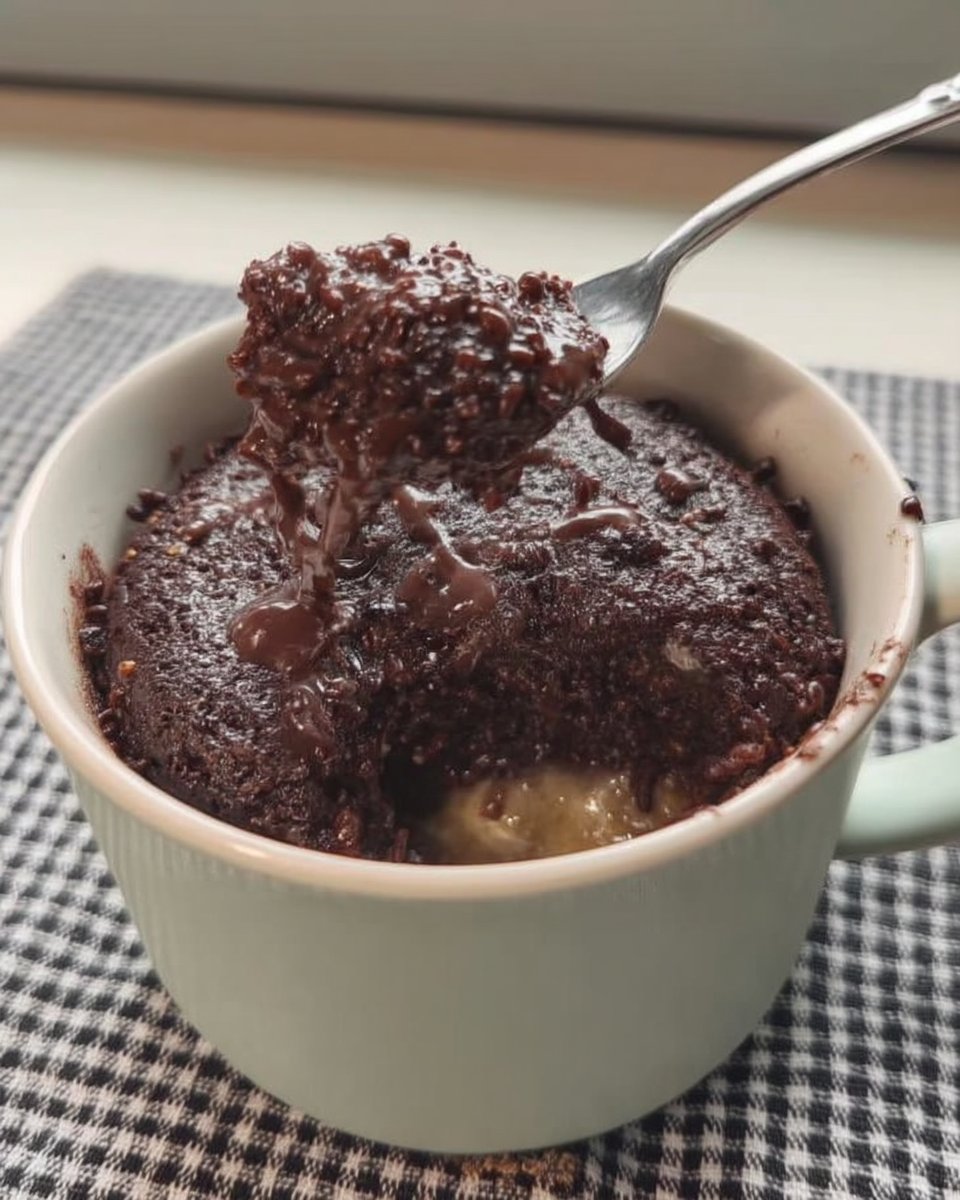
Serve slices at room temperature. Cold suppresses flavor, while room temperature allows the butter in the crumb and frosting to relax, offering the best mouthfeel. A dollop of unsweetened whipped cream or a handful of fresh red currants provides a necessary brightness to cut through the richness. If you prefer a simpler presentation, you might enjoy the single-layer charm of our old-fashioned chocolate cake, which offers similar comfort with less assembly time.
The Art of the Dark Cake
Mastering the Devil’s Food Cake is a milestone for any home baker. It teaches us the importance of temperature, the science of pH in baking, and the value of patience. This is not just a dessert; it is a testament to how a few simple ingredients, when treated with respect and precision, can transform into something extraordinary. I hope you find joy in the process of creating this dark, tender masterpiece.
For more explorations into classic baking techniques, I invite you to try our old-fashioned chocolate cake, which serves as a wonderful counterpoint to this recipe. Happy baking, and may your layers always rise evenly.
