I once sat in a high-end bistro where the pastry chef claimed that a truly moist chocolate cake required a three-day aging process. My internal rebel screamed, “Why wait?” I spent the next week in my kitchen, throwing away traditional butter-creaming methods and testing the limits of liquid ratios until I found this: a dark, daring masterpiece that defies the rules. This homemade chocolate cake isn’t just a dessert; it is a declaration that bold flavor should be fast, fearless, and utterly explosive.

This recipe is for the bakers who aren’t afraid of a little chemistry and a lot of cocoa. We are ditching the dense, dry crumb of the past for a texture so radical it practically melts on contact. It is the ultimate small-batch victory or large-scale triumph, proving that you don’t need a professional bakery to achieve mind-blowing results. Grab your whisk and let’s make something that will make every other cake in your recipe box look like a footnote.
Flavor Gameplan
This isn’t your average birthday party sponge. What makes this homemade chocolate cake stand out is the sheer audacity of its moisture profile. Most cakes rely on butter for flavor, but we use oil to guarantee a texture that stays soft for days. This choice allows the chocolate to take center stage without being masked by heavy dairy fats. It is a calculated move for maximum impact.
Then there is the structural rebellion of the boiling water. Most people see a thin batter and panic, but that hot liquid is doing something incredible behind the scenes. It is blooming the cocoa powder, waking up every dormant flavor molecule and creating a deep, dark intensity that standard recipes can’t touch. It is a thrilling process that results in a jaw-dropping crumb.
You will love this because it is honest. It doesn’t hide behind layers of sugar or fancy decorations. The flavor is powerful, the method is straightforward, and the result is an epic win for anyone who appreciates the darker side of baking. It is a unique take on a classic that feels both nostalgic and revolutionary at the same time.
Print
Homemade Chocolate Cake
- Total Time: 50 mins
- Yield: 12 servings
- Diet: Vegetarian
Description
This bold homemade chocolate cake utilizes a boiling water technique to bloom the cocoa for an intense, dark flavor. The oil-based batter ensures a remarkably moist crumb that outperforms traditional butter cakes in both texture and longevity.
Ingredients
- 2 cups white sugar
- 1 ¾ cups all-purpose flour
- ¾ cup unsweetened cocoa powder (Dutch-processed recommended)
- 1 ½ teaspoons baking powder
- 1 ½ teaspoons baking soda
- 1 teaspoon salt
- 2 large eggs
- 1 cup milk
- ½ cup vegetable oil
- 2 teaspoons vanilla extract
- 1 cup boiling water
Instructions
- Preheat your oven to 350 degrees F (175 degrees C). Grease and flour two 9-inch round pans, using extra cocoa powder instead of flour for dusting to keep the exterior dark.
- In a large bowl, whisk together the sugar, flour, cocoa, baking powder, baking soda, and salt until the mixture is uniform and free of clumps.
- Add the eggs, milk, oil, and vanilla to the dry ingredients. Use an electric mixer to beat on medium speed for approximately two minutes until the batter is smooth and glossy.
- Pour in the cup of boiling water and stir gently by hand with a spoon or spatula. The batter will be very thin, but this step is essential for blooming the cocoa.
- Divide the batter evenly between the prepared pans. Bake for 30 to 35 minutes, or until a toothpick inserted into the center comes out clean. Cool in the pans for 10 minutes before transferring to wire racks to finish cooling.
Notes
Always measure your flour using the spoon-and-level method to avoid a dense cake. For an even cleaner release from the pans, consider lining the bottoms with parchment paper in addition to greasing and dusting with cocoa powder.
- Prep Time: 15 mins
- Cook Time: 35 mins
- Category: Dessert
- Method: Baking
- Cuisine: American
The Flavor Arsenal

To build a cake this bold, you need a specific set of tools. Every ingredient here plays a vital role in the final sensory explosion. We aren’t just mixing things together; we are orchestrating a flavor triumph.
- White Sugar: This is about more than sweetness. Sugar is a liquifier that contributes to that stunningly tender crumb we’re after.
- All-Purpose Flour: The backbone of the operation. It provides just enough structure to hold the moisture without making the cake feel heavy or bread-like.
- Unsweetened Cocoa Powder: The star. I recommend a high-quality Dutch-processed cocoa if you want that deep, midnight-black look and a smooth, mellow finish.
- Baking Powder and Baking Soda: Our twin engines of lift. They react with the cocoa and the milk to create an airy, light-as-a-feather feel.
- Large Eggs: These act as the glue, providing protein structure so our radical moisture levels don’t turn the cake into a pudding.
- Milk and Vegetable Oil: The secret to the “forever-soft” texture. Oil stays liquid at room temperature, making certain your cake never feels dry or crumbly.
- Vanilla Extract: Think of this as the highlighter. It makes the chocolate taste more like chocolate.
- Boiling Water: The closer. This is what separates the amateurs from the pros. It thins the batter and blooms the cocoa for a spectacular depth of flavor.
Let’s Build This
Step 1: Prep Your Battlefield
Start by preheating your oven to 350 degrees F (175 degrees C). This isn’t just a suggestion; a hot oven is vital for that immediate lift. Grease and flour two 9-inch round pans. Don’t be sloppy here. We want these cakes to slide out like they’re on ice. Use a little extra cocoa powder instead of flour for dusting if you want to keep the exterior dark and fearless.
Step 2: Marry the Dry Ingredients
In a large bowl, whisk together the sugar, flour, cocoa, baking powder, baking soda, and salt. Use a whisk to break up any stubborn cocoa clumps. You want a uniform, sandy mixture. This is the foundation of your homemade chocolate cake, so make sure everything is evenly distributed before we introduce the liquid elements.
Step 3: Unleash the Wet Ingredients
Add the eggs, milk, oil, and vanilla to the dry mix. Reach for your electric mixer and beat this on medium speed for about two minutes. You aren’t just mixing; you are aerating. You’ll see the batter transform from a gritty paste into a smooth, glossy chocolate ribbon. This builds the structural integrity needed to handle the final, radical step.
Step 4: The Boiling Water Bloom
Now, put the mixer aside and grab a sturdy spoon or spatula. Pour in the cup of boiling water. Yes, the batter will look thin—almost like chocolate soup. Don’t freak out. This is exactly where we want to be. Stir it in gently until the mixture is uniform. The heat is currently unlocking the cocoa’s full potential, creating a flavor profile that is truly remarkable.
Step 5: The Bake and The Reveal
Pour the thin batter evenly into your prepared pans. Slide them into the oven and bake for 30 to 35 minutes. You’re looking for a toothpick to come out clean, but don’t overbake! Even two extra minutes can steal the moisture we’ve worked so hard to build. Let them cool in the pans for 10 minutes to set their structure, then flip them onto a wire rack to finish cooling. Your patience here will be rewarded with a spectacular texture.
Riley’s Hacks

If you want to take this homemade chocolate cake to a level that feels almost illegal, listen up. The first move is to use coffee instead of plain boiling water. The caffeine doesn’t make the cake taste like a latte; it just makes the chocolate feel more powerful and daring. It’s a classic flavor rebel move that works every single time.
Another pro move is to check your ingredients’ temperature. Using room-temperature eggs and milk makes certain that the fats emulsify perfectly with the dry ingredients. If you’re looking for more ways to push your baking boundaries, check out my guide on chocolate indulgence to see how different fats change the game. Also, never skip the salt. It might seem small, but salt is the contrast that makes the sweetness pop and the chocolate feel three-dimensional.
Flavor Experiments
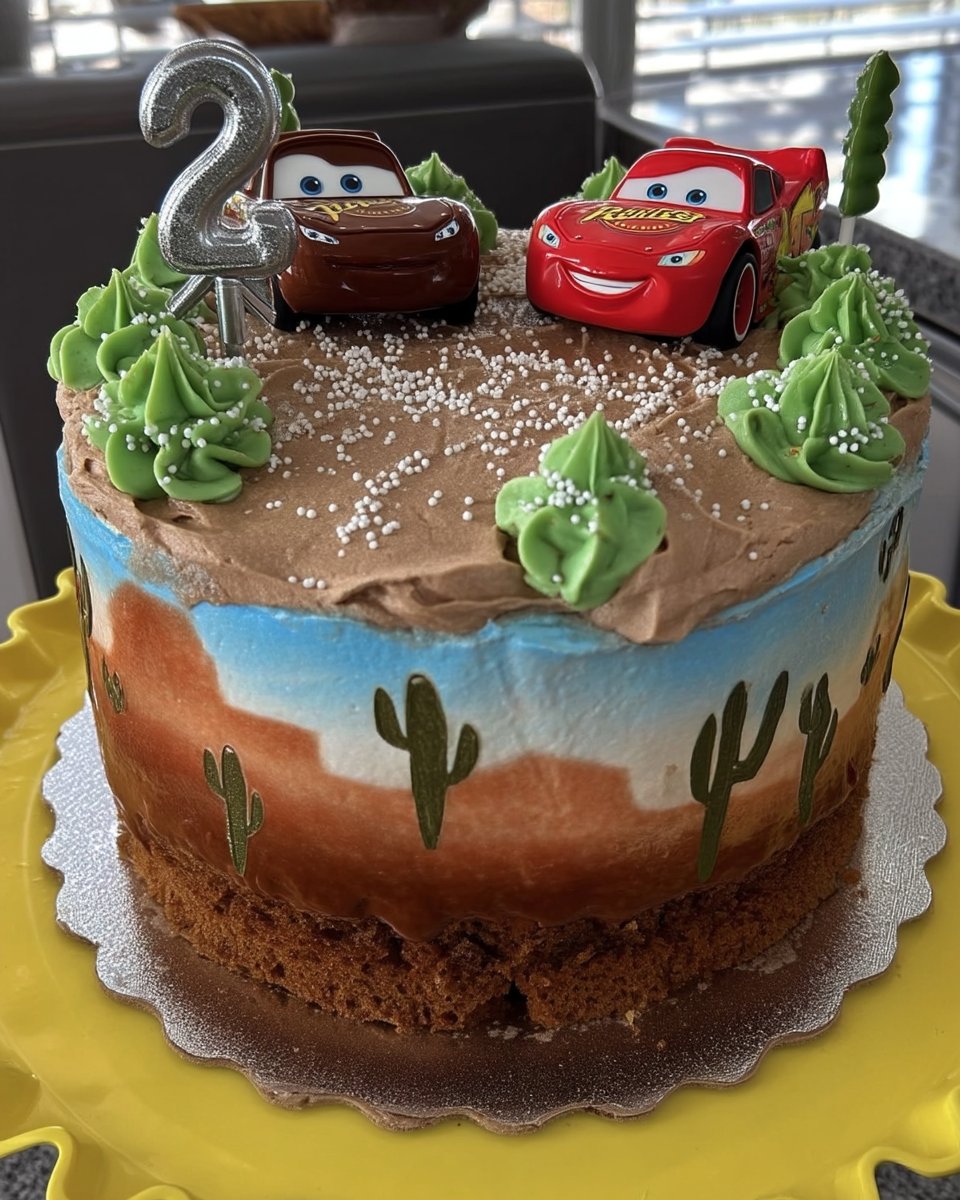
Once you’ve mastered the base, it’s time to get weird with it. Why not try a Mexican Chocolate twist? Add a teaspoon of cinnamon and a tiny pinch of cayenne pepper to the dry ingredients. The heat is subtle but creates a thrilling contrast with the rich cocoa. It’s a fire way to wake up a standard recipe.
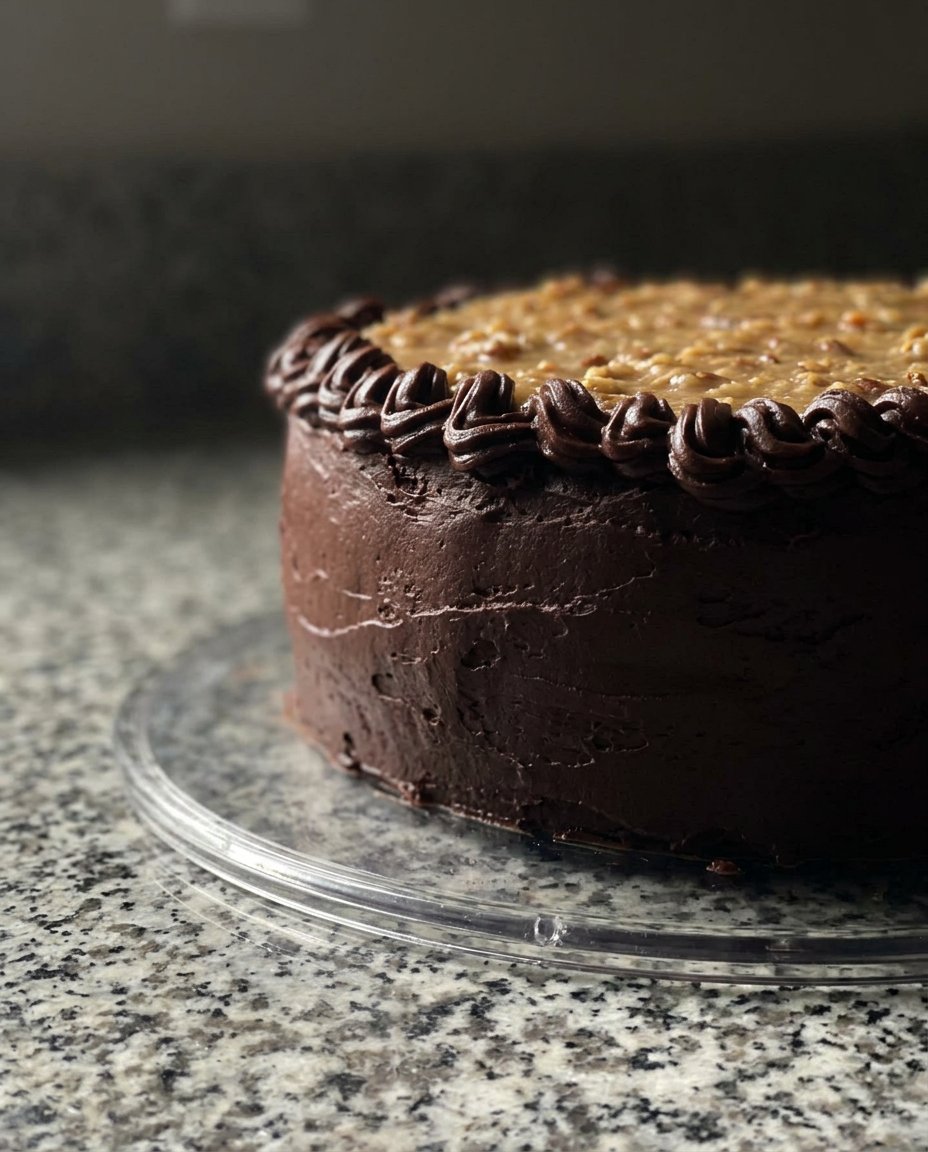
If you’re feeling a bit more traditional but still want a breakthrough, you can use this base to create a German chocolate cake. The light, airy crumb of this recipe provides a perfect canvas for that heavy coconut-pecan frosting. You could also swap the vanilla extract for almond or peppermint extract for a seasonal vibe that feels fresh and exciting. The beauty of this batter is its versatility—it’s a blank slate for your most radical ideas.
Showtime

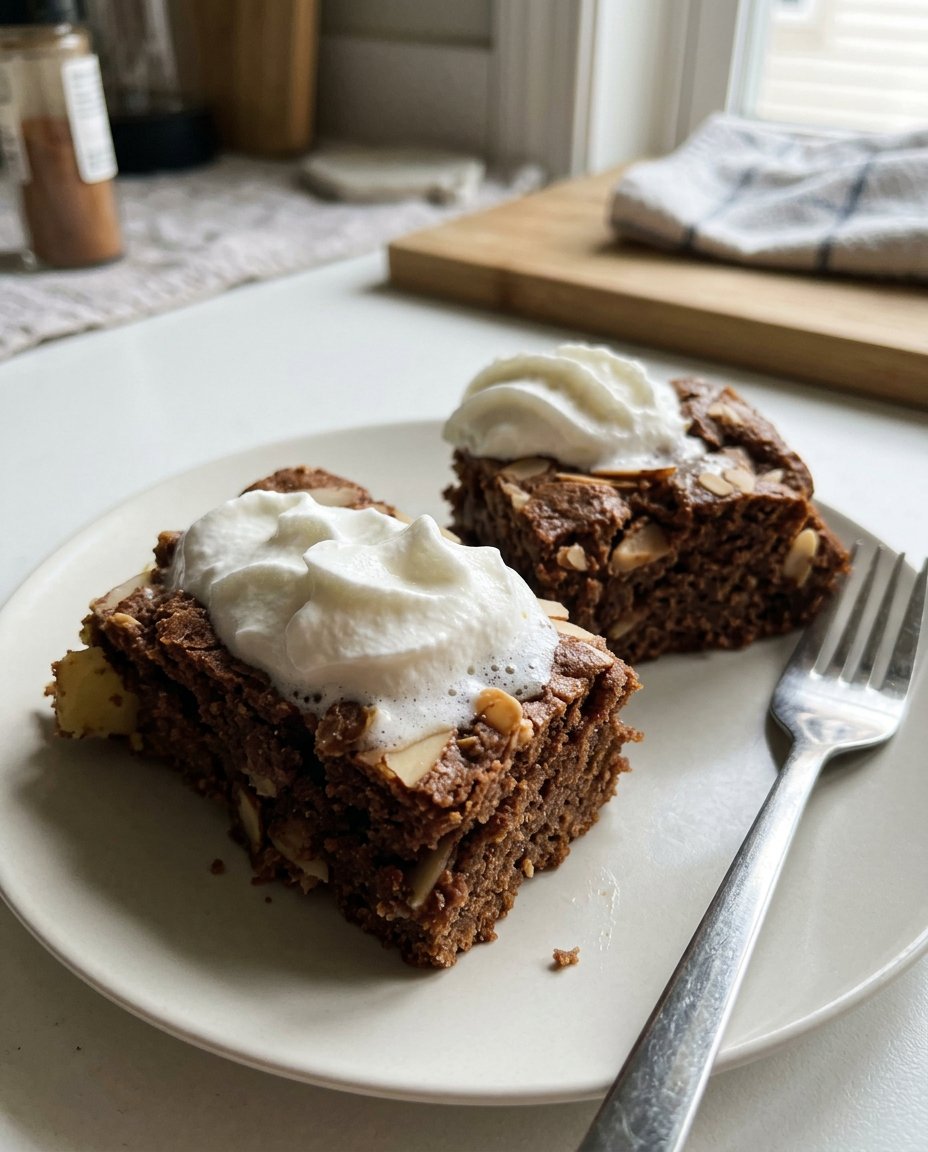
When it comes to serving this homemade chocolate cake, I say go big or go home. While a standard buttercream is fine, I love serving this with a dollop of whiskey-infused whipped cream. The sharp bite of the alcohol cuts through the richness of the cocoa in a way that is absolutely spectacular. It’s a sophisticated move for an adventurous palate.
For a more rustic, visual triumph, serve a slice with a handful of fresh raspberries and a dusting of sea salt. The salt flakes catch the light and provide a savory snap that makes the chocolate feel even more indulgent. If you’re looking for more traditional pairing ideas, take a look at my old fashioned chocolate cake serving guide for inspiration. Whether it’s a birthday or a Tuesday night rebellion, make sure the presentation is as bold as the flavor.
The Final Bite
There you have it—a homemade chocolate cake that refuses to play by the rules. It is dark, it is moist, and it is a total victory for the home baker who wants to prove that small-batch doesn’t mean small flavor. This recipe is a breakthrough in texture and a testament to the power of bold ingredients. Now, I want to see your creations. Did you add the coffee? Did you go for the cayenne? Stop playing it safe and start baking with some attitude.
For more flavor experiments and radical kitchen moves, be sure to check out my chocolate fudge cake for an even denser experience. You can also find more inspiration on the Add a Pinch chocolate cake guide for different techniques. Don’t forget to share your bakes with the community and join the flavor rebellion on our social channels! Tag us and show off that stunning crumb.


