Ever wonder what happens when you treat a grocery store freezer aisle like a high-end pantry? I had a “what if” moment last Tuesday involving a box of classic sandwiches and a sudden urge to build a frozen fortress that would make every kid (and grown-up) in the neighborhood jealous. This Ice Cream Sandwich Cake isn’t just a dessert; it’s a structural triumph of nostalgia mixed with a daring modern twist.

We are breaking the rules of traditional baking here because, frankly, sometimes the best “cake” doesn’t even need an oven. This small-batch masterpiece takes less than twenty minutes of active work but delivers a jaw-dropping visual that screams gourmet. Get ready to rethink everything you thought you knew about frozen treats.
The Ultimate Frozen Flavor Rebellion
Why settle for a single scoop when you can construct a multi-layered monolith of frozen perfection? This recipe rocks because it plays with architecture and texture in ways a standard cake simply can’t. You have the soft, cakey exterior of the sandwiches, the smooth-as-silk core of the softened ice cream, and the sudden, satisfying snap of a chocolate shell. It’s a sensory explosion that challenges the idea that complex flavors require hours of labor.
When you’re making a small-batch creation like this, you have the creative license to go wild. This isn’t just an Ice Cream Sandwich Cake; it’s a testament to the power of bold combinations. The saltiness of the Peanut Butter M&M’s cutting through the rich chocolate and vanilla is a total game-changer. It’s the kind of dessert that makes people stop and ask, “How did you even think of this?”
Most frozen cakes are just layers of mush, but we’re building something with integrity. By using the sandwiches as a perimeter, we create a stable, beautiful frame that looks like it came from a professional creamery. It’s daring, it’s exciting, and it’s remarkably easy to pull off if you follow my lead. Trust me on this one—the contrast between the crunchy sugar cones and the creamy center is a thrill you won’t soon forget.
Print
Ice Cream Sandwich Cake
- Total Time: 4 hours 20 mins
- Yield: 10 servings
- Diet: Vegetarian
Description
This architectural frozen dessert uses classic ice cream sandwiches to create a stunning perimeter around a marbled chocolate and vanilla core. Topped with sugar cones and a crunchy chocolate shell, it’s a show-stopping small-batch cake that requires zero baking and minimal active prep time.
Ingredients
- 12 classic ice cream sandwiches
- 2 quarts high-quality ice cream (1.5 quarts chocolate, 1 pint vanilla)
- 3 sugar cones
- Chocolate Magic Shell®
- Peanut butter M&M’s
- Confetti sprinkles
Instructions
- Line an 8-inch or 9-inch round cake pan with plastic wrap, ensuring there is plenty of overhang on all sides to act as handles.
- Allow the ice cream to sit at room temperature for 10–15 minutes until softened but not fully melted.
- Cut the 12 ice cream sandwiches in half and stand them up around the perimeter of the pan, cut-side-down, pressed firmly against the wall.
- In a large bowl, stir half of the softened ice cream until it reaches a thick milkshake consistency, then pour it into the center of the sandwich ring.
- Freeze the cake for at least 4 hours, or preferably overnight, until completely solid.
- Lift the cake out of the pan using the plastic wrap handles, remove the wrap, and place on a serving plate.
- Top the cake with scoops of the remaining ice cream, place sugar cones upside down on the scoops, and drizzle with Chocolate Magic Shell, M&M’s, and sprinkles.
Notes
To ensure the best visual contrast, look for ice cream sandwiches with a dark cocoa wafer. If the magic shell hardens too quickly, work in sections to ensure your sprinkles and candies adhere properly before the chocolate sets completely. For the cleanest slices, use a knife dipped in hot water and wiped dry between each cut.
- Prep Time: 20 mins
- Cook Time: 0 mins
- Category: Dessert
- Method: No-Bake
- Cuisine: American
The Flavor Arsenal: What You Will Need

To build a revolutionary dessert, you need ingredients that stand their ground. We aren’t looking for subtle here; we want bold, unapologetic flavors that work together to create something spectacular. Here is the breakdown of your high-impact toolkit for this project.
- Classic Ice Cream Sandwiches (12 count): These are the backbone of our build. We’re cutting them in half to create a striped, architectural border. Look for the ones with a soft chocolate wafer that won’t shatter when you bite into them.
- High-Quality Ice Cream (2 quarts): I use a mix of 1.5 quarts chocolate and 1 pint vanilla for that classic marble look. The chocolate provides a deep, rich base, while the vanilla offers a bright, creamy contrast. Feel free to use your favorite artisan brand here—quality matters when the flavor is this exposed.
- Sugar Cones (3 count): These provide the height and the crunch. Most people forget about texture in frozen cakes, but these cones add a necessary toasted-sugar snap that balances the softness of the cream.
- Chocolate Magic Shell®: This is our secret weapon for that instant-set chocolate drip. It adds a professional finish and a satisfying crackle when you dive in with a spoon.
- Peanut Butter M&M’s and Confetti Sprinkles: The M&M’s bring a salty, nutty bite that breaks up the sweetness, while the sprinkles add that viral, festive energy every great cake needs.
Everything in this list serves a purpose. The ice cream isn’t just a filling; it’s the glue. The cones aren’t just decor; they are a textural landmark. When these elements marry, they create a flavor profile that is far more than the sum of its parts. If you want to go even bolder, consider adding a handful of crushed sea salt pretzels into the softened ice cream center before freezing.
How to Build the Frozen Fortress
Step 1: Prep Your Foundation
First, grab a standard 8-inch or 9-inch round cake pan. Line it with plastic wrap, making sure there’s plenty of overhang on all sides. This isn’t just for cleanliness; those overhanging edges are your handles for lifting the finished masterpiece out of its mold later. Don’t skip this, or your cake will stay in that pan forever. Let your ice cream sit on the counter for about 10–15 minutes until it’s soft enough to stir but not melted into a puddle.
Step 2: Construct the Perimeter
Unwrap your 12 ice cream sandwiches and cut them perfectly in half. Now, stand them up around the edge of your prepared pan, cut-side-down. They should fit snugly against the wall of the pan, creating a beautiful, uniform fence. This is the stage where the Ice Cream Sandwich Cake starts to look like a professional creation. Ensure they are packed tight so the filling doesn’t leak through the gaps.
Step 3: Mix and Pour the Core
Take about half of your softened ice cream (the chocolate and a bit of the vanilla) and put it in a large bowl. Stir it until it reaches a thick, pourable consistency—think of a very thick milkshake. If you’re feeling extra adventurous, this is the moment to fold in some crushed cookies or extra candy. Pour this mixture into the center of your sandwich ring. Smooth the top with a spatula and get it into the freezer immediately. Put the rest of your ice cream back in the freezer too; we’ll need it for the topping later.
Step 4: The Deep Freeze
This is the hardest part: waiting. You need this cake to be frozen solid before you try to unmold it. Give it at least 4 hours, though leaving it overnight is the pro move. A solid freeze makes sure those sandwiches stay perfectly upright when you remove the pan. If it’s even slightly soft, the whole thing might slump, and we want a sharp, clean look for this build.
Step 5: The Grand Reveal
Pull those plastic wrap ends upward and lift the cake out of the pan. It should pop right out. Peel away the plastic and place the cake on your favorite serving plate. Now, take your remaining ice cream and use an ice cream scoop to create mounds on top of the cake. Think of it like crowning a king. Place your three sugar cones upside down on three of the scoops for a playful, hat-like effect.
Step 6: The Finishing Drip
Pour the Chocolate Magic Shell over the ice cream mounds and the cones. Watch as it hardens into a glossy, crackable layer. While it’s still slightly wet, shower the whole thing with your confetti sprinkles and Peanut Butter M&M’s. This is your artistic moment—don’t hold back! Pop it back in the freezer until you are ready to serve and blow everyone’s minds.
Riley’s Hacks for Frozen Success

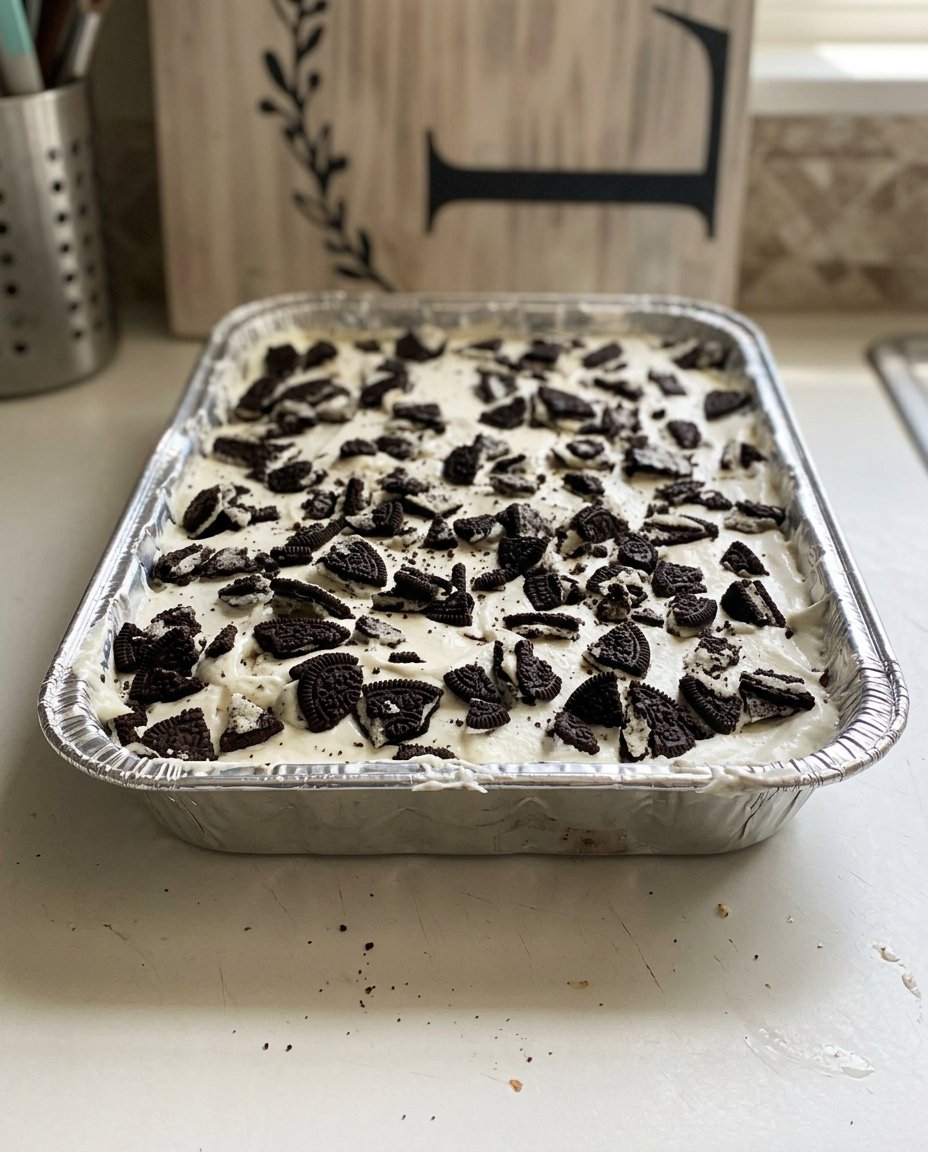
Temperature control is everything when you are dealing with a frozen build. If your kitchen is hot, work in stages. You can set the perimeter and freeze it for 20 minutes before adding the center pour to keep those sandwiches from leaning. To get those clean, professional slices, dip your sharpest knife in hot water and wipe it dry between every single cut. This melts the ice cream just enough to glide through without squishing the sandwiches. For more texture tips, check out my guide on the cookies and cream cake which handles similar creamy densities. Also, make sure your freezer is set to its coldest setting for the initial 4-hour block to ensure a rock-solid foundation.
Flavor Experiments to Try Next
If you want to push this recipe into even wilder territory, why not try a “Midnight Mocha” version? Swap the vanilla ice cream for coffee bean flavor and use chocolate-covered espresso beans as your topper instead of M&M’s. For those who live for the sweet and salty combo, you could mimic the vibe of my snickers cake by drizzling salted caramel over the top and swapping the sugar cones for waffle cones dipped in crushed peanuts. You could even go fruity by using strawberry ice cream and fresh macerated berries for a “Summer Social” twist that breaks all the chocolate-heavy rules.
Showtime: Plating Your Masterpiece

When it’s time to serve, don’t just hand out plates; make it an event. This cake looks stunning on a raised glass stand where people can see the striped pattern of the sandwiches around the sides. I like serving slices that include exactly two ice cream sandwich pieces—it’s the perfect ratio of wafer to cream. If you want to lean into the nostalgic vibe, serve this alongside a chilled bowl of my banana pudding poke cake for a full-on dessert spread that covers all the bases. For more inspiration on artistic plating, check out the incredible work over at SprinkleBakes.
The Final Bite
There you have it—a bold, fearless take on the classic Ice Cream Sandwich Cake that proves you don’t need a hot oven to make a cool statement. This recipe is all about embracing the fun side of baking and challenging yourself to build something unexpected with simple ingredients. If you’re looking for another quick win that defies traditional methods, jump over to my 3-ingredient dump cake recipe. Don’t forget to share your frozen creations with me on social media! Tag me and show off your flavor rebellion.
