What happens when you take the sharp, mischievous edge of Sanrio’s most iconic rebel and mix it with the softest sponge cake imaginable? You get a Kuromi Cake Design that is as bold in flavor as it is in aesthetic. This isn’t just another sweet treat; it’s a flavor-forward experiment that challenges the boring, pastel status quo of traditional baking.

This recipe focuses on a radical, airy sponge that acts as the perfect structural foundation for your wildest decorating whims. Whether you are aiming for a goth-glam masterpiece or a cute coquette vibe, this cake brings the texture and the triumph. Let’s break the rules and bake something that actually says something about your personality.
Why This Flavor Rebellion Rocks
I’m obsessed with this project because it perfectly captures that “what if?” energy that drives every great baker. Most people see a Kuromi Cake Design and think it’s just about the black and purple frosting, but the real secret is the sponge. By using a traditional Genoise-style method, we create a cake that is remarkably light yet sturdy enough to hold up to the heavy piping required for that signature Kuromi look. It’s a fearless approach to a classic base, proving that you don’t need a million ingredients to make a massive impact.
This cake is a total breakthrough for anyone tired of dense, heavy bakes that feel like a chore to eat. We are talking about a texture that is nearly cloud-like, achieving its lift entirely through the power of beaten eggs rather than chemical leaveners. It’s a technique that feels revolutionary in a world of box mixes and heavy batters. When you’re crafting a small-batch masterpiece, you can afford to pay attention to these fine details that make the final result absolutely stunning.
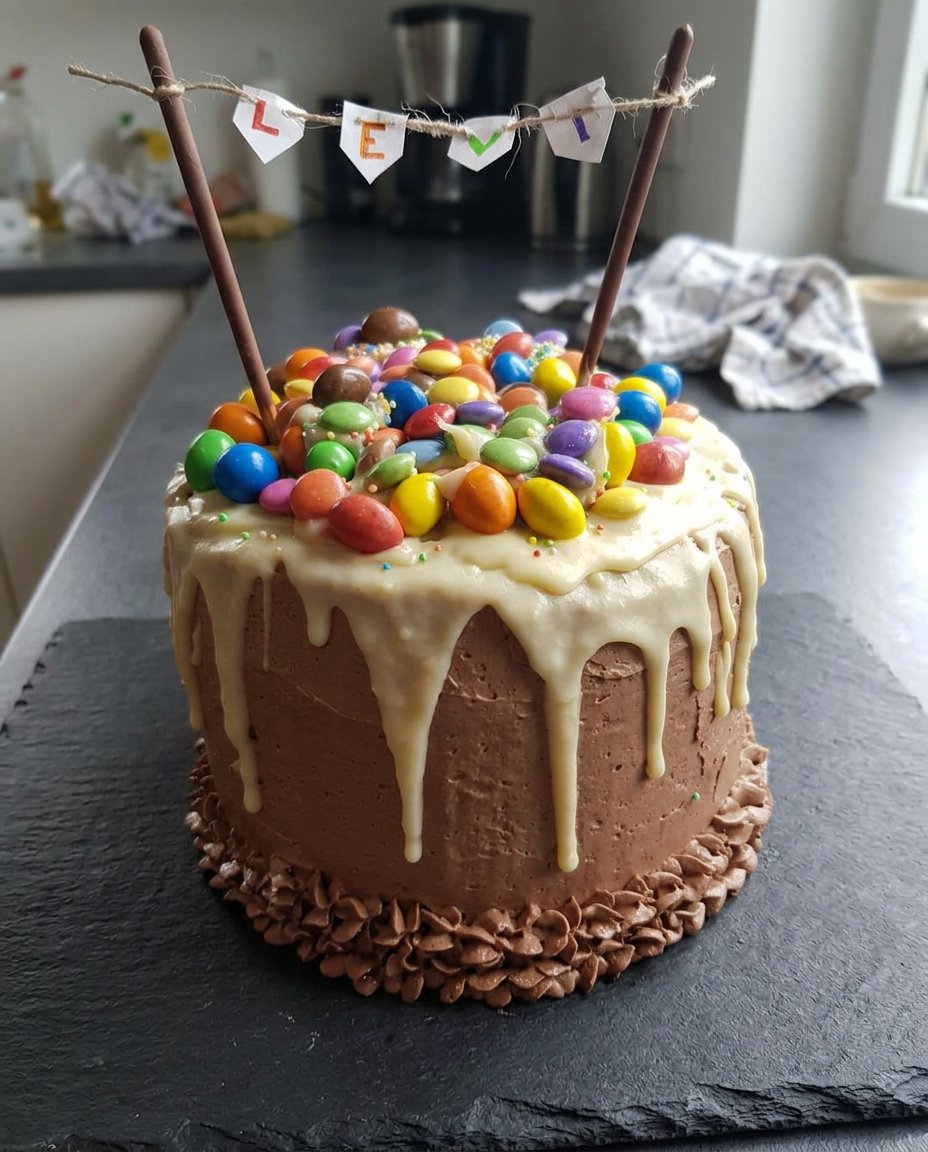
Beyond the texture, there is the sheer thrill of the aesthetic. Kuromi represents a playful defiance, and bringing that into the kitchen is pure fire. It’s about taking a simple, stunning base and turning it into something explosive and unique. This isn’t just a recipe; it’s a creative license to go wild with your piping bags and your imagination. If you want to see some jaw-dropping visual inspiration for this vibe, check out this aesthetic baking journey.
Print
Kuromi Cake Design
- Total Time: 40 mins
- Yield: 12 servings
- Diet: Vegetarian
Description
This airy and resilient Genoise sponge provides the perfect structural foundation for a bold, aesthetic Kuromi-inspired masterpiece. By mastering the art of the egg-foam lift, you can create a professional-grade cake that is light enough to melt in your mouth yet sturdy enough for intricate piping.
Ingredients
- 6 Large eggs (room temperature)
- 1 cup Granulated sugar
- 1 cup All-purpose flour
- 1/2 teaspoon Baking powder
Instructions
- Preheat your oven to 350°F (175°C) and line the bottoms of two 9-inch round cake pans with parchment paper, ensuring you do not grease the sides.
- In a stand mixer, beat the eggs on high speed for one minute before gradually streaming in the sugar and continuing to beat for 8 to 10 minutes until the mixture reaches the thick, pale ribbon stage.
- Whisk the flour and baking powder together, then sift the dry mixture into the egg batter one-third at a time, gently folding with a spatula using a ‘J’ motion until no white streaks remain.
- Divide the batter evenly between the two pans and bake for 23 to 28 minutes until the tops are golden brown and a toothpick inserted into the center comes out clean.
- Run a thin spatula around the edges to release the cakes, flip them onto a wire rack to cool completely, and peel off the parchment paper.
- Once fully cooled, use a serrated knife to slice each cake layer in half horizontally to create four thin layers ready for decorating.
Notes
To ensure maximum volume, make sure your mixing bowl and whisk are completely free of any oil or grease before beating the eggs. If you are baking in a humid environment, you can add an extra pinch of cream of tartar to the eggs to help stabilize the foam during the long whisking process.
- Prep Time: 15 mins
- Cook Time: 25 mins
- Category: Dessert
- Method: Baking
- Cuisine: American
The Flavor Arsenal

To build a cake this revolutionary, you need ingredients that work overtime. We aren’t hiding behind complex additives here; we are using a few high-quality components to achieve a mind-blowing result. Here is the breakdown of what makes this Kuromi Cake Design foundation so powerful:
- Large Eggs (Room Temperature): These are the backbone of your bake. Because we aren’t relying on a mountain of baking powder, the air trapped in these eggs provides all the lift. Make sure they are at room temperature to achieve maximum volume.
- Granulated Sugar: Not just for sweetness! The sugar stabilizes the egg foam, creating a structure that won’t collapse the moment you look at it. It’s the glue that holds our airy dreams together.
- All-Purpose Flour: This provides the necessary body. We want enough gluten to hold the shape but not so much that it becomes tough. Sifting is non-negotiable here to keep things light.
- Baking Powder: Just a tiny pinch to act as a safety net. It gives that extra little boost to make sure your layers are even and spectacular.
Every ingredient here serves a specific, fearless purpose. When you marry these elements correctly, you get a sponge that is the gold standard for any celebration-cakes you might have planned. It’s all about the physics of the whisk and the quality of the fold.
How to Build the Foundation
Step 1: Prep the Launchpad
Start by preheating your oven to 350°F (175°C). This needs to be precise, as sponge cakes are sensitive to temperature drops. Line the bottoms of two 9-inch round cake pans with parchment paper. Do not grease the sides! This is a radical departure from standard cake prep, but the batter needs to “climb” the walls of the pan to reach its full height. If you grease them, the batter will just slip and stay flat.
Step 2: The High-Speed Whisk
In your stand mixer, beat the 6 large eggs on high speed for exactly one minute. Once they are frothy, gradually stream in the sugar while the mixer is still running. Now, don’t walk away. You need to beat this mixture for 8 to 10 minutes. You are looking for the “ribbon stage”—where the batter is thick, pale, and holds a shape for several seconds when the whisk is lifted. This is where the magic happens.
Step 3: Sifting and Folding
Whisk your flour and baking powder together, then sift it into the egg mixture one-third at a time. This is the most critical part of the process. Use a large spatula to fold the flour in gently. Think of it as a “J” motion: cut through the center, scrape the bottom, and fold over. Be fearless but gentle. You want to incorporate the flour without deflating all that beautiful air you just spent ten minutes whisking in. Stop the moment you see no more white streaks.
Step 4: The Golden Bake
Divide the batter evenly between your two pans. If you want to be a perfectionist (and you should), use a kitchen scale to make sure they are identical. Bake for 23 to 28 minutes. You’ll know they are ready when the tops are a beautiful golden brown and a toothpick comes out clean. Avoid opening the oven door too early, or you risk a heart-breaking collapse.
Step 5: The Cool Down and Slice
Run a thin spatula around the edges of the pans to release the cakes and flip them onto a wire rack. Peel off that parchment paper immediately to let the steam escape. Once they are completely cool, use a sharp serrated knife to slice each layer in half horizontally. You now have four perfect layers ready for your Kuromi Cake Design masterpiece.
Riley’s Flavor Secrets

If you want a truly spectacular result, the temperature of your eggs is the ultimate game-changer. Cold eggs won’t whip into the same explosive volume that room-temperature eggs will. If you’re in a rush, place your eggs in a bowl of warm water for five minutes before cracking. This small move ensures a texture that is light, airy, and totally radical.
Also, when you are designing your cake, think about flavor contrast. Kuromi is all about the mix of sweet and sassy. Consider brushing your layers with a light simple syrup spiked with a bit of berry liqueur to keep them moist and add a hidden depth of flavor. For more ideas on how to handle delicate layers, check out my guide on celebration-cakes to master the art of the stack. Remember, the goal is a cake that looks like a triumph and tastes like a dream.
Twist It Up
Want to take this Kuromi Cake Design into even more adventurous territory? You can easily transform this sponge into a deep, dark chocolate version by replacing 1/4 cup of the flour with high-quality dark cocoa powder. This creates a striking contrast if you use bright purple frosting. If you’re feeling really bold, you could even take inspiration from my purple-carrot-cake and incorporate some subtle earthy tones or spices into the mix.
Another fun experiment is to add a tablespoon of finely grated lemon or orange zest to the sugar before whisking. It doesn’t change the structural integrity of the cake, but it adds a bright, citrusy punch that cuts through rich buttercream. For those who want a truly vintage look, you can use this same sponge base to create a stunning vintage-cake aesthetic with ruffled piping and maraschino cherries.
Showtime and Plating

Presentation is everything when you’ve put this much effort into a Kuromi Cake Design. I love serving these slices on dark, moody plates to make the purple and black colors pop. For a truly unique experience, pair a slice of this airy sponge with a glass of dry sparkling wine or a bold, bourbon-spiked iced coffee. The bitterness of the coffee or the acidity of the wine balances the sweetness of the frosting perfectly.
If you want to go full coquette, serve your cake alongside some edible flowers or delicate macarons. This cake also looks incredible when placed next to a heart-cake at a dessert table, creating a beautiful contrast between “sweet” and “spicy” styles. Whatever you do, make sure you take a photo before the first bite, because this design is guaranteed to go viral on your feed.
The Final Bite
Creating a Kuromi Cake Design is more than just a baking project; it’s a statement. By mastering this airy, fearless sponge, you’ve proven that you don’t need to follow the old-school rules to get a professional, mind-blowing result. This cake is proof that small-batch baking is the ultimate playground for flavor rebels and aesthetic innovators. If you loved this challenge, you have to try my vintage-cake for another dose of nostalgic, bold design.
Don’t forget to share your creations and tag me—I want to see how you’ve made this recipe your own! Keep experimenting, keep breaking the rules, and most importantly, keep baking bold. Catch more of my flavor experiments on Instagram and Pinterest.
