I remember the first time I saw a spectrum of colors hidden inside a simple Bundt cake. It was at a neighbor’s silver wedding anniversary, and as she sliced into that golden crust, a hidden rainbow spilled onto the plate. My mother leaned in and whispered that it took a bit of patience, but the joy on everyone’s faces was worth every extra bowl.

This Lemon Rainbow Cake brings that same sense of wonder to your own kitchen table without needing a professional bakery. We use a tender buttermilk batter scented with vanilla and top it with a bright, tart lemon glaze that cuts through the sweetness perfectly. It is a timeless treat that reminds us why we take the time to bake from the heart.
The Magic of a Hidden Rainbow
There is something truly special about a cake that keeps its secrets until the very first slice is served. While the outside looks like a classic, golden Bundt cake, the inside reveals a vibrant celebration of color that delights children and adults alike.
This recipe relies on the simple chemistry of buttermilk and butter to create a crumb that is both sturdy enough for layering and tender enough to melt in your mouth. It is the kind of cake that doesn’t need heavy frosting because the flavors and the visual surprise speak for themselves.
You will love the way the zesty lemon glaze balances the rich, buttery base. It provides a bright finish that makes every bite feel light and refreshing, perfect for a sunny afternoon tea or a quiet Sunday dessert.
Print
Lemon Rainbow Cake 3
- Total Time: 1 hour 30 mins
- Yield: 12 servings
- Diet: Vegetarian
Description
This whimsical Lemon Rainbow Cake features a tender buttermilk crumb hidden beneath a classic golden Bundt exterior. When sliced, it reveals a stunning spectrum of six colorful layers, all perfectly balanced by a bright and tangy lemon glaze.
Ingredients
- 3 cups all-purpose flour
- 2 teaspoons baking powder
- 1/2 teaspoon baking soda
- 1/2 teaspoon salt
- 2 cups granulated sugar
- 1 cup unsalted butter, softened
- 1/4 cup vegetable oil
- 4 large eggs
- 1 tablespoon vanilla extract
- 1 cup buttermilk
- Red, orange, yellow, green, blue, and purple gel food coloring
- 1 tablespoon lemon zest
- 3 tablespoons fresh lemon juice
- 1.5 cups powdered sugar
- Non-stick baking spray
Instructions
- Preheat your oven to 350°F (175°C) and generously coat a 12-cup Bundt pan with non-stick baking spray.
- In a medium bowl, whisk together the flour, baking powder, salt, and baking soda until evenly distributed.
- In a large mixing bowl, beat the sugar, softened butter, and oil for 4 minutes until the mixture is light and fluffy.
- Beat in the eggs one at a time, then add the vanilla extract and beat for another minute at high speed.
- With the mixer on the lowest setting, alternate adding the flour mixture in three parts and the buttermilk in two parts, starting and ending with flour.
- Divide the batter into six small bowls and stir a different gel food color into each one until uniform.
- Spoon the batter into the pan in layers: red, orange, yellow, green, blue, and finally purple, without stirring.
- Bake for 50 to 65 minutes until a tester comes out clean, then rest in the pan for 10 minutes before inverting onto a wire rack to cool.
Notes
For the cleanest color definition, wipe your spatula between mixing each bowl of colored batter. Ensure your butter and eggs are at room temperature to prevent the batter from curdling, which helps maintain the integrity of the rainbow layers during the baking process.
- Prep Time: 30 mins
- Cook Time: 60 mins
- Category: Dessert
- Method: Baking
- Cuisine: American
Pantry Staples for a Colorful Creation

To make this beautiful cake, we start with the basics found in any honest kitchen pantry. I always say that the best results come from ingredients kept at room temperature, as they blend more smoothly into a velvety batter.
- All-Purpose Flour: This provides the structure for our rainbow. I prefer a simple, unbleached flour for that traditional home-baked feel.
- Buttermilk: This is the secret to a moist cake. It reacts with the baking soda to give us a lovely, high rise and a delicate tang.
- Unsalted Butter: Using unsalted butter allows us to control the seasoning perfectly. Make sure it is soft enough that your finger leaves an indentation.
- Lemon Zest and Juice: Fresh is always best here. The oils in the zest carry a deep citrus aroma that bottled juice simply cannot match.
- Food Coloring: For those vivid stripes, gel colors are my favorite. They offer intense hues without thinning out the precious batter.
When you gather these items on your counter, you are preparing more than just a dessert; you are preparing a memory.
The Baking Process
Step 1: Prepare the Kitchen
Preheat your oven to 350℉ (175℃). Gently spray a 12-cup Bundt pan with non-stick baking spray, making sure to reach into all the decorative crevices of the pan.
Step 2: Whisk the Dry Goods
In a medium bowl, whisk together the flour, baking powder, salt, and baking soda. This ensures the leavening agents are distributed evenly so the cake rises straight and true.
Step 3: Cream the Butter and Sugar
In your large mixing bowl, beat the sugar, softened butter, and oil for about 4 minutes. You want the mixture to look light and fluffy, almost like a pale cloud, which creates the tiny air pockets for a soft crumb.
Step 4: Add the Eggs and Vanilla
Beat in the eggs one at a time, allowing each to be fully absorbed before adding the next. Stir in the vanilla extract and beat for another minute at a higher speed to strengthen the emulsion.
Step 5: Alternate the Additions
With your mixer on its lowest setting, add the flour mixture in three parts, alternating with the buttermilk in two parts. Start and end with the flour to keep the batter from curdling or becoming too thin.
Step 6: Create the Colors
Divide the batter into six small bowls. I find that using a kitchen scale helps keep the layers even. Carefully stir your red, orange, yellow, green, blue, and purple gel colors into each respective bowl until the color is uniform.
Step 7: Layer the Rainbow
Spoon the red batter into the bottom of the pan and spread it smooth. Gently layer the orange, then yellow, green, blue, and finally purple on top. Do not stir them, as we want distinct stripes of color.
Step 8: Bake and Cool
Bake for 50 to 65 minutes until a tester comes out clean. Let the cake rest in the pan for 10 minutes before inverting it onto a wire rack to cool completely before you apply the glaze.
Secrets from the Recipe Box

One of the most important things to remember is the temperature of your ingredients. Cold eggs can cause the butter to seize, resulting in a grainier texture that won’t hold the colors as well. If you are in a hurry, place your eggs in a bowl of warm water for five minutes to take the chill off.
When it comes to the lemon glaze, wait until the cake is completely cool to the touch. If the cake is even slightly warm, the glaze will soak in rather than sitting beautifully on top. For more tips on achieving the perfect consistency, you might look at our guide on the lemon rainbow cake which discusses the nuances of citrus finishes.
Always use a heavy-duty Bundt pan for even heat distribution. If your pan is older and prone to sticking, a light dusting of flour over the baking spray can provide extra insurance that your rainbow will emerge intact. This is a technique I learned from a friend who writes about the easy rainbow cake with lemon glaze and it has never failed me.
Classic Flavor Twists
While the lemon glaze is traditional, you can easily swap the citrus notes for something different. A splash of almond extract in the batter adds a nostalgic, cherry-like aroma that pairs wonderfully with the vanilla. You could also try a simple vanilla bean glaze if you prefer a more mellow sweetness.
For those who enjoy a bit of extra texture, consider adding a tablespoon of poppy seeds to the batter. This adds a lovely crunch and a sophisticated look to the colorful slices. I often think about how this base reminds me of my lemon yogurt cake, which uses similar acidity to keep the crumb moist and tender.
If you find yourself baking for a smaller group, you can divide the batter into two smaller 6-cup Bundt pans. Just be sure to reduce the baking time by about 15 to 20 minutes, as smaller cakes bake much faster in the center.
At the Table

Serving this cake is an event in itself. I love to place the whole Bundt on a vintage glass pedestal to show off its golden exterior and the graceful drips of the lemon glaze. It is best to slice the cake at the table so everyone can witness the rainbow reveal together.
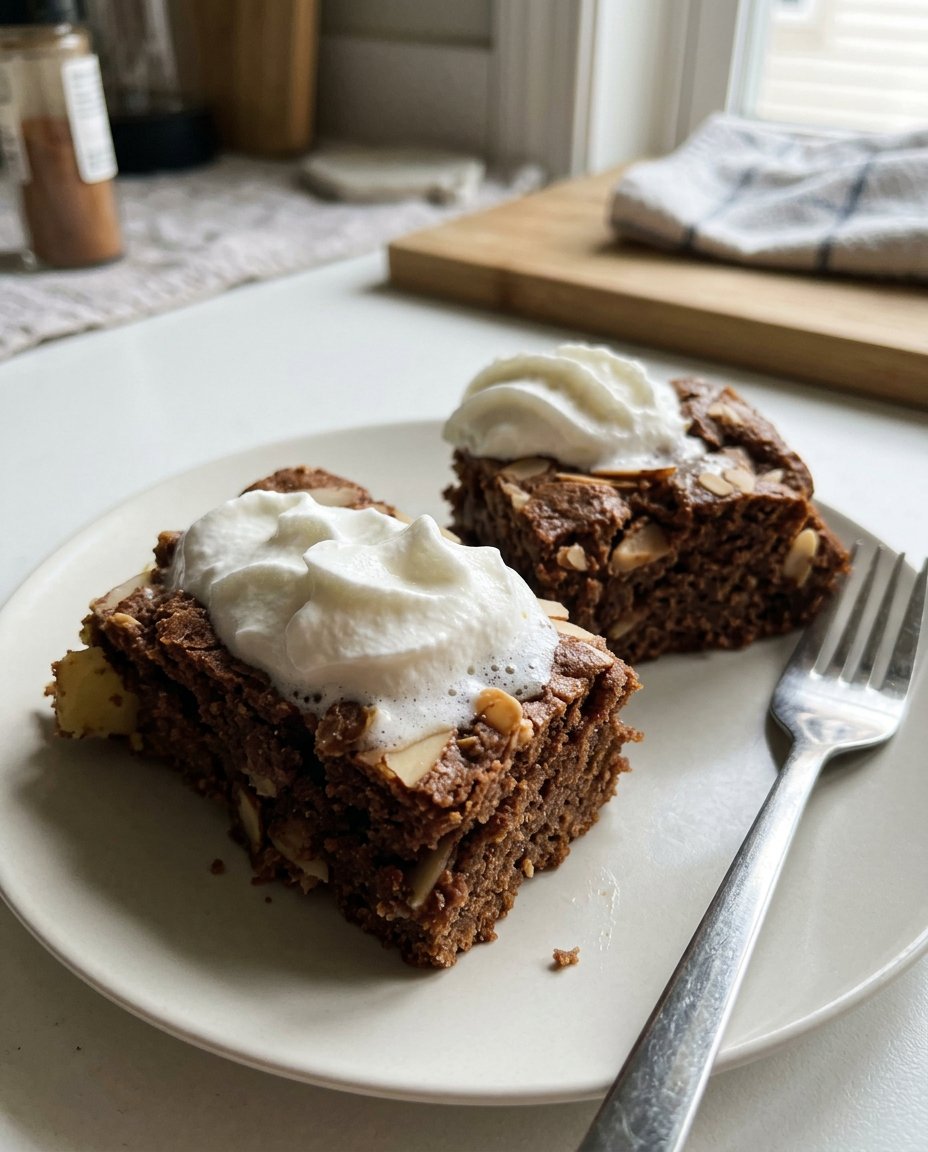
Accompany each slice with a dollop of lightly sweetened whipped cream or a few fresh berries. The tartness of the lemon glaze is especially lovely when served alongside a cup of Earl Grey tea or a cold glass of milk. For more inspiration on serving festive desserts, check out our collection of celebration cakes.
Remember that small-batch baking is about the intimacy of the moment. Don’t worry if the layers aren’t perfectly straight; those little waves of color are what make a homemade cake look authentic and full of character.
A Final Word
Baking this Lemon Rainbow Cake 3 is a reminder that the simplest ingredients can create something extraordinary when mixed with a little care and a lot of love. It brings a touch of whimsy to the kitchen and a smile to the faces of those we cherish most. I hope this recipe finds a permanent place in your handwritten recipe box, ready to be pulled out whenever a little extra color is needed in the world.
Keep your ingredients fruit fresh and your oven warm. If you enjoyed this colorful journey, please share your bakes with our community. You can find us and more vintage inspiration on Pinterest or follow our daily kitchen moments on Instagram. We would love to see your beautiful rainbows!
