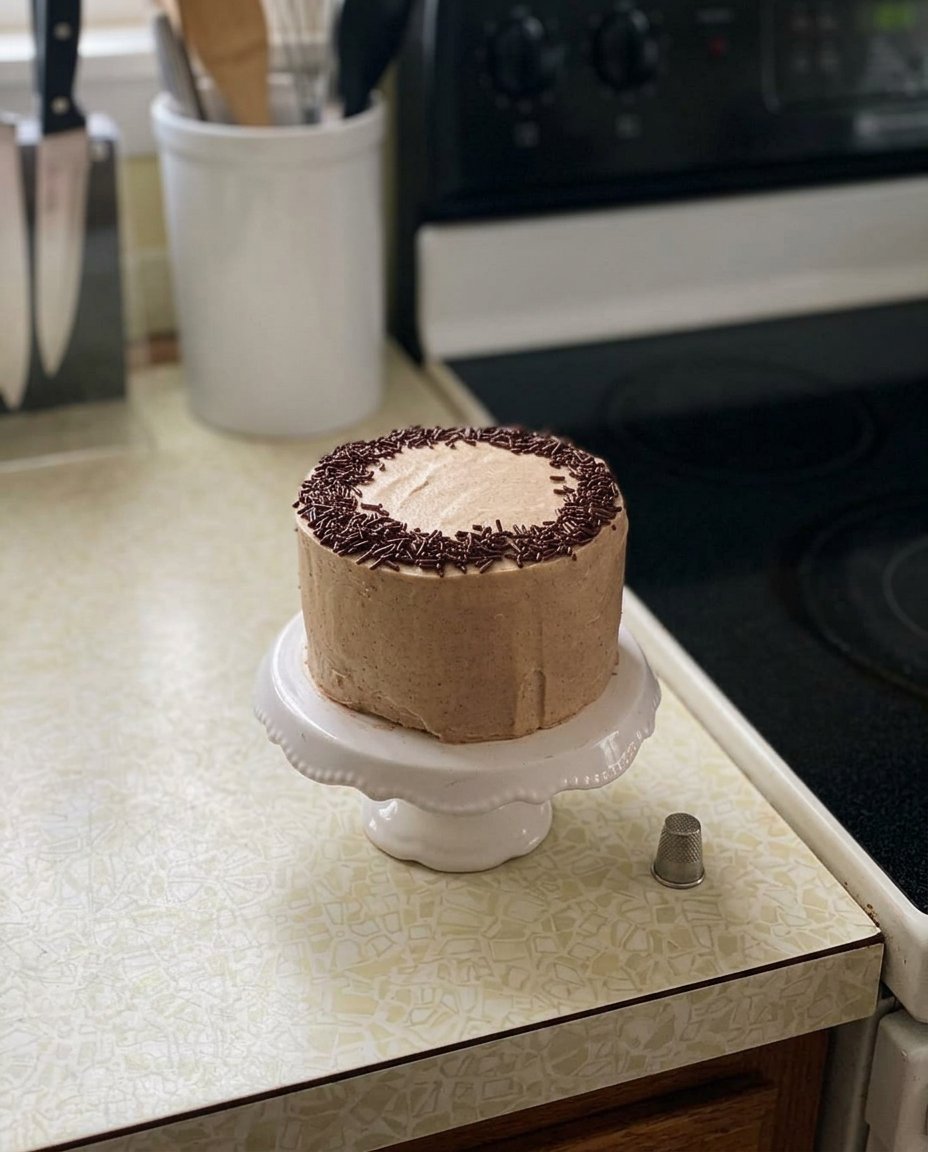
I was sitting on a sun-drenched balcony when the idea for this Mamma Mia Cake hit me like a splash of Mediterranean salt water. What if we took the classic, comforting bones of a vintage sponge and gave it the high-energy, unapologetic flair of a Broadway finale? This isn’t just another dessert; it is a flavor experiment designed to prove that even the most traditional foundations can be turned into something revolutionary with the right mindset.

We are looking at a crumb so tender it practically melts, paired with a frosting that is bold, buttery, and strictly business. This small-batch wonder is my answer to those boring, dry cakes that have plagued parties for decades. Get ready to bake something that actually lives up to the hype and brings a serious kick to your kitchen table.
The Flavor Gameplan: Why This Recipe Rocks
Why settled for mediocre when you can have a cake that screams with personality? This Mamma Mia Cake is a celebration of texture and balance. Most people think a simple vanilla-based cake is ‘basic,’ but I see it as a blank canvas for total flavor dominance. By focusing on the interplay between high-quality fats and a precise crumb structure, we create a sensory experience that is both nostalgic and thrillingly modern.
You are going to love the way the buttermilk provides a subtle tang that cuts right through the richness of the creamed butter. It is that tiny bit of acid that makes you want to keep going back for another bite. Plus, the ratio of sugar to flour is tuned specifically to ensure a golden, caramelized exterior while keeping the center airy and soft. It is a bold move to call a cake ‘perfect,’ but once you pull these rounds out of the oven, you will see exactly what I mean. This recipe is for the bakers who aren’t afraid to demand more from their ingredients.
Finally, this cake is the ultimate crowd-pleaser because it refuses to be one-dimensional. It is sweet, yes, but it has depth. It is substantial enough to hold up under layers of frosting, yet light enough that you don’t feel weighed down after a slice. It is a masterclass in what happens when you stop following the boring rules of the past and start baking with a bit of fire in your soul. This is how we win at the dessert game.
Print
Mamma Mia Cake
- Total Time: 55 mins
- Yield: 8-10 servings
- Diet: Vegetarian
Description
This Mamma Mia Cake is a bold reimagining of the classic vanilla sponge, offering a tender buttermilk crumb and a rich, buttery depth. It is a sophisticated, small-batch dessert designed to bring high-energy flair and a perfect balance of sweetness to any occasion.
Ingredients
- 2 cups all-purpose flour
- 1 ½ cups granulated sugar
- 1 cup unsalted butter, room temperature
- 3 large eggs, room temperature
- 1 cup buttermilk
- 2 teaspoons pure vanilla extract
- 2 teaspoons baking powder
- ½ teaspoon salt
Instructions
- Preheat your oven to 350F (175C) and grease and flour two 8-inch cake rounds, lining the bottoms with parchment paper.
- In a medium bowl, whisk together the flour, baking powder, and salt until thoroughly aerated and combined.
- Using a stand mixer fitted with a paddle attachment, cream the butter and sugar on medium-high speed for at least 3 minutes until pale and fluffy.
- Reduce the mixer speed and add the eggs one at a time, followed by the pure vanilla extract, ensuring each is fully incorporated before adding the next.
- Alternate adding the flour mixture and buttermilk to the batter, starting and ending with the flour, and mix until just combined to maintain a tender crumb.
- Divide the batter evenly between the prepared pans, smooth the tops with a spatula, and bake for 30-35 minutes or until a toothpick comes out clean.
- Cool the cakes in their pans for 10 minutes before transferring them to a wire rack to cool completely before frosting.
Notes
To achieve a professional finish, try chilling your cake layers in the refrigerator for 30 minutes before applying frosting to help lock in crumbs. Using a kitchen scale to measure your flour by weight rather than volume will also ensure your cake remains light and airy every time.
- Prep Time: 20 mins
- Cook Time: 35 mins
- Category: Dessert
- Method: Baking
- Cuisine: American
The Flavor Arsenal: What You Will Need

Building a masterpiece requires the right tools, and in my kitchen, ingredients are the most powerful tools we have. For this Mamma Mia Cake, we are selecting items that provide maximum impact. We aren’t just tossing things in a bowl; we are marrying textures to create something explosive.
- All-Purpose Flour: This is our structural foundation. It provides just enough protein to give the cake a strong ‘backbone’ without making it tough. We want a crumb that holds together but remains tender.
- Unsalted Butter: Quality is everything here. Since we are using a significant amount, the flavor of the butter will shine through. Make sure it is at true room temperature so it can trap the air necessary for a revolutionary rise.
- Granulated Sugar: This isn’t just for sweetness; it is for aeration. When we cream this with the butter, the crystals cut through the fat, creating tiny pockets that expand in the heat of the oven.
- Large Eggs: These provide the emulsification and rich golden color. Using room-temperature eggs ensures they incorporate smoothly into the fat, preventing the batter from breaking.
- Buttermilk: This is the secret weapon. It provides a tenderizing effect on the gluten and a sharp contrast to the sweet sugar, making the overall flavor profile much more complex.
- Pure Vanilla Extract: Don’t even think about using the imitation stuff. We need that deep, floral punch of real vanilla to anchor the entire flavor profile.
When you gather these items, think about them as a team. Each one has a specific job to do in our pursuit of cake perfection. When they work together, the result is nothing short of spectacular.
The Method: Let’s Build This Beauty
Step 1: Prep and Prime
Start by preheating your oven to 350F (175C). This is the crucial first step to ensure your cake hits the heat the moment it enters the oven. Grease and flour two 8-inch cake rounds with precision. I like to line the bottoms with parchment paper because there is nothing more tragic than a beautiful cake sticking to the pan. This is our insurance policy for a flawless release.
Step 2: The Dry Component
In a medium bowl, whisk together your flour, baking powder, and salt. Do not just stir it; whisk it vigorously to aerate the mixture and ensure the leavening agent is distributed with total uniformity. This prevents any weird tunnels or uneven rising in your finished product. Set this dry arsenal aside for a moment.
Step 3: The Creaming Phase
Using a stand mixer fitted with the paddle attachment, cream the butter and sugar on medium-high speed. We are looking for a transformation here—aim for at least 3 minutes until the mixture looks pale and incredibly fluffy. This is where we build the air that makes the cake light. Once you hit that perfect texture, reduce the speed and add the eggs one at a time. Make sure each egg is fully incorporated before adding the next one to maintain the emulsion. Mix in that bold vanilla extract at the very end.
Step 4: Marrying the Ingredients
Now we alternate. Add about a third of your flour mixture, then half of the buttermilk. Repeat, beginning and ending with the flour. This technique is vital because it prevents the batter from becoming over-saturated with liquid or too dry at any point. Mix until just combined; over-mixing at this stage is the enemy of a tender crumb. We want to be gentle but firm.
Step 5: The Bake
Divide the batter evenly between your prepared pans. Use a spatula to smooth the tops so they bake evenly. Slide them into the oven for 30-35 minutes. You are looking for a golden hue and a toothpick that comes out mostly clean with just a few moist crumbs. The smell in your kitchen at this point should be absolutely intoxicating.
Step 6: The Cool Down
Let the cakes rest in their pans on a wire rack for exactly 10 minutes. This allows the structure to set so they don’t fall apart. After 10 minutes, carefully turn them out onto the rack to cool completely. Do not even think about frosting these while they are warm, or you will end up with a melted mess instead of a masterpiece.
Riley’s Hacks for Cake Perfection

To really nail this Mamma Mia Cake, you need to respect the science of temperature. If your butter is too cold, it won’t cream properly, and if it’s too warm, your cake will be greasy and dense. Aim for that perfect ‘pliable’ stage where a finger leaves an indentation without sliding through. If you find yourself enjoying this style of baking, you should definitely look into my vintage-cake techniques for more old-school wisdom with a modern twist.
Another pro move is to weigh your ingredients if you can. While I provide cup measurements for convenience, a kitchen scale is the ultimate tool for a fearless baker. It ensures that your flour-to-fat ratio is spot on every single time, removing the guesswork and guaranteeing a revolutionary result. Also, if you want a cleaner slice, try chilling your cake layers for about 30 minutes before frosting; it firms up the crumb and makes the whole process much more manageable.
Flavor Experiments: Twist the Script
I love a recipe that acts as a foundation for even bolder ideas. If you want to take this Mamma Mia Cake into a different dimension, try adding the zest of two large lemons to the sugar before creaming. The oils in the zest will infuse the entire cake with a bright, citrusy punch that pairs perfectly with the buttermilk. For those who want something even more daring, check out my lemon-yogurt-cake for inspiration on how to play with acidity and moisture.
Another wild variation is to replace the vanilla extract with almond extract or even a splash of dark bourbon for a rich, smoky undertone. You can also fold in a half-cup of fresh blueberries tossed in a little flour to prevent them from sinking. The goal is to make this recipe your own—take the framework I’ve built and add your own signature flair. There are no rules in my kitchen, only opportunities for flavor breakthroughs.
Showtime: Plating Like a Rebel

When it comes to serving this Mamma Mia Cake, I say go big or go home. Don’t just set a slice on a plain white plate; give it the stage it deserves. I love serving this with a side of macerated berries or a dollop of lemon curd to provide a sharp contrast to the rich frosting. This cake is meant to be shared at celebration-cakes events where the energy is high and the people are ready for something truly unique.
If you are serving this at an afternoon tea, pair it with a strong Earl Grey or a bold espresso. The bitterness of the coffee beautifully complements the sweet, buttery notes of the cake. For a more adventurous evening pairing, try a chilled Moscato or even a light, sparkling cider. The bubbles help cleanse the palate between those rich, decadent bites. Presentation is half the battle, so don’t be afraid to use some edible flowers or a dusting of powdered sugar to make it look as explosive as it tastes.
The Final Bite: Keep Experimenting
This Mamma Mia Cake is more than just a recipe; it is a challenge to everything you thought you knew about ‘standard’ vanilla cakes. We have taken simple ingredients and forced them to perform at their absolute peak, resulting in a flavor triumph that is both spectacular and comforting. If you are hungry for more citrus-forward adventures, you have to try my lemon-rainbow-cake next. It is another example of how we can push the boundaries of traditional baking to create something jaw-dropping.
Don’t let the journey end here. Baking is about constant evolution and fearless creativity. For more inspiration and behind-the-scenes looks at my latest flavor experiments, check out this incredible cake inspiration on Lemon8. Make sure to share your creations with the community and show off your bold results! Follow me on Instagram, Facebook, and Pinterest for more small-batch madness. Now get in the kitchen and make some noise!

