I remember the soft light of my grandmother’s kitchen on Saturday mornings, where the only sound was the steady rhythm of a hand whisk against a ceramic bowl. Tucked inside her worn, flour-dusted recipe box was a simple card labeled “The Reliable Sponge,” a recipe that required only three ingredients and a great deal of patience. This was her version of a Nude Cake, a cake that didn’t need thick layers of frosting to hide its flaws because it was baked with such care and intention that it was beautiful all on its own.

This Nude Cake is a return to the basics of traditional baking, focusing on the honest texture and gentle sweetness of a true sponge. It is the perfect choice for spring gatherings or quiet afternoons when you want a treat that feels light, airy, and deeply comforting without the weight of modern, heavy decorations. By letting the golden crumb of the cake shine through, you honor the ingredients and the timeless tradition of the home baker’s craft.
The Beauty of Bare Perfection
There is something profoundly moving about a cake that relies entirely on the quality of its foundation rather than the complexity of its toppings. You will love this Nude Cake because it celebrates the magic of simple transformations—how six humble eggs and a bit of sugar can be whisked into a cloud-like batter that fills your home with the most nostalgic, buttery aroma. It is a recipe for those who find joy in the process of baking, in the slow dance of the whisk and the careful sifting of flour, just as our grandmothers did decades ago.
In a world that often values excess, this cake is a gentle reminder that “just enough” is often more than plenty. It is remarkably versatile, acting as a soft canvas for whatever the season provides, whether that is a handful of garden-grown raspberries or a simple dusting of powdered sugar. The texture is fine and delicate, yet sturdy enough to hold its shape, making it a reliable favorite for everything from a child’s birthday to a sophisticated tea party. It is a cake that has been loved for generations, and it will be loved for generations more because it tastes like home.
Furthermore, this recipe is a testament to the skill of the baker. It does not hide behind shortcuts or chemical leaveners; instead, it uses the natural air trapped in the eggs to achieve its impressive lift. When you pull this golden masterpiece from the oven, you feel a sense of accomplishment that modern box mixes simply cannot provide. It is a heartfelt tribute to the art of the kitchen, proving that with a few pantry staples and a bit of time, you can create something truly extraordinary for your family and friends.
Print
Nude Cake
- Total Time: 1 hour 5 mins
- Yield: 8 servings
- Diet: Vegetarian
Description
Experience the elegance of traditional baking with this delicate three-ingredient sponge cake that celebrates simplicity and texture. Its light, airy crumb and golden finish make it the perfect versatile base for seasonal berries or a simple dusting of powdered sugar.
Ingredients
- 6 Large Eggs (room temperature)
- 180 g Fine Granulated Sugar
- 180 g All-purpose or Cake Flour (sifted)
Instructions
- Preheat your oven to 165°C (330°F) and grease a cake tin, lining both the bottom and sides with parchment paper for a clean release.
- Combine the eggs and sugar in a large, grease-free bowl and whisk for at least 15 minutes until the mixture triples in volume and reaches a thick ribbon stage.
- Slowly sift the flour over the egg foam and gently fold it in using a manual whisk or spatula, using a circular motion to maintain the air bubbles.
- Pour the batter into the prepared tin and bake in the center of the oven for 45 minutes; avoid opening the door during the first 30 minutes of baking.
- Test for doneness with a wooden skewer, then leave the cake in the turned-off oven with the door slightly ajar for 5 minutes to prevent shrinking.
- Remove from the oven, rest in the tin for 10 minutes, then demold and cool upside down on a wire rack to ensure a perfectly flat top.
Notes
To achieve the best volume, ensure your mixing bowl and whisk are completely free of grease before starting. Sifting the flour from a slight height helps aerate the powder, making it much easier to fold into the delicate egg foam without causing it to collapse.
- Prep Time: 20 mins
- Cook Time: 45 mins
- Category: Dessert
- Method: Baking
- Cuisine: European
The Pantry Staples

To make a proper Nude Cake, you must start with the freshest ingredients you can find, as each one plays a vital role in the final character of the bake. This recipe is a classic small-batch approach that honors the ingredients without overcomplicating the flavor profile.
- 6 Large Eggs: These are the heart and soul of your sponge. In the old way of baking, we didn’t rely on baking powder; we relied on the strength of the eggs. Make sure they are at room temperature to allow them to reach their full volume when whisked. The eggs provide the structure and the lift that makes this cake so famously light.
- 180 g Sugar (approx. 3/4 cup + 2 tablespoons): A fine granulated sugar works best here. It dissolves into the eggs as you whisk, creating a stable foam that won’t collapse. It provides just enough sweetness to complement the flour without becoming cloying.
- 180 g Flour (approx. 1 1/2 cups): I prefer a soft all-purpose flour or a dedicated cake flour for this recipe. Sifting the flour is a step you should never skip, as it removes any lumps and aerates the powder, allowing it to be folded into the egg mixture without deflating all that precious air you worked so hard to incorporate.
When these three ingredients come together, they create a harmony of texture and taste that is both simple and sophisticated. Using high-quality eggs with bright yolks will give your cake a lovely golden hue, reminiscent of the cakes Grandma would frost in her Sunday best.
The Baking Process
Step 1: Prep Your Kitchen Tools
Begin by preparing your cake tin. Use a bit of butter to grease the sides and bottom, then line it with parchment paper—a technique we call chemiser in the old French tradition. This guarantees that your delicate sponge will release from the pan without tearing. Preheat your oven to 165°C (330°F). We use a static heat setting to ensure the cake rises evenly and gently without being pushed around by a fan.
Step 2: The Art of Whisking
Place your six eggs and the sugar into a large, clean bowl. Now comes the part that requires a bit of grit: whisk the mixture for at least 15 minutes. If you have a stand mixer, this is the time to use it, but Grandma often did this by hand with a large wire whisk. You are looking for the mixture to whiten and triple in volume. It should reach the “ribbon stage,” where the batter falling from the whisk leaves a visible trail on the surface for several seconds before disappearing.
Step 3: Sifting and Folding
Slowly sift your flour over the top of the egg mixture. Do not dump it all in at once, or you will crush the air bubbles. Using a manual whisk or a flexible spatula, fold the flour in with a gentle hand. Move from the bottom of the bowl upwards in a circular motion, turning the bowl as you go. This gentle touch is the secret to a tender crumb. Stop as soon as the last streak of flour vanishes; over-mixing is the enemy of a light sponge.
Step 4: Into the Oven
Pour your batter into the prepared tin, smoothing the top with a light touch. Place it in the center of the oven and bake for 45 minutes. Resist the urge to open the oven door during the first 30 minutes, as the sudden change in temperature can cause the cake to fall. The scent of warming sugar and flour will soon fill your kitchen, a signal that the magic is happening.
Step 5: Testing for Doneness
To check if your cake is ready, use a wooden skewer or a thin knife blade. Insert it into the center; it should come out clean and dry. The top should be a pale golden brown and spring back slightly when touched. Once done, turn off the oven but leave the cake inside for 5 minutes with the door slightly ajar. This prevents a sudden temperature shock that might cause the cake to shrink.
Step 6: Cooling and Turning
Remove the cake from the oven and let it sit in the tin for another 10 minutes. Carefully run a knife around the edge and demold it. Turn the cake upside down onto a cooling rack. This is a classic baker’s trick to ensure the top of your cake remains perfectly flat, providing that iconic look for your final presentation.
Secrets from the Recipe Box

One of the most important things to remember when making a Nude Cake is the temperature of your kitchen. A cold kitchen can make the eggs take longer to reach their peak volume. If you find your eggs are straight from the fridge, place them in a bowl of warm water for ten minutes before cracking them. This little bit of warmth makes the proteins more flexible, allowing them to trap more air.
Another secret from the old way of baking is to use a metal bowl for whisking your eggs. Metal stays cooler than plastic and is easier to keep perfectly grease-free. Even a tiny speck of fat can prevent your eggs from whipping properly. For more traditional techniques, you might want to look at our vintage cake guide, which covers the basics of small-batch sponges in more detail. Always remember to sift your flour from a height; this adds even more air into the mix before it even touches the eggs.
Classic Flavor Twists
While the beauty of this cake lies in its simplicity, you can certainly make it your own with a few subtle additions. A teaspoon of pure vanilla bean paste or the zest of a fresh lemon can be folded in at the very end to provide a delicate aromatic lift. If you are feeling a bit more adventurous, you can replace a tablespoon of the flour with high-quality cocoa powder for a very light chocolate version that remains airy and soft.
For those who love a bit of fruit, you can try our raspberry-white-chocolate-cake for a more decadent take on a similar sponge base. Another lovely variation is to brush the cooled layers with a simple syrup infused with elderflower or rose water. This keeps the cake incredibly moist and adds a layer of floral sophistication that is perfect for a spring celebration. You might also find inspiration in this wonderful nude cake guide which offers more modern takes on the aesthetic.
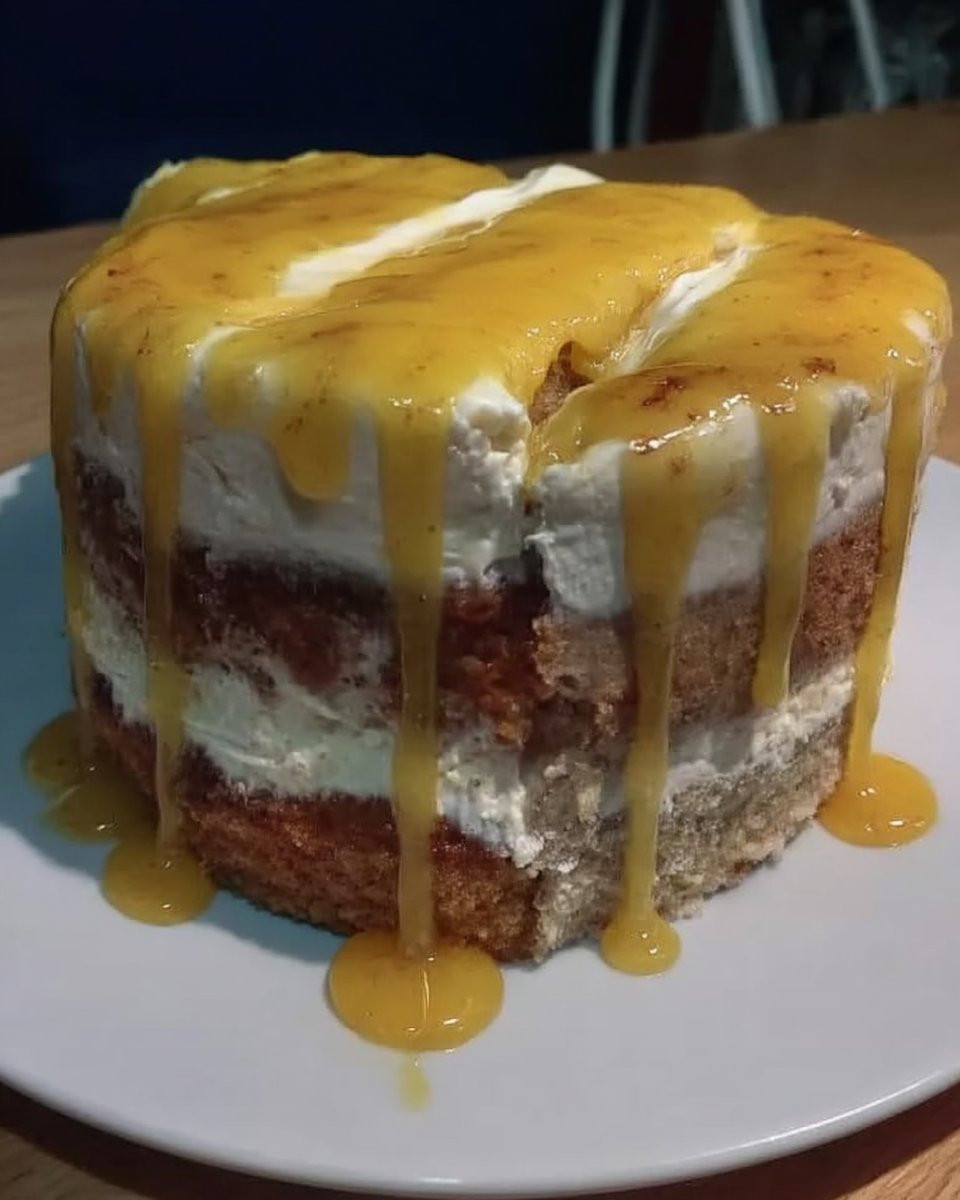
At the Table

Serving a Nude Cake is an exercise in elegance and restraint. Because the cake itself is so light, it pairs beautifully with a dollop of softly whipped cream and a handful of seasonal berries. To keep things looking rustic and vintage, place the cake on a wooden pedestal or a piece of heirloom china. A light dusting of powdered sugar just before serving adds a touch of magic without overcomplicating the flavors.
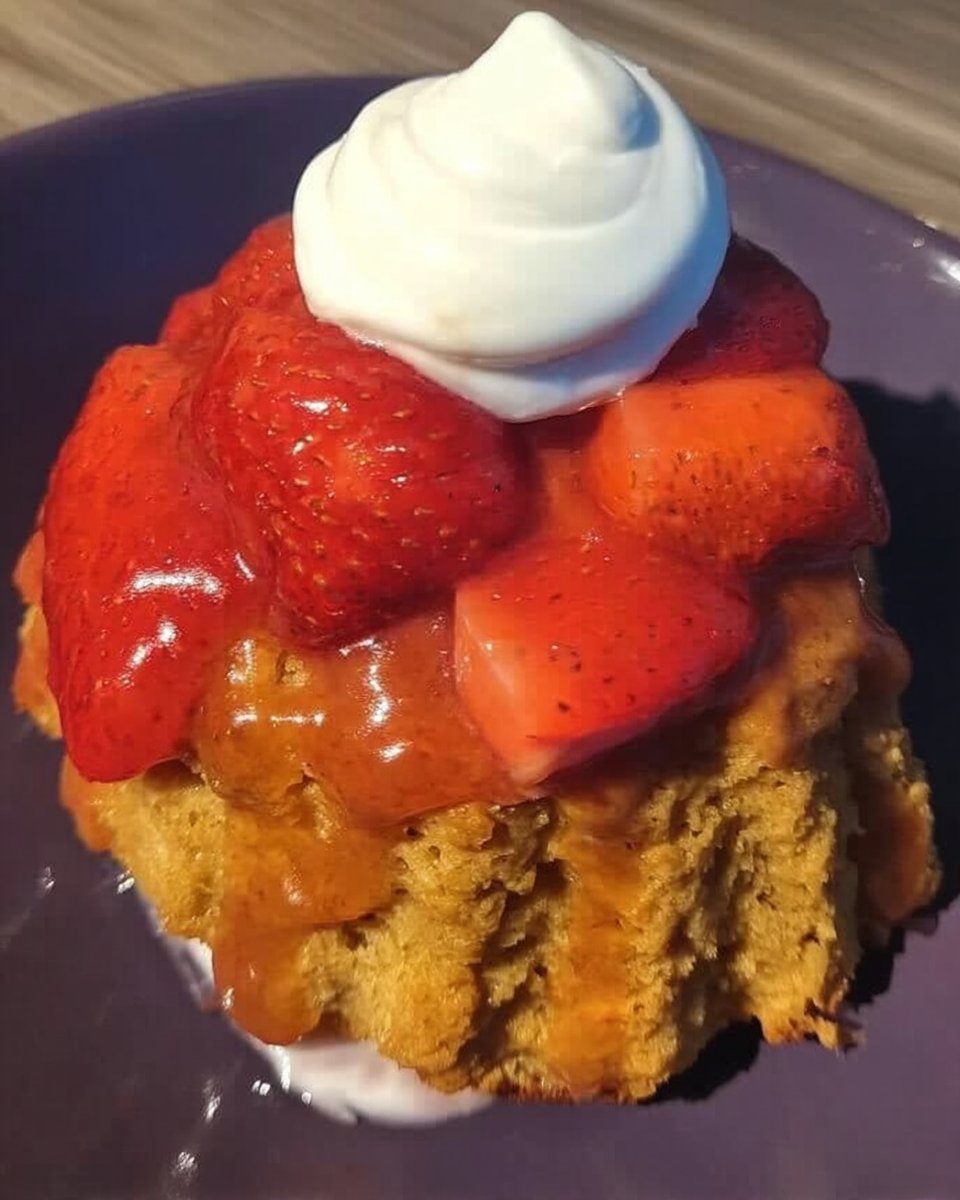
If you are hosting an afternoon tea, serve this sponge alongside a pot of Earl Grey or a delicate herbal infusion. The clean flavors of the cake allow the tea’s notes to shine. For those who want to add a bit more vibrancy to the plate, consider using fruit-fresh toppings like macerated strawberries or a simple apricot glaze. This cake is meant to be shared in intimate settings, where the focus is on the company and the simple pleasure of a homemade treat.
A Final Word
Baking a Nude Cake is more than just following a recipe; it is about slowing down and connecting with the traditions that have shaped our kitchens for centuries. This cake doesn’t shout for attention with bright colors or sugary frostings; instead, it whispers of quality, care, and the quiet joy of a job well done. I hope this recipe finds a permanent home in your own collection, just as it did in my grandmother’s recipe box so many years ago. Whether you are baking for a special event or just to fill your home with warmth, this sponge is a reliable companion. For more ideas on how to mark life’s milestones with cake, visit our celebration-cakes page. Please share your baking memories with us on Pinterest or follow our kitchen journey on Instagram. Happy baking, from my heart to yours.
