I still remember the first time I saw a cake explode—not from a kitchen disaster, but by design. It was pure, unadulterated chaos on a plate, and I knew instantly I had to master it. Why serve a polite, predictable slice of sponge when you can serve a literal avalanche of sugar and joy? This recipe is my love letter to everyone who believes food should be as entertaining as it is delicious.

This Pinata Cake is the ultimate party trick disguised as a dessert. We are talking four layers of tender, vibrant vanilla cake, stacked high and hiding a secret core of your favorite sweets. It is bold, it is loud, and it is exactly the kind of edible rebellion we love at Cake Half. Get your cameras ready, because the first slice is going to be legendary.
Why This Recipe is a Total Riot
Let’s be real: most cakes are just sitting there waiting to be eaten. This one demands attention. It’s an interactive experience that turns a standard birthday party into a spectacle. The contrast between the soft, buttery vanilla sponge and the crunch of the hidden candy creates a texture clash that is absolutely addictive.
Plus, the customization potential here is off the charts. You control the color palette and the hidden treasure. Want a neon green cake filled with sour gummies? Do it. Want a pastel masterpiece hiding gold sprinkles? Go for it. It is structurally impressive but surprisingly achievable for the home baker who wants to prove they have got skills.
Print
Pinata Cake
- Total Time: 1 hour 10 mins
- Yield: 12 servings
- Diet: Vegetarian
Description
This spectacular four-layer vanilla cake features a hidden treasure trove of candies and sprinkles tucked inside its vibrant, colorful core. It is the ultimate interactive dessert that turns any celebration into a memorable spectacle with a literal avalanche of sweetness.
Ingredients
- Unsalted butter, room temperature
- Buttermilk
- Gel food coloring (green, blue, purple, and pink)
- Assorted candies (M&Ms, chocolate rocks, or jelly beans)
- Multicolored sprinkles
- All-purpose flour
- Salt
- Baking powder
- Baking soda
- Granulated sugar
- Large eggs
- Vanilla extract
- Cream cheese
- Heavy cream
- Confectioners’ sugar
Instructions
- Preheat your oven to 350°F (175°C), then grease and flour four 9-inch cake pans for easy release.
- Whisk the flour, salt, baking powder, and baking soda together in a medium bowl and set aside.
- Using a stand mixer with a paddle attachment, beat the butter for one minute, then cream with sugar on high for 5 minutes until very pale and fluffy.
- Reduce speed and add eggs one at a time, followed by the vanilla extract.
- Add the flour mixture in three parts, alternating with the buttermilk, beginning and ending with the dry ingredients; mix until just combined.
- Divide the batter into four bowls and tint each with a different gel color (green, blue, purple, pink), then bake for 25 minutes or until a toothpick comes out clean.
- Once layers are completely cooled, whip the butter, cream cheese, confectioners’ sugar, heavy cream, vanilla, and a pinch of salt until fluffy.
- Using a 4-inch round cookie cutter, remove the centers of two cake layers; stack one intact layer, frost, then stack the two hollow layers with frosting in between to create a well.
- Fill the central well to the top with assorted candies and sprinkles, then place the final intact layer on top, seal the cake, and frost the entire exterior.
Notes
To ensure the most dramatic candy spill, use a variety of candy sizes and weights, such as a mix of heavy chocolate pieces and light sprinkles. If your kitchen is warm, chill the cake for 30 minutes after frosting the sides but before adding the final top layer to help the structure remain stable during the filling process.
- Prep Time: 45 mins
- Cook Time: 25 mins
- Category: Dessert
- Method: Baking
- Cuisine: American
The Flavor Arsenal

To pull off this structural marvel, you need ingredients that offer stability and flavor. Here is what we are working with:
- Unsalted Butter: You need a lot of it, both for the cake and the frosting. Room temperature is non-negotiable here for that creamy emulsion.
- Buttermilk: This is the secret to keeping the cake tender despite the complex assembly. It adds a tang that cuts through the sugar.
- Gel Food Coloring: Do not use the liquid stuff from the grocery store aisle. You want concentrated gel (green, blue, purple, pink) to get those bold, vibrant layers without watering down your batter.
- The Surprise Core: A mix of assorted candies and multicolored sprinkles. Small items like M&Ms, chocolate rocks, or jelly beans work best because they spill out dramatically when you cut the cake.
- Cream Cheese & Heavy Cream: These fortify the buttercream, giving it the structure needed to hold up four layers while remaining fluffy and delicious.
Let’s Build This Beast
Step 1: Prep and Prime
Preheat your oven to 350°F (175°C). Grease four 9-inch cake pans and lightly flour them. Do not skip the flour; we need these layers to release perfectly for the stacking process.
Step 2: Mix the Dry Goods
In a medium bowl, whisk together the flour, salt, baking powder, and baking soda. Set this aside. Getting the leavening agents distributed now ensures you won’t have weird air pockets later.
Step 3: The Creaming Phase
Grab your stand mixer with the paddle attachment. Beat the butter for about a minute until creamy. Add the sugar and beat on high for 5 minutes. Yes, five whole minutes. You want it pale and fluffy. Drop the speed and add the eggs one at a time, followed by the vanilla.
Step 4: Batter Assembly
Add the flour mixture in three parts, alternating with the buttermilk. Start and end with the flour. Mix until just combined—over-mixing yields a tough cake, and nobody wants that.
Step 5: Color and Bake
Divide the batter into four bowls. Go wild with your gel colors—tint one green, one blue, one purple, and one pink. Pour into pans and bake for 25 minutes, or until a toothpick comes out clean. Cool them completely on wire racks. Warm cake equals melted frosting disaster.
Step 6: Whipping the Frosting
Beat the butter and cream cheese until smooth. Add the confectioners’ sugar, heavy cream, and vanilla. Whip it on high for 3 minutes until it’s fluffy enough to sleep on. Add a pinch of salt to balance the sweetness.
Step 7: The Structural Surgery
This is the fun part. Take two of your cooled cake layers. Use a 4-inch round cookie cutter to punch a clean hole right in the center of them. Remove the core (chef’s snack!). Leave the other two layers intact.
Step 8: The Stack and Fill
Place one intact layer on your stand. Frost the top. Place a cut layer on top. Frost that. Place the second cut layer on top. Frost that. You now have a cake with a deep well in the middle. Fill that hole to the brim with your candies and sprinkles.
Step 9: Seal and Decorate
Place the final intact layer on top to seal the treasure inside. Frost the entire outside of the cake. Use any remaining frosting (tinted pink if you like) to pipe decorations. You’ve just built a Pinata Cake.
Riley’s Secrets for Structural Integrity

- Chill Before Cutting: If your cake layers feel too crumbly, pop them in the freezer for 20 minutes before using the cookie cutter. Cold cake cuts cleaner.
- The Crumb Coat: Since we are dealing with cut edges and potential crumbs, apply a thin layer of frosting first (the crumb coat) and chill the cake for 15 minutes before adding the final thick layer of frosting.
- Candy Choice Matters: Avoid candies that might melt or get soggy if the cake sits out. Hard shells (like coated chocolates) or gummies are your best friends here. If you are looking for more wild color ideas for the layers, check out my lemon rainbow cake for some psychedelic inspiration.
- Gel vs. Liquid: I cannot stress this enough—liquid food coloring throws off your moisture ratios. Stick to gels for that punchy, professional look.
Twist It Up
- The Chocolate Shell: Instead of frosting, you can cover the cake in a chocolate ganache drip for a darker, richer finish.
- Shape Shifter: Who says it has to be round? You can use square pans or even carve the cake into different forms. If you are feeling romantic, try adapting this technique using the base structure of my heart cake.
- Flavor Bombs: Swap the vanilla extract for almond or lemon extract in the batter to switch up the profile. Just make sure it pairs well with your candy filling.
Showtime and Plating

This is the king of celebration cakes, so bring it out when the crowd is ready to cheer. For the full effect, make the first cut wide and pull the slice out slowly to let the candy avalanche happen naturally.
Serve this with a scoop of simple vanilla bean ice cream to balance the sugar rush, or a strong cup of black coffee for the adults. The visual is the main event here, so keep the plating simple.
The Final Bite
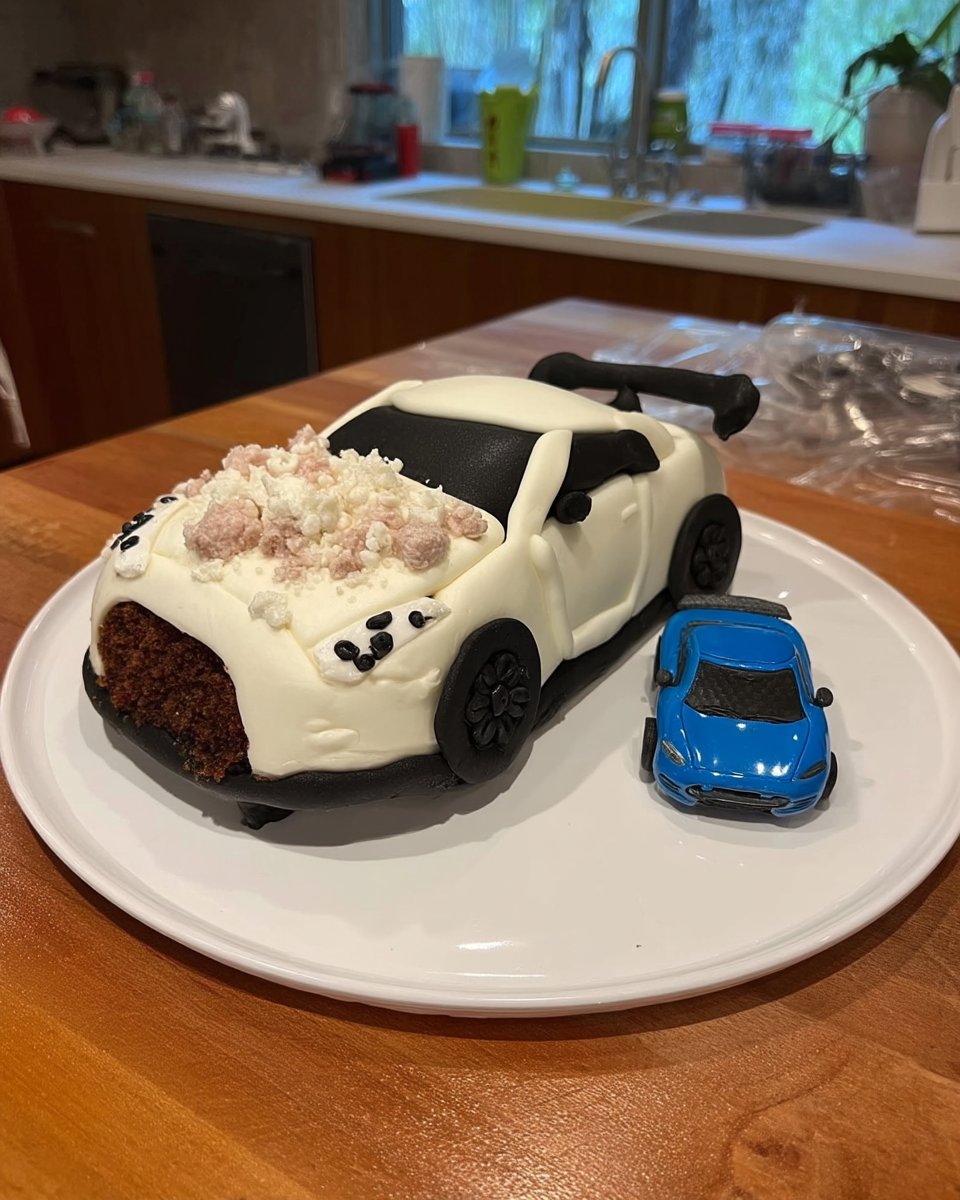
This Pinata Cake is proof that baking should never be boring. It’s a little bit of engineering, a lot of sugar, and a massive payoff when that first slice comes out. If you survived this build and want another structural challenge, the car cake is next level fun.
For those looking for a European twist on surprise cakes, I once saw a great version on Amour de Cuisine that sparked some serious creativity. Now, go forth and bake something fearless!
Connect with us!
Share your explosions of flavor on Instagram and pin your masterpiece on Pinterest.


