Remember when eating cheesecake required a fork, a plate, and a serious commitment to sitting still? I looked at a classic slice and asked, “What if this could walk with me?” That spark of rebellion led to these cheesecake pops—a creamy, tangy, chocolate-coated answer to the stiffness of traditional dessert. It’s the kind of flavor experiment that proves you don’t need a formal dining room to enjoy high-end pastry; just a stick and a bit of attitude.

These aren’t your average dried-out cake crumbs mixed with frosting. We are baking a full, rich cheesecake from scratch, cooling it down, and transforming it into bite-sized spheres of joy. The result is a texturally perfect “push pop cake” style treat with a silky interior and a crisp chocolate snap. It’s bold, it’s messy in the making, and it’s absolutely worth every minute.
Why This Recipe Rocks
There is something undeniably fun about defying gravity with your dessert. Most people expect a cake pop to be overly sweet and doughy, but we are flipping the script by using real, tangy cheesecake as the base. The contrast between the cold, dense filling and the cracking confectioners’ coating creates a sensory experience that standard cake just can’t match.
Beyond the flavor, this recipe is a masterclass in portion control for the adventurous baker. When you make a whole cheesecake, you’re committed to the same flavor for days. With these pops, you can customize every single bite—coconut for the texture lovers, chocolate chips for the purists, or wild drizzles for the artists. It is small-batch creativity at its finest.
Print
Push Pop Cakes
- Total Time: 5 hours 35 mins
- Yield: 24 servings
- Diet: Vegetarian
Description
These creamy cheesecake bites are transformed into portable treats dipped in a crisp chocolate shell and finished with your favorite toppings. Perfect for parties or a fun twist on traditional dessert, they offer a tangy, rich center with a satisfying snap in every bite.
Ingredients
- 3 (8-ounce) packages cream cheese, softened
- 1 cup granulated sugar
- 1/2 cup sour cream
- 2 tablespoons all-purpose flour
- 1 teaspoon vanilla extract
- 1/4 teaspoon salt
- 3 large eggs
- 1 pound confectioners’ coating or chocolate (white or semi-sweet)
- Assorted toppings (toasted coconut, mini chocolate chips, sprinkles)
- Lollipop sticks
Instructions
- Preheat your oven to 350°F (175°C) and prepare a 9-inch springform pan.
- In a large bowl, beat the softened cream cheese and sugar until smooth, then mix in the sour cream and scrape down the sides.
- Stir in the flour, vanilla, and salt until combined, then add the eggs one at a time, beating well after each addition.
- Pour the batter into the springform pan and bake for 50 minutes or until the edges are golden and the center is set.
- Let the cheesecake cool on a wire rack for one hour, then refrigerate for at least 3 hours or overnight until completely firm.
- Scoop the chilled cheesecake into 1 1/2-inch balls, roll quickly to shape, and place on a cookie sheet lined with waxed paper.
- Insert a lollipop stick into each ball and transfer to the freezer for 30 minutes to firm up.
- Melt the confectioners’ coating until smooth, dip each frozen pop to coat, immediately add toppings, and refrigerate until ready to serve.
Notes
For the smoothest finish, ensure your cream cheese is completely at room temperature before mixing to avoid any lumps in the batter. When dipping, work in small batches and keep the remaining cheesecake balls in the freezer so they stay firm and do not slide off the sticks. If the chocolate begins to thicken during the process, briefly reheat it to maintain a thin, even coating for the perfect snap.
- Prep Time: 45 mins
- Cook Time: 50 mins
- Category: Dessert
- Method: Baking
- Cuisine: American
The Flavor Arsenal

We aren’t using a boxed mix here; we are building flavor from the ground up. Here is what you need to make these bold bites happen.
- Cream Cheese: The heavyweight champion of this recipe. You need three 8-ounce packages, and they must be softened. Cold cheese means lumpy batter, and we want silk.
- Sour Cream: This is the secret weapon for that signature cheesecake tang. It cuts through the richness and adds a velvety texture.
- Sugar & Eggs: The structural integrity team. Three eggs provide the lift and binding, while the sugar balances the tangy dairy.
- Flour: Just a small amount to stabilize the batter so it can hold its shape once scooped.
- Confectioners’ Coating: Whether you choose white or semi-sweet, this provides the crucial “snap” that protects the creamy center.
- Toppings: Toasted coconut, mini chips, or whatever else you have in your pantry for that final crunch.
Let’s Build This
Step 1: Create the Creamy Foundation
Preheat your oven to 350°F (175°C). In a large bowl, beat the softened cream cheese and sugar until it looks smooth and innocent. Add the sour cream and mix well, scraping down the sides—don’t leave any flavor behind. Stir in the flour, vanilla, and salt until combined. finally, add the eggs one at a time, beating well after each. Pour this liquid gold into a 9-inch springform pan.
Step 2: The Bake and Wait
Bake for 50 minutes or until the edges are golden and the center is set. Now comes the hardest part: patience. Let it cool on a wire rack for an hour, then refrigerate for at least 3 hours (or overnight if you have the willpower). The texture needs to be firm and cold for the next step to work.
Step 3: Scoop and Roll
Once chilled, scoop out rounds of cheesecake using a small cookie scoop. Roll them quickly into 1 ½-inch balls. If they feel too soft, don’t panic—just work fast. Place them on a cookie sheet lined with waxed paper and push a lollipop stick into each one.
Step 4: The Deep Freeze
Transfer your army of pops to the freezer. They need about 30 minutes to firm up around the stick. This is crucial; if they are too warm, they will slide right off into your dipping chocolate, which is a tragedy we want to avoid.
Step 5: The Dip and Snap
Melt your confectioners’ coating or chocolate until smooth. Dip each frozen cheesecake pop into the coating, letting the excess drip off. Immediately dip into your toppings—coconut, chips, or sprinkles—before the shell hardens. Place them back on the waxed paper to set, then refrigerate until you are ready to serve.
Riley’s Flavor Secrets

- Temperature Control: If your cheesecake balls start getting soft while you are dipping, put them back in the freezer for 10 minutes. Working with melting cheese is a race against time, so keep them cold.
- Flavor Infusion: Want to get wild? Add a teaspoon of lemon zest or a splash of bourbon to the batter before baking. Small tweaks make a massive difference in these bite-sized treats.
- The Stick Trick: Dip the tip of the lollipop stick into the melted chocolate *before* inserting it into the cheesecake ball. This acts as a glue and keeps the pop secure.
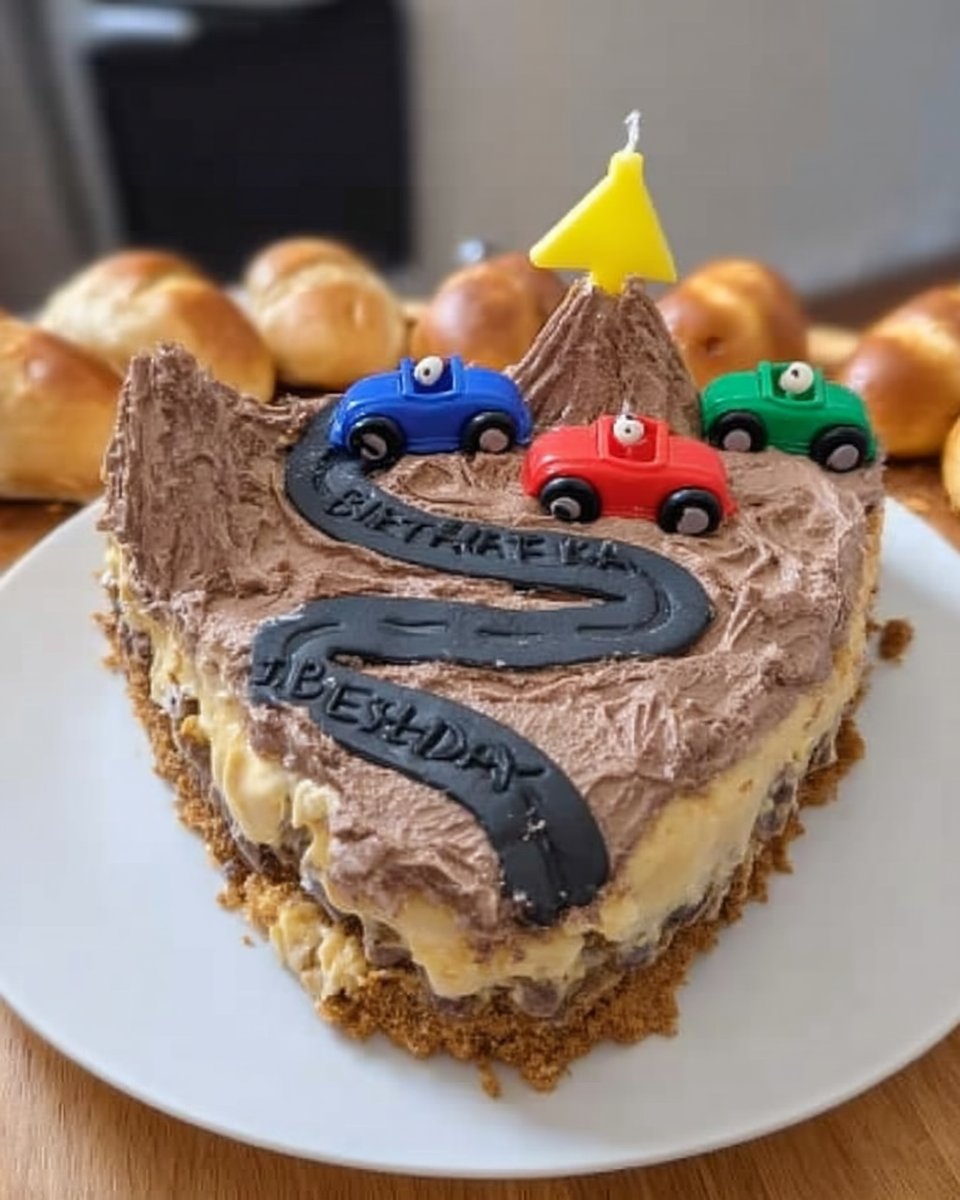
- Storage: These are best kept in the fridge. If you leave them out too long, the cheesecake softens and you lose that amazing texture contrast. If you love experimenting with small-format desserts, check out my modern mini cakes for more architectural inspiration.
Twist It Up
- The Crumble Cup: If the idea of rolling balls sounds too messy, you can actually crumble the baked cheesecake and layer it into plastic push-pop containers with fruit compote. It’s a nod to the classic push pop dessert inspiration that started it all.
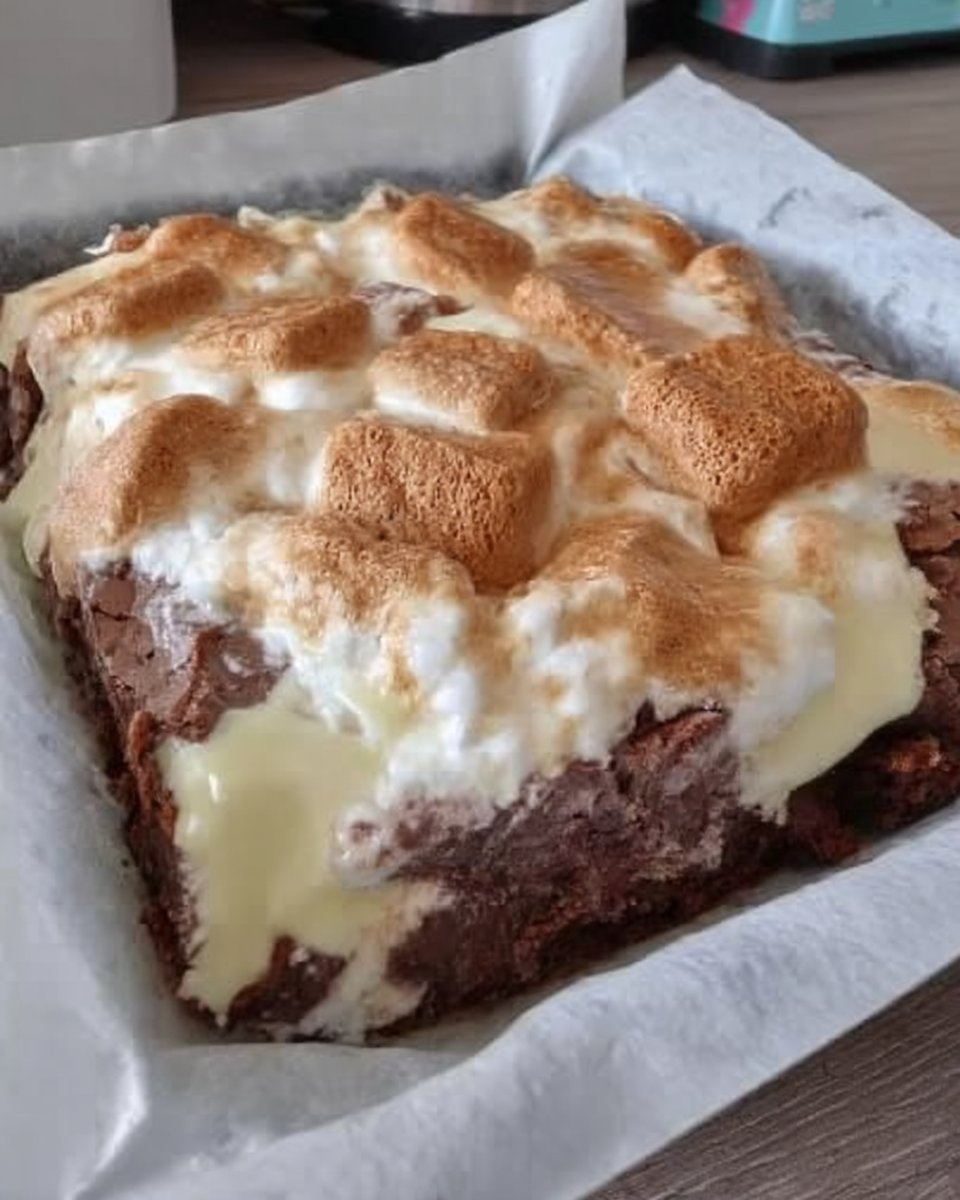
- Chocolate Overload: Swap the white coating for dark chocolate and roll in crushed espresso beans for a mocha vibe.
- Breakfast Pop: Roll the dipped pops in crushed cereal or granola. Who says you can’t have cheesecake for breakfast?
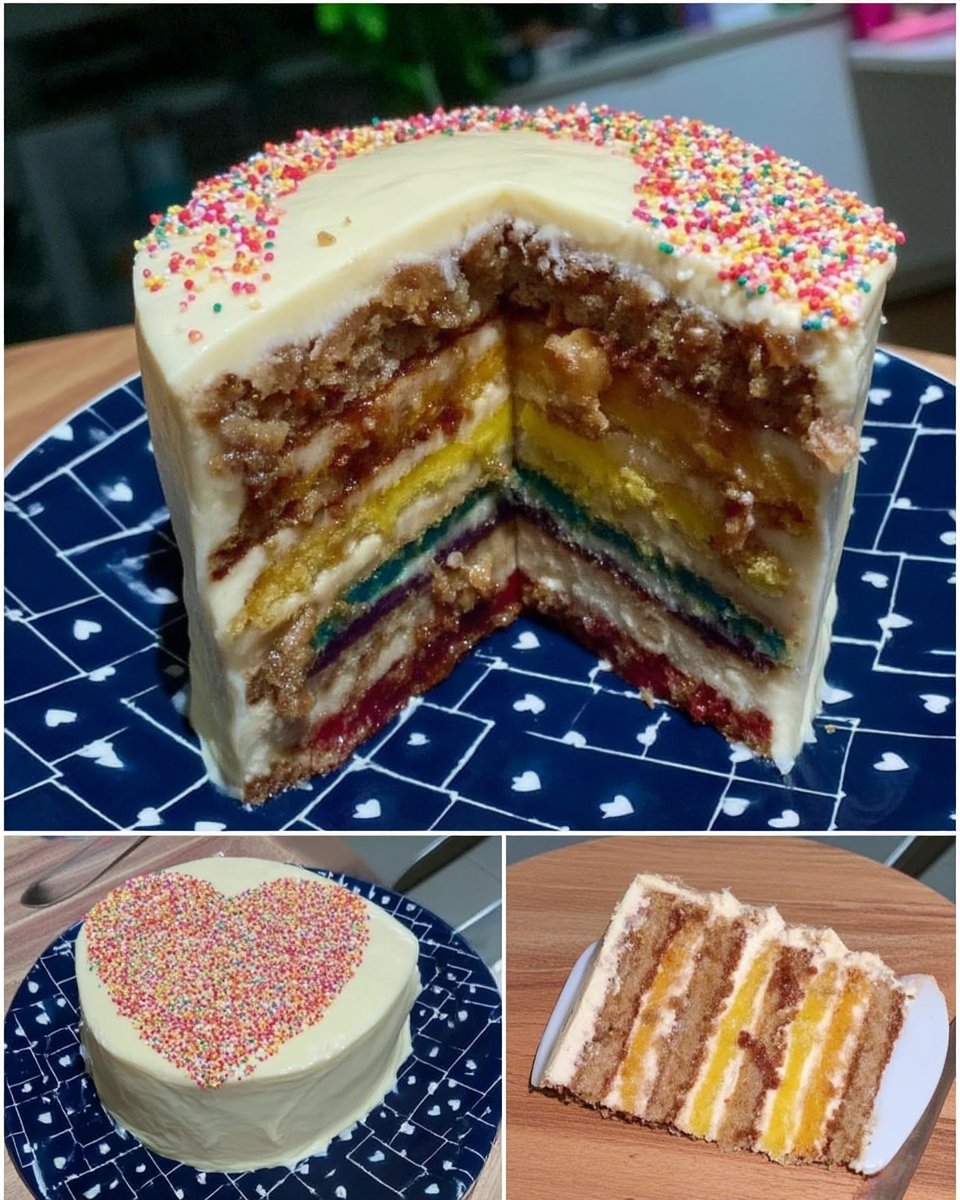
- Fruity Zing: Mix freeze-dried strawberry powder into your white chocolate coating for a pink, tangy shell. If you are into bright, fruity flavors, you might also love my lemon rainbow cake which plays with similar citrus notes.
Showtime

These push pop cakes are party animals. Because they are self-contained, they are perfect for mingling. I love serving them stuck into a block of styrofoam concealed inside a pretty bowl filled with coffee beans—it holds them upright and smells amazing.
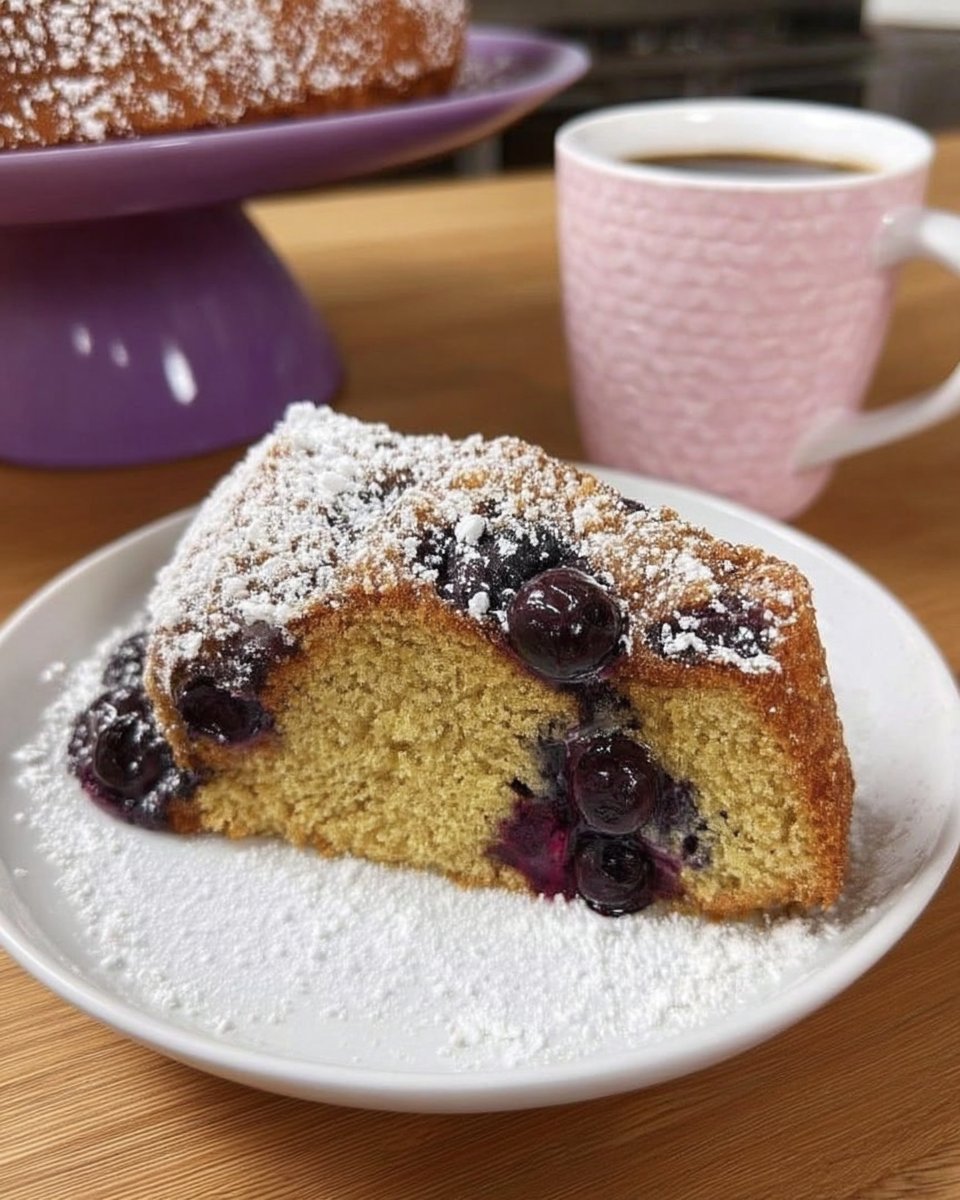
Pair these with a strong espresso or a dark stout beer to cut through the sweetness. If you are looking for another quick, single-serving treat to serve alongside these, try whipping up a chocolate mug cake for guests who might prefer a warm dessert option.
The Final Bite
So there you have it—cheesecake that travels. These push pop cakes are a testament to what happens when you stop following the rules of traditional plating and start playing with your food. They are creamy, crunchy, and unapologetically bold. Whether you make them for a party or just to keep in your freezer for a rainy Tuesday, they are a win.
Ready to find your next baking adventure? Browse the recipe index for more ideas. And if you make these, don’t just eat them—show them off! Tag us on Instagram or Facebook so I can see your creations.

