In my early years training in a small patisserie near the Tuileries, I was mesmerized by the vibrant contrast of a deep crimson sponge against a stark white cream. The Red Cake is a marvel of chemistry and artistry, representing a transition from the rustic cakes of the past to the refined desserts we cherish today. It is a study in texture, where the ‘velvet’ is not just a name but a technical requirement achieved through precise ingredient interactions.

This particular recipe is a tribute to the Southern tradition, perfected through the lens of French pastry discipline. We focus on the delicate balance of acidity and fat to create a crumb that is remarkably tender yet sturdy enough for a grand presentation. By mastering this method, you will understand how humble ingredients like vinegar and buttermilk transform into something truly exquisite.
The Mastery of Texture and Color
There is a specific joy in slicing into a cake to reveal a hidden, vivid interior that defies expectation. This Red Cake is more than a visual spectacle; it is a masterpiece of crumb structure. Unlike traditional butter cakes that can feel heavy, this version uses oil to guarantee a moisture level that remains pristine even after refrigeration. It is the perfect vessel for those who appreciate a dessert that is not overly sweet but rather complex and balanced.
Technically, this cake is fascinating because it relies on the reaction between cocoa and acid. While modern food coloring provides the hue, the soul of the cake lies in its ‘velvet’ feel—a fine, tight grain that melts on the tongue. When you bake this in small batches, you have the luxury of monitoring the emulsion closely, ensuring the oil and buttermilk are perfectly incorporated for a silky finish. It is a reliable classic that, when executed with care, becomes the centerpiece of any celebration.
Furthermore, the pairing with a refined cream cheese frosting provides a sophisticated tang that cuts through the richness. It is a recipe that rewards the patient baker. By following the meticulous steps of sifting and temperature control, you create a result that is superior to any commercial alternative. This is the art of baking: taking a known classic and applying the rigor of a professional kitchen to achieve perfection.
Print
Red Cake
- Total Time: 1 hour
- Yield: 12 servings
- Diet: Vegetarian
Description
A sophisticated take on a Southern classic, this Red Cake features a remarkably moist, velvet-textured crumb achieved through precise chemical balance. Paired with a cloud-like cream cheese frosting, it offers a perfect harmony of subtle cocoa notes and tangy richness.
Ingredients
- All-purpose flour
- Granulated sugar
- Baking soda
- Fine salt
- Natural cocoa powder
- Vegetable oil
- Buttermilk, room temperature
- Large eggs, room temperature
- Red food coloring (gel or liquid)
- Distilled vinegar
- Vanilla extract
- Cream cheese, softened
- Butter, softened
- Confectioners’ sugar, sifted
- Crushed pecans, for garnish
Instructions
- Preheat oven to 350 degrees F (175 degrees C) and grease and flour three 9-inch round cake pans.
- Sift together the flour, sugar, baking soda, fine salt, and cocoa powder in a large bowl to ensure even distribution.
- Whisk together the vegetable oil, buttermilk, eggs, red food coloring, vinegar, and vanilla in a separate bowl until fully emulsified.
- Slowly add the dry ingredients to the wet mixture, mixing on low speed until just combined and smooth.
- Divide the batter equally among the prepared pans and bake for approximately 30 minutes, or until a tester comes out clean.
- Allow the cakes to rest in the pans for 10 minutes before inverting them onto a wire rack to cool completely right-side up.
- Whip the softened cream cheese, butter, and sifted confectioners’ sugar for five minutes until light and airy, then add vanilla.
- Assemble the cake by frosting between layers, applying a crumb coat, chilling for 20 minutes, and finishing with a final layer of frosting and pecans.
Notes
To ensure a perfectly stable emulsion, make sure your eggs and buttermilk are not cold, as this can cause the oil to seize and ruin the delicate velvet texture. For the most professional appearance, use a kitchen scale to divide your batter evenly and level the cold cake layers with a serrated knife before assembly.
- Prep Time: 30 mins
- Cook Time: 30 mins
- Category: Dessert
- Method: Baking
- Cuisine: American
The Foundation of a Perfect Crumb

Selecting your ingredients with a discerning eye is the first step toward pastry mastery. For this Red Cake, every component serves a structural or chemical purpose that must be respected.
- All-Purpose Flour: This provides the necessary structure. I recommend sifting it at least twice to aerate the particles, which helps in achieving that sought-after delicate crumb.
- Granulated Sugar: Beyond sweetness, sugar aids in the tenderization of the gluten and helps the cake retain its moisture.
- Natural Cocoa Powder: We use a small amount not for a deep chocolate flavor, but for the subtle earthiness and the specific chemical reaction it has with the acids.
- Buttermilk and Distilled Vinegar: These are your primary acids. They react with the baking soda to create carbon dioxide, which provides the lift and the ‘velvet’ texture. Ensure your buttermilk is at room temperature to maintain a stable emulsion.
- Vegetable Oil: Using oil instead of butter ensures the cake remains incredibly soft and moist. It coats the flour proteins effectively, preventing excess gluten development.
- Large Eggs: These must be at room temperature to ensure they incorporate fully into the oil and buttermilk mixture without curdling.
- Red Food Coloring: For that iconic, vibrant finish. Using a high-quality gel or liquid ensures the color remains stable during the baking process.
Quality is paramount. When you use the finest vanilla extract and fresh, tangy buttermilk, the flavor profile shifts from simple to sophisticated. Each ingredient must be weighed or measured with precision to maintain the delicate balance required for this specific chemistry.
The Method of Precision
Step 1: Preparing the Workspace and Pans
Begin by preheating your oven to 350 degrees F (175 degrees C). This ensures the leavening agents react immediately upon entry. Lightly oil three 9-inch round cake pans and dust them with flour, tapping out the excess. This dual-layer protection guarantees a clean release, which is vital for maintaining the integrity of the delicate layers.
Step 2: Sifting the Dry Ingredients
In a large bowl, sift together the flour, sugar, baking soda, fine salt, and cocoa powder. Sifting is a non-negotiable step in my kitchen; it removes any lumps and distributes the baking soda evenly throughout the flour. This preparation creates a uniform dry base that will integrate smoothly with the liquids, preventing over-mixing later.
Step 3: Emulsifying the Liquids
In a separate vessel, whisk together the vegetable oil, room-temperature buttermilk, eggs, red food coloring, vinegar, and vanilla. It is crucial that the eggs and buttermilk are not cold, as this would cause the oil to seize or the emulsion to break. Whisk until the color is deep and uniform, and the mixture appears glossy and well-combined.
Step 4: Combining the Bases
Using a stand mixer fitted with the paddle attachment, or a steady hand with a large whisk, slowly add the dry ingredients into the wet. Mix on low speed until just combined. The goal is a smooth batter with no visible streaks of flour. Do not over-work the batter; once the flour is hydrated, stop. Over-mixing leads to a tough, bready texture rather than a velvet one.
Step 5: The Bake
Divide the batter equally among the three prepared pans. I often use a kitchen scale to ensure the layers are perfectly even for a professional stack. Place the pans in the oven, ensuring they are spaced well for air circulation. Bake for approximately 30 minutes, rotating the pans halfway through to account for any oven hot spots. The cakes are done when they pull slightly away from the edges and a tester comes out clean.
Step 6: The Cooling Process
Remove the pans and let them rest on a wire rack for ten minutes. Run a thin offset spatula around the edges to loosen the sponge. Invert the cakes onto a plate, then re-invert them onto the rack so they cool right-side up. This prevents the delicate crumb from compressing under its own weight while warm.
Step 7: Crafting the Frosting
In a clean mixer bowl, combine the softened cream cheese, butter, and sifted confectioners’ sugar. Start on low speed to avoid a sugar cloud, then increase to high. Whip for a full five minutes until the frosting is light, airy, and resembles a cloud. Add the vanilla at the very end and mix briefly. This aeration is what makes the frosting feel luxurious rather than heavy.
Step 8: Assembly and Finishing
Place the first layer on a rotating stand. Spread a generous, even layer of frosting using an offset spatula. Repeat with the second and third layers. Apply a thin ‘crumb coat’ to the entire cake and refrigerate for 20 minutes to set. Finish with a final thick layer of frosting and a garnish of crushed pecans for a classic Southern touch.
Pastry Wisdom for Success

Precision is the secret to moving from a home baker to a professional level. Always ensure your cream cheese and butter are truly softened to room temperature—roughly 68 degrees F (20 degrees C). If the fat is too cold, the frosting will be lumpy; if it is too warm, it will lose its structural integrity and slide off the cake. For another technique involving bright flavors and precise ratios, you might enjoy our lemon rainbow cake, which also relies on a stable emulsion.
Another secret is the sifting of the confectioners’ sugar. Even high-quality sugar can have small clumps that ruin the silkiness of your frosting. Take the time to pass it through a fine-mesh sieve. If you find your cake layers have domed significantly, use a serrated knife to level them once they are completely cold. This creates a much more stable and aesthetically pleasing stack. Finally, for the most vibrant color, consider using a gel-based dye, as it provides a more concentrated hue without altering the liquid ratio of the batter. For more professional guidance on achieving a moist crumb, see this red velvet cake resource.
Refined Twists on a Classic
While the traditional Red Cake is a masterpiece on its own, there are several ways to adapt it for different occasions. For a more romantic presentation, you can bake the batter in heart-shaped tins. This technique is similar to what we use in our heart cake, where the shape adds a layer of sentiment to the technical execution. Ensure you adjust the baking time accordingly, as different shapes conduct heat differently.
If you prefer a lighter finish, you might consider a whipped mascarpone frosting instead of the traditional cream cheese. Mascarpone offers a more subtle, milky flavor that lets the cocoa notes of the cake shine through. You can also incorporate fine citrus zest—orange works particularly well with the red cocoa base—into the batter to add a bright, aromatic top note. For those who enjoy a bit of texture, folding mini chocolate chips into the batter can provide a delightful surprise in every bite.
Presentation and Paring

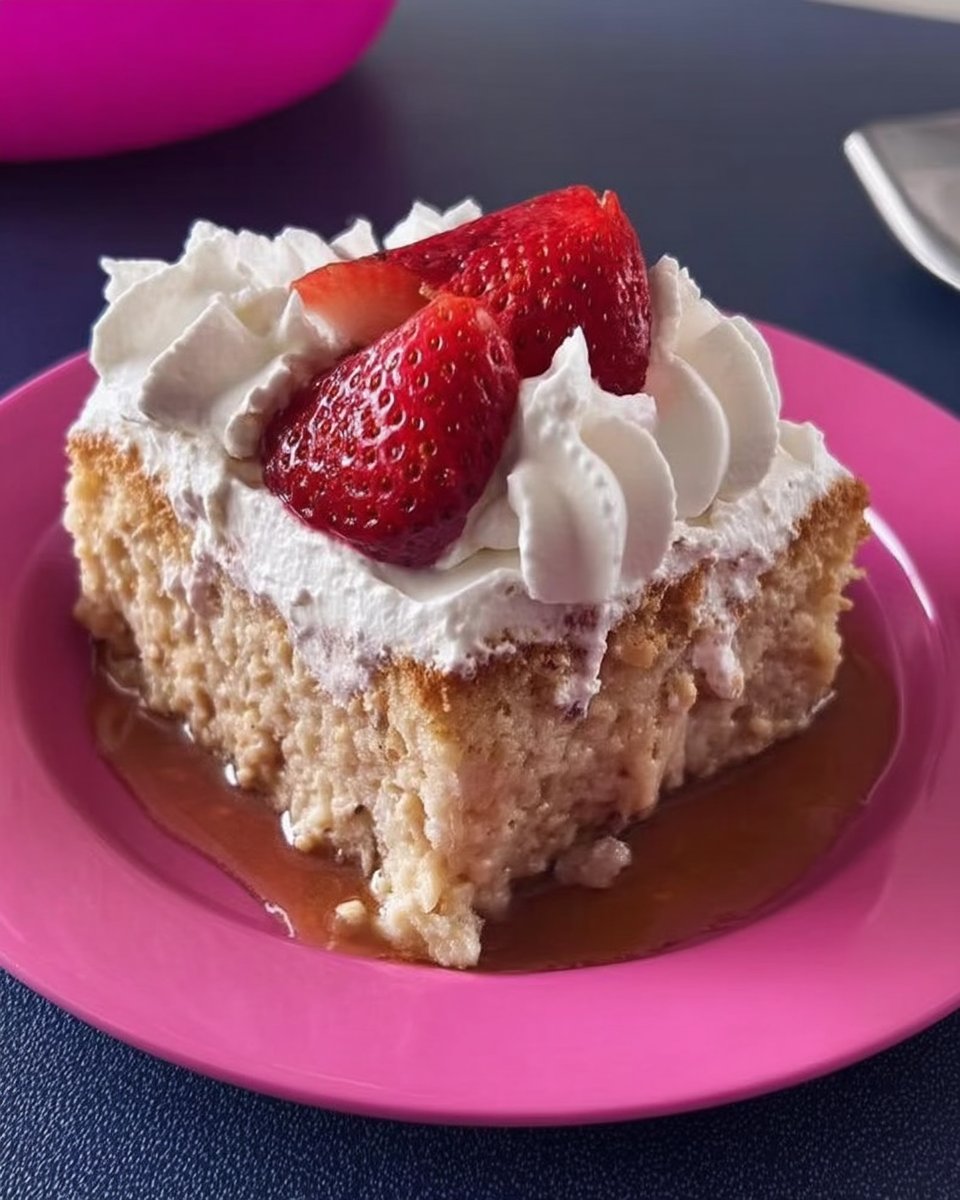
Presentation is the final act of the baker’s craft. When serving this Red Cake, I prefer to use a simple white porcelain plate to let the vivid colors of the cake stand out. A small sprig of mint or a single fresh raspberry on the side can add a touch of elegance. For a truly decadent experience, pair a slice with our strawberry tres leches cake at a dessert buffet to offer guests a variety of textures and fruit profiles.
Regarding beverages, a lightly roasted coffee or a delicate Earl Grey tea complements the tanginess of the cream cheese frosting perfectly. If you are serving this at a celebration, a glass of chilled Demi-Sec champagne provides a lovely effervescence that cleanses the palate between bites of the rich, velvety sponge. Always serve the cake at room temperature; if it has been refrigerated, let it sit out for thirty minutes to allow the fats in the frosting and cake to soften, ensuring the best possible mouthfeel.
The Art of the Perfect Slice
Mastering the Red Cake is a rite of passage for any serious home baker. It teaches the importance of chemical balance and the beauty of a well-executed emulsion. By focusing on the quality of your ingredients and the precision of your temperatures, you create more than just a dessert; you create a memory. If you are looking to continue your journey into delicate fruit-based sponges, I encourage you to try our raspberry white chocolate cake.
I hope this recipe brings a touch of patisserie elegance to your kitchen. Baking is a lifelong study of small improvements, and this cake is the perfect canvas for your growth. Please share your beautiful creations with our community and continue to practice the art of precision in everything you bake.
