Remember those grocery store superhero cakes from your childhood that looked like plastic and tasted like dry cardboard? I decided to challenge that nostalgia with a bold experiment: a cake that looks like a comic book legend but eats like a gourmet dessert. By treating the cake sculpture as a canvas for flavor rather than just a visual gimmick, we turn a birthday staple into a culinary triumph that demands attention.

This isn’t about professional sculpting skills; it’s about smart hacks and fearless creativity. We are taking a simple sheet cake, carving it with a paper template, and dressing it in a vibrant red fondant suit that hides a moist, rich crumb underneath. Whether you start with a hacked box mix or go full scratch, this method proves that high-impact design is accessible to anyone willing to wield a knife and a rolling pin.
Why This Recipe is a Flavor Hero
Let’s be real: most character cakes are all style and no substance, often relying on inch-thick, waxy frosting that leaves a film on the roof of your mouth. This recipe flips the script. We are focusing on a high-quality cake base—something buttery and dense enough to hold a shape but tender enough to melt on the tongue—paired with a thin, precise layer of fondant that acts more like a delicate skin than a sugary armor. It is the perfect marriage of visual drama and serious eating pleasure.
What makes this specific method so brilliant is its accessibility for the home baker who wants to play with their food. You don’t need an art degree or expensive 3D molds; you just need a printer and a sharp knife. The satisfaction of peeling away the negative space to reveal that iconic head shape is unmatched. Plus, because we are using a template, you get consistent, professional-looking results every single time, freeing you up to focus on what matters most: the flavor combinations hidden inside.
Print
Spider Man Cake
- Total Time: 2 hours
- Yield: 12 servings
- Diet: Vegetarian
Description
Transform a simple sheet cake into a professional-looking superhero masterpiece using easy carving techniques and vibrant fondant. This Spider Man cake balances a moist, sturdy base with iconic comic book details for the ultimate birthday celebration dessert.
Ingredients
- 1 prepared 10-inch round or 9×13-inch rectangle cake
- 2 cups buttercream or ganache frosting
- 24 ounces pre-colored red fondant
- 4 ounces black fondant
- 4 ounces white fondant
- Cornstarch or powdered sugar for dusting
- Water for adhesive
Instructions
- Bake your chosen cake base and allow it to cool completely to the core to prevent crumbling during the carving process.
- Place a printed paper template of the face over the cake and use a small serrated knife to carve vertically around the pattern.
- Gently round off the top edges of the cake silhouette to create a 3D shape, apply a thin crumb coat of frosting, and chill in the fridge for 20 minutes.
- Roll out the red fondant to 1/8th-inch thickness on a surface dusted with cornstarch, then drape it over the cake, smoothing the sides and trimming the excess.
- Cut the eye shapes from black and white fondant using the template, assemble them with a tiny amount of water, and position them on the red mask.
- Roll the remaining black fondant into thin strings and lay them across the face to create the radiating webbing pattern, securing with small dots of water.
Notes
For the best visual results, ensure your crumb coat is perfectly smooth before applying the red fondant, as every bump will show through. If you are working in a humid environment, use a small fan to keep the air moving around the cake to prevent the fondant from becoming sticky or sweating.
- Prep Time: 1 hour
- Cook Time: 35 mins
- Category: Dessert
- Method: Baking and Sculpting
- Cuisine: American
The Flavor Arsenal

The Foundation (Cake Base)
To build a hero, you need a solid skeleton. You can use any sturdy cake recipe here, but I recommend something with a tight crumb structure to make carving easier. If you are using a box mix, hack it by adding an extra egg and swapping water for milk to get that bakery-style density. The goal is a cake that won’t crumble into dust when you make your cuts.
The Glue (Frosting)
A classic buttercream or ganache works best here. This layer is crucial—it’s not just for taste; it’s the structural adhesive that bonds the fondant to the cake. You want a frosting that sets up slightly firm in the fridge, creating a smooth, cement-like finish that hides imperfections before the final red layer goes on.
The Suit (Red Fondant)
You will need about 24 ounces of red fondant. Red is notoriously difficult to color yourself without making the fondant bitter or sticky, so I strongly suggest buying high-quality pre-colored fondant. Look for brands that taste like marshmallow rather than chemical plastic. This is the star of the show, so don’t skimp on quality.
The Details (Black & White Fondant)
You need significantly less of this—about 4 ounces of each. The black fondant creates the dramatic webbing and eye outlines, while the white creates the expressive lenses. These high-contrast colors are what make the design pop and give the face its iconic intensity.
Let’s Build This Hero
Step 1: Bake and Cool the Base
Start by baking your chosen cake batter in a 10-inch round pan or a large rectangle pan (9×13 works great). The shape doesn’t matter as much as the volume, as we will be carving it anyway. The most critical part here is cooling. Do not even look at that knife until the cake is completely cool to the core. A warm cake will tear, crumble, and ruin your design.
Step 2: The Template Surgery
Print a standard Spiderman face template on an 8.5×11 sheet of paper and cut it out. Place your cooled cake on a board (cover the board in foil if you want to keep it neat). Place the paper template on top of the cake. Using a small, sharp serrated knife, carve vertically around the paper pattern. Don’t throw away those scraps! That’s your chef’s tax—eat them or save them for cake pops.
Step 3: Shaping and Crumb Coat
Once the silhouette is cut, use your knife to gently round off the sharp top edges of the cake to give it a more 3D, organic head shape. Brush off any loose crumbs. Apply a thin, even layer of frosting over the entire cake. This is your crumb coat. Smooth it out as best as you can, then pop the cake in the fridge for 20 minutes to let that frosting crust over. This creates a stable surface for the fondant.
Step 4: The Red Mask
Knead your red fondant until it is pliable and warm. Dust your counter with a little cornstarch or powdered sugar and roll the fondant out to about 1/8th of an inch thick. You want it large enough to drape over the cake with excess on all sides. Gently lift it using your rolling pin and drape it over the chilled cake. Use your hands or a fondant smoother to massage the fondant down the sides, eliminating air bubbles. Trim the excess at the base with a sharp knife or pizza cutter.
Step 5: The Eyes
Roll out your black and white fondant. Using your paper template, cut out the full eye shapes from the black fondant. Then, trim the paper template to just the inner white eye shape and cut those out of the white fondant. Adhere the white pieces on top of the black pieces using a tiny brush of water as glue. Position these assembled eyes on the red cake face, using the template as a guide for placement. Stick them on with a dab of water.
Step 6: The Webbing
This is where patience pays off. Roll the remaining black fondant into thin, snake-like strings. You can use a clay extruder if you have one, or just roll them by hand. Lay these strings across the face to create the webbing pattern, starting from the center between the eyes and radiating outward. Use small dots of water to secure them. Connect the radiating lines with curved horizontal lines to complete the web effect.
Riley’s Secrets for Success

The Temperature Game
Fondant hates humidity and heat. If your kitchen is hot, your red mask will start to sweat and sag. Keep your workspace cool. If the fondant gets too sticky, dust your hands with cornstarch. Conversely, if the cake is too cold when you cover it, the fondant might ripple (elephant skin). Aim for a room-temperature workspace and a slightly chilled cake.
Flavor Anchoring
Since fondant is basically pure sugar, you need a cake base with a backbone. I love pairing this sweet topping with a deeply savory or rich base. If you need a reliable, sturdy recipe that can handle the weight of the fondant without collapsing, try my yellow cake with chocolate frosting. The chocolate provides a nice bitterness to cut through the sweet icing.
Sharp Tools Save Lives
When cutting the webbing or trimming the base, a dull knife will drag and pull the fondant, ruining your clean lines. Use an X-Acto knife or a dedicated fondant scalpel for the cleanest cuts. If you don’t have one, a fresh razor blade works wonders (just be careful!).
Water Control
When using water as glue, remember: less is more. If you use too much water, the black fondant will bleed onto the red or white, creating gray smudges that look messy. You want the fondant tacky, not wet.
Twist It Up
The Venom Edition
Feeling like a villain? Swap the colors! Cover the cake in black fondant and make the eyes white with jagged edges. Use a grey or silver luster dust to highlight the webbing for a symbiotic, alien look. The flavor profile here screams for something dark—maybe a black cocoa cake with a salted caramel filling.
Surprise Inside
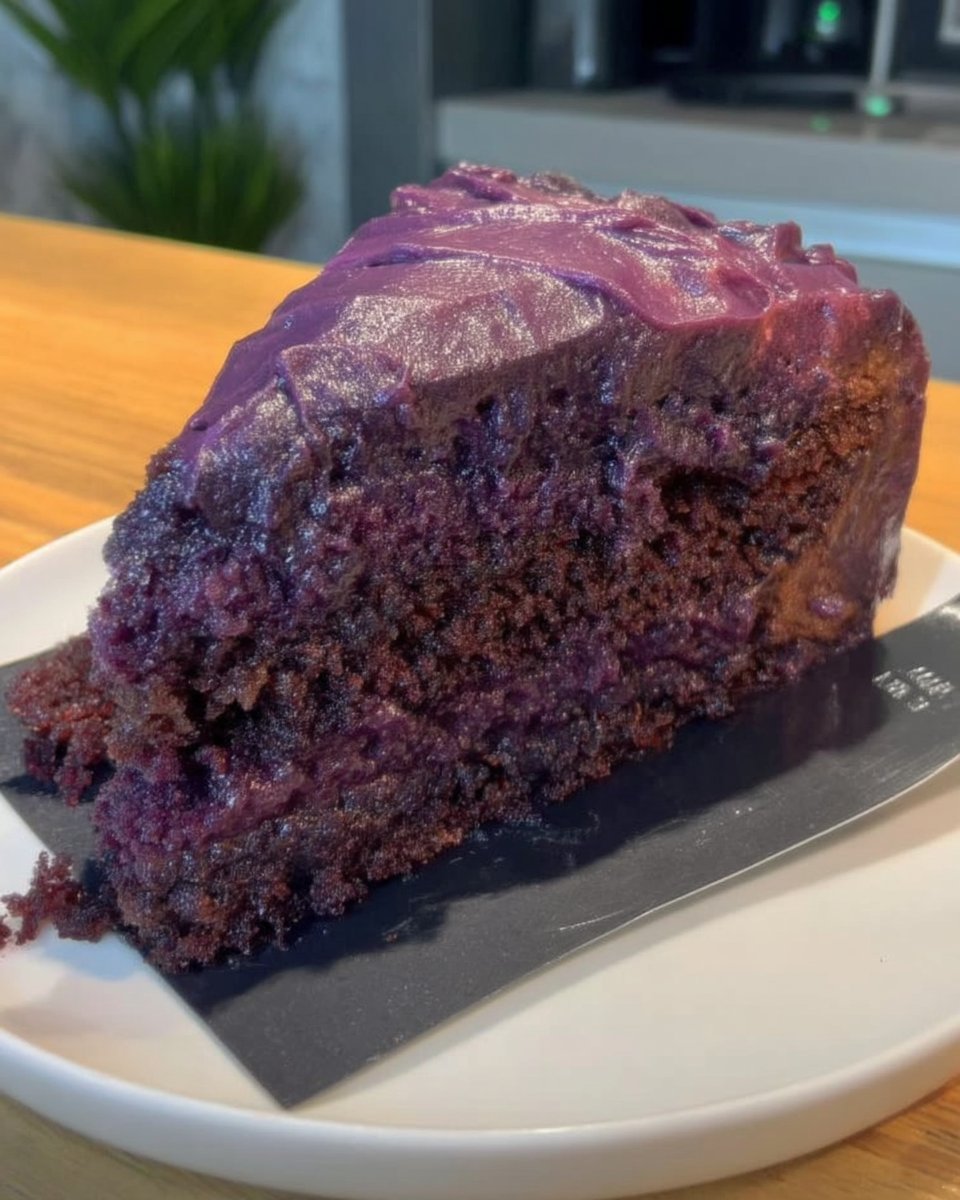
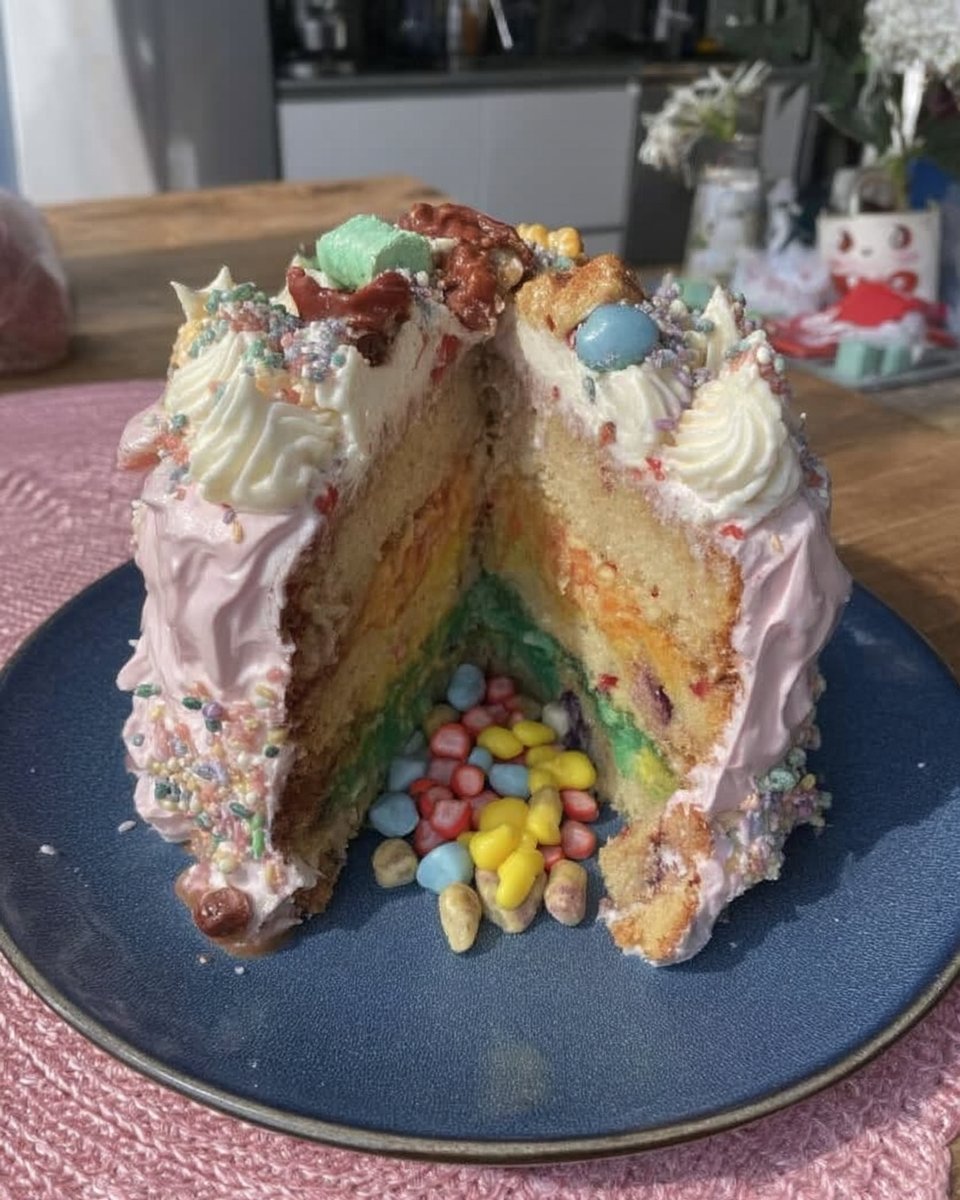
Why let the outside have all the fun? You can dye your cake batter layers red and blue to match the suit. Or, for a truly wild cut, use the batter from my lemon rainbow cake to create a psychedelic interior that contrasts with the disciplined exterior design. It’s a fun way to shock guests when you slice into it.
The Miles Morales
Update the look for the modern era. Use black fondant for the base and paint the webbing with red edible paint or red gel piping. It’s a sleek, striking variation that looks incredibly modern and pairs perfectly with a dark chocolate peppermint flavor profile.
It’s Showtime

When you bring this cake out, you want maximum drama. I like to serve this on a stark white platter to let the red pop, or go the extra mile and draw a spiderweb pattern on the serving plate using chocolate syrup. It extends the theme beyond the cake itself.
Since this cake is visually intense, pair it with simple sides. A scoop of vanilla bean ice cream cuts the sweetness of the fondant perfectly. If you are serving this for a mixed crowd of adults and kids, offer a dark roast coffee or even a bourbon neat for the grown-ups—the smoky notes pair surprisingly well with the sugar rush. This recipe is the undisputed king of celebration cakes because it doubles as party decor until the moment it’s devoured.
The Final Bite
Making a Spider Man cake doesn’t have to be a stress-induced nightmare. By breaking it down into a simple template and focusing on clean fondant work, you create something that is technically impressive but achievable in a home kitchen. It is bold, it is fun, and most importantly, it tastes amazing. Don’t be afraid to experiment with the flavors inside—the mask is just the beginning.
If you enjoyed sculpting this masterpiece, you should challenge yourself with my car cake next; it uses similar carving techniques with a different structural twist. And hey, for even more inspiration on how to construct this specific design, check out this great guide that helped spark some ideas. Now, go slice into that hero!
Connect with Cake Half:
