I remember the first time I saw a cake that seemed to move on its own. It wasn’t magic, exactly—just a clever bit of kitchen science that would have made my grandmother chuckle. This Tsunami Cake, with its cascading river of ganache, brings that same sense of wonder to your table, reminding us that baking is meant to be a little messy and a lot of fun.

Also known as a “pull-me-up” cake or waterfall cake, this recipe creates a dramatic reveal where the frosting flows down to form a doll’s skirt. It is a little theatrical, very sweet, and completely unforgettable for birthdays or special Sunday afternoons.
A Little Magic in Every Slice
There is something truly special about a dessert that puts on a show. The look on the little ones’ faces when the acetate is lifted and the “skirt” flows down is worth every bit of effort. It turns a simple afternoon of baking into a cherished memory that will be talked about for years to come.
Print
Tsunami Cake
- Total Time: 1 hour 20 mins
- Yield: 12 servings
- Diet: Vegetarian
Description
Create a show-stopping dessert with this dramatic Tsunami Cake, featuring a stunning pull-me-up ganache reveal. This theatrical cake combines sturdy layers, silky buttercream, and a cascading flow of colorful ganache for an unforgettable celebration centerpiece.
Ingredients
- Three 6-inch round cake layers (vanilla or chocolate)
- Buttercream frosting
- Blue candy melts or white chocolate
- Heavy cream
- Plastic doll
- Plastic wrap
- Assorted sprinkles
- Edible glitter (optional)
- Acetate sheets
- Clear tape
Instructions
- Wrap the doll’s lower half in plastic wrap and core the center of the cooled cake layers using a round cookie cutter.
- Stack the cake layers with buttercream on a cake drum and freeze for 20 minutes to firm.
- Carve the chilled cake into a sloped ballgown skirt shape using a serrated knife.
- Apply a crumb coat of buttercream to the exterior, smooth with a turntable, and freeze for another 10 minutes.
- Prepare the ganache by melting candy melts with warm heavy cream until smooth and slightly warmer than room temperature.
- Wrap an acetate sheet tightly around the cake, secure with tape, and place the doll in the center.
- Pour the cooled ganache into the acetate collar and top with a layer of sprinkles.
- When ready to serve, lift the acetate sheet straight up to release the ganache waterfall.
Notes
To ensure the best flow, check that your ganache is thick enough to coat a spoon but still fluid; if it becomes too cold during assembly, a very brief burst in the microwave can restore the proper consistency. Using a sturdy cake base is highly recommended to prevent the structure from compressing under the weight of the doll and the liquid ganache.
- Prep Time: 45 mins
- Cook Time: 35 mins
- Category: Dessert
- Method: Baking and Assembly
- Cuisine: American
The Pantry Staples

You don’t need fancy equipment to make magic, just good ingredients and a little patience. Here is what you will need from the cupboard:
- The Cake Layers: Three 6-inch rounds are the perfect size. You can use your favorite sturdy vanilla or chocolate recipe.
- Buttercream: Simple and sturdy, tinted to match your doll’s theme (blue for Cinderella is a classic choice).
- The Ganache: Blue candy melts (or white chocolate with gel color) and heavy cream. This is the heart of the “tsunami” effect.
- The Decor: A doll, plenty of sprinkles, and perhaps a touch of edible glitter for sparkle.
- The Tools: Acetate sheets and a roll of tape are the secret weapons here, along with a serrated knife for carving.
How to Make It
Step 1: Prep the Doll and Cake
First, wrap the doll’s lower half in plastic wrap to keep her tidy. Core the center of your cooled cake layers using a round cookie cutter so she fits snugly inside. It helps to measure twice here to ensure a good fit.
Step 2: Stack and Carve
Stack your layers with buttercream on a cake drum, then pop them in the freezer for about 20 minutes. Once firm, carve the cake into a gentle slope—like a ballgown skirt—using a serrated steak knife. Work slowly from top to bottom.
Step 3: The Crumb Coat
Cover the carved cake in a generous layer of buttercream to trap those crumbs. Smooth it out as best you can by spinning the turntable; this is the foundation for your flowing skirt. Freeze it again for 10 minutes to set.
Step 4: Make the Ganache
Warm your heavy cream and pour it over the candy melts, stirring until smooth. It needs to be pourable but not watery—think of the consistency of heavy paint. Let it cool until it is barely warmer than room temperature.
Step 5: The Setup
Wrap the acetate sheet around the cake, securing it tight with tape. Place the doll in the center hole, then pour the ganache into the collar around her waist. Top immediately with a heavy layer of sprinkles.
Step 6: The Reveal
When you are ready to serve, lift the acetate sheet straight up quickly and watch the ganache and sprinkles cascade down the sides!
Secrets from the Recipe Box

- Temperature Matters: If your ganache is too hot, it will melt the buttercream structure underneath. If it is too cold, it won’t flow down the skirt. Aim for a texture that is fluid but not steaming.
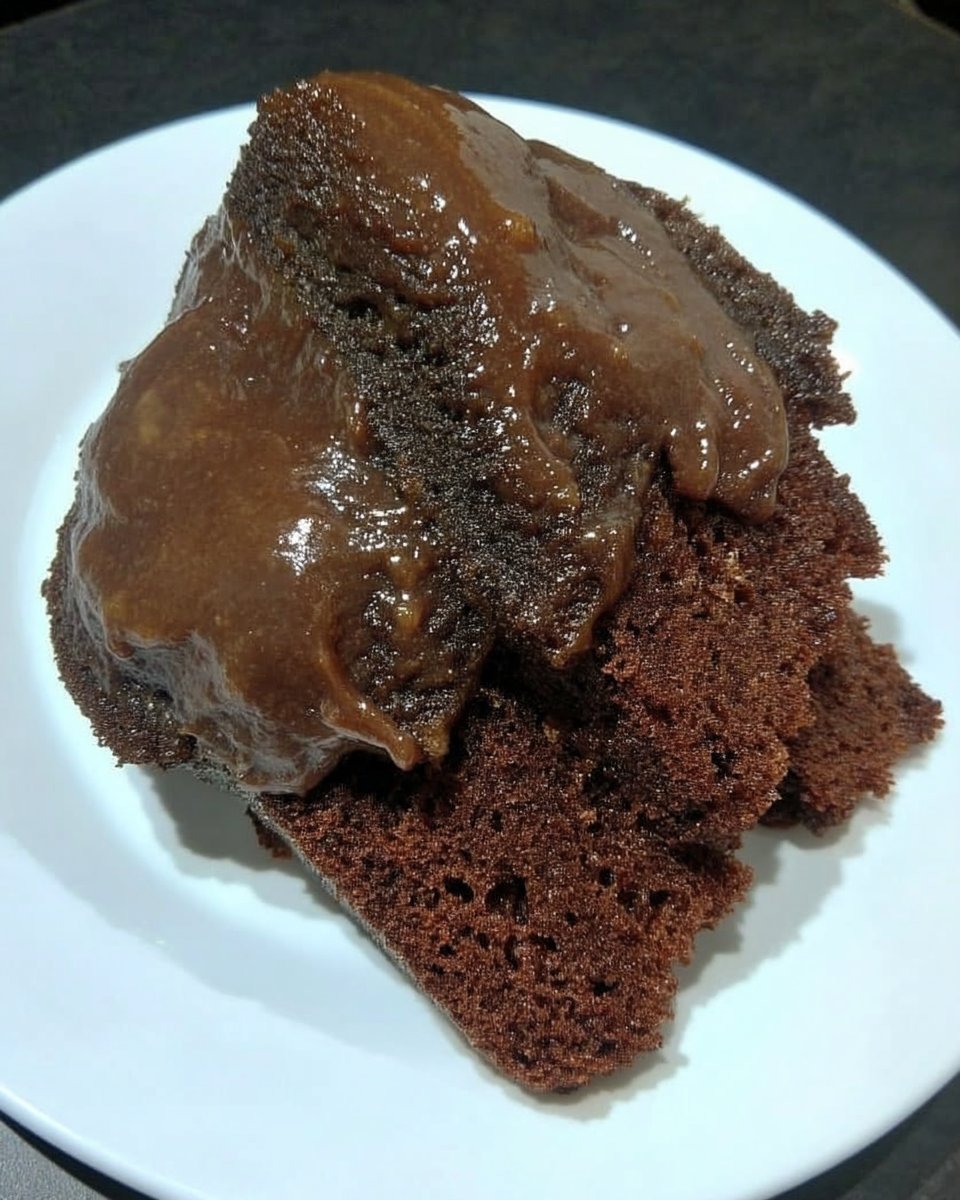
- Base Recipe: For a truly decadent treat, I love using our chocolate fudge cake as the base layers. It holds up beautifully under the weight of the ganache.
- Acetate Tightness: Ensure the acetate is taped very securely and hugs the cake without digging in. You don’t want the ganache leaking out the bottom before the big moment.
Make It Your Own
- Flavor Twists: You aren’t limited to plain vanilla. A rich nutty version inspired by our Snickers cake would be delightful for an older crowd who loves caramel and peanuts.
- Holiday Themes: Change the color for the season! For a sweet Valentine’s idea, you might find inspiration in this Valentine’s Day tsunami cake concept using pinks and reds.
- Simple Glaze: If candy melts aren’t your favorite, a white chocolate ganache dyed with gel food coloring works just as well and tastes delicious.
At the Table

This cake is best served immediately after the “pull” while the ganache is still fluid and the sprinkles are fresh. It pairs wonderfully with a glass of cold milk or a warm cup of coffee to balance the sweetness. If you enjoy dramatic desserts with rich textures, you might also love the crunch of our Ferrero Rocher cake.
The Last Slice
Baking is about more than just sugar and flour; it is about the moments we share and the memories we create. Whether you make this for a party or just a fun weekend project, I hope it brings joy to your kitchen. For a simpler day, you can always return to our old-fashioned chocolate cake, but today is for magic.
Don’t forget to share your creations with us on Pinterest, Instagram, or Facebook.
