In the pastry schools of Paris, we are taught that the simplest things are often the most difficult to master. A chocolate truffle can hide a multitude of sins, but a plain vanilla cake lays everything bare—the quality of your butter, the precision of your measurements, and the patience of your hand. I remember my chef inspecting the crumb of a genoise with a jeweler’s loupe, reminding us that texture is not an accident; it is a deliberate architectural achievement. This recipe is my ode to that pursuit of perfection.

This is not merely a vehicle for frosting; it is a masterpiece of texture, utilizing the reverse creaming method to ensure a velvety, tender crumb that melts on the tongue. By coating the flour proteins in fat before adding liquids, we limit gluten formation, resulting in a cake that is soft yet sturdy enough to stack. It is a ‘White Velvet’ style cake—pristine, aromatic, and unapologetically classic.
The Art of the Reverse Creaming Method
There is a profound difference between a good cake and an extraordinary one, and it almost always comes down to the crumb. You will love this recipe because it abandons the traditional ‘creaming’ method for a technique that guarantees tenderness. By mixing the butter directly into the dry ingredients until it resembles coarse sand, we create a barrier that protects the flour from tough gluten development.
Furthermore, the dual use of butter and oil offers the best of both worlds. The butter provides that unmistakable, rich flavor that French pastry demands, while the oil ensures the cake remains moist and soft even after days in the refrigerator. It creates a flat-topped, tight-crumbed canvas that requires very little trimming, making it a dream for assembly. It is precision baking at its finest, yielding a result that feels luxurious and refined.
Print
Vanilla Cake Recipe
- Total Time: 1 hour 10 mins
- Yield: 12 servings
- Diet: Vegetarian
Description
Master the art of the perfect vanilla cake with this professional white velvet recipe. Utilizing the reverse creaming method, it produces an exceptionally tender, tight-crumbed sponge that is both luxuriously soft and sturdy enough for elegant stacking.
Ingredients
- 13 oz (369g) cake flour, sifted
- 13 oz (369g) granulated sugar
- 3 tsp baking powder
- 1/4 tsp baking soda
- 1/2 tsp salt
- 8 oz (227g) unsalted butter, softened
- 3 oz (85g) canola oil
- 10 oz (284g) whole milk, room temperature and divided
- 3 large eggs, room temperature
- 1 tbsp high-quality vanilla extract
- 4 oz (113g) pasteurized egg whites (for frosting)
- 1 lb powdered sugar (for frosting)
- 1 lb unsalted butter, softened (for frosting)
- 1 pinch salt (for frosting)
Instructions
- Preheat your oven to 335ºF (168ºC) and prepare three 8-inch round cake pans with parchment paper or pan release.
- Mix 4 ounces of milk with the canola oil in one container, and combine the remaining 6 ounces of milk, vanilla, and eggs in a separate container.
- Place sifted cake flour, sugar, baking powder, baking soda, and salt in a stand mixer fitted with a paddle attachment and mix on low.
- Slowly add chunks of softened butter to the dry ingredients, mixing on low until the texture resembles coarse, wet sand.
- Add the milk and oil mixture all at once and beat on medium speed for exactly 2 minutes to develop the cake’s structure.
- Scrape down the bowl, then gradually pour in the milk and egg mixture on low speed, scraping halfway through until the batter is glossy and uniform.
- Divide the batter evenly between pans and bake for 30 minutes, or until a toothpick comes out clean and the top springs back when pressed.
- Shock the pans by dropping them gently from 3 inches, cool for 10 minutes in the pan, then invert onto a rack to cool completely.
- Prepare the buttercream by whipping egg whites and powdered sugar for 5 minutes, then adding butter and whipping for 10 minutes until voluminous.
Notes
To ensure a perfectly smooth emulsion, ensure your milk and eggs are truly at room temperature (70°F) before mixing. If the buttercream appears to curdle after adding the butter, continue whipping at high speed for several minutes; the friction will eventually bring the fats together into a silky frosting.
- Prep Time: 40 mins
- Cook Time: 30 mins
- Category: Dessert
- Method: Reverse Creaming
- Cuisine: French-American
The Foundation of Flavor

To achieve the delicate ‘white velvet’ texture, we must respect the role of each component. Please measure by weight for consistency.
- Cake Flour (13 oz / 369g): We use cake flour rather than all-purpose because of its lower protein content. This is non-negotiable for that silky, melt-in-your-mouth texture we desire.
- Unsalted Butter (8 oz / 227g): Your butter must be softened to room temperature, but not melted. It creates the flavor backbone of the cake.
- Canola Oil (3 oz / 85g): Oil remains liquid at room temperature, which keeps the cake feeling moist on the palate longer than butter alone.
- Whole Milk (10 oz total / 284g): Divided into two additions. Room temperature milk allows for a stable emulsion with the fats.
- Eggs (3 Large): Room temperature is essential here. Cold eggs will shock the batter and break the emulsion, leading to a heavy cake.
- Vanilla Extract (1 tbsp): Use the highest quality vanilla extract you can find, or the seeds of a vanilla bean pod for speckles of authenticity.
- Granulated Sugar (13 oz / 369g): Provides not just sweetness, but moisture and structure, keeping the cake tender.
- Leavening Agents: A precise blend of Baking Powder (3 tsp) and Baking Soda (1/4 tsp) gives the cake lift without a soapy aftertaste.
- Egg Whites (4 oz / 113g): For the frosting, we use pasteurized whites to create a light, stable meringue base.
Note on Temperature: I cannot stress enough that your milk, eggs, and butter must be at the same temperature (ideally around 70°F/21°C) to create a smooth, homogenous batter.
The Method
Step 1: Mise en Place and Preparation
Begin by preheating your oven to 335ºF (168ºC). This slightly lower temperature allows the cake to rise evenly without doming significantly. Prepare three 8-inch round cake pans with a professional pan release or parchment paper. Place 4 ounces of milk in a cup and mix in the canola oil; set this aside. In a separate container, combine the remaining 6 ounces of milk, the vanilla, and the room temperature eggs. Whisk this gently just to combine.
Step 2: The Reverse Creaming Technique
Place your sifted cake flour, granulated sugar, baking powder, baking soda, and salt into the bowl of a stand mixer fitted with the paddle attachment. Turn the mixer to the lowest speed. Slowly add chunks of your softened butter one by one. Continue to mix on low until the butter is fully incorporated and the mixture resembles coarse, wet sand. There should be no large lumps of butter visible. This step coats the flour particles in fat, which is the secret to the velvet texture.
Step 3: Developing Structure
Add the milk and oil mixture (the first liquid cup) to the dry ingredients all at once. Turn the mixer to medium speed (Speed 4 on a KitchenAid) and mix for exactly 2 full minutes. Set a timer for this step. We are developing just enough structure to hold the cake together. Do not fear over-mixing here; this specific duration is calculated for the reverse creaming method.
Step 4: The Final Emulsion
Stop the mixer and scrape down the sides and bottom of the bowl. This is crucial; if you skip this, you will find pockets of dry flour in your baked cake. Turn the mixer to low speed and slowly pour in the milk and egg mixture in a steady stream. Stop halfway to scrape the bowl once more. Mix until just combined. The final batter should be thick, glossy, and uniform—not too runny.
Step 5: Baking with Precision
Divide the batter evenly among your three prepared pans. I always use a digital scale to weigh the pans to ensure perfectly even layers. Bake for 30 minutes, then begin checking. Use a toothpick inserted into the center; it should come out clean, not just with wet crumbs. Gently press the top of the cake; it should spring back immediately. If it leaves an indentation, it needs another 2–3 minutes.
Step 6: Cooling and Release
Remove the cakes from the oven and drop the pans gently onto the countertop from a height of about 3 inches. This ‘shock’ helps release trapped steam and prevents the cake from shrinking excessively. Let them cool in the pans until they are barely warm to the touch (about 10 minutes). Place a cooling rack on top, flip the pan over, and remove the cake. Let them cool completely before wrapping in plastic wrap and chilling for 30 minutes to firm up for stacking.
Step 7: The Easy Buttercream
While the cakes chill, prepare the frosting. Whip the egg whites and powdered sugar on high for 5 minutes. Add vanilla and salt. Begin adding softened butter chunks while whipping. The mixture may look curdled; have faith and keep whipping. Continue on high for 8–10 minutes until the buttercream is white, voluminous, and shiny. For the smoothest texture, switch to the paddle attachment and mix on low for 15 minutes to knock out air bubbles.
Secrets for Pastry Perfection

- Respect the Scale: Baking is chemistry, not jazz. Using a digital scale to measure your flour and liquids ensures that you are replicating the recipe exactly as intended. Cups are notoriously inaccurate.
- Room Temperature is Real: If your butter is too cold, it won’t blend into the ‘sandy’ texture. If your milk is cold, it will seize the butter. Everything should be tempered. If you are in a rush, you can briefly warm the milk, but patience yields better results.
- The Scrape Down: The importance of scraping the bowl cannot be overstated. In the reverse creaming method, dense batter tends to stick to the bottom. Use a flexible spatula to reach the very center of the bowl.
- Oven Thermometers: Home ovens often lie. An internal oven thermometer is a small investment that guarantees you are baking at the correct 335ºF. A variation of 20 degrees can ruin the texture.
Building a repertoire of classic recipes requires understanding these small variables. Once you master the temperature and mixing times, you will produce consistent, bakery-quality cakes every single time.
Refined Twists
Once you have mastered this white velvet base, you can introduce subtle variations without compromising the structure.
- Citrus Infusion: Rub the zest of two lemons or oranges into the granulated sugar before mixing. The oils will perfume the entire cake, creating a bright, aromatic variation perfect for tea time.
- Almond Elegance: Replace half of the vanilla extract with high-quality almond extract. This pairs wonderfully with stone fruit fillings.
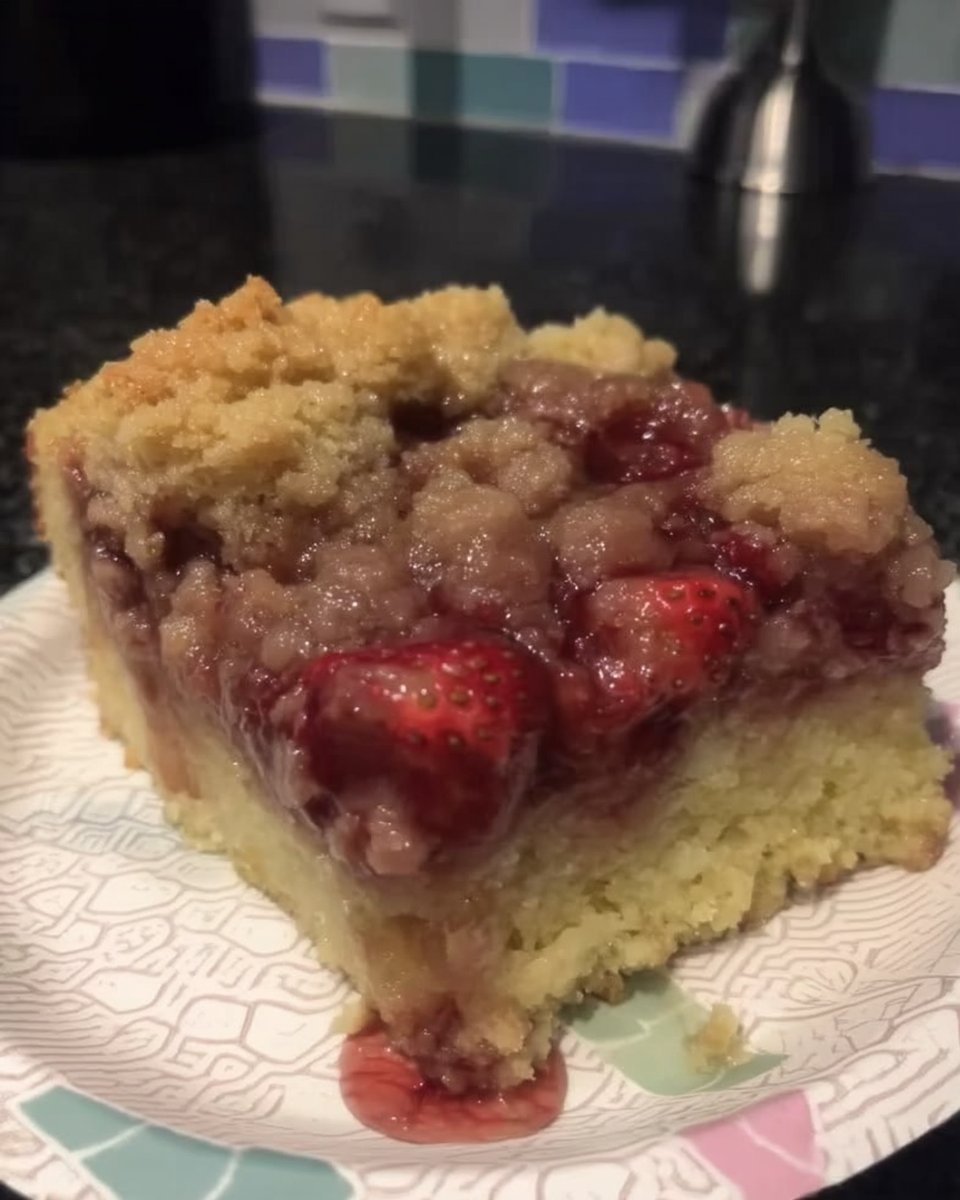
- Berry Fold-in: Toss fresh blueberries or chopped strawberries in a teaspoon of flour and fold them gently into the batter at the very end. This creates a fruitier profile, similar to our raspberry white chocolate cake, but with a lighter vanilla crumb.
- Wedding White: For a purely white cake (to prevent yellowing), you can use clear vanilla extract and reduce the butter slightly in favor of shortening, though I prefer the flavor of pure butter.
Presentation and Pairing

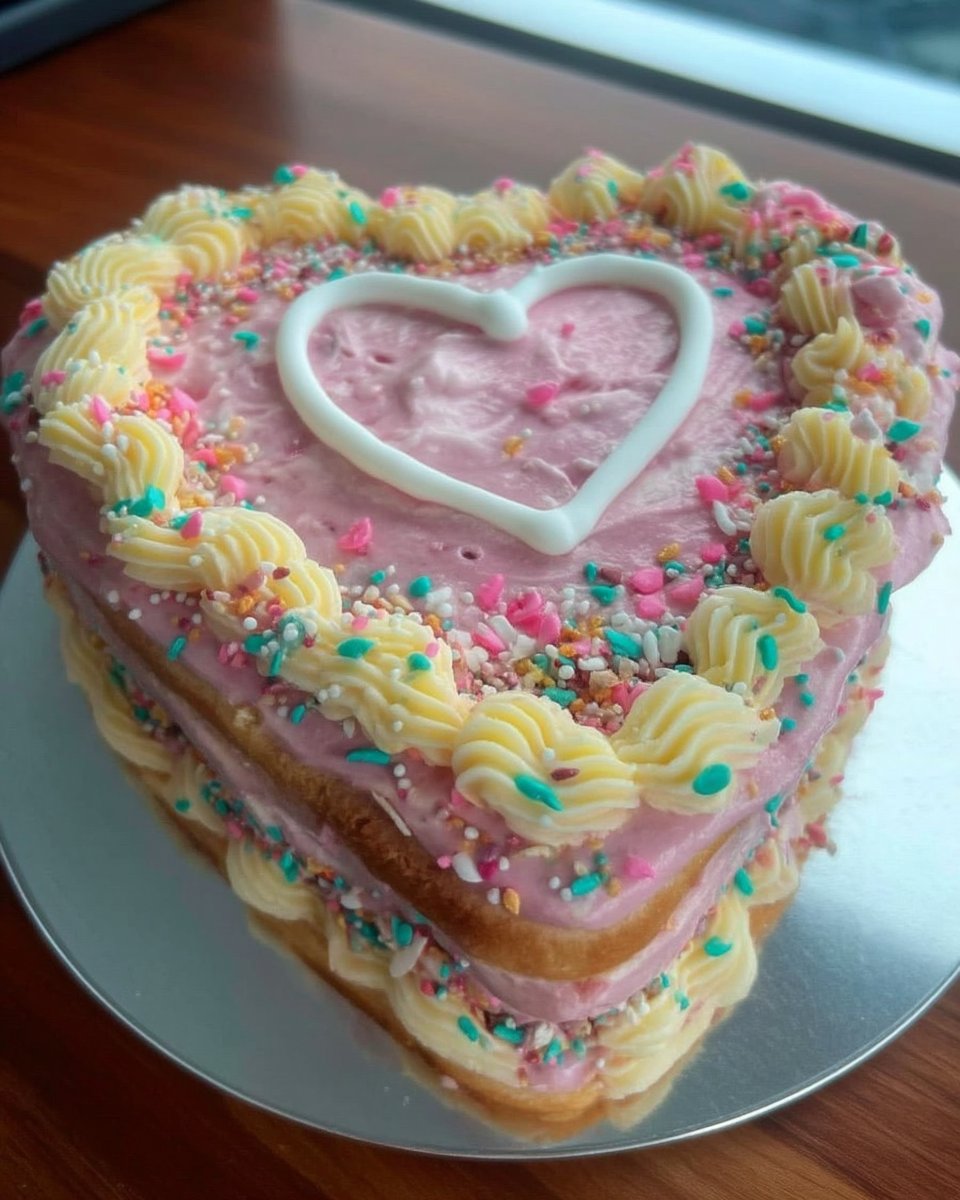
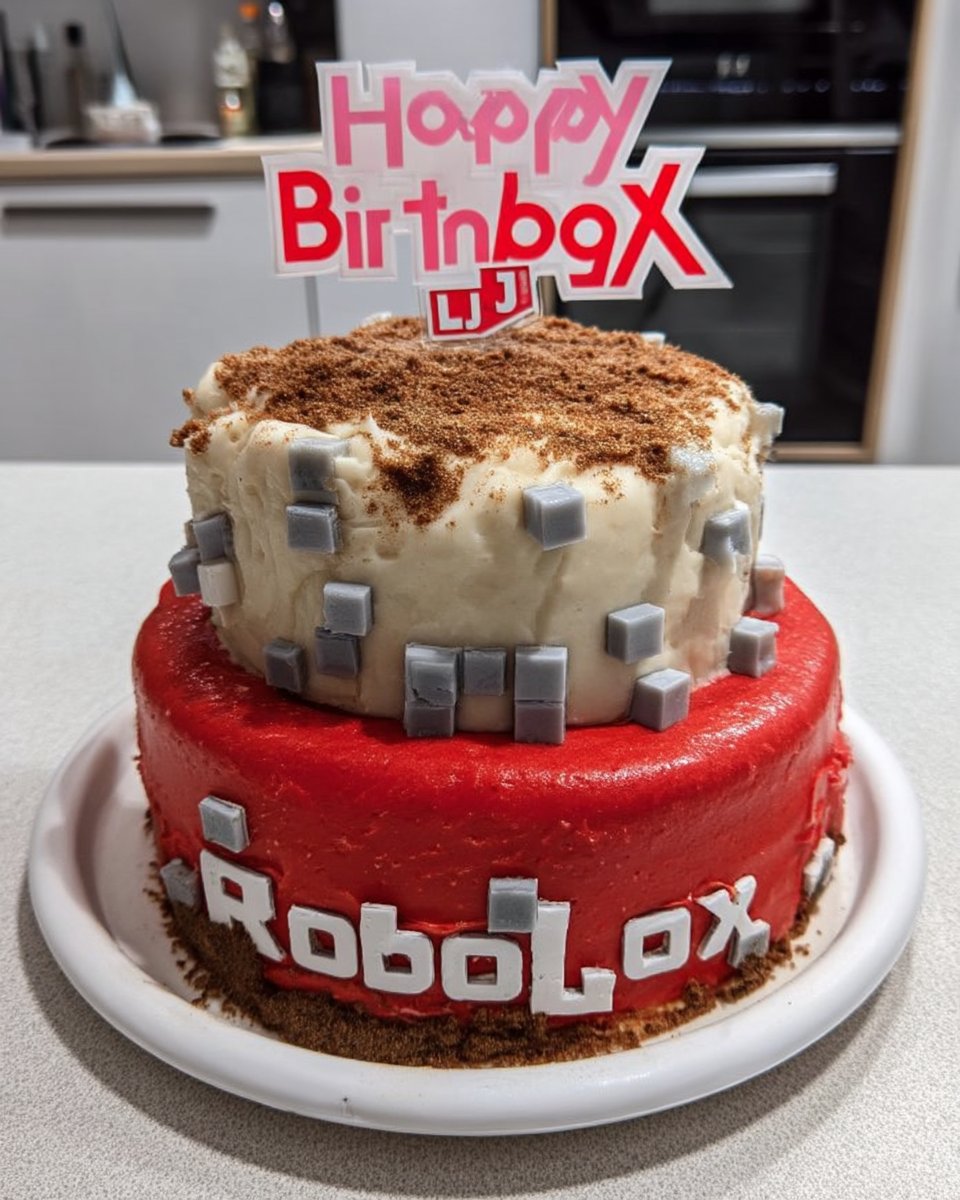
The beauty of this vanilla cake lies in its versatility. It is a canvas waiting for your artistry. For a classic birthday presentation, the provided Easy Buttercream is ideal—smooth, sweet, and stable.
To serve this in a truly French style, slice the cake thinly and serve alongside a compote of tart fruits, such as raspberries or passion fruit, to cut through the sweetness. A dollop of unsweetened whipped cream can add a lightness that contrasts with the rich butter crumb.
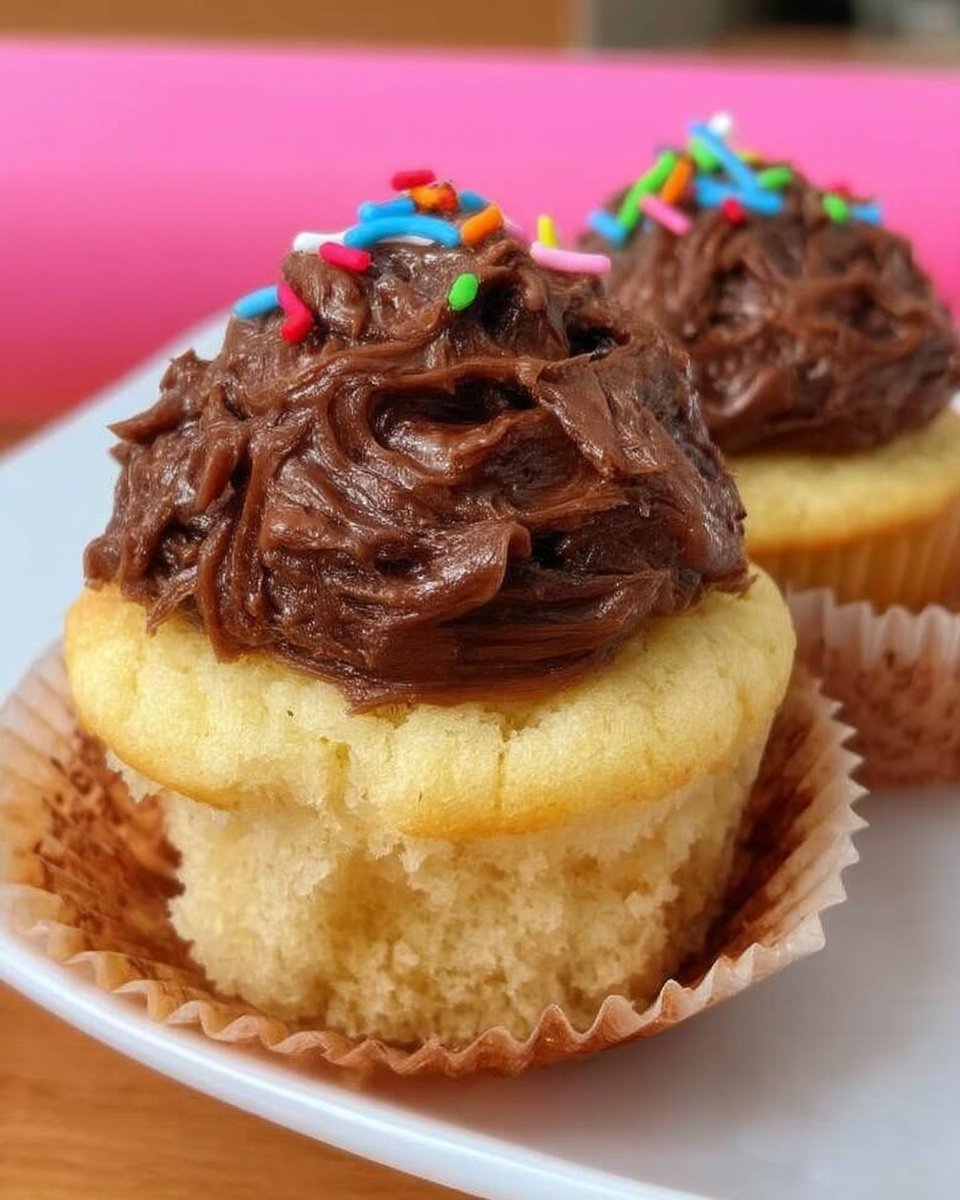
While this cake pairs beautifully with fresh fruit, a rich chocolate frosting—like the one on our yellow cake with chocolate frosting—creates a nostalgic and contrasting flavor profile that is deeply satisfying.
The Joy of Small Details
Mastering a vanilla cake is a rite of passage for any baker. It teaches us that flavor does not need to be loud to be profound. The reverse creaming method may feel unfamiliar at first, but the results—a flat, stackable, velvety cake—speak for themselves. It is a recipe that rewards your attention to detail and your commitment to quality ingredients.
If you crave something darker for your next project, our old-fashioned chocolate cake awaits your attention. But for now, enjoy the pure, aromatic simplicity of vanilla. For those fascinated by the chemistry of the reverse creaming method, resources like the Sugar Geek Show offer excellent scientific deep dives.
We would love to see your creations. Please tag us on social media so we can admire your work.
