I still remember the first time I saw a *velvet* finish in a Parisian patisserie window. Unlike the mirror glazes that reflect the world around them, this matte, textured finish absorbed the light, giving the entremets a mysterious, plush appearance akin to fine fabric. It is a technique known as *flocage*, a signature of modern French pastry that transforms a simple mousse cake into a work of art.

Achieving this professional finish at home is entirely possible, though it requires precision and a willingness to embrace a bit of a mess. By spraying a mixture of cocoa butter and chocolate onto a frozen cake, the sudden temperature shock creates thousands of tiny crystals, resulting in that iconic velvety texture. It is the perfect skill to master for those who value refined aesthetics.
The Art of the Matte Finish
There is a quiet elegance to a velvet spray cake that few other decorations can achieve. While glazes are beautiful, the velvet texture offers a sophisticated contrast, especially when hiding a creamy, shiny mousse interior. It is the visual equivalent of a soft whisper—subtle, yet commanding attention.
Beyond its beauty, this technique is surprisingly versatile. Whether you are using white chocolate for a bright, colorful finish or dark chocolate for a deep, intense look, the method remains the same. The thin shell of cocoa butter also adds a delicate, crisp snap to every bite, providing a textural counterpoint to the soft entremets within. It is a technique that rewards patience and precision.
Print
Velvet Spray Cake
- Total Time: 6 hours 15 mins
- Yield: 1 cake coating
- Diet: Gluten-Free
Description
Elevate your pastry skills with this professional velvet spray technique, which creates a stunning matte, fabric-like finish on frozen desserts. By mastering the precise ratio of cocoa butter and chocolate, you can transform any simple mousse cake into a sophisticated French masterpiece.
Ingredients
- 140g dark chocolate (or 120g for white or Dulcey chocolate)
- 60g cocoa butter (or 80g for white or Dulcey chocolate)
- Oil-based food coloring (liposoluble)
- One frozen mousse cake or entremets
Instructions
- Combine the chocolate and cocoa butter in a double boiler or microwave, heating gently until completely melted.
- Add oil-based food coloring if using, then use an immersion blender to emulsify the mixture until perfectly smooth.
- Pass the mixture through a fine sieve to remove any solid particles that might clog the nozzle.
- Cool or warm the mixture until it reaches the critical application temperature of 42°C (107.6°F).
- Prepare a spray booth by placing a turntable inside a large cardboard box or an empty dishwasher to catch the over-spray.
- Remove the rock-hard frozen cake from the freezer, unmold it immediately, and place it on the turntable.
- Hold the spray gun 30 cm (12 inches) away and apply the mixture in continuous, sweeping motions while rotating the cake.
- Move the finished cake to the refrigerator to thaw slowly for at least 6 hours.
- Immediately clean the spray gun components with very hot water to prevent the fats from solidifying.
Notes
For the most consistent velvet texture, ensure your cake is frozen solid and free of any surface frost before you begin spraying. If the mixture in your reservoir cools down during the process, use a hairdryer to gently warm the spray gun nozzle to keep the spray atomizing correctly.
- Prep Time: 15 mins
- Cook Time: 6 hours
- Category: Dessert
- Method: Flocage
- Cuisine: French
The Foundation of Flocage

To achieve a flawless velvet finish, ingredient quality and ratios are paramount. Unlike a standard ganache, this mixture relies on fluidity and fat content to atomize correctly through the spray gun.
- Cocoa Butter: This is the non-negotiable heart of the recipe. It provides the fluidity needed to pass through the nozzle and the high melting point required to crystallize instantly upon contact with the frozen cake.
- Chocolate: You can use white, milk, dark, or Dulcey chocolate. The type of chocolate determines the ratio; dark chocolate contains more cocoa solids, while white chocolate is softer, requiring slightly different proportions for the perfect spray.
- Oil-Based Food Coloring: If you are tinting white chocolate, you must use fat-soluble (liposoluble) colors. Water-based gels will seize the chocolate and clog your gun immediately.
- The Entremets: While not an ingredient in the spray, the cake itself is crucial—it must be frozen solid for the thermal shock to work.
The Method: Precision Spraying
Step 1: Prepare the Mixture
Begin by melting your cocoa butter and chocolate. You can melt them together in a double boiler or microwave, stirring gently. If you are using white chocolate and wish to add color, introduce the fat-soluble dye now. Use an immersion blender to emulsify the mixture completely, ensuring there are no unmelted bits or streaks of color. Strain this mixture through a fine sieve to remove any particles that could block the spray gun.
Step 2: Temperature Control
Temperature is the secret to a fine mist. The mixture must be used at 42°C (107.6°F). If it is too cool, it will clog the nozzle; if it is too hot, it will run down the cake instead of crystallizing. Pour the mixture into the reservoir of your spray gun. If you are making a small batch, place the mixture in a smaller cup inside the reservoir to ensure the suction tube stays submerged.
Step 3: The Setup
I must be honest with you: this process is messy. Cocoa butter mist travels everywhere. To protect your kitchen, I recommend placing your turntable inside a large cardboard box turned on its side (the “spray booth” method). Alternatively, some chefs spray inside an empty dishwasher, which can be run on a hot cycle afterward for easy cleaning.
Step 4: The Spray Application
Remove your mousse cake from the freezer and unmold it immediately. It must be frost-free but rock-hard frozen. Test the spray on a piece of parchment first to check the flow. Hold the gun about 30 cm (12 inches) away from the cake. Spray in continuous, sweeping motions from left to right, rotating the turntable with your other hand. Do not focus on one spot too long, or the layer will become too thick and may crack.
Step 5: Thawing and Cleaning
Once coated, the cake is not ready to serve immediately. Transfer it to the refrigerator to thaw slowly for at least 6 hours. This slow defrosting preserves the texture of the mousse. Meanwhile, dismantle your spray gun immediately and clean it with very hot water to prevent the cocoa butter from solidifying inside the mechanism.
Laura’s Secrets for a Flawless Finish

- The Thermal Shock is Key: The velvet effect relies entirely on the temperature difference between the warm spray (42°C) and the frozen cake (-18°C). Never attempt this on a chilled or room-temperature cake; the mixture will simply slide off. This technique works beautifully on our modern mini cakes, turning them into jewel-like pastries.
- Avoid the “Sputter”: Always pull the trigger of the spray gun while pointing away from the cake, then move the spray over the dessert. The initial burst often contains large droplets that ruin the fine texture.
- Cleaning the Nozzle: If your gun starts to sputter mid-process, the cocoa butter may have cooled and hardened in the nozzle. Use a hairdryer or heat gun to gently warm the metal tip of the spray gun to get the flow moving again.
- Layer Thickness: Less is more. You want a thin, microscopic layer. A thick shell not only affects the mouthfeel but is also prone to cracking as the cake thaws and expands slightly.
Refining the Palette
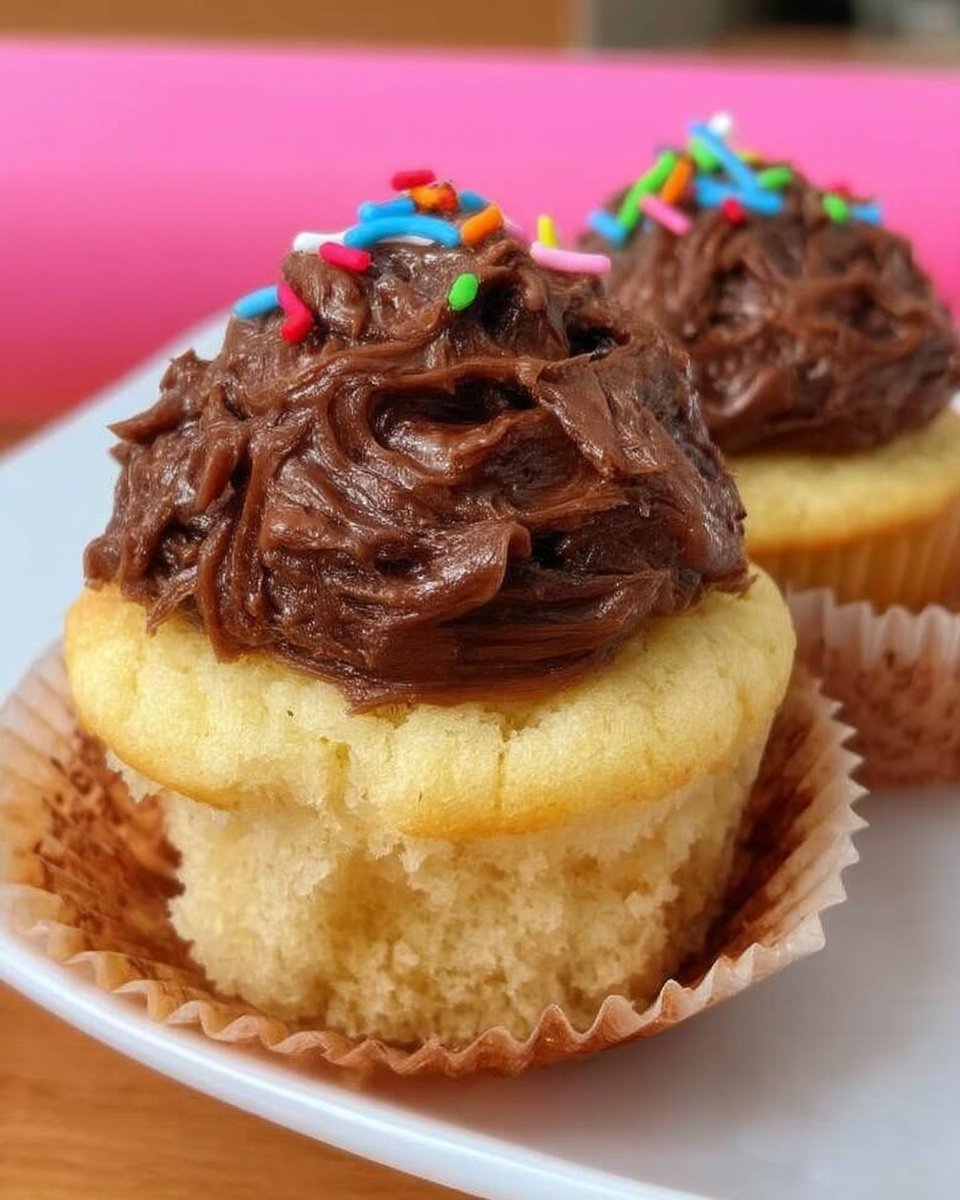
- Dark Chocolate Velvet: For a sophisticated, intense finish, use the dark chocolate ratio (140g dark chocolate to 60g cocoa butter). This creates a stunning, deep brown matte finish perfect for rich desserts like our chocolate indulgence cake.
- Dulcey or Caramel: Using caramelized white chocolate (Dulcey) gives a warm, blonde hue and a biscuit-like flavor profile. Use 120g chocolate to 80g cocoa butter for this viscosity.
- Textured Additions: For a more rustic look, you can barely pulse the mixture to leave tiny specks of color, though this risks clogging standard nozzles. Stick to smooth colors for classic French elegance.
- Further Reading: If you are interested in exploring specific ratios for different glazing techniques, you might find this guide on chocolate velvet texture helpful for technical comparisons.
Presentation and Plating

Serving a velvet spray cake is all about preserving the pristine, matte surface until the very last moment. Because the finish is delicate, avoid touching the sides once sprayed.
Use an offset spatula to lift the cake from the bottom. For a classic presentation, garnish simply with fresh berries, a tempered chocolate shard, or a single sheet of gold leaf placed with tweezers. The contrast of the matte cake against fresh, shiny fruit is visually striking. This finish pairs exceptionally well with the tartness of fruit-based interiors, such as our raspberry white chocolate cake, where the crisp cocoa butter shell yields to the soft fruit mousse.
Final Thoughts on Flocage
Mastering the velvet spray technique is a milestone for any home baker. It signifies a move away from simple frostings toward the structural elegance of French patisserie. Yes, the process requires equipment and can be a bit messy, but the gasp of delight from your guests when they see that perfect, fabric-like finish is worth every effort.
Start with small batches, perhaps on celebration cakes for special occasions, and watch your confidence grow. Precision is your best tool here.
For more pastry inspiration and to share your beautiful creations, join our community on Pinterest, Instagram, and Facebook. We love seeing your progress.
