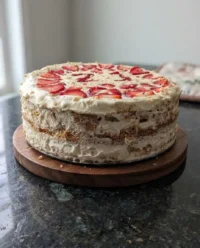
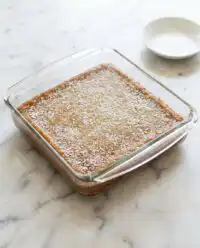
Patience is your primary ingredient when constructing this cake, specifically during the interval required for the custard to set into a resilient, velvet-textured filling.

The Banana Pudding Layer Cake represents a convergence of nostalgic Southern comfort and disciplined French construction. You will find that the dense, aromatic crumb of the banana layers provides a structural foundation for the lighter elements. Achieving the correct balance of moisture and stability requires a methodical approach to each component.
Why Technique Matters in This Recipe
Prep: 30 min · Serves: 24 · Difficulty: Advanced
- Structured layers prevent common stacking failures.
- Homemade custard offers superior flavor depth.
- Precise temperature control ensures a silky crumb.
- Strategic assembly guarantees a clean cross-section.
- Balanced sweetness highlights the natural fruit.
This method transforms a humble dessert into a centerpiece worthy of your most disciplined efforts as seen in our classic vanilla layer cake.
Get The Full Cake Recipe
Print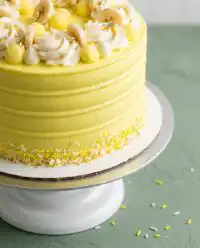
Banana Pudding Layer Cake
- Total Time: 3 hours
- Yield: 24 servings
Description
Experience the perfect marriage of Southern comfort and French pastry technique in this decadent banana pudding layer cake. Featuring moist banana-infused sponge layers, a rich stabilized custard filling, and crisp vanilla wafer accents, this dessert is designed for the disciplined baker seeking professional results.
Ingredients
- Sweetened condensed milk
- Cold water
- Vanilla pudding mix
- Unsalted butter, softened
- Granulated sugar
- Brown sugar
- Large eggs, room temperature
- All-purpose flour
- Full-fat sour cream
- Ripe bananas, mashed
- Lemon juice
- Vanilla wafers
Instructions
- Prepare the custard. Whisk sweetened condensed milk and cold water in a chilled bowl, add pudding mix, and refrigerate for at least two hours to set.
- Calibrate the oven. Preheat your oven to 350°F (177°C) and prepare three 8-inch cake pans with butter and parchment paper.
- Treat the bananas. Mash the bananas with a fork and immediately stir in lemon juice to prevent oxidation and discoloration.
- Cream butter and sugar. Beat butter with granulated and brown sugars on high speed for two minutes until the mixture is pale and aerated.
- Incorporate the eggs. Add room-temperature eggs one at a time, ensuring each is fully emulsified before adding the next.
- Combine the batter. Alternately fold in the dry flour mixture and the wet sour cream and banana mixture on low speed until just combined.
- Bake the layers. Divide batter into pans and bake for 27 minutes until resilient; cool in pans for 10 minutes before transferring to a rack.
- Create support dams. Level cooled cake layers and pipe a thick ring of vanilla buttercream around the outer edge of each layer to stabilize the filling.
- Assemble the cake. Layer the custard, sliced bananas, and crushed wafers within the buttercream dams, stack the layers, and chill before final frosting.
Notes
- Ensure all dairy and eggs are at room temperature to prevent the cake batter from curdling during emulsification.
- Use a digital scale to measure exactly 390 grams of flour to maintain the structural integrity and moisture balance of the sponge.
- If the cake layers shift during assembly, briefly freeze the partially built cake to firm up the buttercream and improve grip.
- Always use a hot, dry knife when slicing to achieve clean, professional-looking cross-sections.
- Prep Time: 30 mins
- Cook Time: 27 mins
- Category: Dessert
- Method: Baking
- Cuisine: Southern/French Fusion
The Mise en Place
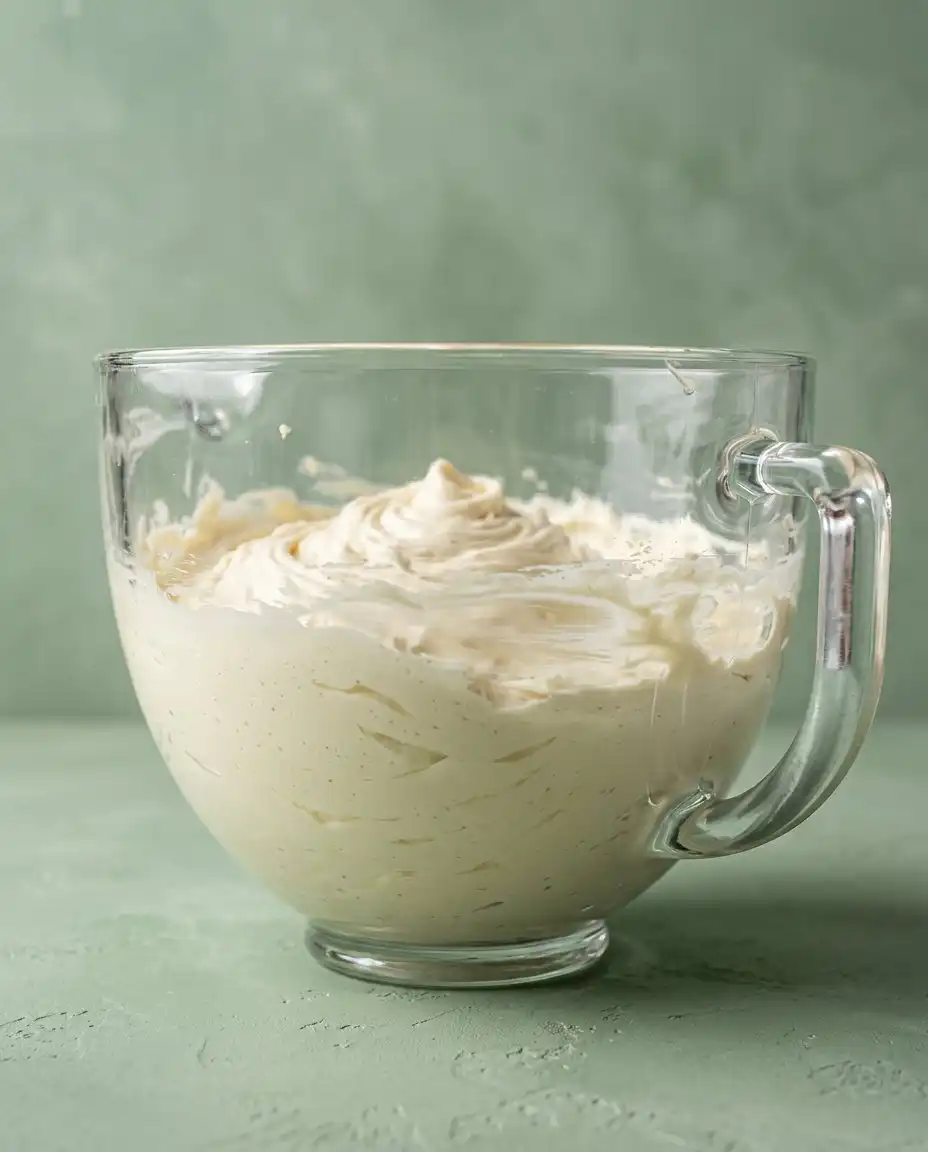
Quality ingredients act as the silent architecture of your bake. Before you begin, every component is measured by weight to ensure the precise ratios intended by the recipe. This discipline prevents the variations that often plague home-measured volume baking.
- Sweetened Condensed Milk: This provides a dense, creamy sugar base that allows the pudding to hold its shape against the weight of the cake layers.
- Mashed Bananas: Using fruit at the height of its sugar development provides the necessary moisture and distinct aroma for the crumb.
- Unsalted Butter: Selecting a high-fat butter is vital for the creaming process, creating the microscopic air pockets that define the final texture.
- Full-fat Sour Cream: The acidity in the sour cream reacts with the leavening agents while providing a tenderizing fat content that milk cannot match.
- Vanilla Wafers: These provide a necessary textural contrast, absorbing just enough moisture to soften without losing their structural identity.
- Lemon Juice: Beyond flavor, this citrus addition prevents enzymatic browning in the fruit, maintaining a bright visual appeal.
| Ingredient | Why It Matters |
|---|---|
| Condensed Milk | Provides structural stability to the custard |
| Sour Cream | Acidic tenderizer for a delicate crumb |
| Room Temp Eggs | Prevents the batter from breaking during emulsification |
The Technique Laid Out
Step 1: Prepare the Custard Foundation
You will begin by whisking the sweetened condensed milk and cold water in a chilled glass bowl until the mixture is entirely homogenous. Add the vanilla pudding mix, continuing to whisk until the liquid thickens and no granules remain visible to the eye. This custard requires a minimum of two hours in the refrigerator to reach the firmness necessary for a stable filling.
Step 2: Calibrate the Oven and Pans
Adjust your oven rack to the center position and preheat to 350°F (177°C) to allow the heat to stabilize fully before the pans enter. Grease three 8-inch cake pans with butter and line the bottoms with circles of parchment paper to ensure an effortless release. This preparation is a small discipline that prevents the tragedy of a torn cake layer.
Step 3: Emulsify the Fruit and Acidity
Mash the bananas with a fork until they reach a uniform consistency, then stir in the lemon juice immediately to halt oxidation. You will notice the mixture remains a pale gold rather than turning grey, which preserves the aesthetic quality of the interior crumb. Set this aside to allow the fruit fibers to soften slightly before they are introduced to the batter.
Step 4: Aerate the Butter and Sugars
Using the paddle attachment of your mixer, beat the room-temperature butter with the granulated and brown sugars for exactly two minutes on high speed. The mixture should undergo a transformation, becoming visibly paler and significantly more aerated than when you began. Scrape the bottom of the bowl meticulously to avoid any pockets of unmixed fat.
Step 5: Incorporate the Structural Eggs
Add the eggs to the creamed butter one at a time, allowing each to be fully incorporated before introducing the next. This careful addition prevents the emulsion from breaking, which would result in a greasy or dense finished cake. The batter should look smooth and slightly glossy at the end of this stage.
Step 6: Combine the Dry and Wet Elements
Alternately add the dry flour mixture and the wet sour cream and banana mixture to the butter base on the lowest speed. You must stop the mixer the moment the last trace of white flour disappears into the golden batter. Overworking the dough at this stage will activate the gluten excessively, sacrificing the tender crumb we seek.
Step 7: The Precise Bake for the Banana Pudding Layer Cake
Divide the batter equally among your prepared pans and bake for approximately 27 minutes until the centers feel resilient to a light touch. A toothpick inserted should emerge with only a few moist crumbs attached, indicating the cake is set but not desiccated. Allow the layers to rest in their pans for ten minutes before transferring them to a wire rack to cool completely.
Step 8: Construct the Internal Dams
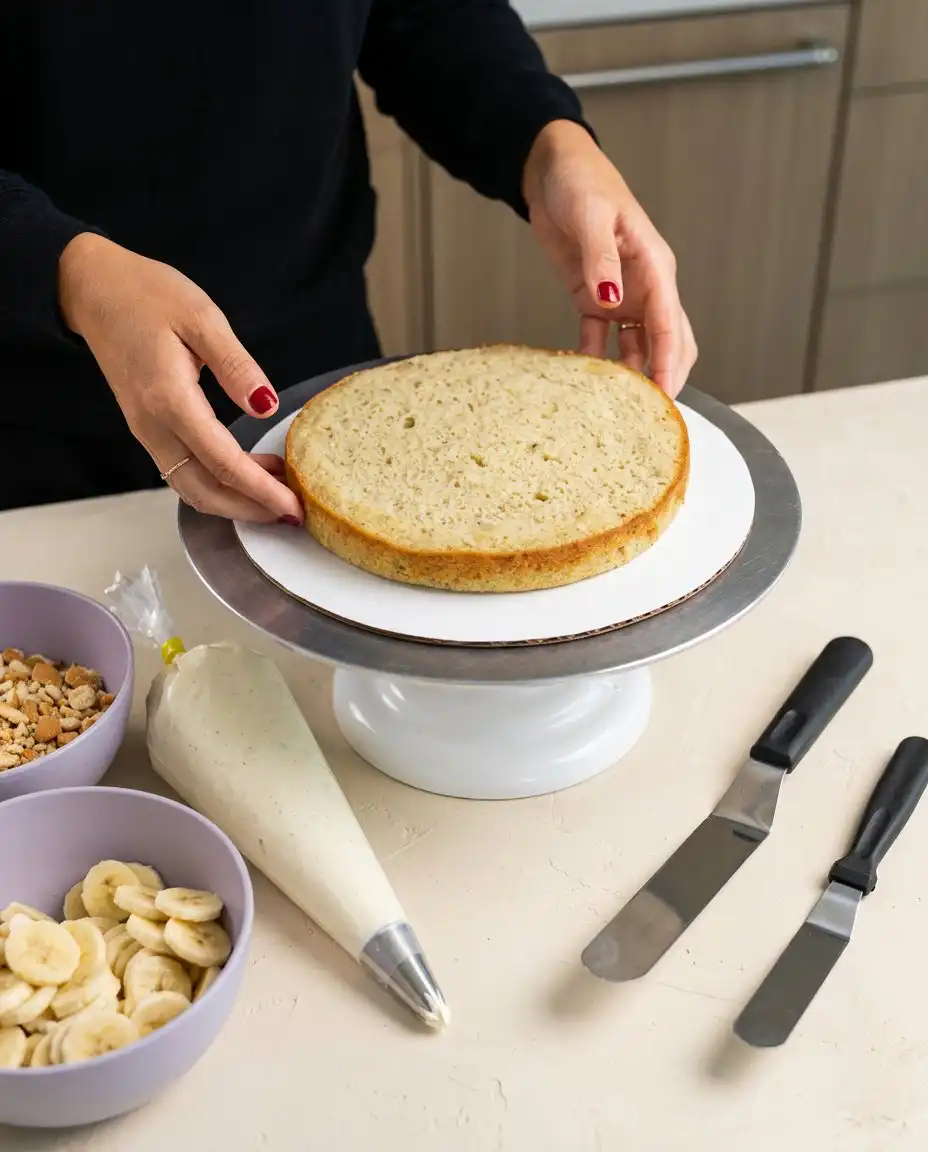
Once the layers are cold, level them with a serrated knife to create perfectly flat surfaces for stacking. Pipe a thick ring of vanilla buttercream around the outer edge of the first layer to act as a dam for the pudding. This wall is essential to prevent the custard from escaping under the weight of the subsequent layers.
Step 9: Assemble the Interior Architecture
Spread a controlled amount of chilled pudding inside the buttercream ring, followed by a layer of sliced fruit and crushed wafers. Place the next cake layer on top and repeat the process with precision, ensuring each stack is vertically aligned. Chill the entire assembly for ten minutes to set the structure before applying the final exterior frosting.
Where Precision Makes the Difference
Precision is not a constraint. It is the freedom to repeat success. When measuring your flour, use a digital scale to ensure exactly 390 grams, as even a small excess will result in a dry, heavy crumb that lacks elegance.
Your ingredients already know what to do; give them the conditions to do it by ensuring your butter, eggs, and sour cream are all at a true room temperature. Cold ingredients will cause the batter to curdle, ruining the delicate aeration achieved during the creaming stage.
If the cake layers begin to slide during assembly, your kitchen environment is likely too warm or the pudding has not chilled long enough. The solution is to pause and place the cake in the freezer for fifteen minutes to allow the fats in the buttercream to firm up and grip the layers.
For a professional finish, you may find that a structured banana pudding dessert helps you understand how the wafer layers should be distributed to maintain moisture balance. You should always apply a thin crumb coat of frosting first to trap loose particles before applying the final decorative layer.
The ribbon stage is a recurring test of readiness; when preparing your buttercream, ensure you beat it until it reaches a pale, spreadable consistency that holds its shape. If your frosting feels too soft, add powdered sugar in twenty-gram increments until the resistance is restored.
Avoid mashing your bananas too far in advance, even with lemon juice, as the enzymes will continue to break down the starch and change the batter’s hydration levels. Freshly mashed fruit provides the best structural integrity for this banana pudding poke cake inspiration.
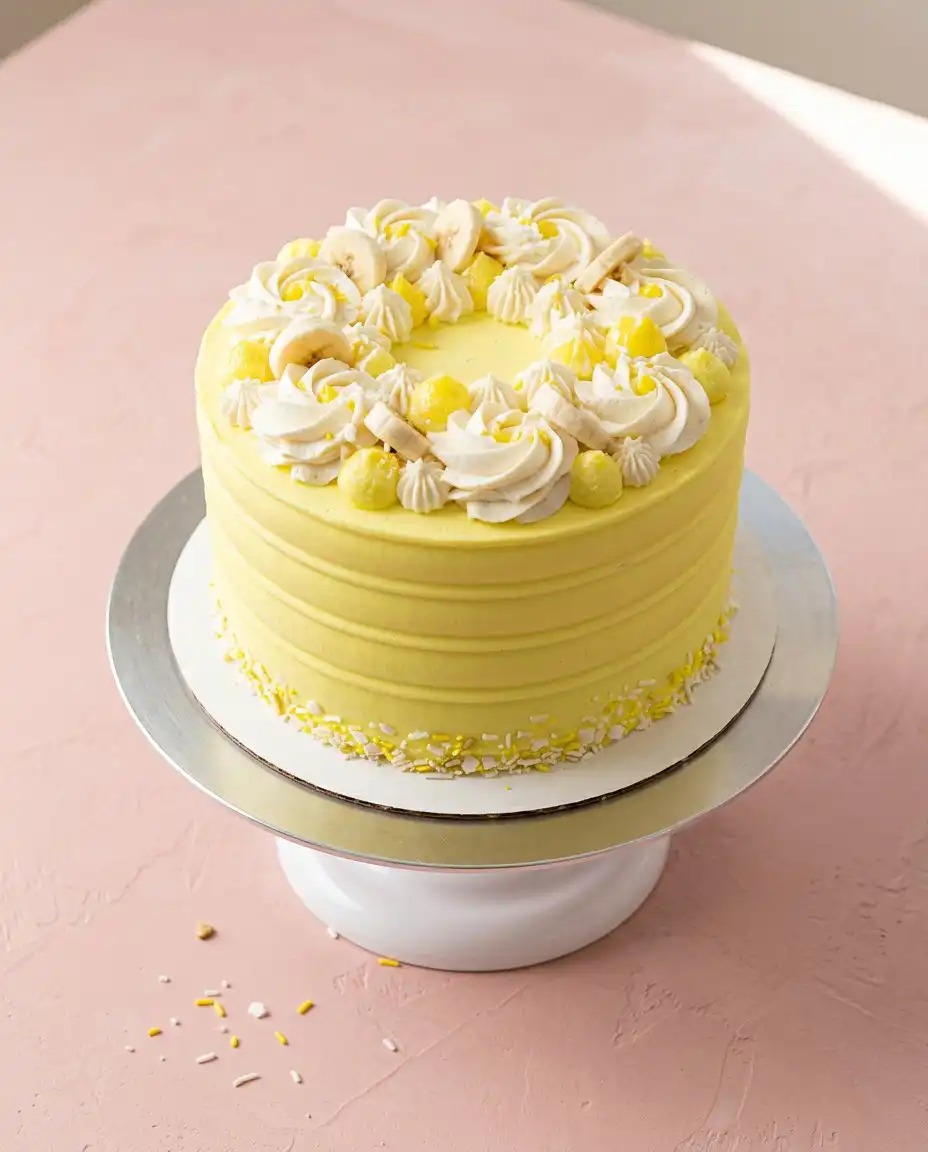
Always use a bench scraper for the final smoothing of the yellow buttercream to achieve the sharp edges characteristic of professional patisserie. A steady hand and a slow rotation of the turntable are more effective than rapid movements.
Frequently Asked Questions
Can I make the cake layers in advance?
You will find that the cake layers benefit from being made a day early and wrapped tightly in plastic once cooled. This resting period allows the moisture to redistribute through the crumb, making the cake easier to level and stack without excessive crumbling. You may also freeze the wrapped layers for up to two weeks if you are managing a complex schedule.
How do I prevent a layer cake from sliding?
The key to stability lies in the buttercream dam and temperature control. You must ensure the pudding is fully set and the buttercream is firm; chilling the cake for ten minutes between each added layer provides the structural integrity needed to prevent movement. If you notice sliding, immediately transfer the cake to the freezer to reset the fats.
Why is my banana cake crumb so dense?
A dense crumb often results from over-mixing the batter once the flour is added, which develops too much gluten. You must mix only until the flour is just incorporated to maintain the tender, velvet texture intended for this recipe. Additionally, ensure your leavening agents like baking soda and powder are fresh and active.
Can I substitute the sour cream for something else?
Full-fat Greek yogurt is a qualified alternative if sour cream is unavailable, as it provides a similar acidity and fat content. Avoid using low-fat versions or milk, as the lack of fat will result in a dry cake that lacks the characteristic richness of a professional bake. The acidity is crucial for the reaction with the baking soda.
How long will the assembled cake stay fresh?
This cake remains at its peak for approximately three days when stored in an airtight container in the refrigerator. The buttercream acts as a seal to retain moisture, though the banana slices inside will eventually begin to soften further. You should not freeze the fully assembled cake, as the fresh bananas and pudding will develop an unpleasant texture upon thawing.
What is the best way to mash the bananas for this recipe?
You should use a fork or a potato masher rather than a food processor to ensure the fruit retains some small, visible pieces. This provides a better texture in the finished crumb and prevents the fruit from becoming too liquid, which can throw off the hydration of the batter. Ensure the fruit is heavily spotted with brown for the highest sugar content.
Thoughtful Alternatives
You may choose to replace the vanilla wafers with shortbread cookies for a more buttery, dense textural contrast within the filling. This change requires no adjustment to the assembly method but will provide a more sophisticated flavor profile for formal events.
Replacing the vanilla bean paste with a high-quality almond extract in the cake layers offers a floral note that complements the banana beautifully. This variation works particularly well when served alongside a banana coffee cake for a brunch presentation.
If you prefer a lighter profile, you can substitute the heavy buttercream exterior for a stabilized whipped mascarpone frosting. While this reduces the shelf life of the cake, it adds a subtle tang that balances the sweetness of the condensed milk pudding.
Finishing and Presenting
Before you serve this cake, allow it to sit at room temperature for approximately twenty minutes. This interval allows the buttercream to soften slightly, ensuring the flavor of the butter is fully expressed and the cake is easier to slice cleanly. A sharp, thin-bladed knife dipped in hot water and wiped dry between each cut will produce the professional cross-section your hard work deserves.
This dessert is traditionally enjoyed on its own, but a light dusting of crushed wafers just before presentation adds a fresh textural element. You might consider serving it alongside our banana cake if you are hosting a larger gathering that requires different cake styles. The vibrant yellow frosting makes it a natural choice for celebrations where a visual statement is required.
When plating, ensure each slice is supported by a chilled plate to maintain the stability of the pudding layers. The contrast of the cream-colored interior against a dark plate provides a sophisticated visual that honors the French principles of presentation. A small sprig of mint or a single dehydrated banana chip can serve as a refined garnish without distracting from the cake itself.
The Result of Your Care
Small things, done exactly right, result in a dessert that is as stable as it is delicious. By following these disciplined steps, you have moved beyond simple assembly and into the realm of true pastry craft. The reward is a Banana Pudding Layer Cake that maintains its poise and flavor from the first slice to the very last.
As you continue to refine your skills, remember that the techniques practiced here—such as the creation of the buttercream dam—are applicable to many other recipes, including our classic vanilla butter cake. The patience you have shown in allowing the custard to set and the layers to cool is what separates an amateur effort from a professional result.
We invite you to share the results of your labor with us and your fellow bakers. You may follow our latest techniques and seasonal inspirations on Pinterest, Facebook, or TikTok. Your dedication to the craft is what makes the baking community so vibrant and enduring.