Most home bakers rely on heavy syrups to fake moisture, but I prefer a precise sponge that breathes while supporting the architectural weight of a gravity-defying mango drip.

This Mango Drip Cake is not a standard supermarket fruit cake; it is a structural experiment in balance and tropical intensity. By using a light-as-air sponge as the foundation, we allow the richness of the Alphonso mango to take the lead without being weighed down by dense fats. You are building a tower of flavor that depends on the cold, stiff peaks of whipped cream and the specific viscosity of a fruit-based glaze.
Why This Mango Drip Cake Earns Its Place
Prep: 60 min · Serves: 12 · Difficulty: Medium
Most amateur bakers fear the drip, but this method proves that temperature control is the only secret you actually need to master. While others are making massive, sugary sheet cakes, we are focusing on small-batch logic where every millimeter of sponge matters. This recipe utilizes a specific folding technique that keeps the batter aerated, resulting in a crumb that absorbs the mango essence rather than resisting it. You will find that cake with fruit requires a delicate hand to maintain structural integrity under the weight of fresh produce.
- Precise sponge texture resists collapsing under fruit.
- Controlled drips create professional aesthetic results.
- Balanced tropical sweetness without cloying sugar.
- Structural stability for clean, sharp slices.
This is the centerpiece that turns a casual gathering into a masterclass in pastry.
Get The Full Cake Recipe
Print
Mango Drip Cake
- Total Time: 1 hour 30 mins
- Yield: 12 servings
Description
This vibrant Mango Drip Cake features an aerated, tender sponge layered with light whipped cream and fresh fruit. A carefully balanced white chocolate mango glaze provides the perfect structural finish for a stunning, tropical centerpiece.
Ingredients
- Alphonso mangoes
- Room temperature eggs
- Granulated sugar
- Vanilla extract
- Hot water
- All-purpose flour
- Corn starch
- Baking powder
- Heavy whipping cream
- White baking chocolate
- Gelatin
Instructions
- Prepare the pan. Grease only the base of a 9-inch springform pan and line with parchment paper to encourage the sponge to grip the sides.
- Whip the eggs. Beat room temperature eggs with hot water, sugar, and vanilla in a stand mixer for 8-12 minutes until the ribbon stage is achieved.
- Fold ingredients. Sift flour, corn starch, and baking powder together, then gently fold into the egg foam in three batches to preserve aeration.
- Bake the sponge. Bake at 350°F for 25-30 minutes until the center springs back, then cool completely on a wire rack.
- Prepare the filling. Fold fresh mango chunks into a portion of stabilized whipped cream, ensuring the fruit is dry to maintain structural integrity.
- Create the glaze. Heat mango puree over a water bath, dissolving gelatin and white chocolate until the mixture reaches the consistency of honey.
- Assemble layers. Slice the sponge into three layers, filling each with mango cream, and apply a thin crumb coat of whipped cream over the exterior.
- Apply the drip. Squeeze the prepared glaze around the top edge of the chilled cake to create decorative drips, then finish with cream puffs and fresh mango balls.
Notes
- Ensure your mixing bowl and whisk are chilled for 15 minutes before whipping cream to guarantee a stable, firm structure.
- Always use a digital scale for flour measurements to prevent dense spots caused by packing the cup.
- Test your glaze on an inverted glass first to ensure the viscosity is perfect before applying it to the final cake.
- Keep the cake refrigerated until 30 minutes before serving to prevent the whipped cream layers from softening.
- Prep Time: 60 mins
- Cook Time: 30 mins
- Category: Dessert
- Method: Baking
- Cuisine: Tropical
Build Your Mise en Place
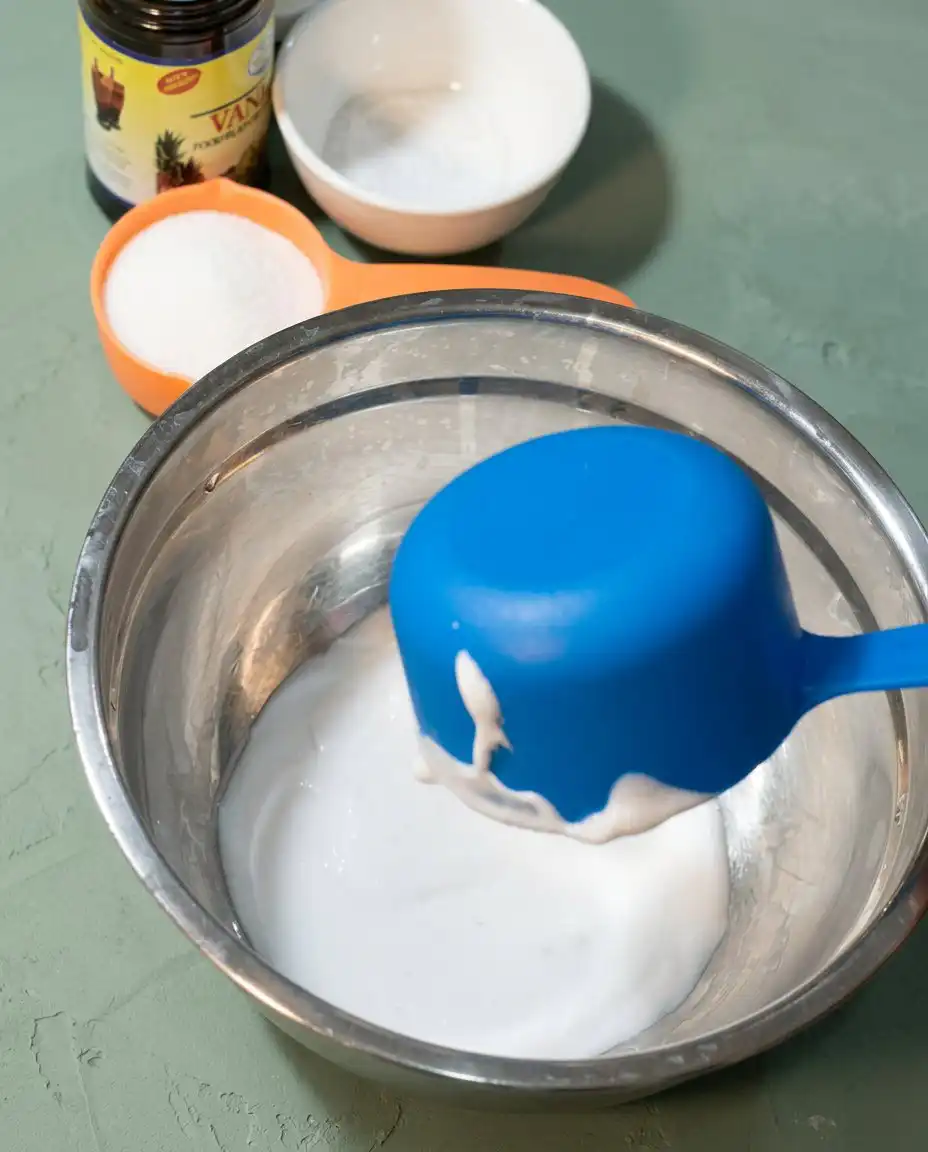
Success in the kitchen starts with your setup, especially when working with temperature-sensitive emulsions like whipped cream and fruit purees. Gather every component before you crack a single egg to verify that your process remains uninterrupted and your textures stay exactly where they need to be.
- Alphonso Mangoes: These are the gold standard for baking due to their lack of fibrous strands and their deep, concentrated sugar content.
- Room Temperature Eggs: Cold eggs resist aeration; warmth allows the proteins to stretch and trap the air needed for a tall sponge.
- Corn Starch: This is our secret stabilizer that softens the wheat flour and creates a tender, velvet-like crumb.
- Heavy Whipping Cream: High fat content is mandatory here to keep the structure of the piping firm against the moisture of the mango chunks.
- Gelatin: We use this sparingly to thicken the drip, giving it the necessary body to stop halfway down the cake side.
- White Baking Chocolate: This provides the fatty base for the drip, allowing it to set with a beautiful sheen on the cold cream.
| Ingredient | Why It Matters |
|---|---|
| Alphonso Mango | Provides superior flavor and a smooth, non-fibrous texture. |
| Corn Starch | Weakens gluten for a more tender, melt-in-mouth sponge. |
| Heavy Cream | Acts as the structural glue holding the fruit layers together. |
| Gelatin | Regulates the viscosity of the fruit drip for precision. |
Step by Step
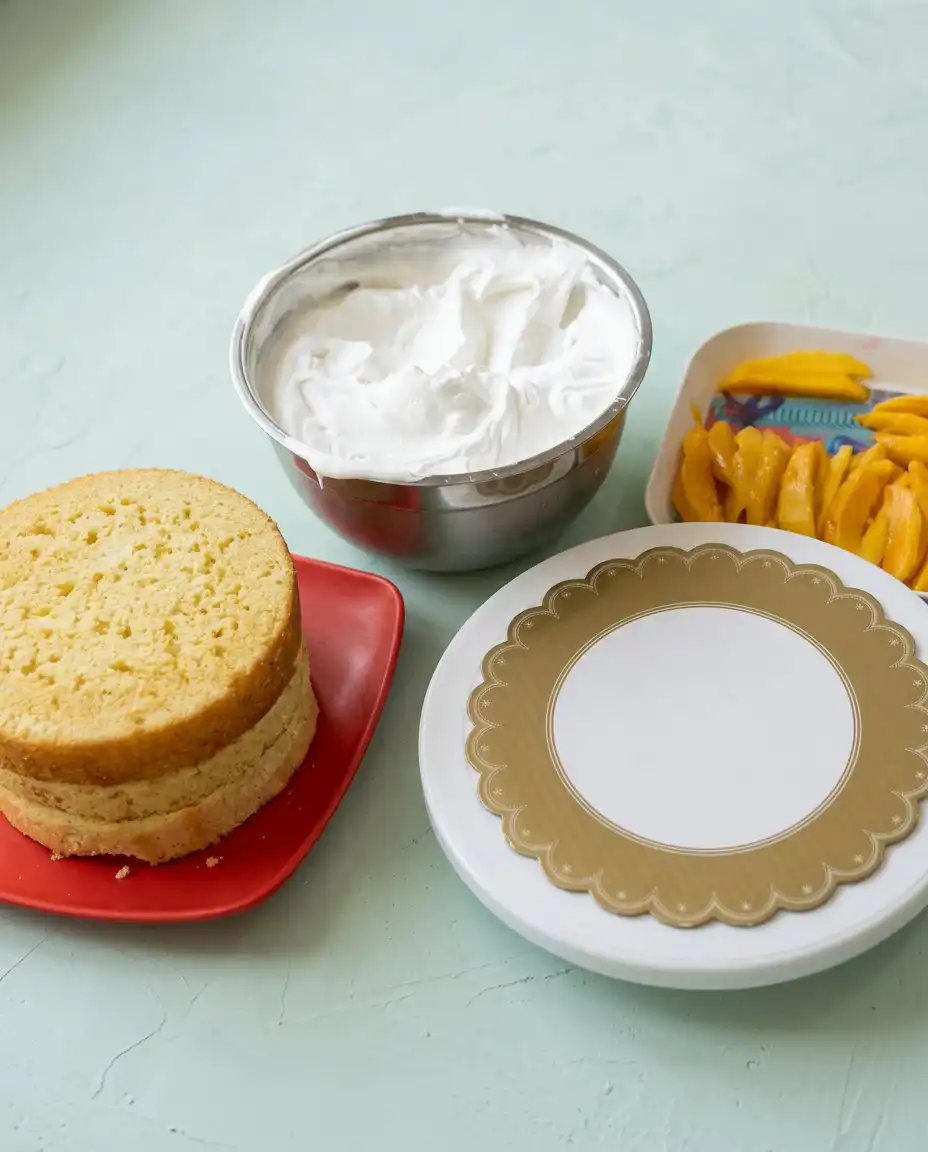
Step 1: Prepare the Springform Pan
Begin by greasing only the base of a 9-inch springform pan and pressing a parchment paper circle firmly onto it. Do not grease the sides of the pan; the sponge needs to grip the metal as it climbs, preventing the dreaded dome top and creating a flat surface for layering. This is a sensory checkpoint: if the sides are slippery, your cake will slide back down and lose the height we need for those impressive wedges.
Step 2: Achieve the Ribbon Stage
Crack your room temperature eggs into a clean stand mixer bowl and add the hot water. Whisk at high speed for at least 8 to 12 minutes, gradually streaming in the sugar and vanilla. You are looking for the thick ribbon stage, where the mixture falls from the whisk and holds an “S” shape for several seconds before disappearing. That is not a mistake—that is data telling you that you have trapped enough air for a successful lift.
Step 3: Sift and Fold with Precision
Combine your flour, corn starch, and baking powder, then sift this mixture into your egg foam in three separate batches. Use a large metal spoon or spatula to fold the dry ingredients in with a gentle hand, scraping the bottom of the bowl to catch any hidden pockets of flour. Precision earns trust here; over-folding will deflate the bubbles you spent ten minutes creating, leading to a rubbery texture.
Step 4: Bake and Cool the Sponge
Transfer the batter into the pan and bake at 350 degrees F for roughly 25 to 30 minutes. Test the doneness by pressing the center of the cake with your palm; it should spring back like a soft pillow, not feel wobbly or hard. Once removed, run a thin spatula around the edge to loosen the grip and invert it onto a wire rack to cool completely before you even think about slicing.
Step 5: Master the Mango Drip Cake Technique
While the cake cools, prepare your filling by folding mango chunks into a portion of the stabilized whipped cream. The mangoes must be dry to prevent the cream from weeping, which would ruin the internal architecture. Small-batch logic tells us that a tighter ratio of fruit to cream provides a more intense flavor profile in every bite.
Step 6: Create the Decorative Drip
Heat your mango puree over a water bath and dissolve the gelatin and white chocolate into the liquid. This mixture must be cooled until it is slightly thicker than room temperature honey; if it is too warm, it will melt the cream, and if it is too cold, it will clump. Transfer the mixture to a squeeze bottle for the ultimate control over your design.
Step 7: Assemble the Layers
Slice your cooled sponge into three equal layers using a long, serrated knife, marking the edges first to guide your cut. Spread a thin layer of puree followed by a generous dollop of the mango cream mixture on each layer. Place the final layer on top, then coat the entire cake in a thin crumb coat of plain whipped cream and refrigerate to set the structure.
Step 8: Apply the Finishing Touches
Squeeze the mango drip around the top edge of the cold cake, allowing gravity to pull the liquid down in random, varying lengths. Pipe cream puffs around the top perimeter and place a fresh mango ball in the center of each. This visual drama is the proof-of-concept bite that rewards your technical patience.
Push It Further
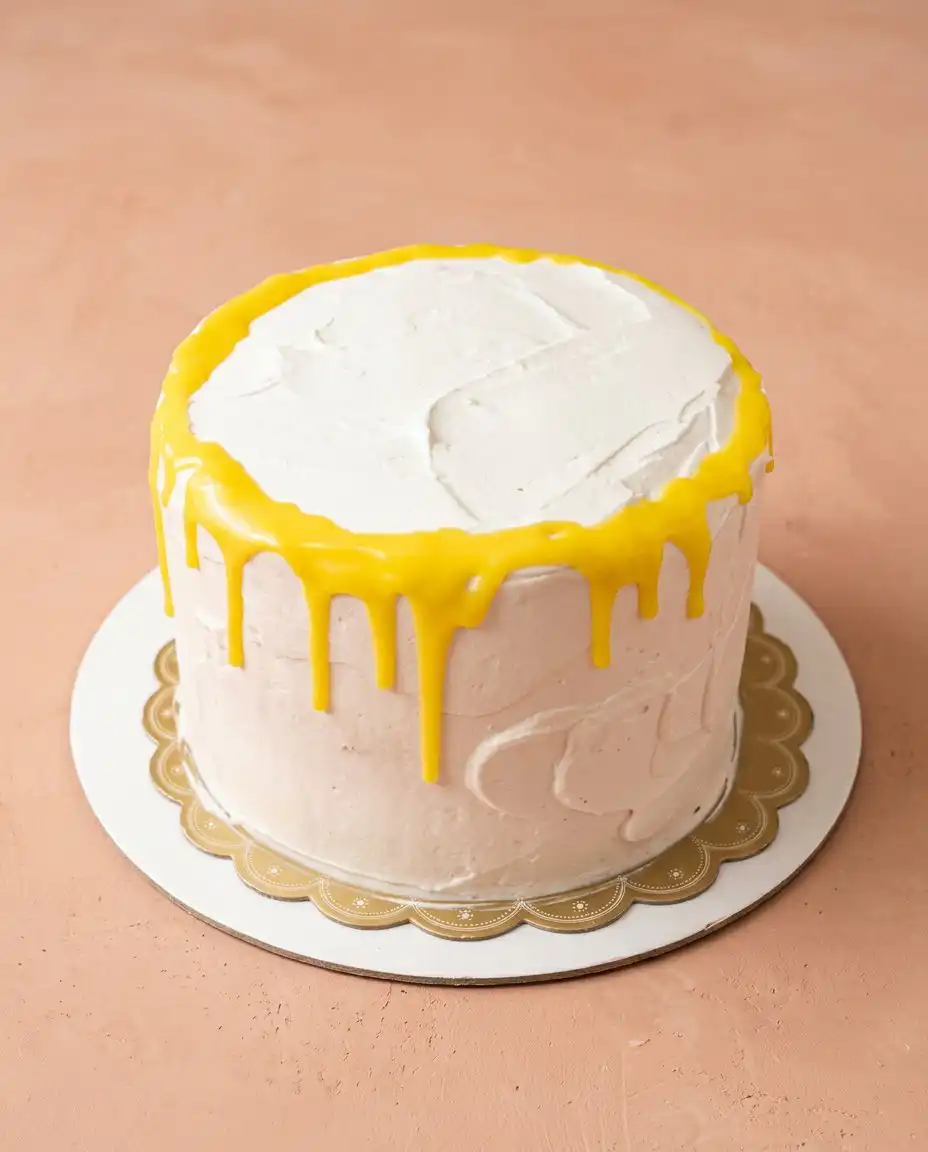
Temperature is your primary variable when working with a fruit-based drip. If your mango puree is too thin and runs all the way to the bottom of the cake, it means the gelatin hasn’t begun to set or the cake wasn’t cold enough to stop the flow. To fix this, refrigerate the squeeze bottle for five minutes and try a test drip on an upside-down glass before committing to the cake surface. You can learn more about managing fruit textures in my guide on peach cake where stability is key.
Always chill your bowl and whisk attachment in the freezer for at least 15 minutes before whipping your heavy cream. Cold equipment keeps the fat globules in the cream solid, allowing them to trap air more efficiently and resulting in a much more stable frosting. If your cream begins to look grainy, you have gone too far toward butter; immediately whisk in a tablespoon of liquid cream to smooth the emulsion back out.
When slicing mangoes, use a melon baller for the top decorations to create uniform, professional-looking spheres. This technique minimizes waste and provides a clean aesthetic that matches the precision of the drip. You can also learn how to thicken fruit purees for baking to ensure your decorations never slide off the side of the cake.
Never skip the sifting process for your dry ingredients. All-purpose flour can clump in the bag, and those small lumps will weigh down your egg foam, creating dense spots in an otherwise light sponge. Using a kitchen scale for your measurements is a liberation device that removes the guesswork from cup-based volumes, which can vary wildly depending on how the flour is packed.
If you find your sponge cake is sticking to the bottom of the pan despite the parchment, it may be due to under-baking or high humidity. Verify your oven temperature with a separate thermometer to guarantee that the center reaches the proper set point. A fully baked sponge should pull away from the sides of the pan slightly as it cools, signaling that the structure is firm and ready for handling.
Frequently Asked Questions
What is drip cake made of?
A drip cake consists of a chilled, frosted cake base topped with a viscous liquid—usually ganache, caramel, or a fruit-gelatin mixture—that is carefully poured over the edges. For this mango version, the drip is a combination of Alphonso mango puree, white chocolate, and a touch of gelatin for stability. The contrast between the cold frosting and the slightly warm drip allows the liquid to set as it moves down the side.
How to bake a drip cake?
Baking a drip cake starts with creating a level, sturdy sponge that can support multiple layers of filling and frosting. Once the cake is baked, cooled, and stacked, it must be crumb-coated and chilled thoroughly in the refrigerator. The ‘drip’ itself is applied only when the cake surface is cold, using a squeeze bottle or spoon to control the flow of the glaze over the edges.
How to make a mango cake?
To make a high-quality mango cake, you must incorporate the fruit into multiple components: the filling, the glaze, and the decoration. Using a high-protein egg sponge allows the cake to absorb the moisture of the mango chunks without becoming soggy. The key is using Alphonso mangoes, which provide a smooth texture and intense flavor that stands up to the cream.
What kind of mango is best for cake?
Alphonso mangoes are widely considered the best choice for baking because they are incredibly sweet, non-fibrous, and have a rich, buttery texture. If you cannot find fresh Alphonso mangoes, canned or frozen Alphonso pulp is an excellent substitute that maintains the necessary consistency for the drip. Avoid stringy, fibrous varieties like Tommy Atkins, as they will create an unpleasant texture in the cream layers.
Can I make this cake in advance?
You can bake the sponge layers a day in advance, provided you wrap them tightly in plastic wrap and leave the parchment paper on the bottom to prevent drying. However, for the best results, assemble the whipped cream and mango filling on the day you plan to serve it. Whipped cream can lose its volume and begin to weep if it sits for more than 48 hours in the refrigerator.
How do I stop the mango drip from running off the cake?
The secret to a perfect drip is managing the temperature of both the cake and the glaze. If the glaze is too hot, it will be too thin and run straight to the bottom; if the cake is too warm, it won’t trigger the glaze to set. Always chill your cake for at least two hours before applying the drip, and test the viscosity of the glaze on a cold plate first.
Rebel Swaps
Tradition noted, but we are proceeding with variations anyway. If you want to change the flavor profile, try swapping the mango puree for a concentrated strawberry reduction. This creates a striking color contrast and a different level of acidity that pairs beautifully with the white chocolate in the drip. My strawberry cake recipe offers more insight into how to manage the high moisture content of berries in a layered format.
For a more decadent version, replace the whipped cream icing with a white chocolate ganache frosting. This will provide a much sturdier base for the drip and allow the cake to sit at room temperature for longer periods during a party. You will need to adjust the sweetness of your mango filling to account for the richer, heavier frosting choice.
If you prefer a citrus-forward profile, add the zest of two limes to the sponge batter before baking. The lime oil cuts through the richness of the cream and highlights the tropical notes of the mango, creating a more complex flavor experience. This technique is similar to how we balance sweetness in a mandarin orange cake to ensure the fruit remains the star.
Before You Slice
Presentation is everything when you have invested this much effort into the aesthetics of a drip. Serve this cake on a clean, white pedestal to allow the bright yellow mango drips to pop visually against the cream. Use a sharp, thin knife dipped in hot water and wiped dry between every cut to verify that your cross-sections are clean and your mango chunks remain in place. For a refreshing pairing, consider serving this alongside a slice of lemon cake to offer guests a variety of fruit-based desserts.
This cake is best enjoyed in a garden setting or at a bright summer celebration where its tropical profile can shine. Since it relies on whipped cream for structure, keep it refrigerated until thirty minutes before serving to maintain the firmness of the layers. You can garnish the base of the cake stand with fresh mint leaves or edible flowers to add a touch of natural elegance to the final presentation.
Sign Off
Baking this Mango Drip Cake proves that you are no longer a follower of rigid, boring recipes, but a master of your own kitchen laboratory. By understanding the relationship between aeration in the sponge and viscosity in the glaze, you have created a dessert that is as structurally sound as it is delicious. Remember that the recipe is a starting point, and you are the variable that makes this cake a success. If you enjoyed this tropical project, you might also find inspiration in our mandarin orange cake for your next experiment.
Small batch, full conviction is how we operate here at CakeHalf, and I hope this cake brings a bit of that rebellious spirit to your table. Please share your results and tag us so we can see your glorious drips in action. Make less, mean more, and never be afraid to push your pastry boundaries.