Shallow-frying a leavened starch batter, a technique tracing back to early medieval kitchens, demands rigorous heat control but rewards you with an unmatched, delicate crispness.

When you prepare a Red Velvet Funnel Cake, you are not merely frying sweet batter; you are balancing the acidity of cocoa with precise thermal energy. The addition of cocoa powder introduces a delicate protein structure that behaves differently from traditional plain batters under intense heat. This recipe respects that chemistry, guiding you to a crumb that is delightfully crisp on the exterior while remaining soft and tender within. With a thoughtful approach, your kitchen will soon smell of toasted sugar and rich vanilla.
The Craft Behind This Red Velvet Funnel Cake
Prep: 15 min · Serves: 4 · Difficulty: Medium
- Achieves a delicate, gossamer-crisp exterior structure.
- Balances rich cocoa notes with sweet vanilla.
- Provides a reliable guide to oil temperature.
- Demands standard kitchen tools for clean results.
- Delivers a striking, deep crimson crumb.
Understanding how starch reacts in hot oil is the true secret to this method. If you have appreciated the history behind the classic carnival funnel cake story, you will enjoy this modern, refined version. This is the dessert that transforms your kitchen into an artisanal patisserie masterclass.
Get The Full Cake Recipe
Print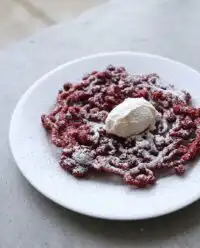
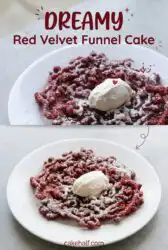
Red Velvet Funnel Cake
- Total Time: 30 mins
- Yield: 4 servings
- Diet: Vegetarian
Description
This elevated take on a classic carnival staple features a delicate, crimson-hued batter infused with cocoa and vanilla. Carefully fried to achieve a gossamer-crisp exterior and a tender, soft interior, these funnel cakes offer a sophisticated dessert experience.
Ingredients
- 1 1/2 cups all-purpose flour
- 1/4 cup granulated sugar
- 1 tablespoon baking powder
- 1/4 teaspoon salt
- 1 tablespoon unsweetened cocoa powder
- 1 cup whole milk, room temperature
- 2 large eggs, room temperature
- 1 teaspoon vanilla extract
- 1 teaspoon red gel food coloring
- Vegetable oil, for frying
- Powdered sugar, for dusting
Instructions
- Sift dry ingredients. Whisk together the flour, sugar, baking powder, salt, and cocoa powder in a large bowl until uniform in color.
- Prepare wet base. In a separate container, whisk the milk, eggs, vanilla, and red food coloring until smooth and vibrant.
- Combine the batter. Gradually pour the wet mixture into the dry ingredients, whisking until smooth, then let the batter rest for ten minutes.
- Heat the oil. Pour oil into a heavy-bottomed skillet and heat until it reaches a precise 375°F on a candy thermometer.
- Fry the cake. Using a squeeze bottle, pour the batter into the hot oil in circular motions and fry for 45 seconds per side.
- Drain and dust. Lift the funnel cake from the oil using a slotted spoon, drain briefly, and finish with a generous dusting of powdered sugar.
Notes
- Ensure your eggs and milk are at room temperature to prevent curdling and ensure a smooth batter emulsion.
- Use a squeeze bottle with a half-inch opening to maintain consistent strand thickness and even cooking.
- Always skim burnt batter bits from the oil between cakes to keep the flavor clean and prevent dark spots.
- Check the oil temperature with a digital thermometer before every pour to guarantee the signature crisp texture.
- Prep Time: 15 mins
- Cook Time: 15 mins
- Category: Dessert
- Method: Deep-frying
- Cuisine: American
The Mise en Place
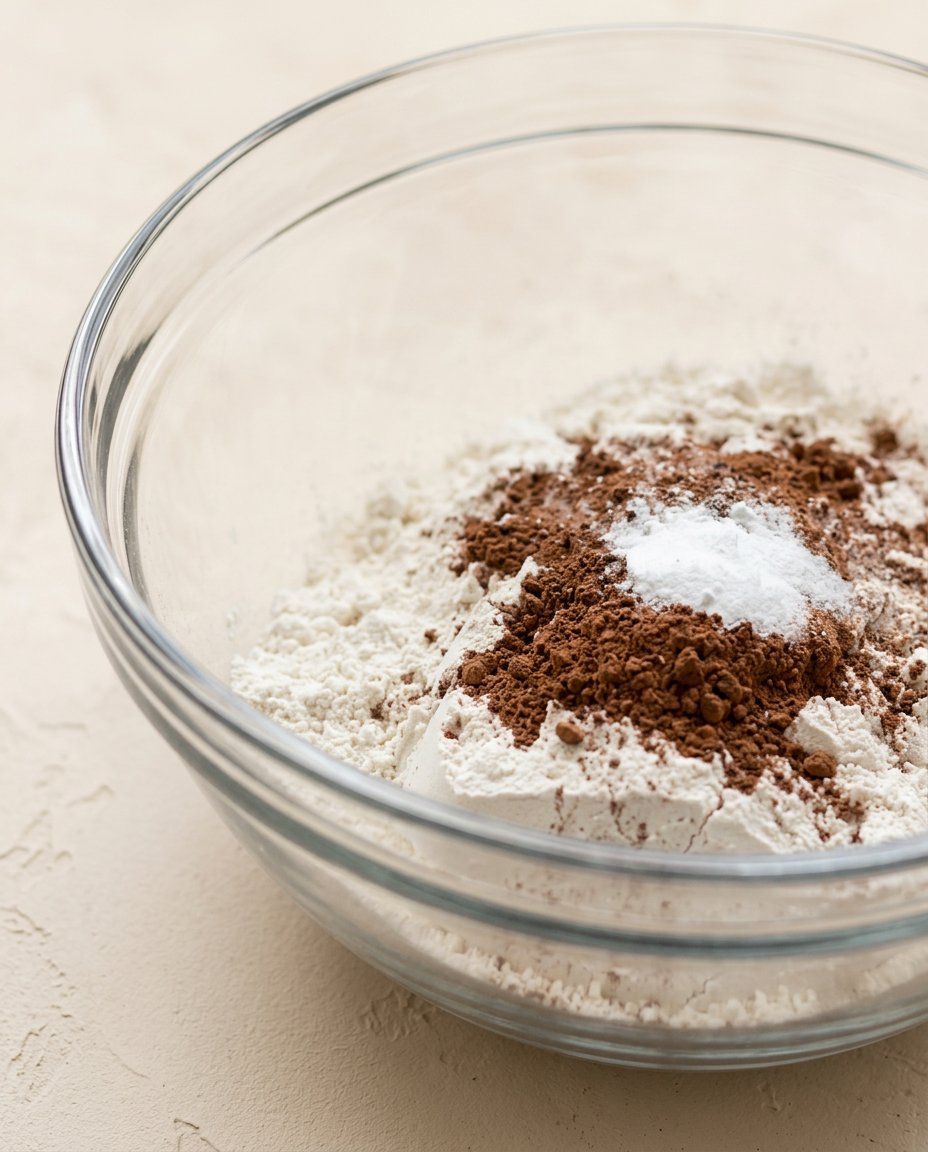
Before a single flame is lit, your workstation must reflect the order of a professional pastry kitchen. Weighing and preparing your components prevents hesitation, making sure that each step proceeds in harmony once the oil reaches its critical temperature. This thoughtful arrangement allows you to focus entirely on the physical transformation taking place within the hot oil.
- All-Purpose Flour: This ingredient provides the essential gluten structure necessary to hold the intricate, laced shapes as they expand rapidly in hot oil, maintaining stability without becoming heavy or dense.
- Cocoa Powder: A small measure of cocoa introduces both a subtle chocolate profile and organic acids that react with our chemical leavening, contributing to the delicate balance of flavor.
- Baking Powder: This leavening agent releases carbon dioxide immediately upon contact with moisture and heat, creating the signature airy pockets that make the pastry light.
- Whole Milk: The fat and sugar content in milk softens the gluten structure, yielding a tender, melt-in-the-mouth interior that contrasts with the crispy outer shell.
- Eggs: Placed at room temperature, they emulsify the batter and provide the necessary lift through protein coagulation during frying, preventing the batter from disintegrating in the pan.
- Red Food Coloring: This addition achieves the iconic, deep crimson hue that contrasts beautifully with a white dust of sugar, transforming a simple dessert into a striking visual masterpiece.
| Ingredient | Why It Matters |
|---|---|
| All-Purpose Flour | Establishes the structural network that traps rising gases. |
| Cocoa Powder | Contributes the delicate acidity and deep undertone of flavor. |
| Baking Powder | Generates rapid expansion for a light, non-greasy texture. |
| Room-Temperature Eggs | Binds the emulsion to prevent the batter from scattering in oil. |
The Method, Step by Step
Step 1: Sift and Whisk the Dry Components Together
Begin by sifting your all-purpose flour, granulated sugar, baking powder, salt, and cocoa powder into a spacious ceramic bowl. Sifting is crucial here because cocoa powder is naturally prone to clumping, which can cause dark, bitter pockets in your finished pastry. Whisk these dry ingredients with slow, deliberate strokes until the mixture is completely uniform in color, showing a pale, dusty cocoa tint. This careful mechanical aeration ensures that the leavening agent is distributed evenly throughout the starch.
Step 2: Emulsify the Wet Ingredients and Color
In a separate glass pitcher, whisk the room-temperature whole milk, eggs, and vanilla extract until they form a smooth, pale yellow liquid with tiny bubbles at the surface. Add your red food coloring gradually, whisking constantly, until the liquid takes on a deep, saturated crimson tone that mimics raw garnet. This color will lighten slightly when mixed with the dry flour, so aim for a shade that is highly concentrated. Ensuring that the eggs are at room temperature prevents them from curdling the liquid emulsion.
Step 3: Combine and Rest the Batter to the Ribbon Stage
Make a well in the center of your dry ingredients and pour in the liquid mixture, whisking gently from the center outward to incorporate the flour gradually. Stir only until the flour is hydrated and the batter reaches the classic ribbon stage, flowing smoothly from your whisk without leaving dry lumps. Allow the batter to rest at room temperature for ten minutes to let the gluten relax and the starches fully hydrate. This quiet interval is essential for achieving a tender bite rather than a tough, rubbery texture.
Step 4: Temper and Heat Your Frying Oil
Pour high-heat vegetable oil into a deep, heavy-bottomed skillet until it reaches a depth of approximately two inches, leaving ample space at the top. Heat the oil slowly over medium heat until it registers exactly 375°F (190°C) on a reliable digital candy thermometer. Steady heat is the absolute cornerstone of successful frying, as oil that is too cool will saturate the batter, making it heavy and greasy. Keep a close eye on the thermometer to maintain this precise temperature throughout the cooking process.
Step 5: Fry Your Red Velvet Funnel Cake with Precision
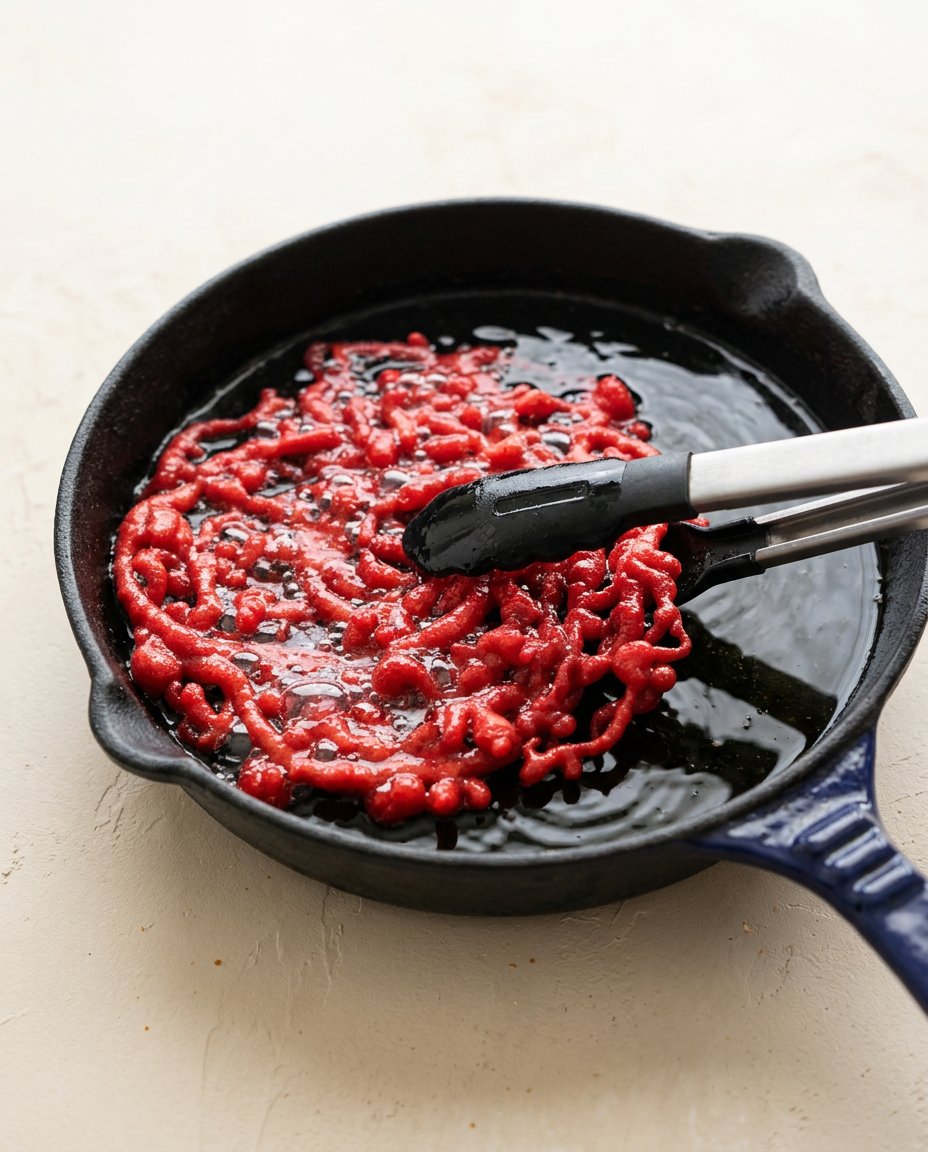
Transfer your rested batter into a squeeze bottle or specialized funnel, sealing the tip with your finger as you position it over the pan. Hovering approximately three inches above the hot surface, release the batter in rapid, overlapping circular and crisscross motions to form an interconnected lace web. You will notice the batter puffing instantly and rising to the surface, where it must fry for forty-five seconds before you gently flip it. Cook the second side for an additional forty-five seconds until it is crisp to the touch.
Step 6: Drain and Finish with Powdered Sugar
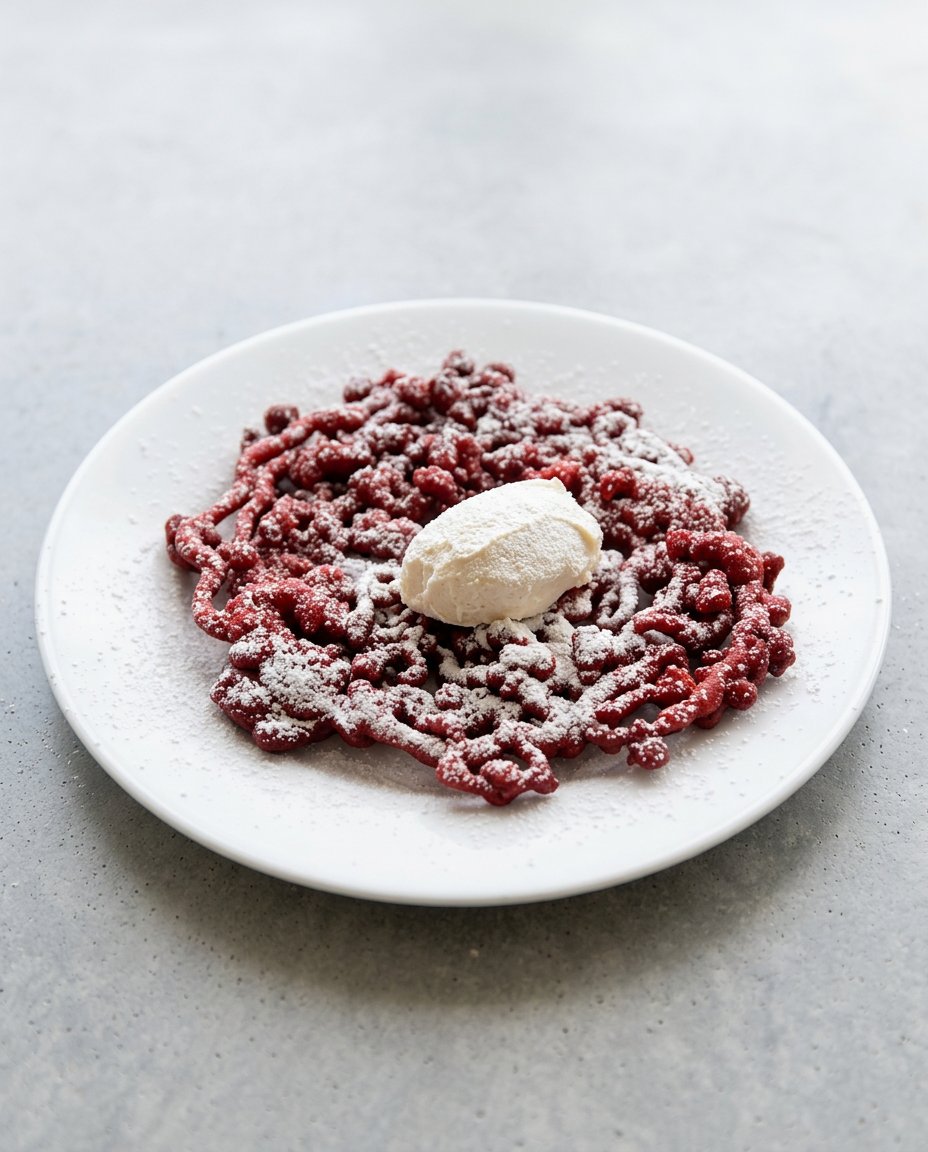
Once both sides are cooked to a faint reddish-gold hue, use a wide spider or slotted metal spoon to lift the pastry gently from the oil. Hold it over the skillet for five seconds to allow excess oil to drain back into the pan before placing it on a plate lined with paper towels. While it remains hot, dust the surface generously with sifted powdered sugar, which will cling to the ridges and melt slightly. Serve the pastry immediately to enjoy the contrast of the hot interior and crispy crust.
Where Precision Makes the Difference
The viscosity of your batter determines the crispness of the final cake. If your batter is too thin, it will disperse into tiny, disjointed droplets upon touching the hot oil rather than holding a continuous, elegant thread. If this happens, whisk in one tablespoon of flour at a time to correct the thickness before proceeding with the rest of the batch.
If your funnel cake turns out heavy, dense, and greasy, this indicates that your oil temperature dropped below 350°F (177°C) during the pour. Always verify the temperature with a digital thermometer between batches, allowing the oil to recover its heat before pouring more batter. This recovery time is critical for maintaining the delicate, airy texture of the pastry.
Using a squeeze bottle with a half-inch opening offers far greater control than a traditional kitchen funnel. It allows you to regulate the flow of the batter precisely, making sure that each overlapping strand is of uniform thickness and cooks at an identical rate. This uniform cooking prevents some strands from burning while others remain raw inside.
Should you wish to compare this modern chocolate adaptation with the traditional version, consult our classic funnel cake recipe to study the foundational differences in batter hydration. Understanding both methods will greatly enhance your understanding of starch-based pastries.
When selecting food coloring, opt for professional-grade gel paste rather than liquid food coloring. Gel paste provides a concentrated color without introducing excess moisture, which can alter the delicate hydration levels of your starch mixture. This small choice keeps your batter at the perfect frying consistency.
To understand the detailed science of batter expansion under thermal stress, refer to the red velvet funnel cakes recipe guidelines for technical ratios. This guide highlights how cocoa solids interact with leavening agents in high-heat frying environments. This knowledge will help you troubleshoot any structural issues that arise.
Always skim the hot oil with a fine-mesh strainer between batches to remove any stray drops of cooked batter. If left in the oil, these tiny particles will burn and attach themselves to your next funnel cake, imparting a bitter flavor and unsightly black spots. Keeping a clean frying environment is a small discipline that yields professional results.
Frequently Asked Questions
What does a red velvet funnel cake taste like?
It offers a delicate balance of mild cocoa and vanilla flavors wrapped in a crisp, sweet exterior. Unlike a heavy chocolate cake, the cocoa note is subtle, providing a sophisticated undertone that pairs beautifully with the sweet powdered sugar coating. The interior remains soft and tender, creating an appealing contrast of textures.
What ingredients are in red velvet funnel cake mix?
A standard homemade mix consists of all-purpose flour, granulated sugar, baking powder, salt, and cocoa powder. When preparing the batter, you will add milk, eggs, vanilla extract, and red food coloring to complete the recipe. Using fresh leavening powder is essential for achieving a light and airy rise.
Can you make red velvet funnel cake without buttermilk?
Yes, this specific recipe uses whole milk combined with eggs to create a light and tender crumb. Since baking powder is the primary leavening agent, the acidic environment of buttermilk is not required to activate the rise. This makes the recipe much more accessible for home bakers using standard pantry staples.
How do you make red velvet funnel cake batter?
You begin by sifting the dry ingredients to eliminate cocoa clumps, then whisking the wet ingredients in a separate vessel. Combining them gently until they reach the ribbon stage makes sure the batter remains tender and does not become tough. Letting the batter rest for ten minutes allows the gluten to relax before frying.
What kind of oil should I use to fry funnel cakes?
Select a neutral oil with a high smoke point, such as canola, safflower, or peanut oil. These oils can withstand the target temperature of 375°F (190°C) without burning or imparting unwanted flavors to your delicate pastry. Avoid using olive oil or butter, as they will burn at this frying temperature.
What is the best way to drizzle the batter?
Using a squeeze bottle with a half-inch nozzle allows for the most precise control over the flow. Move your hand in rapid, overlapping circles and crisscross patterns to make sure the strands touch, forming a stable, single cake. Keeping a steady speed is key to achieving uniform thickness.
What goes best on top of a red velvet funnel cake?
While a classic dusting of powdered sugar is traditional, a warm cream cheese glaze or fresh raspberries are excellent additions. The acidity of fresh berries cuts through the richness of the fried pastry, offering a balanced tasting experience. You can also drizzle melted chocolate for a more indulgent dessert.
How do you keep funnel cakes warm?
Place the fried and drained cakes on a wire rack set inside a baking sheet in an oven preheated to 200°F (93°C). This arrangement keeps the exterior delightfully crisp by allowing air to circulate, preventing them from softening. Avoid stacking them on top of one another, as the trapped steam will make them soggy.
Considered Variations
For an elegant finish reminiscent of a traditional Southern dessert, you may serve these crispy cakes with a warm cream cheese glaze. Whisk together softened cream cheese, powdered sugar, vanilla extract, and a splash of whole milk until a thick, pourable ribbon forms. Drizzle this glaze over the warm, sugar-dusted pastry to mirror the flavor profile of a classic red velvet cake straight from the bakery. This variation adds a pleasant tanginess that balances the sweetness of the fried dough.
Alternatively, you can introduce a subtle citrus note to brighten the cocoa undertones by adding freshly grated orange zest to your dusting sugar. Rub the zest of one organic orange into your powdered sugar before dusting it over the fresh funnel cake. The volatile oils in the orange zest release upon contact with the hot pastry, creating a sophisticated aroma that balances the rich frying notes. This simple touch transforms the dish into a gourmet dessert.
For an autumn-inspired twist, you might replace the traditional vanilla extract with a touch of ground cinnamon and nutmeg. This spice infusion pairs beautifully with the cocoa powder, creating a warm, complex flavor profile that is perfect for cooler months. Be careful to sift the spices with the flour to make sure they are distributed evenly throughout the batter.
Finishing and Presenting
Presentation is the final discipline of the pastry cook, transforming a rustic fried treat into an elegant plate. Arrange the hot, crimson pastry on a dark, matte ceramic plate to emphasize the dramatic contrast of the snowy powdered sugar. Serve it immediately while the interior remains warm and the edges retain their delicate, glassy crunch. This immediate service is crucial for preserving the optimal texture.
To create a truly luxurious dessert course, serve these cakes alongside a quenelle of vanilla bean ice cream or a dollop of whipped mascarpone cream. The cool, creamy dairy melts slowly against the hot ridges, echoing the rich textures found in a layered red velvet cheesecake. This juxtaposition of temperatures and textures makes for an unforgettable conclusion to a fine meal. You can also garnish the plate with a few fresh mint leaves for a touch of color.
This dessert is exceptionally suited for elegant evening gatherings or weekend celebrations where guests can watch the frying process. Preparing the batter in advance allows you to fry each cake to order, offering your guests a fresh, interactive culinary experience. Pair the hot pastry with a dark roast coffee or a dry sparkling wine to balance the sweetness of the sugar coating.
The Result of Your Care
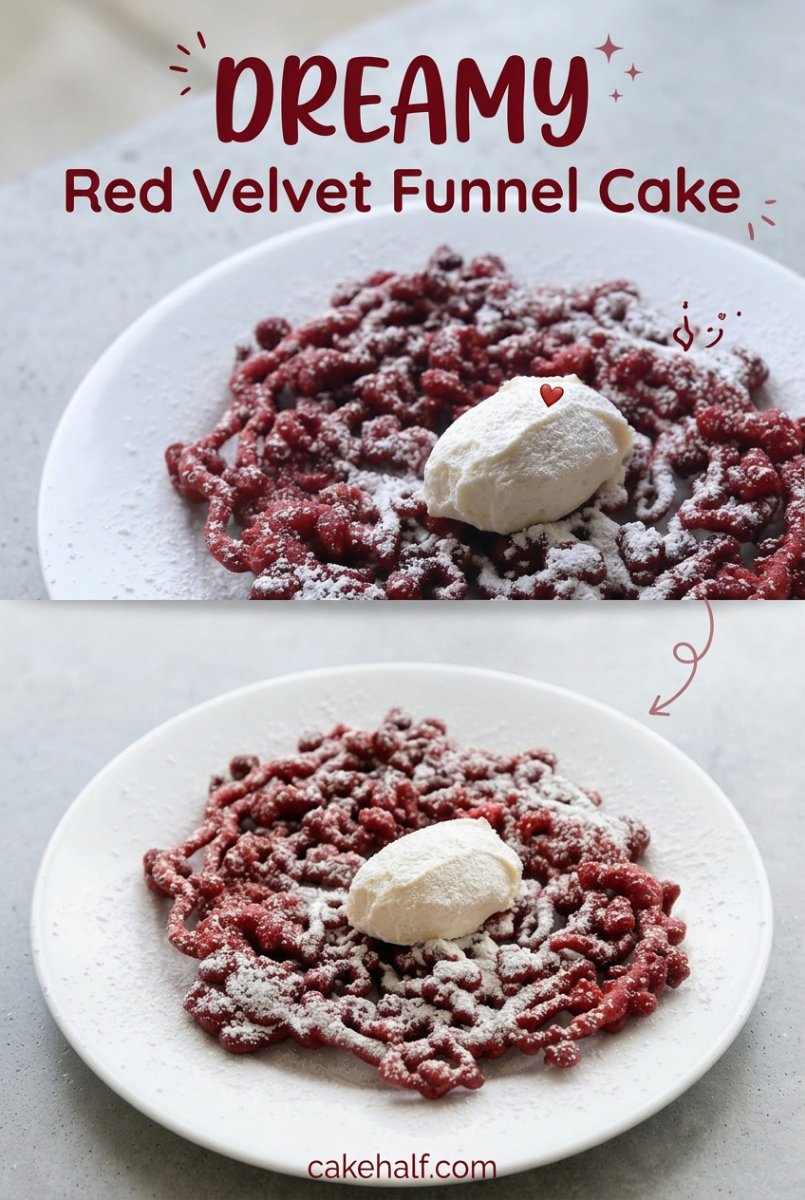
Frying pastry with precision is a rewarding practice that demonstrates how small, careful details culminate in a beautiful outcome. By respecting oil temperature, resting your batter, and pouring with a confident hand, you have mastered a classic technique. This dessert is proof that sophisticated baking does not always require hours of decoration. It shows that technique is the true heart of exceptional pastry.
As you slice through the crisp strands to reveal the tender crimson crumb within, you will appreciate the care put into this process. If you find yourself drawn to this unique flavor profile, we invite you to read our red velvet layer cake story for more inspiration on combining precision with classical pastry. This exploration will deepen your appreciation for the art of baking.
We invite you to share your beautiful pastry creations with our growing community of dedicated home bakers. Join us on Pinterest, follow our journey on Facebook, or watch our technical demonstrations on TikTok to continue refining your skills at the bench. Sharing your progress is a wonderful way to celebrate the craft.