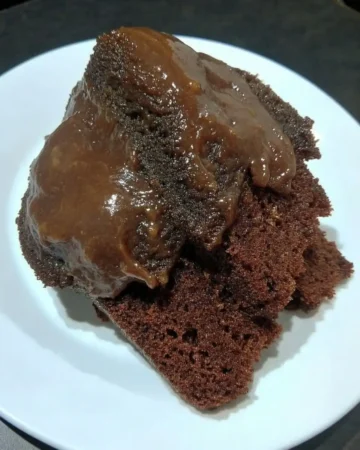
Drizzling a splash of plain tap water directly over raw cake batter sounds like a recipe disaster, but it is the secret to a warm liquid center in minutes.
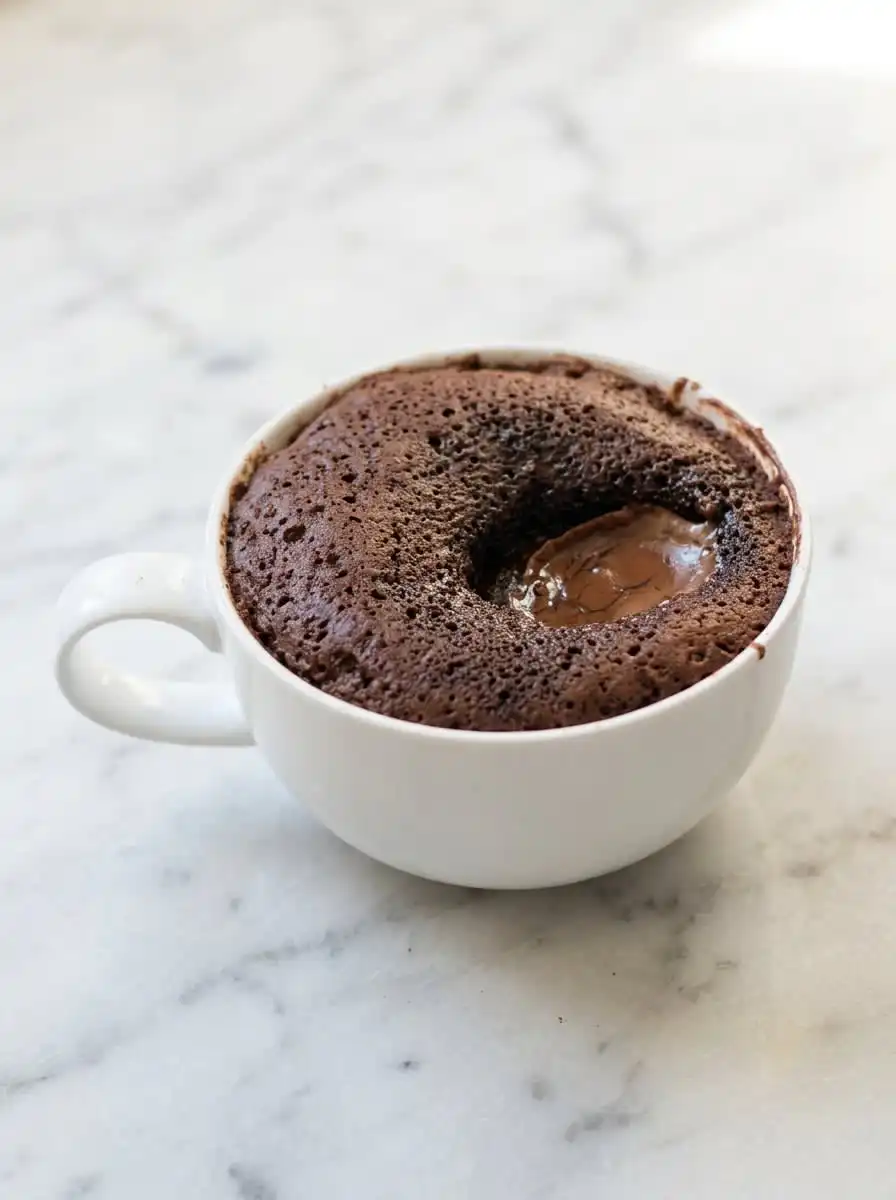
When you crave a warm dessert at midnight, waiting an hour for the oven to preheat is out of the question. This recipe for Chocolate Lava Mug Cake is designed specifically for those urgent moments when only a molten, rich center will satisfy your sweet tooth. We are bypassing the standard dry, spongy cake texture that plagues most microwave bakes and replacing it with something genuinely velvety. By focusing on precise micro-portions and a single revolutionary hydration step, you can construct a restaurant-quality chocolate escape right inside your favorite ceramic mug.
Why This Chocolate Lava Mug Cake Earns Its Place
Prep: 10 min · Serves: 1 · Difficulty: Easy
- Bakes in under two minutes total.
- Decadent molten center every single time.
- Minimal cleanup with single-mug preparation.
- Rich chocolate flavor using pantry staples.
- Scaled precisely to prevent dessert leftovers.
If you have ever been disappointed by dry, rubbery microwave treats, this specific formula will restore your faith in rapid baking. It delivers the luxurious experience of a high-end restaurant dessert without requiring a stand mixer or a water bath. By scaling the fat and liquid ratios precisely, we create a tender crumb that cocoons a molten core of pure liquid fudge. This is the single-serving recipe that will permanently retire your boxed brownie mixes. You can discover how this compares to our classic chocolate mug cake when you want a different structural crumb that is equally simple to prepare.
Get The Full Cake Recipe
Print
Chocolate Lava Mug Cake
- Total Time: 17 mins
- Yield: 1 serving
- Diet: Vegetarian
Description
This decadent, single-serving chocolate lava cake creates a rich molten center in just under two minutes of microwave time. By using precise liquid ratios and a clever steaming technique, you can achieve a restaurant-quality dessert right in your favorite mug.
Ingredients
- 4 tablespoons all-purpose flour
- 2 tablespoons granulated sugar
- 2 tablespoons unsweetened cocoa powder
- 1/8 teaspoon baking powder
- 1 pinch salt
- 2 tablespoons melted unsalted butter
- 3 tablespoons whole milk
- 1 egg
- 1/4 teaspoon vanilla extract
- 2 tablespoons semi-sweet chocolate chips
- 1 tablespoon water
Instructions
- Whisk dry ingredients. Combine the flour, sugar, cocoa powder, baking powder, and salt in a ceramic mug until the mixture is uniform and free of clumps.
- Incorporate the liquids. Pour in the melted butter, milk, egg, and vanilla extract, mixing thoroughly until a thick, glossy batter forms.
- Submerge chocolate chips. Press the chocolate chips into the center of the batter, ensuring they are fully covered so they create a molten core during heating.
- Add hydration layer. Drizzle the tablespoon of water directly over the top of the batter without stirring to create a steam barrier.
- Microwave the cake. Cook on high power for 90 seconds to 2 minutes, stopping when the edges are set but the center remains slightly shiny.
- Rest before eating. Allow the mug to sit undisturbed on the counter for 5 minutes to let the cake structure firm up and the center thicken.
Notes
- Use a 10-ounce straight-sided ceramic mug for the most even heat distribution and vertical rise.
- Do not overmix the batter, as this develops gluten and can lead to a rubbery or tough cake texture.
- Wait for the five-minute cooling period, as the center needs this time to thicken into a proper fudge consistency.
- Ensure the chocolate chips are fully submerged in the batter to guarantee a contained, molten lava center.
- Prep Time: 10 mins
- Cook Time: 2 mins
- Category: Dessert
- Method: Microwave
- Cuisine: American
Ingredients and Why Each One Matters
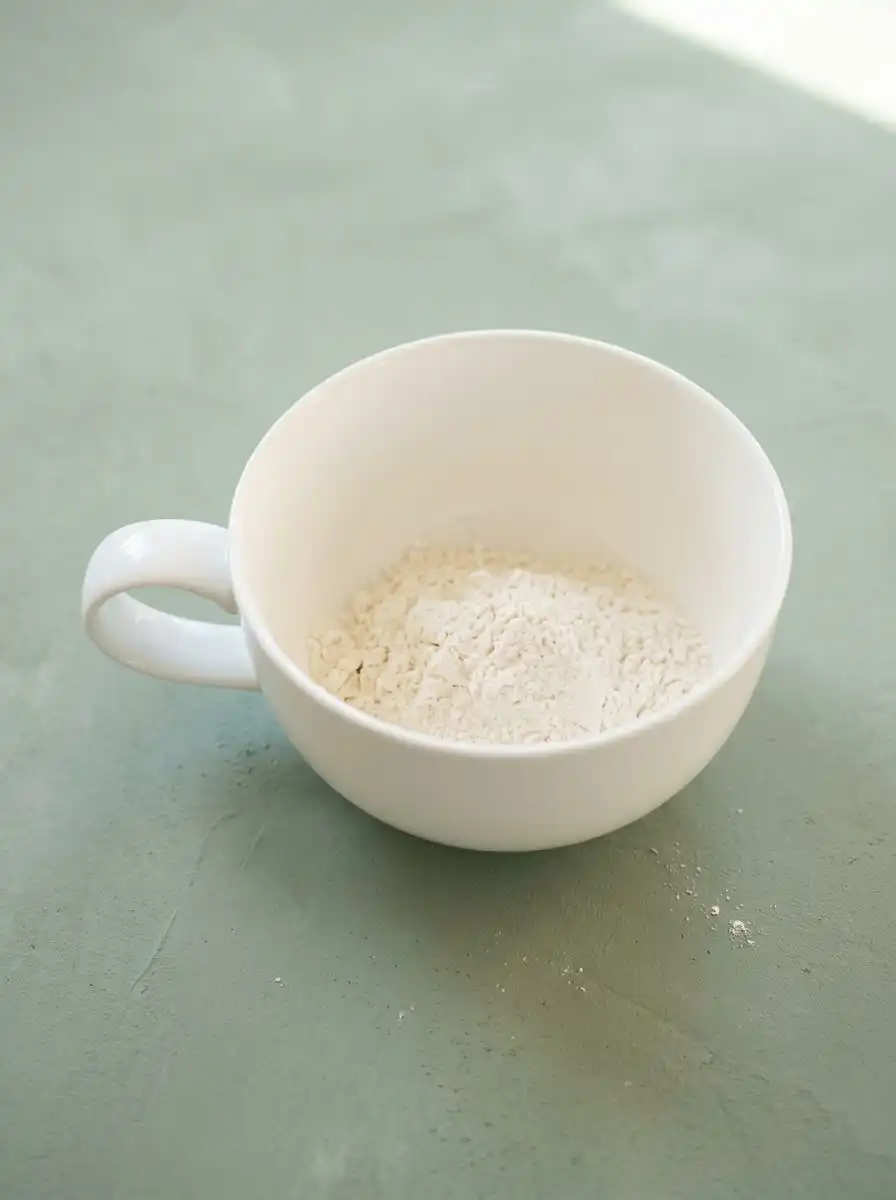
Let’s build the foundation for your quick midnight bake. Every single ingredient in this small-batch formula has a structural role to play, guaranteeing the crumb remains tender while the center stays gooey. Do not make substitutions blindly, as small changes alter the delicate chemistry of microwave baking.
- All-Purpose Flour: This provides the essential gluten network to trap the expanding steam, allowing the cake to rise without collapsing into a dense puddle. It is important to measure this accurately because even a single extra teaspoon of flour can turn your delicate mug cake into a dry, heavy sponge.
- Granulated Sugar: Beyond sweetness, sugar melts during the rapid heat cycle, keeping the crumb tender and preventing the batter from turning rubbery. It also works in tandem with the liquids to create a syrup-like consistency that aids in the development of the molten center.
- Unsweetened Cocoa Powder: This delivers a deep, intense chocolate base that balances the sweetness of the sugar and mimics a slow-baked fudge cake. Using a high-quality Dutch-processed or natural cocoa powder produces a dark, complex flavor profile that strengthens the entire dessert.
- Baking Powder: A tiny touch is necessary to create the micro-bubbles that lift the batter, though too much would cause the mug to overflow. This chemical leavener reacts instantly to the moisture and heat, creating a light, airy crumb structure that contrasts beautifully with the dense lava core.
- Melted Unsalted Butter: Fat is crucial for coating the flour proteins, preventing excessive gluten development so the crumb remains incredibly soft. It also contributes a rich, buttery mouthfeel that carries the deep chocolate notes across your palate.
- Whole Milk: This adds the necessary hydration to activate the baking powder and dissolve the dry ingredients into a smooth, pourable batter. The natural fats in whole milk are superior to skim alternatives, providing a more luxurious and tender crumb.
- Egg: A single egg yolk and white provide structure and richness, binding the ingredients together so the cake rises evenly up the sides of the mug. It adds emulsifiers that keep the butter and milk completely integrated throughout the cooking process.
- Semi-Sweet Chocolate Chips: These melt down to form the molten hot center of your lava pool, creating that signature texture contrast. As they heat up, they create a reservoir of liquid chocolate that flows outward when you plunge your spoon into the cake.
- Water: This single tablespoon is our secret weapon, sitting on top of the batter to steam-cook the top while keeping the middle wet. It sinks slowly during the microwave cycle, creating a barrier that prevents the delicate center from drying out under intense heat.
| Ingredient | Why It Matters |
|---|---|
| All-Purpose Flour | Establishes the crumb structure and holds the rising steam |
| Cocoa Powder | Provides intense, bittersweet chocolate flavor and deep color |
| Melted Butter | Keeps the texture moist and tender instead of dry and rubbery |
| Chocolate Chips | Melts into a thick, luxurious pool of fudge in the center |
| Water | Steams the top of the cake while keeping the core soft |
The Method
Step 1: Whisking the Dry Ingredients
Combine your all-purpose flour, granulated sugar, unsweetened cocoa powder, baking powder, and a tiny pinch of salt in your chosen ceramic mug. Use a small wire whisk or a kitchen fork to blend these components until the color is completely uniform and free of pale flour streaks. It is vital to break up any stubborn cocoa clumps at this stage to prevent dry pockets in your finished dessert. Take your time to make sure the mixture is completely aerated and light before moving on to the liquids.
Step 2: Incorporating the Wet Liquids
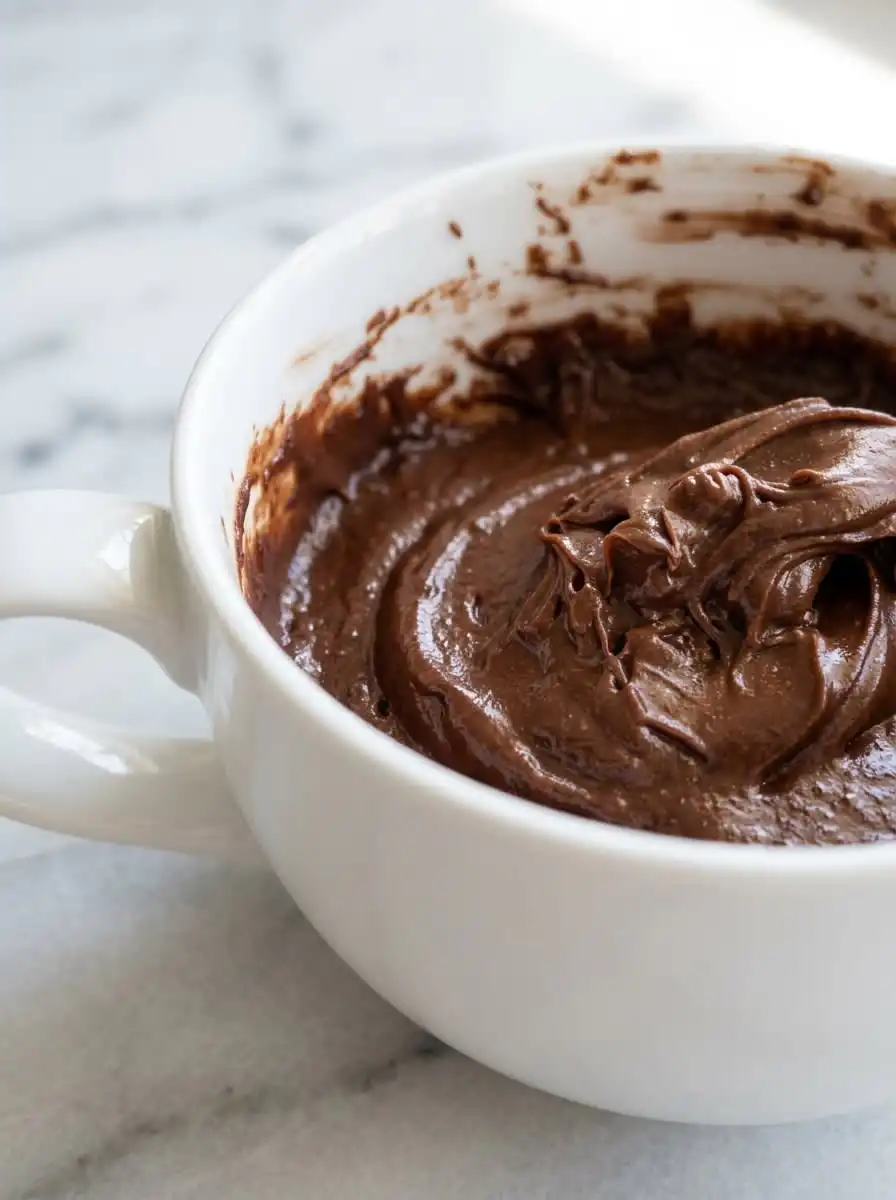
Pour in the melted unsalted butter, whole milk, beaten egg, and a splash of vanilla extract directly into your dry flour mixture. Use your fork to scrape the bottom edges of the mug, making sure no dry flour remains trapped in the corners where the whisk cannot reach. Mix steadily until a thick, shiny chocolate batter forms, which should take about thirty seconds of active whisking. The batter should look rich, glossy, and smell heavily of sweet cocoa and warm vanilla as you mix it.
Step 3: Layering the Chocolate Lava Mug Cake Core
Gently press your semi-sweet chocolate chips directly into the center of the prepared chocolate batter so they are submerged. Do not stir them throughout the mixture, as we want them concentrated in a single sweet pocket to create the lava effect. The chips will naturally settle slightly during the microwave process, forming the molten heart of your cake. If they remain on top, gently push them down with the tip of your spoon so they are completely blanketed by batter.
Step 4: Applying the Hydration Shield
Drizzle the single tablespoon of tap water directly on top of the chocolate batter without stirring it in at all. This thin layer of water acts as a protective shield during the rapid microwave cycle, steaming the surface while keeping the center incredibly soft. The liquid will sink slightly during cooking, preventing the interior starches from drying out. It will look like a strange, watery puddle on top of your cake, but do not panic as this is the key to success.
Step 5: Setting the Microwave Timer
Place your mug in the center of the microwave and cook on high power for approximately ninety seconds to two minutes. Watch the cake rise dramatically towards the rim of the mug as the steam activates the leavening agents. Stop the cooking process when the outer edges look set and matte, while the very center remains slightly shiny and wet to the touch. The steam escaping from the top should carry a rich chocolate aroma, indicating that your dessert is wonderfully baked.
Step 6: Cooling for Structural Integrity
Remove the mug carefully from the microwave using an oven mitt, as the ceramic will be extremely hot to the touch. Let the cake rest undisturbed on your kitchen counter for exactly five minutes before you grab your spoon. This brief cooling period is crucial because it allows the starches to firm up slightly while keeping the center beautifully liquid. Skipping this step will result in a cake that is too hot to eat and a core that has not had time to thicken into a luxurious sauce.
The Details That Matter
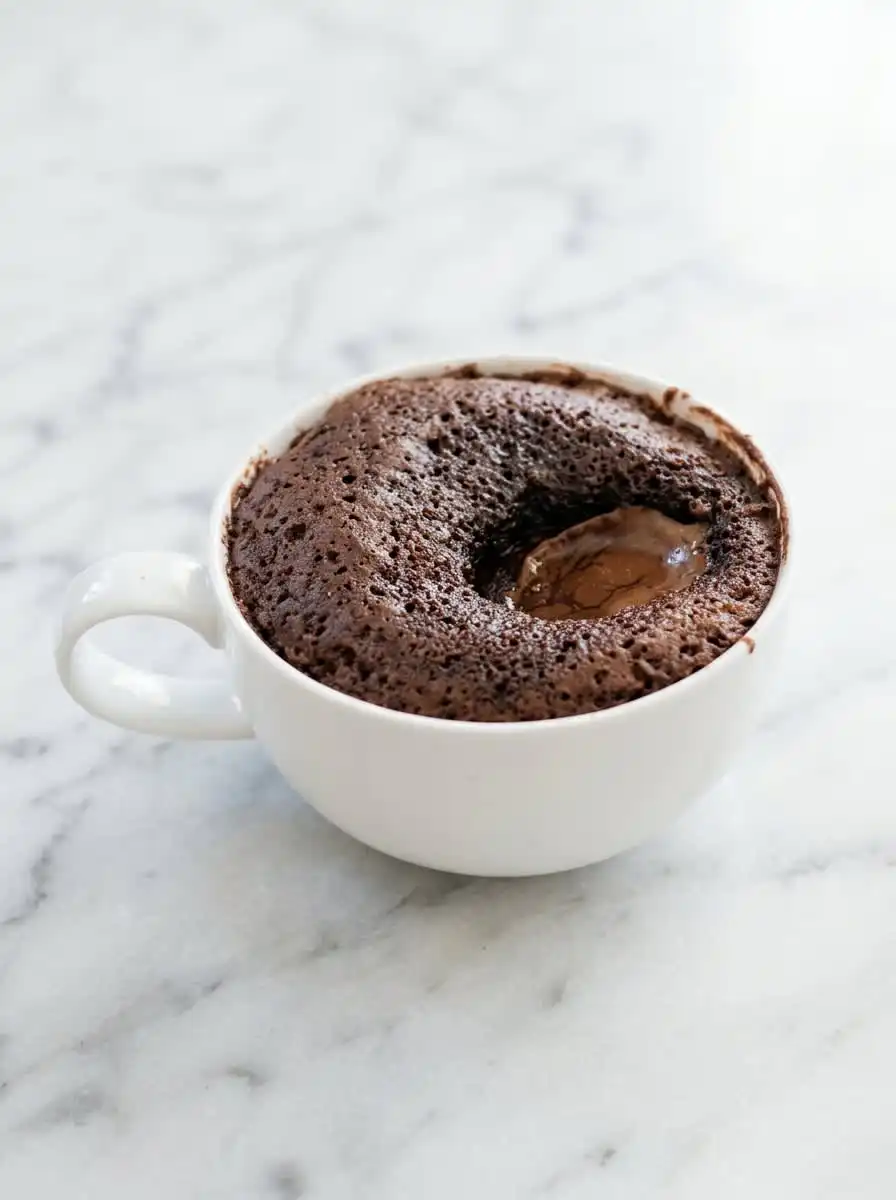
Selecting the right vessel is the first step toward microwave baking success. A wide, shallow mug will cook too quickly and dry out the core, whereas a tall, narrow vessel can trap steam and make the bottom soggy. Choose a standard eight-ounce to ten-ounce ceramic mug with straight sides so the heat distributes evenly through the batter. This structural choice helps your cake rise uniformly without spilling over the edges.
Measuring your flour by weight rather than volume prevents the cake from turning into a dense, bready brick. If you do not own a digital kitchen scale, fluff your flour with a spoon before scooping it gently into your measuring cup. Scraping off the excess with a flat knife prevents you from packing the flour tightly, which is a common cause of dry microwave treats. Precision is your best friend when working with micro-bakes where every gram matters.
If your cake turns out rubbery, here is why and how to fix it. Over-mixing the batter activates the gluten proteins in the flour, while over-cooking dries out the fats and liquids. Whisk the ingredients until they are barely combined, and reduce your microwave power or cooking time by ten seconds next time to keep the crumb tender. A gentle hand during the mixing phase will yield a soft, melt-in-your-mouth texture.
Understanding your microwave’s wattage is essential because a high-powered appliance can easily overcook this delicate single-serving dessert. Most standard kitchen microwaves operate between 900 and 1200 watts of power. If your machine is exceptionally strong, try reducing the power level to eighty percent to simulate the gentle heat of a traditional oven. This allows the cake to bake more evenly from the outside in.
You can learn more about mastering gooey centers by studying our advanced tutorial on chocolate lava cake 2. This classic approach uses similar core principles of temperature control to keep the middle wet. It serves as an excellent reference point for understanding how chocolate behaves under rapid heating.
For additional guidance on adjusting microwave times, read this excellent guide on baking a mug cake in the microwave. This resource offers excellent troubleshooting ideas for different microwave models. It will help you calibrate your specific machine to achieve a flawless bake every time.
Frequently Asked Questions
How do I get the center to be gooey instead of dry?
The secret is the tablespoon of water drizzled over the batter before cooking, which steams the top while keeping the interior wet. You must also stop cooking while the very center still looks shiny and slightly wet. Do not over-bake, as the residual heat will continue to cook the cake during the five-minute resting period. Watching the visual cues is far more important than relying solely on a timer.
Why is my mug cake rubbery or chewy?
A rubbery texture is usually caused by over-mixing the batter or over-baking the cake in the microwave. Over-mixing develops too much gluten, while excess microwave time zaps all the moisture from the butter and milk. Whisk your ingredients until they are barely combined, and try reducing your cook time by ten seconds next time. Using a kitchen scale to measure your flour precisely will also prevent this issue.
Can I make a mug cake without eggs?
Yes, you can omit the egg and increase the milk by one tablespoon to maintain the proper hydration level. While the texture will be slightly less rich and spongy, the cake will still rise beautifully and maintain its molten center. Alternatively, a tablespoon of unsweetened applesauce can work as an egg replacer. This is a great solution for those with egg allergies or empty refrigerators.
What happens if I bake it in the oven instead?
If you prefer to use a conventional oven, transfer the batter to an oven-safe ceramic ramekin instead of a standard mug. Bake at 350 degrees Fahrenheit for approximately twelve to fifteen minutes, keeping a close eye on the center. The oven baking process takes longer but results in a slightly crispier outer crust while keeping the interior molten. It is a fantastic alternative if you do not own a microwave.
How do you make a vegan or gluten-free mug cake?
To make this recipe vegan, swap the butter for melted coconut oil, use almond or oat milk, and choose dairy-free chocolate chips. For a gluten-free version, replace the all-purpose flour with a high-quality one-to-one gluten-free baking blend that contains xanthan gum. Both variations cook in the exact same microwave time with excellent results. You do not have to sacrifice flavor or texture to accommodate dietary needs.
Can I prep the dry ingredients ahead of time?
You can easily whisk large batches of the dry ingredients together and store them in an airtight jar in your pantry. When a late-night craving strikes, simply measure out the dry mix and add your wet ingredients directly into the mug. This reduces your preparation time to under a minute, making your dessert even more convenient. It is the ideal hack for busy weekdays.
What is the best chocolate to use for the center?
High-quality semi-sweet or dark chocolate chips are the best option because they melt into a smooth, liquid pool. You can also use a solid piece of premium chocolate bar tucked into the middle of the batter. Avoid using milk chocolate, as the high sugar content can cause it to scorch or become grainy in the microwave. A high cocoa percentage will yield the most luxurious lava effect.
Rebel Swaps
Swapping the semi-sweet chocolate chips for a dollop of high-quality peanut butter or hazelnut spread creates a wonderful flavor contrast. Drop a tablespoon of your favorite spread directly into the center of the batter before cooking, in the same manner as you would with the chocolate chips. The heat will melt the spread into a warm, creamy core that wonderfully complements the rich chocolate crumb. This swap adds a savory depth that balances the sweetness of the cake.
Replacing the whole milk with strong brewed coffee or espresso is an excellent swap that deepens the cocoa notes. Coffee intensifies the natural bitterness of the cocoa powder, making the finished dessert taste like an expensive dark chocolate truffle. Use the same three-tablespoon measure to maintain the liquid balance of the recipe. This is an excellent variation for adult palates who appreciate a more complex, less sugary profile.
If you are looking for a larger showstopper dessert for a dinner party, consider our traditional lava cake recipe instead. That version is baked in individual ramekins and yields a beautiful freestanding cake with a molten center. It is ideal for elegant entertaining when a microwave mug cake might feel a bit too casual.
How to Finish and Serve
To complete this quick dessert, top the warm cake with a single scoop of cold vanilla bean ice cream. The extreme temperature contrast between the freezing ice cream and the boiling molten center creates a remarkable sensory experience in every spoon. As the ice cream melts, it runs down the sides of the cake, mixing with the rich chocolate lava to create a thick, creamy sauce. This combination transforms a simple microwave bake into a dessert that feels truly special.
If you want a more refined presentation, dust the top of the mug cake with a light coating of powdered sugar or cocoa powder. A handful of fresh raspberries or sliced strawberries added to the top provides a bright, tart acidity that cuts through the intense sweetness of the cake. This presentation turns a humble microwave bake into something worthy of a special dinner. The brilliant red of the berries also looks gorgeous against the dark chocolate cake.
When you crave this level of rich chocolate intensity but need to serve a crowd, consider our larger chocolate fudge cake for your next gathering. It delivers a similar deep cocoa profile but in a classic baked format that slices beautifully for multiple guests. This is the ideal option when you want to share your love of rich chocolate with family and friends.
Make It Yours
By taking control of the microwave, you have demonstrated that quick baking does not require sacrificing quality or texture. This recipe proves that precise ratios and a single clever splash of water can transform a simple mug treat into a gourmet experience. You do not need hours in the kitchen or a sink full of dirty dishes to satisfy a serious chocolate craving. It is a triumph of small-batch logic over traditional baking constraints.
The next time you find yourself wanting a decadent sweet treat, remember that you are only ninety seconds away from chocolate bliss. Keep these pantry staples stocked so you are always ready to whip up this quick dessert at a moment’s notice. If you want to push your baking boundaries even further, try our decadent flourless chocolate cake for your next weekend project. It offers a similarly rich experience with a slightly different elegant structure.
Share your quick baking successes with our community of flavor rebels and show us your molten cross-sections. You can follow our latest kitchen experiments and connect with us on Pinterest, Facebook, and TikTok for more small-batch inspiration. We love seeing how you make these recipes your own.