The pale butter and sugar whipped together in your bowl turn from a heavy paste into a fluffy, pale-yellow foam that clings to the whisk.

This quiet transformation is where a legendary Classic Pound Cake begins. You are not merely mixing ingredients; you are trapping air in a fat-and-sugar web that determines the entire structure. Our destination is a Classic Pound Cake that ignores the dry, dusty slices of your childhood in favor of a heavy, buttery crumb. We are breaking a few safety rules today to get that glorious, flawlessly domed top.
The Case for Making This Classic Pound Cake
Prep: 10 min · Serves: 12 · Difficulty: Medium
Many home bakers treat this loaf like a boring chore or a vintage relic. They dump flour, fat, and sugar together and hope for the best, resulting in a dense brick. This recipe demands that we look closer at the physics of a Classic Pound Cake. When you follow this method, you will understand why precision beats hope every single time you bake. It is a cousin to our beloved classic vanilla butter cake, but with a tighter, more substantial bite that commands respect.
We love this Classic Pound Cake for its reliable results and rich flavor. The inclusion of sour cream guarantees a moist crumb that resists drying out, even days after baking. By using a clever butter technique on the surface, we encourage a stunning rustic split. The texture is sturdy enough for slicing but melts away the moment it hits your tongue.
- Densely buttery texture that stays moist.
- Beautiful cracked dome achieved with butter.
- Slightly tangy crumb from real sour cream.
- Whisk attachment method creates lighter structure.
- Simple steps built on technical precision.
This is the deliberate slice of gold your morning coffee has been begging for.
Get The Full Cake Recipe
Print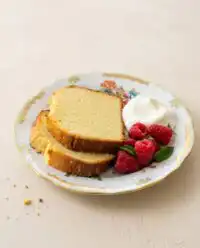
Classic Pound Cake
- Total Time: 1 hour 15 mins
- Yield: 12 servings
Description
This artisanal pound cake delivers a signature dense, buttery crumb with a perfectly rustic cracked dome. Using a professional creaming method and a touch of sour cream, it achieves a sophisticated flavor profile that remains moist and tender for days.
Ingredients
- 180 grams all-purpose flour
- 1/2 teaspoon baking powder
- 1/4 teaspoon salt
- 225 grams unsalted butter, softened
- 200 grams granulated sugar
- 3 large eggs, room temperature
- 60 grams sour cream, room temperature
- 2 teaspoons vanilla extract
- Small strip of cold butter for topping
Instructions
- Prepare the oven. Preheat your oven to 350°F and grease a 9×5-inch loaf pan thoroughly with butter and flour.
- Whisk dry ingredients. Sift together the flour, salt, and baking powder in a medium bowl until uniformly combined.
- Cream the butter. Using a stand mixer with a whisk attachment, beat the softened butter on medium speed for two minutes until pale and smooth.
- Add the sugar. Pour in the granulated sugar and continue beating for another two minutes to create aeration in the butter-sugar matrix.
- Incorporate the eggs. Add the room-temperature eggs one at a time, mixing on medium-low speed until each is fully emulsified before adding the next.
- Blend liquids. Add the room-temperature sour cream and vanilla extract to the mixture and beat on low speed until the batter is glossy.
- Fold in flour. Add the dry mixture to the batter, mixing on the lowest speed until just combined, finishing with a silicone spatula to avoid overworking.
- Apply butter trick. Transfer the batter to the prepared loaf pan, smooth the top, and place a thin strip of cold butter lengthwise down the center.
- Bake the cake. Bake for approximately 65 minutes, tenting with foil if the top browns too quickly, then cool on a wire rack for ten minutes before removing.
Notes
- Use an oven thermometer to ensure a true 350°F as cold spots or temperature fluctuations can cause the cake to sink.
- Weigh your flour with a digital scale rather than using measuring cups to prevent the cake from becoming dry or bread-like.
- Bring all cold ingredients like eggs and sour cream to room temperature to ensure a stable emulsion and prevent the batter from curdling.
- Wait for the loaf to cool completely for at least two hours before slicing to allow the high butter content to set properly.
- Prep Time: 10 mins
- Cook Time: 65 mins
- Category: Dessert
- Method: Baking
- Cuisine: American
The Lineup
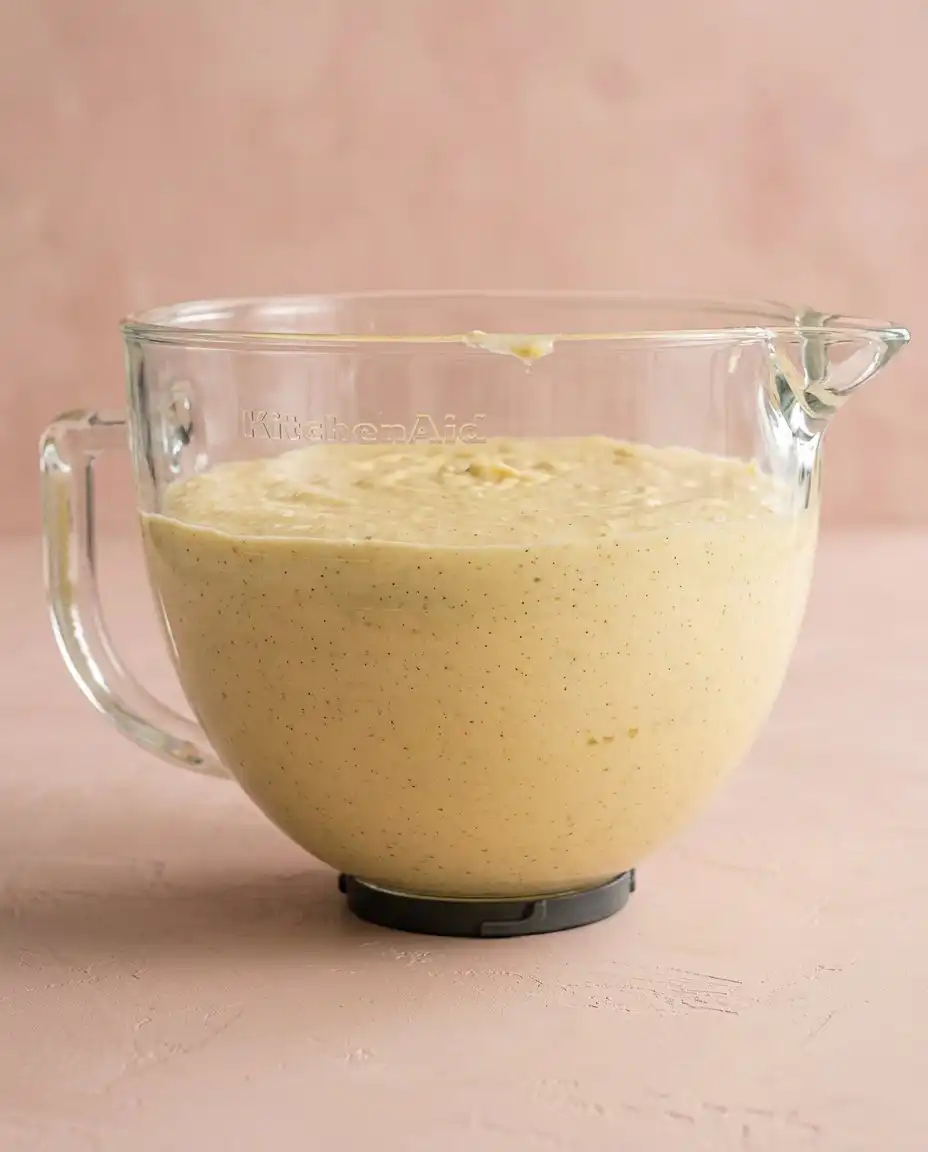
Every gram of flour and drop of fat in this Classic Pound Cake serves a vital structural purpose. There are no decorative filler elements here to hide poor technique or mask low-quality dairy. We rely on the chemistry of simple ingredients working in harmony to build a masterpiece. Preparing a proper Classic Pound Cake requires high-quality butter and real sour cream to achieve that signature rich mouthfeel.
- All-purpose flour: We weigh exactly 180 grams to establish the gluten network without turning our Classic Pound Cake crumb into a heavy, bread-like block. Too much flour dries the cake, while too little causes the structure to collapse under its own weight.
- Unsalted butter: This provides the foundational fat structure that coats the flour proteins, ensuring a tender, melt-in-your-mouth crumb. Make sure it is soft to the touch but not meltingly warm.
- Granulated sugar: Beyond adding sweetness, sugar cuts into the butter during the creaming process to build microscopic air pockets. These pockets are essential for the rise of our Classic Pound Cake.
- Large eggs: These provide moisture, structure, and emulsification, binding the fat and water into a cohesive batter. Make sure they are at room temperature to avoid breaking the emulsion.
- Sour cream: The acidity tenderizes the gluten and adds a rich moisture that standard milk cannot match. It gives the crumb a sophisticated, slightly tangy finish.
- Baking powder: A tiny half-teaspoon acts as our structural safety net, giving the dense batter a controlled lift. Do not overmeasure, or the cake will rise too quickly and sink.
- Vanilla extract: Two full teaspoons of high-quality extract deliver that warm, comforting depth of flavor. It rounds out the dairy notes with a beautiful aromatic quality.
| Ingredient | Why It Matters |
|---|---|
| Butter | Creamed to hold microscopic air bubbles for rise |
| Eggs | Bind emulsified fats and create crumb structure |
| Sour Cream | Adds lactic acid to weaken gluten for tenderness |
| Sugar | Hygroscopic properties keep the baked loaf moist |
| All-Purpose Flour | Provides the gluten framework to support the fat |
The Method
Step 1: Prep Your Oven and Pan
Preheat your oven to 350°F before you touch a single bowl or mixer attachment. Butter and flour a standard 9×5-inch loaf pan with meticulous care, coating every corner to prevent sticking. If you prefer a taller, more dramatic loaf, swap in an 8.5×4.5-inch pan for this process. This preparation guarantees your Classic Pound Cake batter climbs the walls evenly without tearing as it rises.
Step 2: Combine the Dry Ingredients
Whisk the weighed all-purpose flour, salt, and baking powder together in a medium mixing bowl. This step is not just about mixing; it distributes the leaveners evenly throughout the flour network. You want a completely uniform dry mixture so the rise is flat across the bottom of the cake. Set this bowl aside so it is ready when the Classic Pound Cake emulsification is complete.
Step 3: Whip the Butter to a Cream
Attach the whisk to your stand mixer and drop in the Classic Pound Cake butter. Beat on medium speed for two minutes until it looks pale, smooth, and slightly expanded. If the fat is too cold, it will slide around the bowl instead of aerating properly. Watch for a soft, satin texture before you proceed to adding your granulated sugar.
Step 4: Build the Sugar Matrix
Pour in the sugar and beat on medium speed for another two full minutes without stopping. The sharp sugar crystals tear through the Classic Pound Cake butter, creating millions of tiny air pockets. You will see the deep yellow hue fade to a soft, fluffy cream color. Scrape down the sides of the bowl to ensure no dry sugar remains unblended.
Step 5: Incorporate Eggs One by One
Add the room-temperature eggs one at a time while mixing on a steady medium-low speed. Let each egg fully disappear into the cream before adding the next one to the bowl. This cautious step prevents the Classic Pound Cake emulsion from breaking into a watery, curdled mess. If it looks split, increase the speed for three seconds to force the fats and liquids to bind.
Step 6: Blend the Sour Cream and Vanilla
Pour the room-temperature sour cream and two teaspoons of vanilla extract into the mixer. Mix on low speed until the batter looks glossy and completely uniform. The aroma of warm vanilla should fill your kitchen space instantly as it blends. This liquid base provides the moisture needed to activate the Classic Pound Cake gluten network.
Step 7: Fold the Classic Pound Cake Batter
Dump the dry flour mixture into the mixing bowl all at once to minimize mixing time. Mix on the lowest speed only until the flour streaks disappear, then stop the mixer immediately. Use a silicone spatula to fold the remaining pockets of dry flour by hand to finalize the Classic Pound Cake batter. This delicate finish guarantees a tender, light crumb without overworking the gluten proteins.
Step 8: Apply the Baker’s Crack Trick
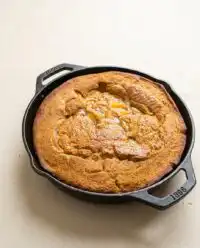
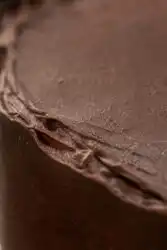
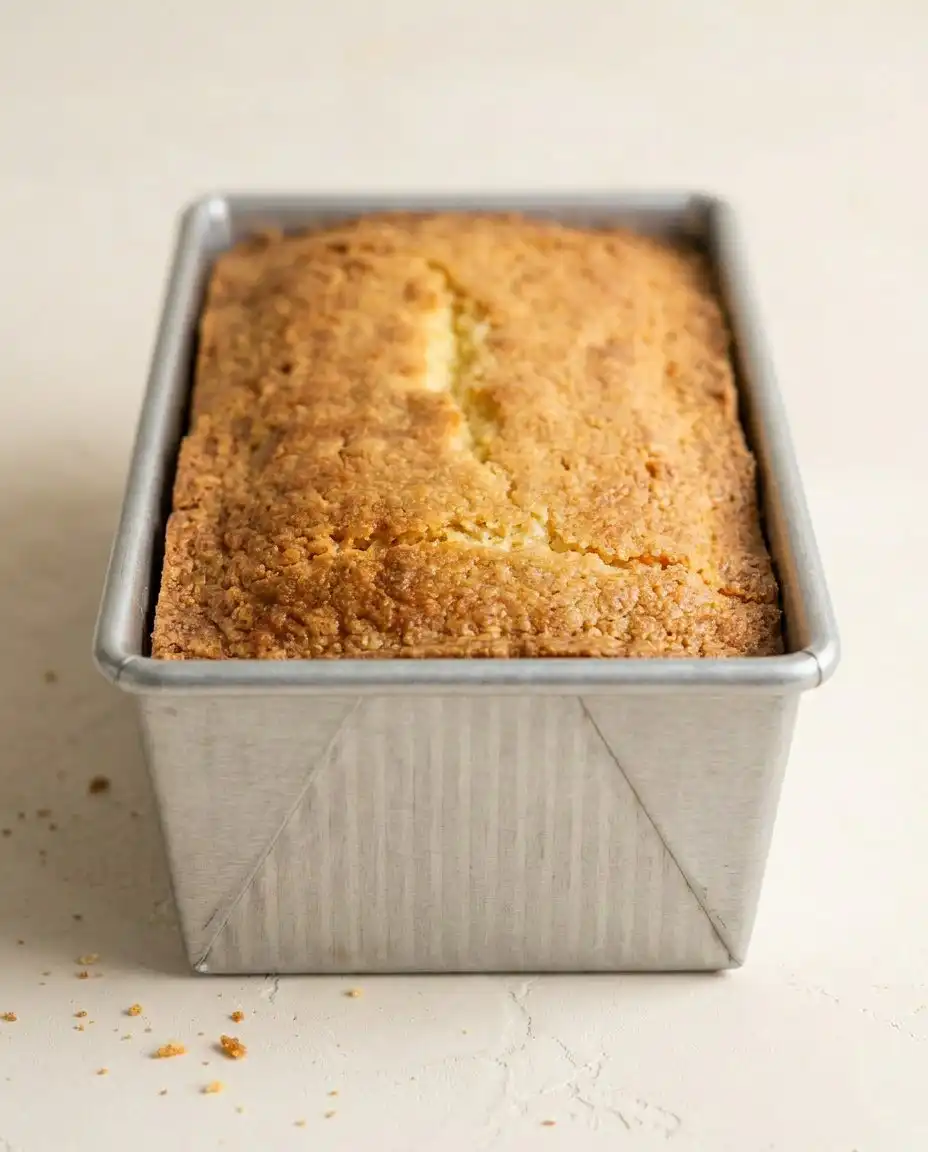
Transfer the thick, luscious Classic Pound Cake batter into your prepared loaf pan and smooth the top evenly. Slice a thin, lengthwise strip of cold butter and place it down the middle of the batter. This butter melts slowly during baking, keeping the center of the loaf soft while the outer edges set. As the heat rises, the batter bursts upward to form a beautiful, classic cracked dome.
Step 9: Bake the Classic Pound Cake to Golden Perfection
Bake at 350°F for about 65 minutes, checking the center with a clean wooden skewer. If the top gets too dark around the 40-minute mark, tent it loosely with aluminum foil. Let the pan rest on a wire rack for ten minutes before turning the cake out to cool. The rich aroma of toasted butter will settle as the loaf reaches room temperature.
Where to Be Precise
The kitchen scale is your ultimate liberation device when baking this Classic Pound Cake. Measuring flour by volume with a cup can lead to adding up to thirty percent more flour than needed, which dries out your loaf. Weigh your 180 grams of flour precisely to guarantee the crumb remains silky and tender. If you want to understand how weight impacts structure, compare this to the delicate balance of a sponge cake recipe.
Temperature is a variable you must control if you want a flawless result. Your eggs, sour cream, and butter must all sit at true room temperature before you start mixing. Cold ingredients will shock the creamed Classic Pound Cake butter, causing the fat to seize and separate during mixing. This ruined emulsion cannot hold air, leading to a flat, greasy bake with a rubbery layer at the bottom.
If your cake sinks in the middle after baking, your oven temperature might be running too low. A slow oven fails to set the outer walls before the center expands, causing a structural collapse. Use a cheap oven thermometer to verify the actual temperature is a true 350°F. Another culprit is opening the oven door too early, which lets cold air rush in and breaks the delicate heat pocket.
Choose your mixer attachment based on your preferred crumb density. The whisk attachment lightens the texture by folding in plenty of air, giving you a slightly fluffier slice. If you crave a traditional, dense style, use the paddle attachment instead. Understanding these traditional pound cake ratios helps you manipulate the final density to match your exact taste.
Do not rush the creaming stage between the butter and sugar. This process should take at least four full minutes of active mixing. You are not merely blending; you are physically carving air pockets into the solid fat. This trapped air is the primary engine of your rise, so skimming this step yields a flat, heavy brick.
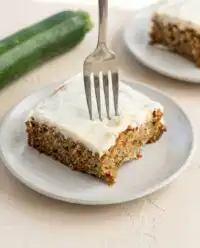
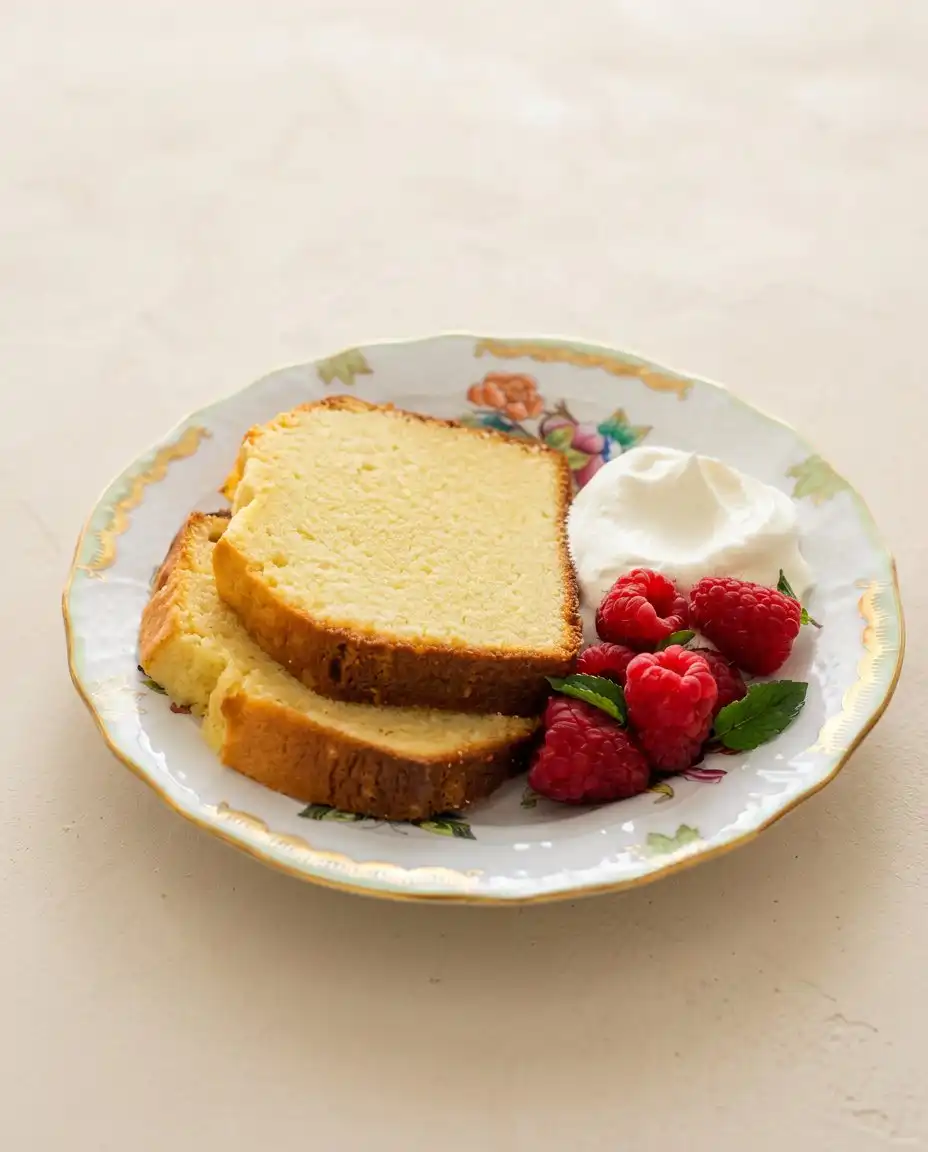
The visual drama of a cross-section cut will tell you everything about your mixing technique. If you see large, irregular tunnels in the crumb, you overmixed the flour. This overworking creates too much gluten, trapping large pockets of air that expand aggressively. An ideal slice should show an even, fine-grained pattern across the entire face.
Frequently Asked Questions
What is the original pound cake?
The original recipe dates back to northern Europe and called for exactly one pound each of flour, butter, sugar, and eggs. This simple ratio made the recipe easy to remember for historic bakers who could not read. However, modern palates find that classic ratio a bit dense and dry, which is why we add sour cream and leaveners today.
Why is my Classic Pound Cake dry?
A dry loaf is usually the result of overbaking or using too much flour. If you scoop flour directly from the bag with a measuring cup, you will pack it down and add too much weight. Always weigh your ingredients using a kitchen scale, and start testing for doneness five minutes before the timer ends.
Can I freeze this Classic Pound Cake?
Yes, this cake freezes beautifully because of its high fat content. Wrap the cooled loaf tightly in double layers of plastic wrap, followed by a layer of aluminum foil. You can store it in the freezer for up to three months without losing flavor. Thaw it slowly at room temperature inside the wrapping to keep the moisture from escaping.
What does sour cream do in a pound cake?
Sour cream introduces both fat and lactic acid to the batter. The acid works to break down the tight gluten strands, guaranteeing a tender and soft crumb. Meanwhile, the extra fat adds moisture that does not evaporate during the long bake, preventing the cake from drying out.
Why did my cake stick to the pan?
Cake sticking happens when the pan grease melts before the batter sets, or if the sugar caramelized against the bare metal. Always use a generous amount of softened butter to coat every crevice of your loaf pan, then dust it with flour. For absolute safety, line the bottom of the pan with a strip of parchment paper.
Can I use milk instead of sour cream?
You can swap in whole milk, but you will lose the signature tenderness and tangy depth of flavor. If you must substitute, use full-fat Greek yogurt as a direct one-to-one replacement. Yogurt matches the acidity and thickness of sour cream, preserving the structural integrity of the crumb.
Why does the top of my Classic Pound Cake crack?
The top cracks because the outside of the cake cooks and sets before the center rises. As the internal batter heats up and expands, it forces its way through the crust. We encourage this beautiful rustic look by placing a thin line of butter down the center before baking.
Where to Deviate
Introduce a bright citrus note by rubbing fresh lemon zest into the sugar before creaming. The sugar crystals act as abrasive scrubbers, releasing the essential oils from the peel. You can add a tablespoon of fresh lemon juice along with the sour cream for an extra punch. This produces a bright, herbaceous aroma that balances the heavy butter notes beautifully.
Swap one teaspoon of the vanilla extract for pure almond extract to create a rich, nutty profile. You can also scoop out a third of the finished batter and fold in three tablespoons of Dutch-process cocoa powder. Layer the light and dark batters in the pan, then drag a butter knife through them. This technique is similar to how we marble a classic vanilla layer cake for visual contrast.
Brown your butter ahead of time until it smells like toasted hazelnuts, then let it solidify back to room temperature. This extra step cooks out the water content and caramelizes the milk solids, deepening the flavor profile. Be sure to chill it until it returns to a soft solid block before creaming. This simple swap adds a caramel-like depth that makes your Classic Pound Cake taste deeply sophisticated.
Cutting, Plating, Presenting
Never slice this loaf while it is still warm from the oven. The high butter content needs time to solidify, otherwise, the interior will tear and turn gummy under your knife. Let the loaf cool completely on a wire rack for at least two hours before slicing. Use a long, sharp serrated knife to cut clean, even slices without crushing the delicate crumb.
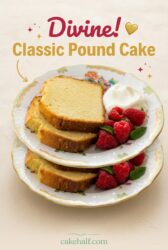
For an elegant afternoon presentation, serve each slice of Classic Pound Cake with a generous dollop of lightly whipped cream and fresh seasonal berries. The tartness of raspberries or blackberries cuts through the rich, buttery density of the cake beautifully. If you are hosting a gathering, pair it with a warm berry compote or a drizzle of salted caramel. This versatile base behaves much like a classic vanilla cake recipe, serving as an open canvas for your favorite toppings.
Leftover slices of Classic Pound Cake can be toasted under a broiler for a few seconds until the edges turn crisp and caramelized. Serve the warm, toasted slice with a scoop of vanilla bean ice cream for a simple dessert. The heat melts the ice cream into the buttery toasted crumb, creating a beautiful contrast of temperatures. It is the perfect excuse to enjoy cake for breakfast or a late-night snack.
What You Just Proved
Baking this Classic Pound Cake from scratch proves that you do not need complex molds or exotic ingredients to make an impact. True baking power lies in mastering the fundamental mechanics of emulsification and temperature control. You have taken basic pantry staples and turned them into a rich, golden slice of comfort. Every clean cross-section of your finished homemade cake is a testament to your kitchen precision.
The recipe is a starting point. You are the variable. Now that you have mastered this classic base, feel free to run experiments and find your own favorite tweaks. Share your baking triumphs with us on Facebook or show off your beautifully cracked dome on TikTok. For more visual inspiration and rebel swaps, pin your creations on Pinterest to keep the baking community thriving.