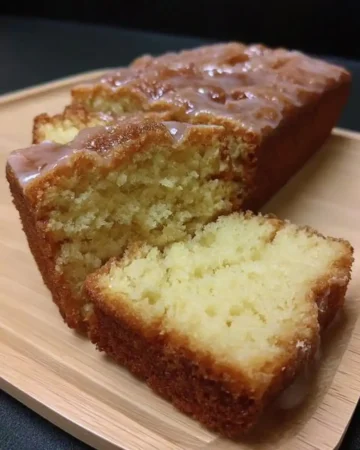
Scaling down a pound cake to a concentrated six-inch loaf pan means every single pocket of batter experiences direct, intense heat, preventing the dreaded dense sinkhole at the core.
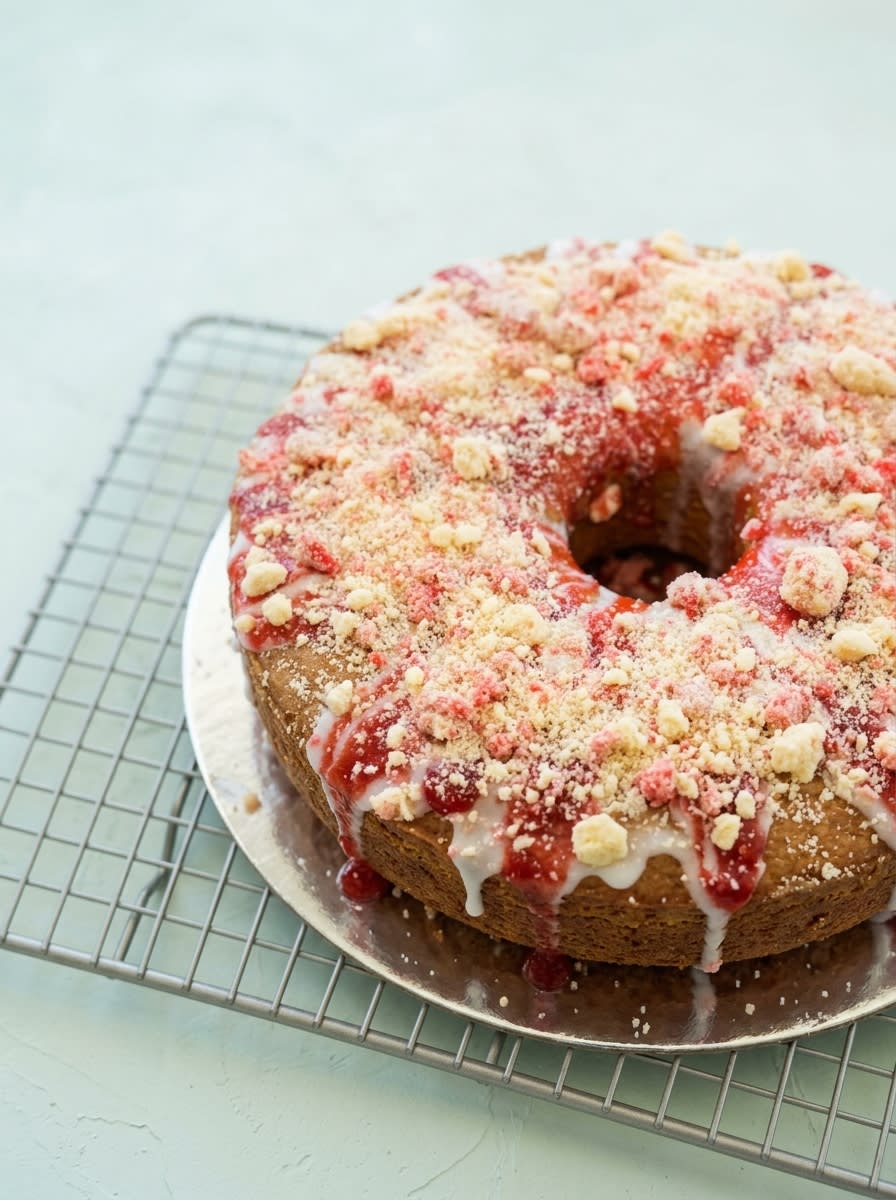
This Cream Cheese Pound Cake with Strawberry Glaze relies on small-batch mechanics to achieve a crumb so tender it defies traditional loaf expectations. By concentrating the batter, we encourage the cream cheese to form a velvety network that locks in fat and moisture. The resulting bake remains structurally sound yet marvelously soft under a glossy mantle of real berry glaze. It is proof that baking smaller allows you to push flavor boundaries without risking a dry center.
Why Small-Batch Works Here for This Cream Cheese Pound Cake with Strawberry Glaze
Prep: 15 min · Serves: 8 · Difficulty: Medium
- Concentrated heat produces a beautifully uniform golden crumb.
- Rich cream cheese guarantees exceptional, long-lasting moisture.
- Fresh berries create an intensely bright, tart glaze.
- Smaller proportions guarantee quick, reliable baking times.
- This layout outperforms larger, dry traditional bakes.
Small batch, full conviction; this compact masterpiece delivers the pure, buttery satisfaction your kitchen deserves.
If you enjoy this style of concentrated baking, you should also try our lemon pound cake 3 which uses similar small-batch principles. Controlling the pan volume is the easiest way to guarantee a velvety texture every time. By focusing on smaller quantities, we ensure that the butter-cream cheese emulsion does not collapse under its own weight during the bake. Savoring a slice of this cake reveals how a smaller footprint actually intensifies the butter flavor throughout.
Get The Full Cake Recipe
Print
Cream Cheese Pound Cake with Strawberry Glaze
- Total Time: 2 hours 15 mins
- Yield: 8 servings
- Diet: Vegetarian
Description
This small-batch pound cake features a velvety cream cheese base for an exceptionally moist crumb, topped with a bright, homemade strawberry glaze. It is a perfectly proportioned loaf that delivers professional-quality results with concentrated, intense flavor.
Ingredients
- 8 oz organic cream cheese, softened
- 1/2 cup unsalted butter, softened
- 1 cup organic cane sugar
- 2 large eggs, room temperature
- 1 tsp vanilla extract
- 1/4 cup sour cream
- 1 1/2 cups all-purpose flour
- 1 tsp baking powder
- 1/2 tsp sea salt
- 1/2 cup organic powdered sugar
- 2 tbsp strawberry preserves
- 1 tbsp almond milk
Instructions
- Prepare the oven. Heat the oven to 375°F and line a loaf pan with parchment paper, leaving a generous overhang on the long sides.
- Combine dry ingredients. Whisk together the all-purpose flour, baking powder, and sea salt in a medium bowl until uniform.
- Cream the fats. Beat the softened butter, cream cheese, and organic cane sugar with a hand mixer on high speed for three minutes until pale and fluffy.
- Emulsify the batter. Beat in the eggs one at a time, followed by the vanilla extract and sour cream, mixing until completely smooth.
- Incorporate the flour. Gradually fold the dry flour mixture into the wet batter on low speed until just combined, being careful not to over-mix.
- Bake the cake. Spread the batter into the prepared pan and bake for 45 to 60 minutes until a toothpick inserted in the center comes out clean.
- Cool completely. Rest the cake in the pan for fifteen minutes, then transfer to a wire rack to cool fully for at least two hours.
- Whisk the glaze. Combine the powdered sugar, strawberry preserves, and almond milk in a small bowl until the mixture is glossy and smooth.
- Drizzle and garnish. Pour the glaze over the cooled loaf and top with fresh strawberries and rosemary sprigs before slicing.
Notes
- Ensure all dairy and eggs are at true room temperature to prevent the emulsion from breaking during the mixing process.
- Use a metal loaf pan rather than glass for the most even heat distribution and consistent rise.
- Avoid opening the oven door during the first thirty minutes of baking to prevent the cake center from collapsing.
- Adjust the glaze consistency by adding milk or powdered sugar in tiny increments until you achieve a slow, honey-like ribbon.
- Wipe your knife with a warm damp cloth between slices to ensure a clean presentation without smearing the glaze.
- Prep Time: 15 mins
- Cook Time: 60 mins
- Category: Dessert
- Method: Baking
- Cuisine: American
Build Your Mise en Place
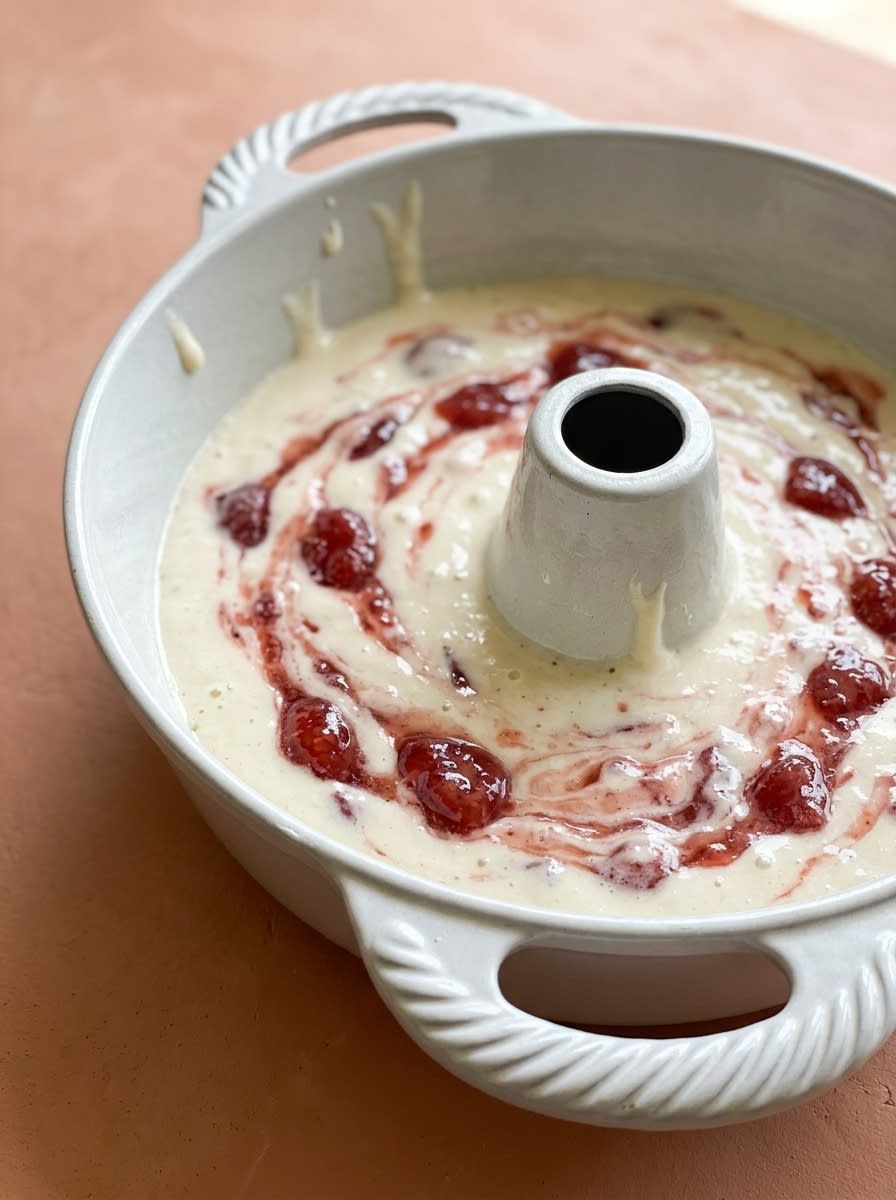
Success in the pastry kitchen begins with understanding how your raw elements interact under pressure. For this recipe, we select fats and proteins that build structure while preserving tenderness in a tight loaf pan. Every ingredient serves a structural purpose, transforming basic pantry items into an extraordinary dessert.
- Organic Cream Cheese: This ingredient provides the acid and fat necessary to tenderize gluten bonds, yielding a tight but velvety crumb that holds up beautifully to slicing.
- Unsalted Butter: Creamed with cane sugar, it traps millions of microscopic air pockets that expand during baking to lift the heavy batter naturally without relying entirely on chemical leaveners.
- Room Temperature Eggs: Adding these one by one creates a stable emulsion that prevents the batter from separating or breaking during the mixing process.
- Sour Cream: This addition contributes lactic acid, adding depth of flavor and guaranteeing the interior remains exceptionally moist and tender for days.
- Strawberry Preserves: Whisks directly into the powdered sugar to add authentic berry flavor and a natural pink hue to the glaze, avoiding artificial dyes.
- Organic Cane Sugar: Beyond sweetening, it locks in moisture during baking to extend the fresh shelf life of your loaf and create that signature crisp crust.
- Baking Powder: Provides the gentle chemical lift required to guarantee the dense cream cheese batter does not become a leaden brick.
- All-Purpose Flour: Provides the essential gluten structure that holds the rich fats together, guaranteeing your loaf has a sturdy crumb.
| Ingredient | Why It Matters |
|---|---|
| Cream Cheese | Tenderizes the gluten network and adds rich, tangy fat |
| Unsalted Butter | Creates the initial air pocket emulsion during creaming |
| Sour Cream | Delivers crucial moisture and activates the baking powder |
| Strawberry Preserves | Infuses the sweet glaze with concentrated, authentic fruit flavor |
| Organic Cane Sugar | Locks in moisture to preserve the soft texture of the crumb |
Let’s Bake
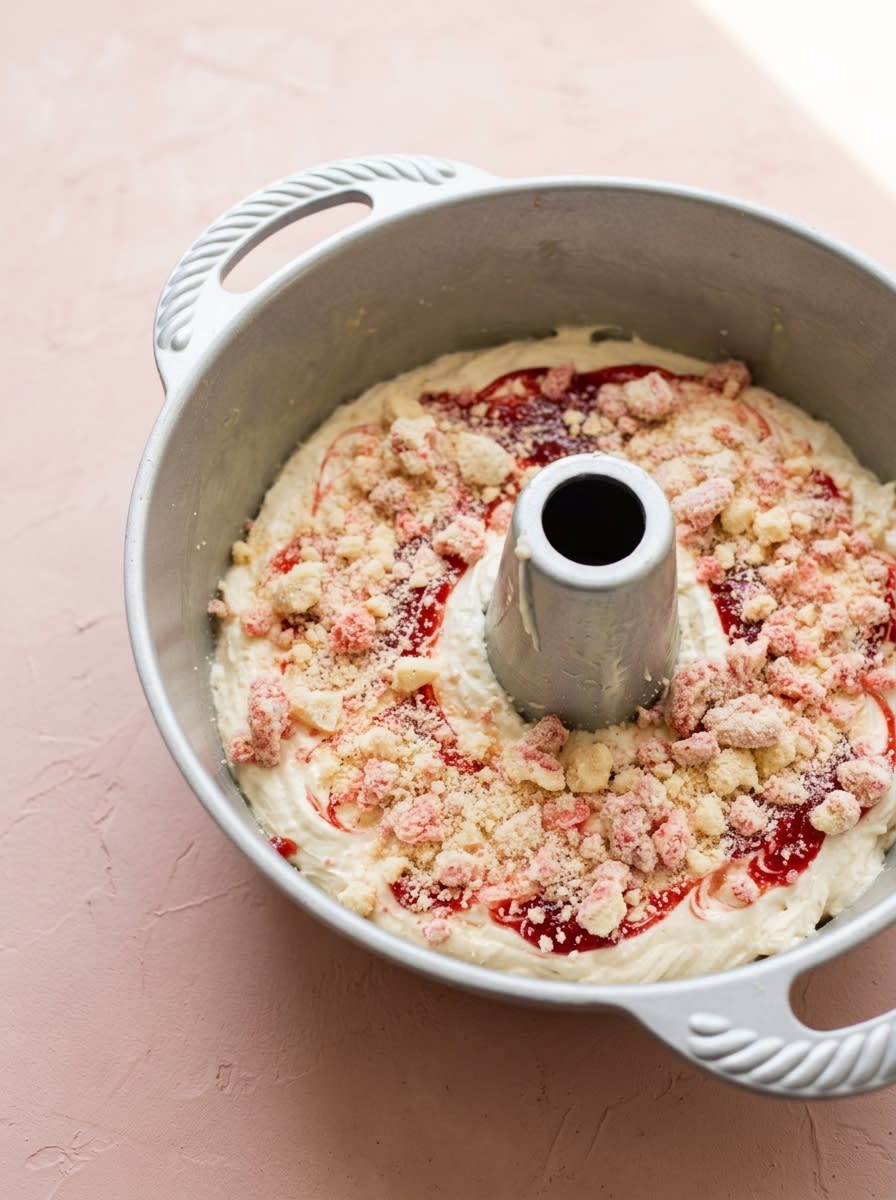
Step 1: Prepare the Oven and Pan
Set your oven to 375 degrees Fahrenheit so it reaches the ideal temperature before your batter is ready. Lightly grease your loaf pan with softened butter, then line it with parchment paper, leaving generous overhangs on the long sides. This parchment sling is your safety net, allowing you to lift the finished cake out cleanly without tearing its delicate, warm edges. Make sure the oven rack is in the center position to allow the heat to circulate evenly around the loaf pan, avoiding scorched bottoms.
Step 2: Combine the Dry Ingredients
In a medium mixing bowl, whisk together your all-purpose flour, baking powder, and sea salt. Verify the mixture looks completely uniform and free of any large lumps before setting it aside. This straightforward step guarantees that the leavening agent is distributed evenly throughout the flour, preventing lopsided rising or hollow pockets of air in your baked loaf. Using a fine-mesh sifter can help aerate the flour even more, making a noticeable difference in the final texture of your pound cake.
Step 3: Cream the Fats and Sugar
In your main mixing bowl, combine the softened butter, cream cheese, and organic cane sugar. Using a hand mixer on high speed, beat the mixture vigorously until it changes color to a pale, fluffy ivory shade. This process should take about two to three minutes and is critical because it beats air into the fat, establishing the foundation of your cake’s rise. Do not rush this creaming step because the friction between the sugar crystals and the fats is what creates the air pockets needed for a light, fluffy texture.
Step 4: Emulsify the Wet Batter
Add your room-temperature eggs one at a time, beating thoroughly after each addition to maintain a stable emulsion. Next, stir in the vanilla extract and sour cream, mixing until the batter looks silky, shiny, and completely smooth. If your ingredients are at different temperatures, the batter might look curdled, so make sure everything is at room temperature to prevent this separation. Should you notice any separation, add a single tablespoon of your flour mixture to help bind the fats and save the emulsion before it is too late.
Step 5: Incorporate the Flour Mixture
Lower your mixer speed to the minimum setting and gradually add your dry ingredient mixture to the wet base. Mix until the white flour streaks disappear and the batter feels thick, heavy, but easily scoopable. Over-mixing at this stage will develop excess gluten, turning your tender cake into a tough, bread-like loaf, so stop the moment the flour is integrated. Using a silicone spatula for the final folds is a great way to guarantee no dry pockets remain at the bottom of the bowl.
Step 6: Bake Your Cream Cheese Pound Cake with Strawberry Glaze to Perfection
Scoop the thick batter evenly into your prepared loaf pan, smoothing the top with a spatula to encourage an even rise. Slide the pan onto the center rack of your preheated oven and bake for 45 minutes to an hour. You will know it is done when the top domes gently, turning a deep golden-brown color, and a toothpick inserted in the center comes out clean. Avoid opening the oven door during the first thirty minutes of baking because a sudden drop in temperature can cause the rising batter to collapse in the center.
Step 7: Cool the Loaf Completely
Remove the cake from the oven and set the pan on a wire cooling rack, allowing it to rest for about fifteen minutes. The pan will feel hot to the touch, but the cake will gradually pull away from the metal edges as it cools. Use the parchment sling to gently lift the loaf out of the pan and let it cool completely on the rack for at least two hours before glazing. Glazing a warm cake will cause the sugar to melt and run off immediately; patience here guarantees your glaze stays beautifully thick and glossy on top.
Step 8: Whisk the Strawberry Glaze
While your cake cools, combine the organic powdered sugar, strawberry preserves, and almond milk in a small bowl. Whisk the mixture vigorously until the sugar dissolves and the glaze looks glossy, flowing slowly off your whisk like warm honey. If the glaze feels too thick to drizzle, add a few drops of milk, or add a pinch of sugar if it feels too runny. The preserves add not only flavor but also a natural pectin structure to the glaze that helps it set with a beautiful, professional shine.
Step 9: Drizzle and Garnish
Once the loaf is completely cool to the touch, pour the thick strawberry glaze over the top, letting it cascade naturally down the sides. Garnish the surface with sliced fresh strawberries and small sprigs of fresh rosemary to create a beautiful visual contrast. Let the glaze set for at least ten minutes before slicing into your beautiful creation. The rosemary sprigs are optional, but their fresh herbal aroma complements the sweet fruit scent, making the entire kitchen smell like an artisanal bakery.
The Details That Matter
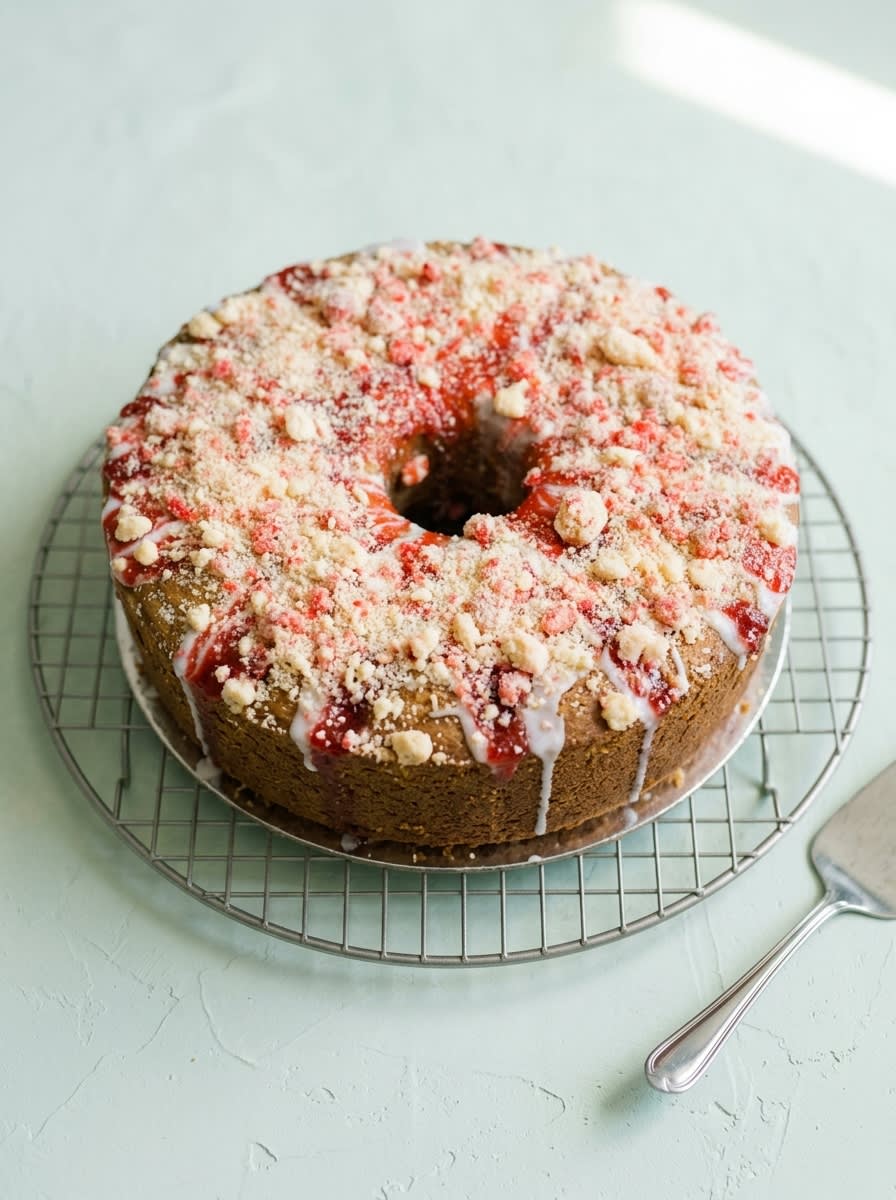
Make sure every cold ingredient sits on the counter for at least an hour before you start mixing. Cold cream cheese refuses to emulsify, leaving tiny white flecks in your finished cake that melt into unsightly oil pockets. This temperature rule is non-negotiable; skipping it ruins the velvety texture we are aiming for. You can speed up the warming process by placing the eggs in a bowl of warm water for ten minutes, while slicing the butter and cream cheese into small cubes helps them soften rapidly.
If your cake turns out dense and heavy with a gummy ring at the bottom, here is why and how to fix it. This common failure mode happens when the butter emulsion collapses, often because the eggs were added too quickly or were too cold. To fix this, always add your eggs one at a time and beat them thoroughly to rebuild the fat-protein bonds. If you notice the batter separating mid-mix, stop and whisk in a tablespoon of your flour mixture to help bind the liquid and fat back together.
Sifting your dry ingredients twice might seem excessive, but it distributes the baking powder evenly. This guarantees a uniform rise across the entire loaf pan rather than a lopsided dome that bakes unevenly. It also breaks up any compacted flour clumps, leading to a much lighter, softer crumb. A well-aerated flour mixture also incorporates more easily into the wet batter, reducing the amount of mixing required and minimizing gluten development.
For more advice on managing dairy temperatures in dense batters, read our notes on making a lemon cheesecake. Maintaining uniform fat temperatures is the secret to a silky, lump-free batter structure. Once you master this control, you can apply it to any rich cake recipe in your repertoire. Whether you are baking a dense, rich cheesecake or a classic loaf, the behavior of dairy fats under heat remains identical.
If you want to learn more about the chemistry of fat emulsions, this detailed guide on cake-baking techniques explains how dairy proteins bind structure. Understanding these micro-interactions will refine your intuitive kitchen skills and give you the confidence to adjust recipes on the fly. This resource is invaluable for bakers who want to understand why cream cheese behaves differently than butter under high heat, turning every baking session into a repeatable science experiment.
Adjust the thickness of your fruit topping by adding the milk in tiny half-teaspoon increments. A glaze that is too thin will slide completely off the cake, while a glaze that is too thick will clump and tear the delicate golden crust. Take your time during this step to achieve a slow, lazy ribbon consistency that drapes beautifully. If you accidentally add too much liquid, easily whisk in a tablespoon of sifted powdered sugar to restore the balance.
Standardize your results by using a heavy-gauge aluminum pan rather than glass or dark silicone. Glass conducts heat too slowly, which often cooks the exterior before the interior has a chance to rise fully, resulting in a soggy core. Dark metal pans, on the other hand, absorb too much heat and can easily scorch the bottom of your loaf. An aluminum pan reflects heat more evenly, allowing the cake to rise uniformly.
Frequently Asked Questions
How do I prevent the fresh strawberries from sinking to the bottom of the pan?
Toss the sliced fruit in a teaspoon of all-purpose flour before arranging them as a garnish on top of the glaze. This light coating helps the fruit stick to the sweet glaze rather than sliding down the sides of the cake. For interior fruit additions, this step prevents them from sinking through the dense batter during baking.
Can I use frozen strawberries instead of fresh?
Thaw the frozen fruit completely and drain all excess liquid before mashing them for the glaze. Excess moisture from frozen berries will dilute the sugar, turning your glaze into a runny mess. For the garnish, fresh berries are always superior as thawed fruit tends to look limp and wet.
Why did my cake become dry or tough?
Over-mixing the batter after adding the flour activates excess gluten, which creates a tough, bread-like structure. Keep your hand mixer on low speed and stop mixing the moment the dry streaks disappear. Additionally, over-baking even by five minutes can dry out the center, so watch the toothpick test closely.
How do I get that vibrant pink swirl in the cake?
Swirl a tablespoon of concentrated strawberry puree directly into a portion of the batter before layering it in the loaf pan. Use a butter knife to gently marble the two batters together in a figure-eight pattern. This technique provides a beautiful visual contrast when you slice into the finished loaf.
How long does the cake stay fresh?
Wrapped tightly in plastic wrap, this loaf remains remarkably soft for up to four days in the refrigerator. The fat from the cream cheese and sour cream acts as a natural preservative, retaining moisture beautifully. For long-term storage, slice the unglazed cake, wrap each slice, and freeze for up to three months.
Can I substitute Greek yogurt for the sour cream?
Yes, full-fat Greek yogurt works beautifully as a direct swap for sour cream in this recipe. Make sure you use plain, unsweetened yogurt to avoid altering the sugar balance of the batter. The acid profile is virtually identical, so you will retain that signature tender crumb.
What is the best way to clean my loaf pan to ensure the cake releases?
Wash your pan thoroughly with warm soapy water and dry it completely before greasing. Any leftover crumbs from previous bakes can act as glue, causing the fresh batter to stick. Combining a generous layer of softened butter with a parchment sling guarantees a clean release every single time.
Can I make this cake recipe completely gluten-free?
Yes, you can substitute the all-purpose flour with a high-quality, one-to-one gluten-free baking blend that contains xanthan gum. Be sure to measure the flour accurately by weight, as gluten-free blends can be more compact and absorb more moisture. Let the batter rest in the pan for ten minutes before baking to allow the flour to hydrate fully.
Where to Deviate
Fold a tablespoon of freshly grated lemon zest into the sugar during the creaming step. This citrus punch cuts through the rich dairy fats, providing a bright contrast that pairs beautifully with the sweet fruit topping. The essential oils in the lemon zest release during mixing, coating the sugar crystals and perfuming the entire cake with a refreshing aroma. You can also swap the strawberry preserves in the glaze for fresh lemon juice and powdered sugar to make a tangy citrus glaze.
If you want to experiment with different seasonal stone fruits, try our peach cobbler pound cake as a base for your experiments. You can swap the berries for caramelized peach slices to capture a completely different style of summer comfort. This adaptation works beautifully in the autumn months when warm spices like cinnamon and nutmeg can be swirled into the batter. The peach slices can be tossed in a light coating of brown sugar and cornstarch before being baked directly into the top of the loaf to create a jammy layer.
Brown the butter beforehand and let it solidify back to room temperature before creaming it with the cream cheese. This straightforward rebel swap introduces a toasted hazelnut aroma that grounds the sweet berry notes in a complex, savory depth. It requires a little extra preparation time, but the resulting depth of flavor is well worth the effort for special occasions. When browning the butter, be sure to scrape all the toasted milk solids from the bottom of the pan into your bowl to capture that concentrated flavor.
For a chocolate twist, you can sift a quarter-cup of Dutch-processed cocoa powder into the dry ingredients. This turns the loaf into a rich chocolate pound cake that tastes marvelous when topped with the sweet strawberry glaze. The classic flavor combination of chocolate and strawberries is always a crowd-pleaser and makes for a striking visual contrast on the dessert table.
Cutting, Plating, Presenting
Presenting this loaf requires a clean knife and a little patience. Allow the glaze to set for at least twenty minutes before slicing so it clings to each piece rather than pooling on your cutting board. A serrated bread knife used with a gentle sawing motion will preserve the soft texture without crushing the dome. If you want pristine slices, wipe your knife blade with a warm, damp cloth between each cut to remove any excess glaze. Slicing at room temperature is always the best path to success.
For a stunning contrast in textures, serve each slice with a generous spoon of whipped cream or a scoop of vanilla bean ice cream. If you are hosting a summer gathering, you can arrange the slices alongside elements from our strawberry crunch cake to create a berry-themed dessert bar. The juxtaposition of the dense pound cake next to lighter, crunchier textures makes for an unforgettable dessert experience. You can also macerate additional fresh strawberries in a touch of sugar and lemon juice to spoon over each individual plate for a fresh element.
A final garnish of fresh rosemary sprigs adds a sophisticated herbal aroma that complements the sweet berries. Pour a cup of strong black coffee or a delicate herbal tea to balance the rich butter flavors of the cake. This thoughtful beverage pairing cuts through the dense fats of the cream cheese, cleansing the palate after each luxurious bite. It transforms a simple afternoon treat into an elegant, memorable culinary experience for your guests.
What You Just Proved
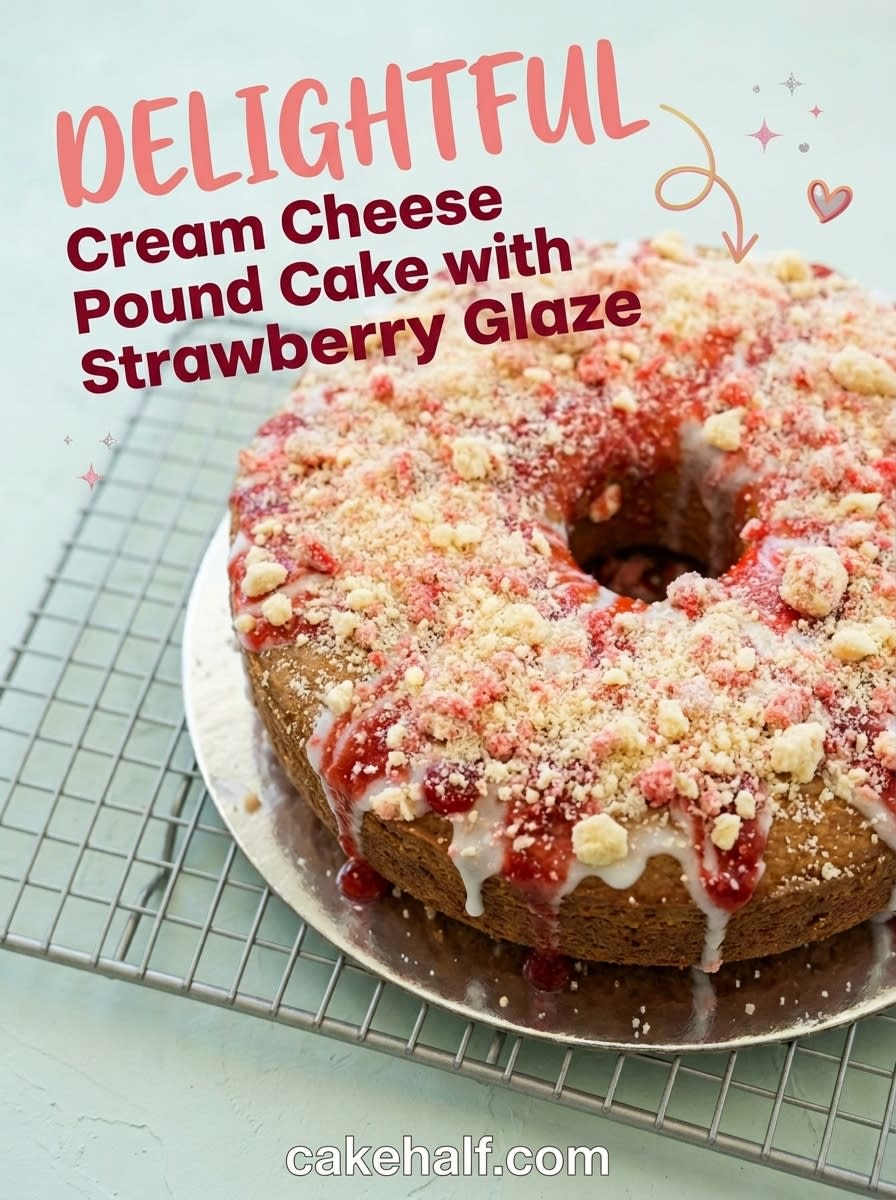
Baking a small-batch loaf is not about compromise; it is about taking control of your kitchen results. By concentrating the batter and pairing it with a bright glaze, you have successfully challenged the notion that pound cake must be dry or heavy. You have created a balanced, moist masterpiece that celebrates rich dairy fats and fresh seasonal fruit. Every slice tells a story of proper temperature management and precise creaming techniques that you have mastered.
If you want to continue your journey into berry-infused baking, check out our classic strawberry cake recipe for your next weekend project. The kitchen is your experimental laboratory, and every successful bake is a new data point in your flavor journey. Remember, the recipe is a starting point. You are the variable that makes it special. Do not be afraid to trust your senses and push the boundaries of traditional baking.
We would love to see how your beautiful loaf turned out, especially the visual drama of that first slice. Share your creation on our social channels and connect with our community of flavor rebels who love to bake outside the lines. Let us know your thoughts and show off your baking results by following us on Pinterest, Facebook, and TikTok. Your willingness to try new techniques is what sets your baking apart.