You will know the batter is ready when it achieves the pale ribbon stage, falling from your whisk in a slow, silken stream that holds its shape for a fleeting moment before dissolving into the bowl.

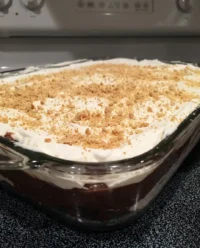
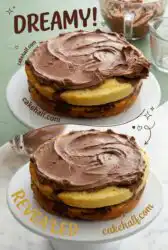
This Two-Layer Marble Cake represents the intersection of structural integrity and delicate crumb, a balance that separates a true pastry from a common sponge. By integrating a rich vanilla pastry cream with a dense chocolate pudding layer, you create a dessert that rewards the patient baker with every clean slice. The visual contrast of the marbled batter provides an elegant foundation for the complex textures held within this square frame. Mastery here depends upon your willingness to respect the temperatures and resting times that define the professional kitchen.
The Craft Behind This Two-Layer Marble Cake
Prep: 60 min · Serves: 12 · Difficulty: Advanced
- Achieve professional textures through precise tempering
- Master the intricate balance of two flavors
- Develop skills in layering complex cream fillings
- Create a visually striking internal marble pattern
- Practice the essential art of patient chilling
This refined dessert proves that small disciplines performed exactly right lead to a result that is far greater than the sum of its parts.
Get The Full Cake Recipe
Print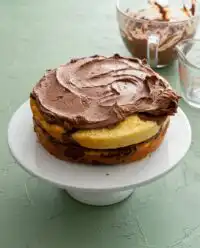
Two-Layer Marble Cake
- Total Time: 1 hour 45 mins
- Yield: 12 servings
- Diet: Vegetarian
Description
Experience the perfect harmony of structural integrity and delicate crumb in this refined two-layer marble cake. Featuring a sophisticated contrast of vanilla pastry cream and rich chocolate pudding, this dessert offers an elegant visual presentation and a deeply satisfying flavor profile.
Ingredients
- Salted butter
- Sour cream
- 70% dark chocolate
- Vanilla bean paste
- Natural cocoa powder
- Large egg yolks
- Corn starch
- Espresso
- Whole milk
- Baking soda
Instructions
- Establish your mise en place. Weigh all ingredients carefully and ensure butter and eggs are at 21 degrees Celsius before beginning.
- Prepare the base batter. Whisk dry ingredients together, then beat with fats and liquids for two minutes until light and aerated.
- Develop the chocolate profile. Separate a portion of the batter, incorporating cocoa powder and espresso to create an aromatic dark mixture.
- Bake the marble layers. Dollop both batters into a lined pan in a checkerboard pattern and bake at 175 degrees Celsius until set.
- Construct vanilla cream. Whisk milk and yolks over low heat until thickened into a glossy custard, then pass through a fine sieve.
- Create chocolate filling. Stir chopped chocolate into the warm starch mixture until smooth and opaque.
- Assemble the layers. Slice the cooled cake horizontally, spread the chocolate and vanilla fillings between the layers, and chill.
- Apply the finish. Pour tempered chocolate ganache over the top and allow to set in the refrigerator before slicing.
Notes
- Use a digital scale for maximum precision with the flour and cocoa powder ratios.
- Always strain your pastry cream through a fine-mesh sieve to catch any stray egg proteins.
- Use a hot, clean knife dipped in boiling water to achieve perfectly sharp slices.
- Ensure the chocolate filling is fully cooled before spreading to maintain distinct boundaries between layers.
- Prep Time: 60 mins
- Cook Time: 45 mins
- Category: Dessert
- Method: Baking
- Cuisine: European
What This Recipe Requires
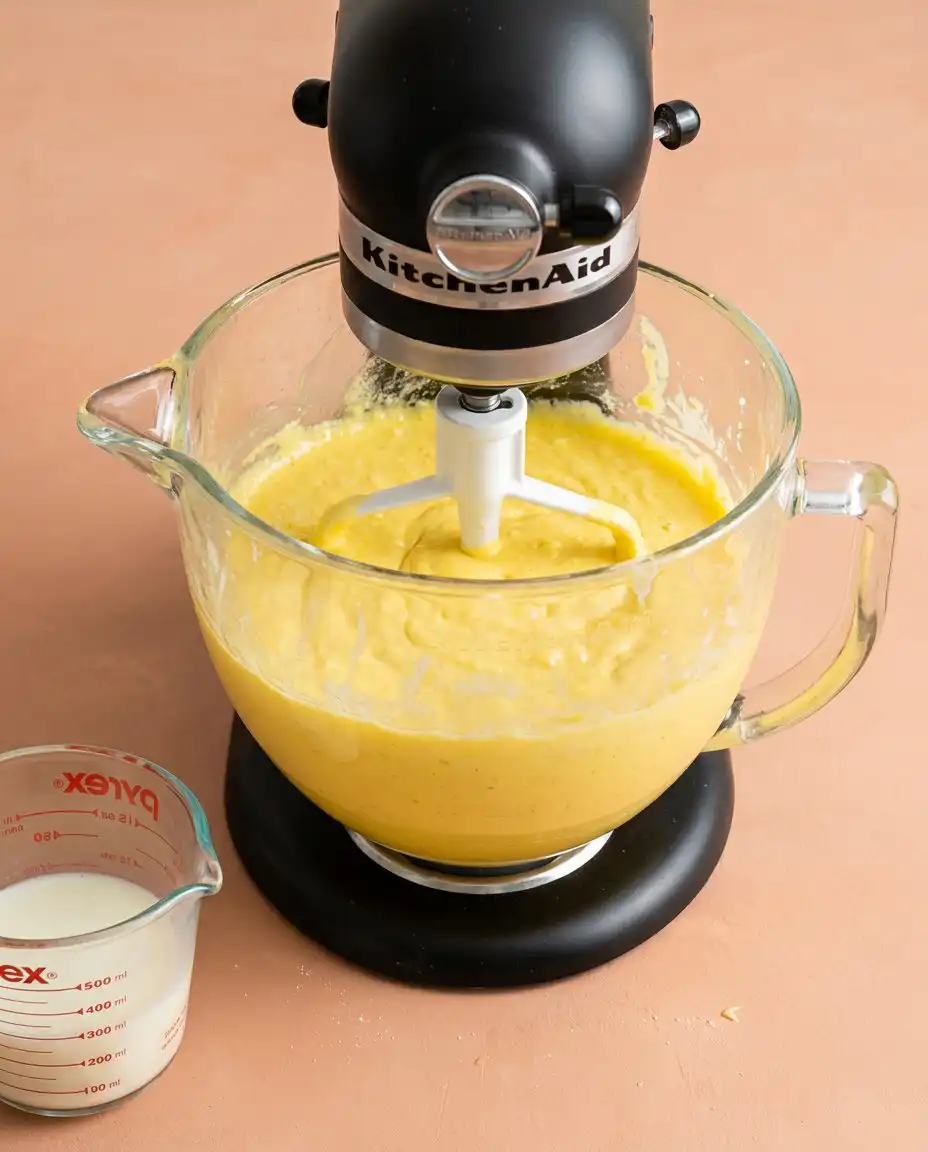
The foundation of this bake relies on the specific behavior of fats and proteins when they are introduced to controlled heat. You must select your ingredients with an eye toward their individual roles in the final structure and flavor profile.
- Salted Butter: The fat provides a tender crumb while the subtle salt content highlights the nuances of the natural cocoa.
- Sour Cream: This adds the necessary acidity to activate the leavening agents and contributes a unique, moist density to the cake.
- 70% Dark Chocolate: A high cocoa butter content is essential for the ganache to set with a polished, glass-like sheen.
- Vanilla Bean Paste: Real bean specks offer a visual confirmation of quality and a deep, floral aroma that persists after baking.
- Natural Cocoa Powder: This provides the classic chocolate acidity that contrasts sharply with the sweet vanilla pastry cream.
- Large Egg Yolks: These act as the primary emulsifier in your pastry cream, creating a rich and stable custard base.
| Ingredient | Why It Matters |
|---|---|
| Corn Starch | Provides the structural thickener for the pastry cream and pudding. |
| Espresso | Blooms the cocoa powder to intensify the deep chocolate notes. |
| Whole Milk | Offers the necessary liquid volume and fat for a smooth custard. |
| Baking Soda | Reacts with the sour cream to create a fine, uniform rise. |
The Technique Laid Out
Step 1: Establish Your Mise en Place
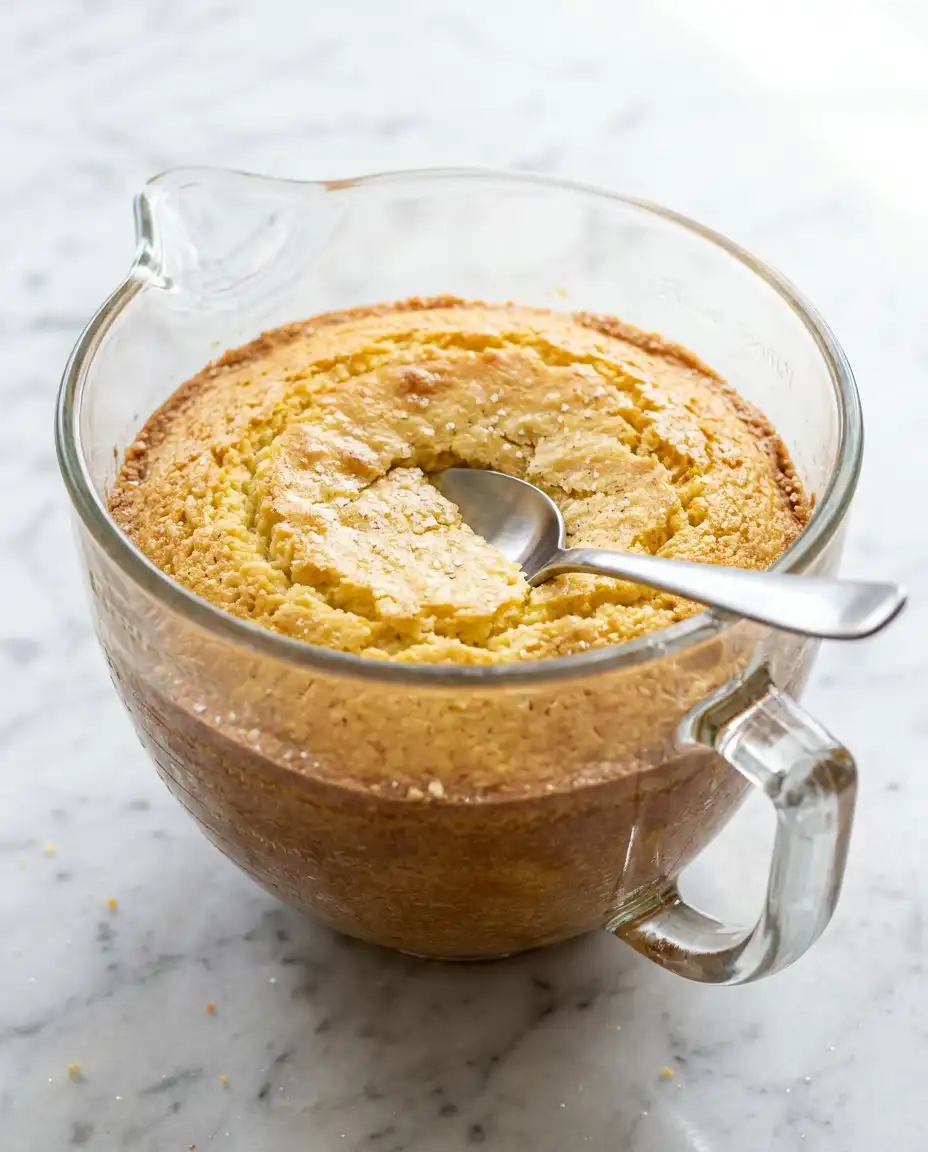
Before you begin the physical act of baking, you must measure every component by weight and ensure your butter and eggs have reached 21 degrees Celsius. Cold ingredients will cause the batter to break, preventing the emulsion required for a uniform crumb. Position your oven rack in the center to allow for even heat circulation throughout the baking process.
Step 2: Prepare the Base Batter
Whisk the dry ingredients together thoroughly to distribute the leavening agents before adding the fats and liquids. Beat the mixture for exactly two minutes on high speed until it reaches a light, aerated state that resembles soft-serve cream. This aeration is the secret to a cake that is both sturdy enough for layering and soft on the palate.
Step 3: Develop the Chocolate Profile
Separate a portion of the batter and introduce the cocoa powder and espresso to create a dark, aromatic contrast. The addition of the warm liquid helps the cocoa solids hydrate quickly without clumping in the delicate batter. You should notice a significant thickening of this mixture as the cocoa absorbs the moisture from the espresso.
Step 4: Bake the Two-Layer Marble Cake
Dollop the two batters into the lined pan in a checkerboard pattern, taking care not to over-mix the colors when smoothing the surface. Bake at 175 degrees Celsius, rotating the pan halfway through to account for any hot spots in your oven. The cake is finished when a tester comes out with only a few moist crumbs clinging to the surface.
Step 5: Construct the Vanilla Pastry Cream
Whisk the milk and yolks over medium-low heat with constant attention to the corners of the pot where scorching often begins. As the starch hydrates, the liquid will transform into a thick, glossy cream that holds its shape on the whisk. Pass the finished cream through a fine sieve to remove any micro-coagulations and guarantee a perfectly smooth texture.
Step 6: Create the Chocolate Cream Filling
Combine the chopped chocolate with the hot starch mixture and allow it to sit undisturbed for sixty seconds before stirring. This brief pause allows the chocolate to melt evenly, preventing the graininess that occurs when fats are disturbed during a temperature transition. The resulting pudding should be opaque and heavy enough to support the weight of the second cake layer.
Step 7: Assemble the Internal Layers
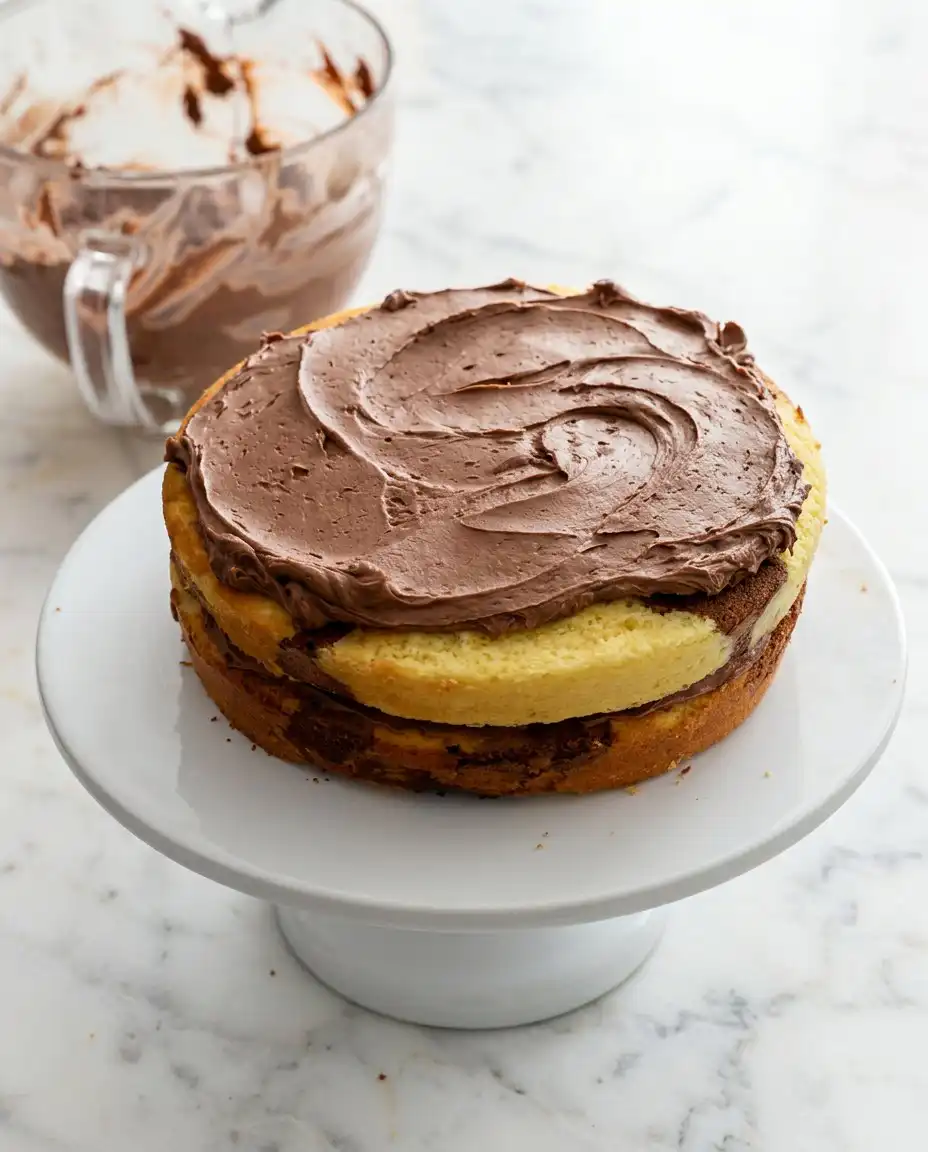
Split the cooled cake horizontally with a long serrated knife to create two identical layers of equal thickness. Place the base layer back into the pan and spread the chocolate filling followed by the chilled vanilla cream. Your goal is to create distinct, level boundaries between each component to ensure the cross-section is sharp and professional.
Step 8: Apply the Ganache Finish
Pour the tempered chocolate ganache over the set pastry cream and tilt the pan gently to encourage the liquid to flow to the edges. Avoid using a spatula if possible, as the natural flow of the chocolate produces a more level and professional finish. Return the cake to the refrigerator to allow the ganache to set into its final, semi-firm state.
The Details That Elevate This
Precision is not a constraint. It is the freedom to repeat success. When you are making the pastry cream, the transition from liquid to thick custard happens within a matter of seconds; you must stay vigilant and never stop whisking. If your custard develops lumps, it is likely because the heat was too high or the whisking was inconsistent. You can often save a lumpy custard by immediately removing it from the heat and whisking vigorously, or as a final measure, passing it through a high-quality sieve.
Room temperature is an instruction, not a suggestion, especially when working with high-fat batters. If your butter is too cold, it will not trap air efficiently during the creaming stage, leading to a heavy, oily sponge. Conversely, butter that is too soft will lose its structural integrity, causing the cake to collapse as it cools. Observing the triple chocolate layer cake technique can show you how different fats interact with cocoa solids for various textures.
The quality of your chocolate determines the success of your ganache. Avoid using standard supermarket chocolate chips, as they contain stabilizers that prevent them from melting into a truly fluid state. Instead, use a high-quality bar with a 70% cocoa content and chop it finely to ensure the heat from the cream penetrates every piece quickly. Consistent sizing of your chocolate pieces is the only way to avoid a grainy or broken emulsion.
Frequently Asked Questions
Why did my marble pattern disappear after baking?
This common issue occurs when the batter is over-mixed during the smoothing process. When you dollop the two colors into the pan, you must only spread them enough to fill the gaps, rather than swirling them deeply. If the two batters are stirred together too much, they will blend into a single, muddy color during the rise.
Can I substitute the sour cream with yogurt?
You may use full-fat Greek yogurt as a substitute, but it must be the thick variety to maintain the batter’s moisture balance. Avoid low-fat or watery yogurts, as they lack the fat content necessary to produce the desired tender crumb. The acidity level is similar, so your leavening agents will still activate correctly.
How do I prevent a skin from forming on my pastry cream?
The key is to apply a piece of plastic wrap directly onto the surface of the hot cream as soon as it is poured into the bowl. This prevents air from coming into contact with the custard, which is what causes the proteins to dry and form a tough layer. Leave the wrap in place until you are ready to use the cream for assembly.
Why is my ganache dull instead of shiny?
A dull ganache is usually the result of the cream being too hot or the mixture being stirred too aggressively. When you incorporate the cream and chocolate, use a slow, circular motion with a whisk to avoid introducing air bubbles. If the emulsion breaks due to high heat, the fat will separate and create a matte finish.
Is it possible to make this cake gluten-free?
You can use a high-quality 1:1 gluten-free flour blend, but be aware that the lack of gluten will make the cake layers more fragile. Since this cake requires horizontal slicing, you must be extremely careful during the assembly stage. You may need to chill the cake layers in the freezer for twenty minutes before slicing to help them hold their shape.
How long will this cake keep in the refrigerator?
Because of the fresh dairy in the pastry cream and pudding, this cake should be consumed within three days. Always keep it covered to prevent the sponge from absorbing other flavors from the fridge. The texture actually improves after the first twelve hours as the moisture from the fillings migrates slightly into the cake layers.
Thoughtful Alternatives
While the traditional chocolate and vanilla pairing is a hallmark of this recipe, you may adapt the flavors to suit the season. Replacing the vanilla extract with almond extract in the white batter creates a sophisticated profile that pairs beautifully with the dark chocolate layers. You might also consider a classic vanilla layer cake base if you prefer a lighter, more air-centric sponge for your layers.
Another elegant adaptation involves the use of citrus. Adding the finely grated zest of two oranges to the chocolate cream filling introduces a bright acidity that cuts through the richness of the ganache. For those interested in the historical development of these methods, you may consult a guide on the history of marbled sponges to see how these patterns evolved over the centuries.
Before You Serve
To achieve the clean, sharp edges seen in professional bakeries, you must use a long, thin knife that has been dipped in hot water and wiped dry between every single cut. This prevents the cream layers from dragging into the cake layers and preserves the visual integrity of the marble pattern. You may find further inspiration for elegant plating in this classic two layer yellow cake chocolate frosting story which highlights the beauty of simple, clean lines.
Serve this cake slightly chilled but not cold, allowing it to sit at room temperature for about fifteen minutes before it reaches the guest. This brief interval allows the fats in the ganache and the butter in the cake to soften just enough to release their full flavor. A small dusting of cocoa powder or a few dark chocolate curls on the plate can provide a subtle finishing touch without distracting from the complexity of the cake itself.
Closing Notes
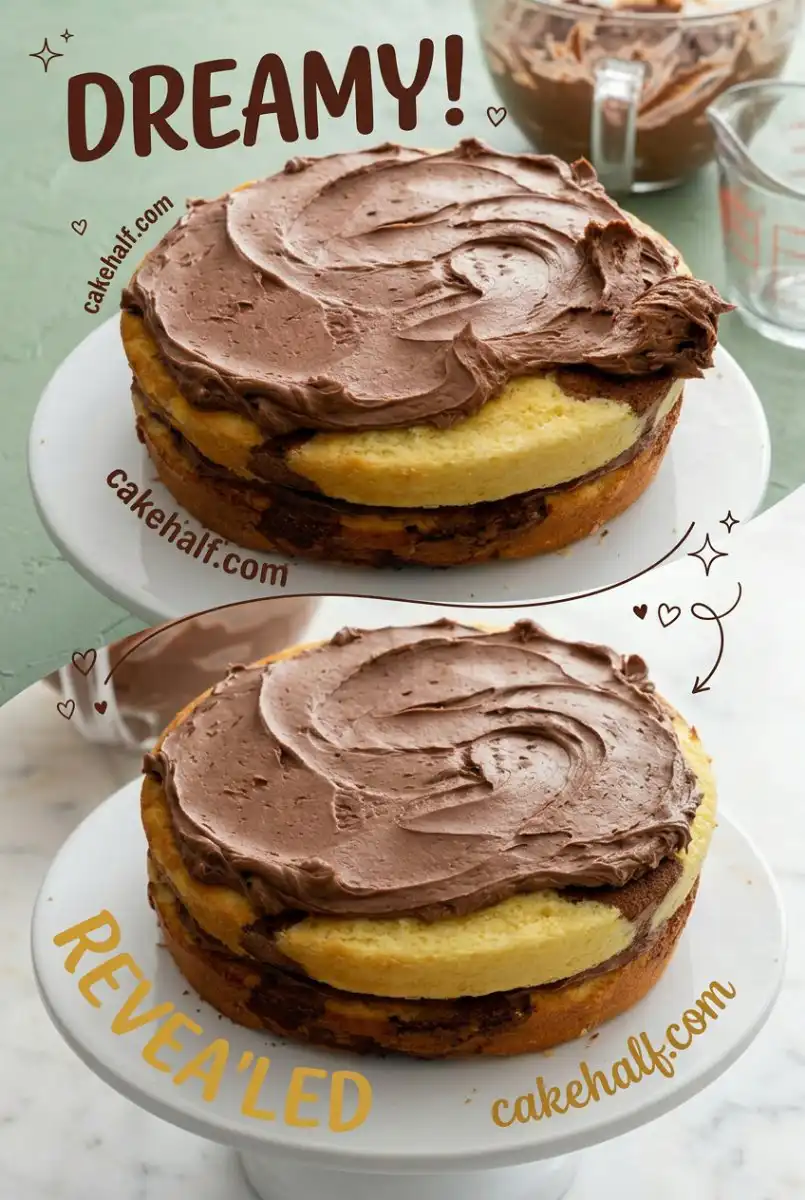
Mastering the Two-Layer Marble Cake is an exercise in discipline that pays dividends the moment you reveal the first cross-section. The combination of patient chilling and precise tempering creates a dessert that is as stable as it is luxurious. When you follow these steps without deviation, you are not just following a recipe; you are practicing the small disciplines that define a master baker.
I encourage you to share your results and continue your education by trying the classic vanilla butter cake to further refine your understanding of sponge textures. For more technical guides and pastry inspiration, please follow our community on Pinterest and Facebook. Happy baking.