The rule that says vegetables only belong in a salad is a limitation we are discarding today because zucchini is a high-performance structural hydrator that belongs in your dessert rotation.

This Classic Chocolate Zucchini Cake isn’t trying to hide its green identity; it is bragging about a texture that fat alone cannot achieve. Small-batch baking allows us to push the moisture levels to the edge without the center collapsing under its own weight. We use a massive 4.5 cups of shredded greens to transform a standard crumb into something almost fudge-like and deeply decadent. Tradition noted. Proceeding anyway.
What Makes This Classic Chocolate Zucchini Cake Different
Prep: 30 min · Serves: 12 · Difficulty: Medium
- Dark cocoa depth meets garden-fresh moisture
- Three tall layers for maximum visual drama
- Precise crumb that resists drying out overnight
- Decadent buttercream with melted chocolate notes
- Unrivaled texture from shredded green zucchini
This is the homemade chocolate cake that silences every skeptic in the room once they see that first rich slice.
Get The Full Cake Recipe
Print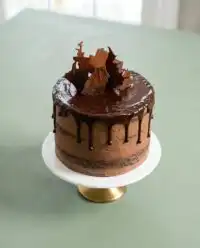
Classic Chocolate Zucchini Cake
- Total Time: 1 hour 5 mins
- Yield: 12 servings
- Diet: Vegetarian
Description
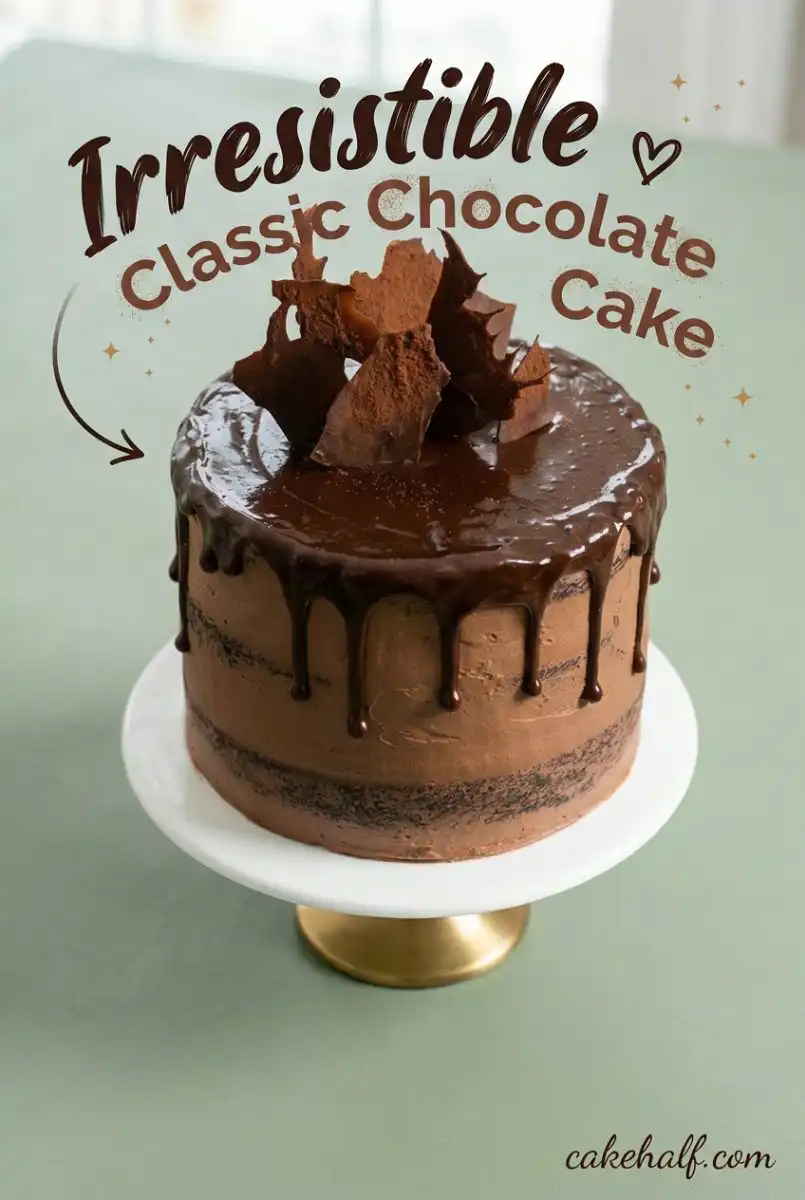
This rich and decadent chocolate cake utilizes shredded zucchini to achieve a uniquely moist, fudge-like crumb. Perfectly balanced with deep espresso and cocoa notes, it delivers professional-grade texture in a stunning three-layer presentation.
Ingredients
- 4.5 cups shredded zucchini
- All-purpose flour
- Cocoa powder
- Baking soda
- Baking powder
- Salt
- Espresso powder
- Vegetable oil
- Granulated sugar
- Brown sugar
- 6 large eggs
- Sour cream
- Vanilla extract
- Chocolate chips
- Heavy cream
- Confectioner’s sugar
- Butter
Instructions
- Prepare the oven. Heat your oven to 350 degrees and prepare three 8-inch cake pans with butter, flour, and parchment rounds.
- Whisk dry ingredients. Sift the flour, cocoa, baking soda, baking powder, salt, and espresso powder in a bowl until uniform.
- Emulsify wet ingredients. Beat the oil, sugars, and eggs until glossy, then incorporate sour cream and vanilla extract.
- Combine the batter. Fold in the shredded zucchini and stir in the dry ingredients, followed by the chocolate chips, taking care not to overmix.
- Bake the layers. Distribute batter into pans and bake for 30 to 35 minutes until the centers are springy.
- Cool completely. Rest the cakes for five minutes before inverting onto a wire rack to cool fully before frosting.
- Whip the buttercream. Melt chocolate with cream, then whip with butter, cocoa, and confectioner’s sugar until fluffy.
- Assemble the cake. Frost each layer, stack the tiers, apply a crumb coat, chill, and finish with decorative piping.
Notes
- Squeeze moisture from your shredded zucchini using paper towels to prevent a dense or soggy crumb.
- Use room temperature eggs and sour cream to ensure a smooth, stable emulsion during mixing.
- Measure flour using a kitchen scale for accuracy to avoid adding excess density to the cake.
- Chill the cake after the initial crumb coat to ensure the final layer of frosting remains smooth and clean.
- Use a serrated knife dipped in hot water to achieve clean, sharp slices of the finished cake.
- Prep Time: 30 mins
- Cook Time: 35 mins
- Category: Dessert
- Method: Baking
- Cuisine: American
Build Your Mise en Place
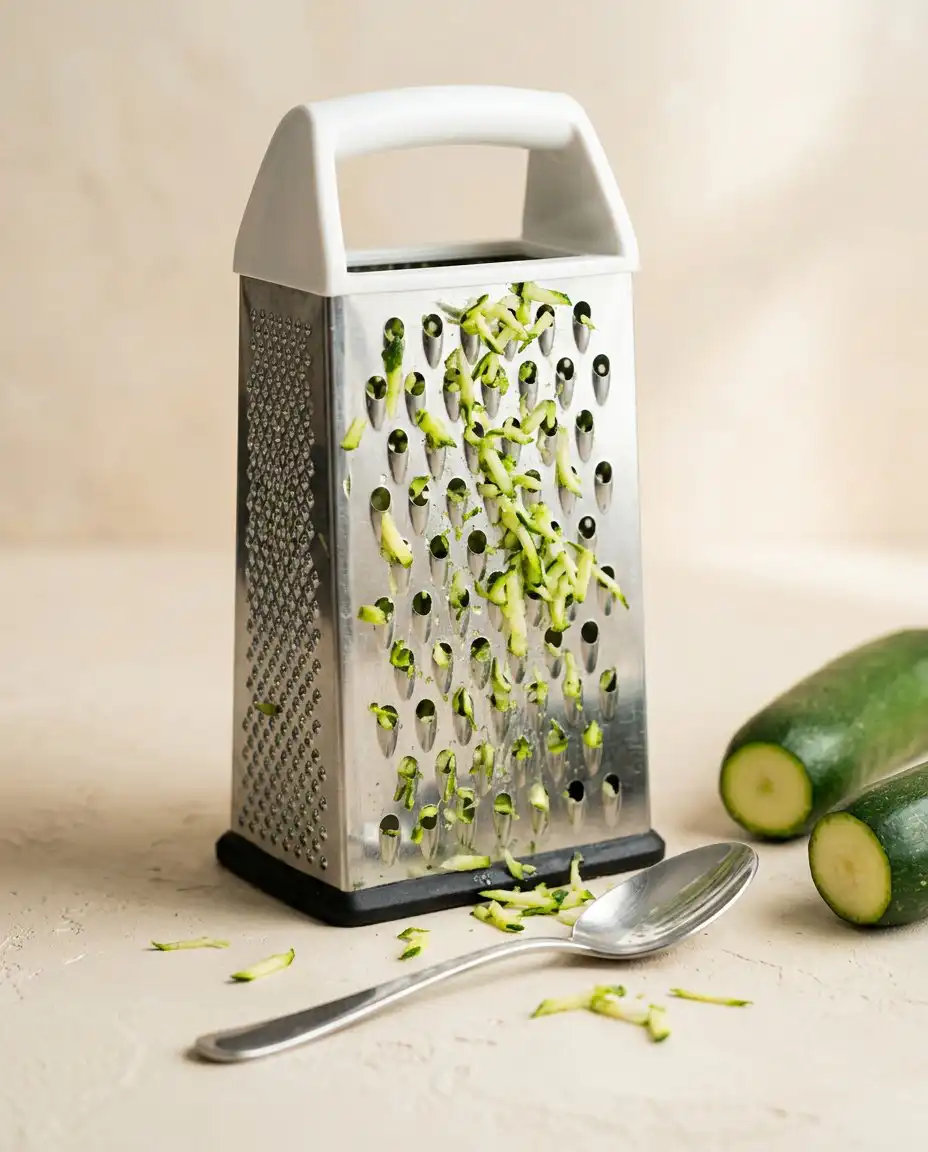
Baking is a series of chemical reactions where every component must earn its weight on the scale. We prioritize high-fat cocoa and garden-fresh moisture to create a crumb that feels substantial yet melts away on the palate. Precision with your measurements is the difference between a soggy mess and a professional-grade masterpiece.
- Shredded Zucchini: This acts as a moisture reservoir that releases liquid during the bake to keep the crumb tender.
- Cocoa Powder: We use natural unsweetened cocoa to provide the structural framework and a deep, bitter chocolate profile.
- Sour Cream: This adds a tangy lift while tenderizing the gluten network for a softer bite.
- Vegetable Oil: Unlike butter, oil remains liquid at room temperature, keeping the cake soft even after days in the fridge.
- Espresso Powder: This is our secret weapon to sharpen the chocolate notes without adding a distinct coffee flavor.
- Brown Sugar: The molasses content adds hygroscopic properties that lock in moisture and deepen the caramel undertones.
| Ingredient | Why It Matters |
|---|---|
| Shredded Zucchini | Acts as a moisture reservoir without weighing the crumb down. |
| Cocoa Powder | Provides the structural framework and deep, bitter chocolate profile. |
| Sour Cream | Adds a tangy lift and tenderizes the gluten network for softness. |
| Vegetable Oil | Keeps the cake soft even when refrigerated for several days. |
| Espresso Powder | Sharpens the chocolate notes without adding any coffee flavor. |
The Method
Step 1: Prep Your Pans and Oven
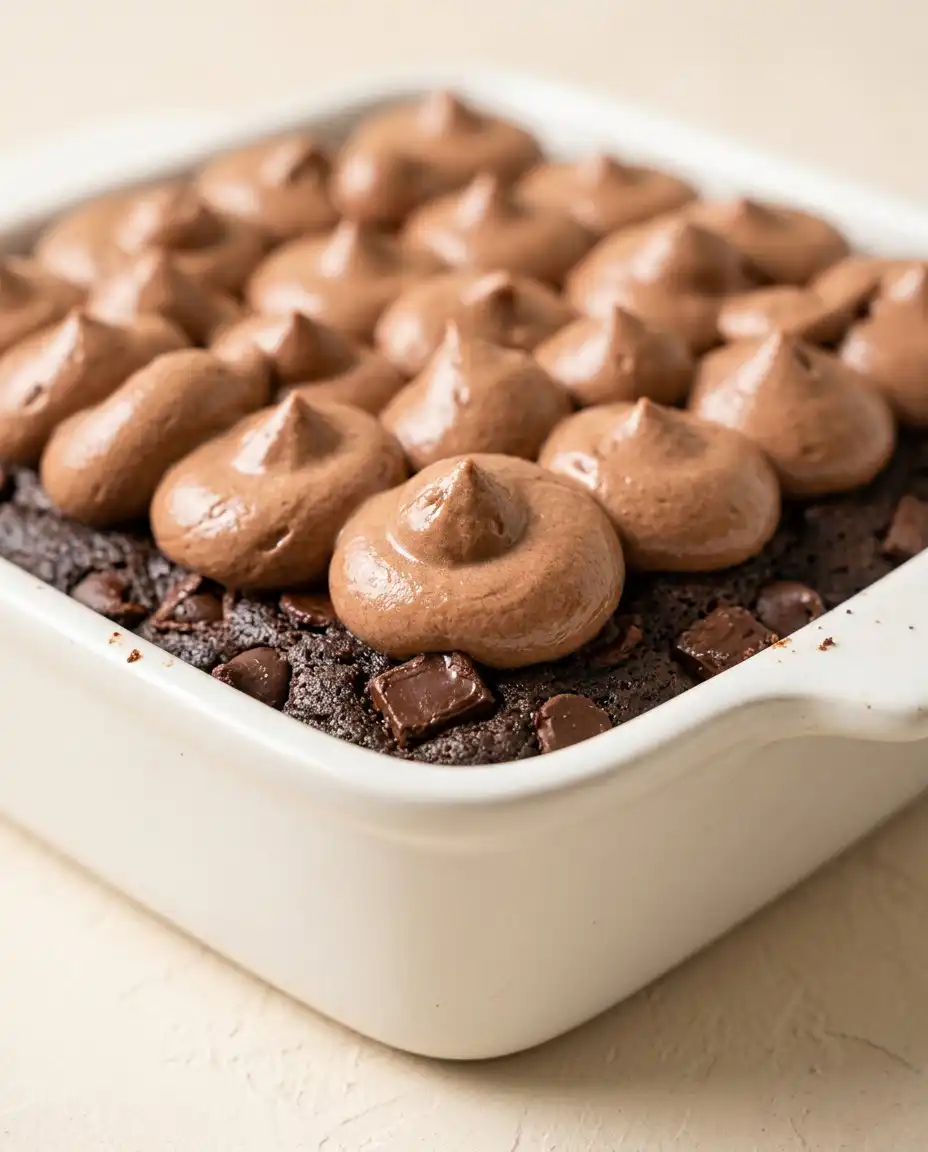
Heat your oven to 350 degrees and prepare three 8-inch cake pans with butter and flour. Cut a parchment round for the bottom of each pan to verify a clean release after baking. I always use damp cake strips around the exterior of the pans to prevent the layers from doming. This ensures your cake layers remain flat and uniform for easier stacking and frosting later.
Step 2: Whisk the Dry Foundation
Sift the all-purpose flour, cocoa powder, baking soda, and baking powder into a large bowl. Add the salt and espresso powder, then whisk vigorously until the mixture is a uniform pale brown color. Sifting is non-negotiable here because cocoa powder is prone to stubborn clumps that can ruin a smooth batter. You want a dry mix that feels light and aerated before any liquids are introduced.
Step 3: Emulsify the Wet Ingredients
In a separate large bowl, combine the vegetable oil, granulated sugar, and brown sugar with the six large eggs. Use a stand mixer with the paddle attachment on medium speed to emulsify these ingredients until they look glossy and pale. Add the sour cream and vanilla extract, mixing until no white streaks remain. This stage creates the stable fat-and-sugar base that will support the heavy zucchini and chocolate chips.
Step 4: Fold the Classic Chocolate Zucchini Cake Batter
Stir the shredded zucchini into the wet mixture using a spatula to distribute the greens evenly throughout the liquid. Add the dry ingredients in two batches, mixing on low speed until only a few streaks of flour remain visible. Fold in the chocolate chips by hand, being careful not to overwork the gluten. Over-mixing at this stage leads to a tough, rubbery crumb that loses its delicate appeal.
Step 5: Bake and Monitor Texture
Distribute the batter evenly between your three prepared pans, using a kitchen scale for absolute accuracy. Bake for 30 to 35 minutes until the centers are springy to the touch and a skewer emerges clean from the middle. You should smell the deep aroma of toasted cocoa filling your kitchen as the cakes reach their peak. Avoid opening the oven door too early, as the sudden temperature drop can cause the delicate centers to sink.
Step 6: Cool and Invert Layers
Allow the cakes to rest in their pans for five minutes to let the structure firm up slightly. Invert the layers onto a wire cooling rack and peel away the parchment paper rounds immediately. Let the cakes cool completely to room temperature before you even think about starting the frosting process. Warm cake will melt the buttercream, turning your three-layer masterpiece into a sliding disaster.
Step 7: Whip the Decadent Buttercream
Melt the first portion of chocolate chips with a third of the heavy cream and set it aside to cool. Cream the room-temperature butter and salt until pale and voluminous, then sift in the remaining cocoa powder. Gradually add the confectioner’s sugar and the rest of the cream, beating on high speed for five minutes. The frosting should look light, fluffy, and have the consistency of soft silk.
Step 8: Assemble the Three-Layer Stack
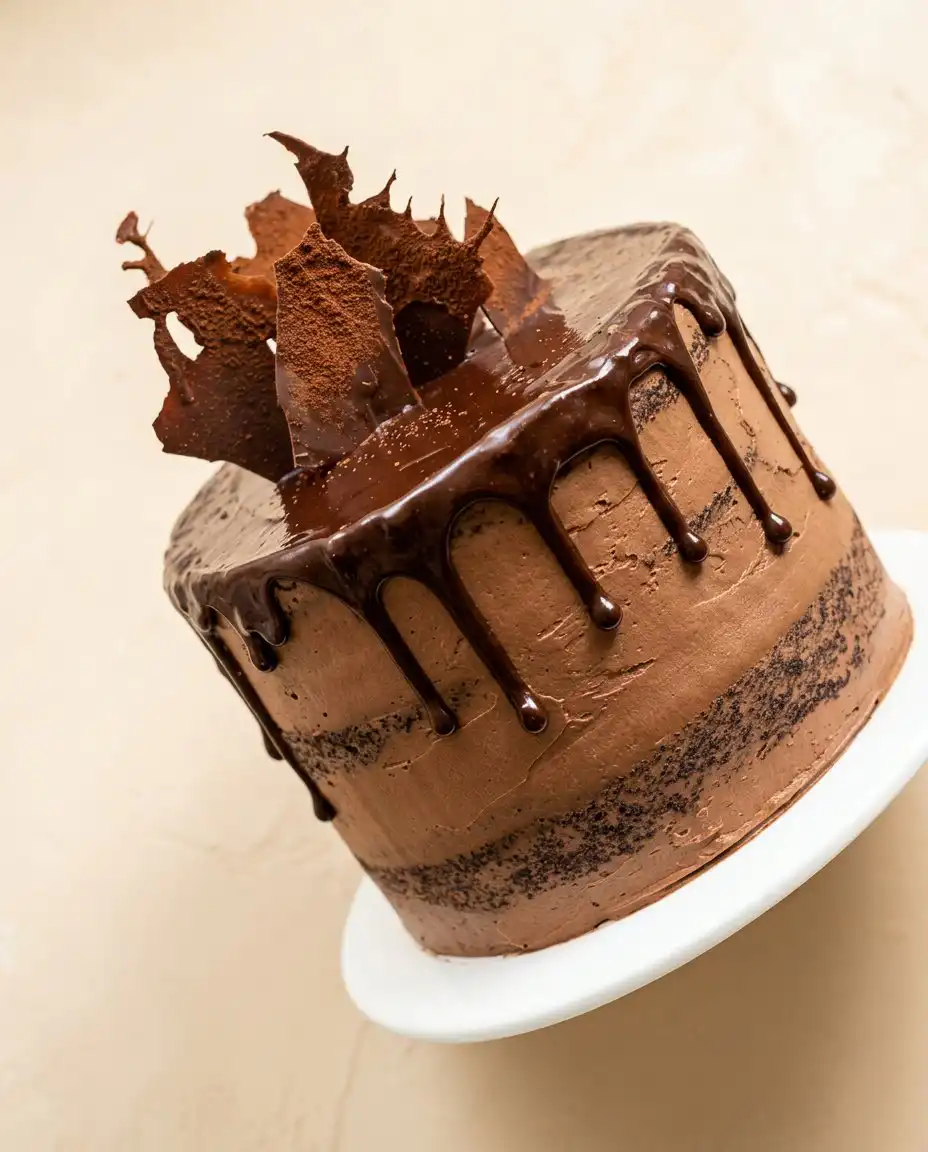
Place the first cake layer on a stand and pipe a generous layer of chocolate buttercream over the surface. Repeat the process with the second and third layers, ensuring each one is centered and level. Apply a thin crumb coat to the sides and top, then chill the cake for twenty minutes to set. Finish with a final thick layer of frosting and use a star tip to pipe decorative dollops around the top edge.
Where to Be Precise
If your cake feels overly wet or sinks in the middle, you likely skipped the squeeze. Some zucchini varieties hold excessive water; if yours looks dripping wet after grating, press it lightly between paper towels to remove the excess moisture. This adjustment preserves the structural integrity of the crumb without sacrificing the signature softness.
Never guess with your flour measurements because a packed cup can add up to 30% more weight than required. Use a kitchen scale to measure exactly 360 grams of all-purpose flour for a result that is consistently light. This precision removes the guesswork and allows you to recreate this easy chocolate cake experience every single time you bake.
Temperature is a silent factor that can break an emulsion before it even starts. Verify that your eggs and sour cream are at true room temperature so they incorporate into the oil and sugar smoothly. Cold ingredients will cause the fats to seize, resulting in a lumpy batter that bakes unevenly in the oven.
To achieve professional-grade flat tops, I highly recommend using fabric cake strips soaked in water. These strips insulate the edges of the pan, allowing the center and the sides to rise at the same rate. This eliminates the need to trim away the domed tops, meaning more cake stays in the stack and less ends up as kitchen scraps.
Sifting your cocoa powder and confectioner’s sugar is a tedious step that yields massive rewards in texture. Cocoa naturally forms small, dense balls that do not dissolve easily once they hit the wet ingredients. A quick pass through a fine-mesh sieve guarantees a silk-like buttercream and a batter free of bitter chocolate pockets.
Frequently Asked Questions
Can I prepare this cake in advance?
Yes, you can bake the layers up to two days before assembly if you wrap them tightly in plastic wrap. Storing them at room temperature keeps the crumb tender, though you should wait to frost them until you are ready to serve. This allows the flavors to meld and makes the assembly process much faster on the day of your event.
Do I need to peel the zucchini first?
There is no need to peel the zucchini because the skin is thin and softens completely during the baking process. The tiny green flecks are the only evidence of the vegetable, and they provide a striking contrast against the dark chocolate batter. If you have particularly large zucchini with thick skin, you may want to peel them, but standard medium ones are fine as is.
How long does this cake stay fresh?
This cake remains remarkably moist for 4 to 5 days when stored in an airtight container at room temperature. Because of the high moisture content from the zucchini, it does not dry out as quickly as traditional sponges. If you live in a very humid environment, you might prefer to store it in the refrigerator to keep the buttercream stable.
Can I freeze the finished cake?
You can freeze the individual cake layers or the fully frosted cake for up to three months. Wrap the item in a double layer of plastic wrap followed by a layer of aluminum foil to prevent freezer burn. Defrost the cake slowly in the refrigerator overnight before bringing it to room temperature for the best serving experience.
Why did my cake sink in the center?
A sunken center usually indicates that the zucchini was too wet or the leavening agents were expired. Excessive moisture weighs down the structure before it has a chance to set, causing the middle to collapse. Always check the expiration dates on your baking soda and ensure you aren’t opening the oven door frequently during the first 25 minutes.
Can I use yellow squash instead of zucchini?
Yellow summer squash is a perfectly acceptable substitute for zucchini in this recipe as they have similar water content and texture. The flavor remains neutral, though you will lose the signature green flecks in the dark crumb. Treat it exactly like the zucchini by grating it and lightly patting it dry if it appears overly watery.
Rebel Swaps
For a sophisticated twist, you can replace the vanilla extract with a tablespoon of orange zest and a splash of orange liqueur. The bright citrus notes cut through the richness of the dark cocoa, creating a flavor profile reminiscent of high-end artisanal truffles. You can find more inspiration in my chocolate cake ideas if you want to push this flavor profile even further.
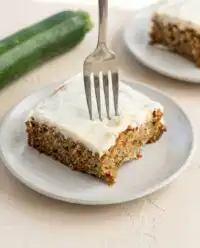
If you prefer a lighter finish, swap the chocolate buttercream for a tangy cream cheese frosting. The acidity of the cheese balances the heavy chocolate layers and highlights the freshness of the zucchini inside. This variation works particularly well for summer gatherings where a dense buttercream might feel too heavy for the heat.
Transform this recipe into handheld treats by distributing the batter into lined cupcake tins instead of large pans. Bake for 18 to 22 minutes and watch for the same springy texture in the center before removing them. Cupcakes offer a different surface-to-frosting ratio that some enthusiasts find even more satisfying than a traditional slice.
Cutting, Plating, Presenting
When you are ready to serve, use a long serrated knife dipped in hot water and wiped dry between every single cut. This technique ensures clean, sharp edges that reveal the beautiful three-layer cross-section of the chocolate cake recipe without smearing the frosting. The visual drama of the layers is part of the experience, so take your time with the presentation.
I like to serve this cake with a small pinch of flaky sea salt scattered over the top of the buttercream dollops. The salt amplifies the chocolate notes and provides a brief, savory crunch that balances the sweetness of the sugar. Pair each slice with a strong cup of black coffee or a glass of cold milk to complement the richness of the cocoa.
For a more formal presentation, garnish the base of the cake with fresh raspberries or thin ribbons of raw zucchini. The red berries add a pop of color and a tart acidity that works beautifully with the dark chocolate profile. Small-batch baking is about making every detail count, so do not shy away from a bold plating choice that reflects the care you put into the bake.
The Takeaway
You have just proved that vegetables are not just for side dishes; they are the secret to the most indulgent crumb in your repertoire. This recipe is a starting point, and now that you understand the mechanics of moisture and structure, you are the variable that makes it unique. Small batch, full conviction is how we approach every experiment at the oven.
If you enjoyed this departure from the traditional sponge, take a look at my wacky cake depression cake for another lesson in unconventional moisture. Baking is a constant evolution of technique and flavor, and your kitchen is the lab where the magic happens. Make less, mean more, and never be afraid to break a rule if the result is this good.
Share your progress with the community and let us know how your layers turned out on our social channels. You can find more inspiration on Pinterest, Facebook, and TikTok.