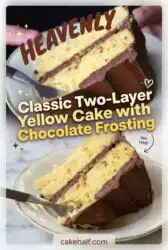
The amateur yellow cake often suffers from a dry, open crumb or a cloying sweetness that masks the profile of the butter. A well-made version, however, relies on the precise aeration of egg whites and a calculated fat ratio to produce a fine, structured crumb that supports its own weight.

The hallmark of a superior yellow cake is the harmony between the richness of the butter and the delicate lift of aerated egg whites. This Classic Two-Layer Yellow Cake with Chocolate Frosting avoids the heavy, cloying nature of commercial mixes by employing specific fat ratios and acidic buttermilk for a tender finish. You will find that the addition of olive oil guarantees a lasting moisture that butter alone cannot provide. This creates a cake that is as structurally sound as it is refined.
Why This Classic Two-Layer Yellow Cake with Chocolate Frosting Rewards Attention
Prep: 30 min · Serves: 16 · Difficulty: Medium
- Achieve a professional crumb through egg separation.
- Olive oil provides lasting moisture in every slice.
- A balanced sweetness that respects the palate.
- Structured layers that facilitate precise, elegant frosting.
- Rich cocoa depth in a billowy cream frosting.
This is the definitive architecture for every celebratory occasion in your kitchen. You can find more details on this yellow cake chocolate frosting and why it succeeds.
Get The Full Cake Recipe
Print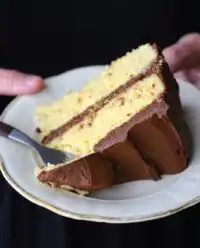
Classic Two-Layer Yellow Cake with Chocolate Frosting
- Total Time: 50 mins
- Yield: 16 servings
Description
This refined yellow cake features a delicate, structured crumb achieved through the precise aeration of egg whites and a unique blend of butter and olive oil. Topped with a silky, stable cream cheese chocolate frosting, it provides a sophisticated balance of moisture and flavor perfect for any celebratory occasion.
Ingredients
- Unsalted butter
- Extra virgin olive oil
- Buttermilk
- Egg whites
- Egg yolks
- Sugar
- All-purpose flour
- Cornstarch
- Baking powder
- Baking soda
- Sea salt
- Cream cheese
- Cocoa powder
- Powdered sugar
- Vanilla extract
Instructions
- Prepare your equipment. Position oven racks to the center, grease two 9-inch round cake pans, line with parchment, and flour the sides.
- Aerate egg whites. Whisk egg whites and 1/4 cup sugar until the mixture is glossy and holds stiff peaks.
- Emulsify wet ingredients. Whisk together buttermilk, melted butter, egg yolks, olive oil, and extract in a bowl until uniform.
- Combine dry base. Sift the flour, cornstarch, baking powder, baking soda, salt, and remaining sugar together to remove clumps.
- Incorporate liquids. Gently stir the buttermilk mixture into the dry ingredients until just combined without over-mixing.
- Bake the layers. Divide batter into pans and bake at 350°F / 176°C for twenty minutes, rotating pans halfway through.
- Cool the cakes. Rest cakes in pans for fifteen minutes before inverting onto a wire rack to cool completely.
- Prepare the frosting. Beat butter and cream cheese, then gradually add cocoa, powdered sugar, and buttermilk until spreadable.
- Assemble the cake. Trim cake domes to ensure flat layers, frost between the rounds, and cover the exterior with the remaining frosting.
Notes
- Ensure all dairy and egg components are at room temperature to prevent the butter from seizing during emulsification.
- Use a digital scale to measure flour precisely, as volume measurements are prone to inconsistencies.
- Test your chemical leaveners by adding a pinch to vinegar; if they fail to bubble, discard and replace them for proper lift.
- Chill the baked cake layers before frosting to simplify the assembly process and minimize surface tearing.
- Prep Time: 30 mins
- Cook Time: 20 mins
- Category: Dessert
- Method: Baking
- Cuisine: American
Ingredients, Chosen with Purpose
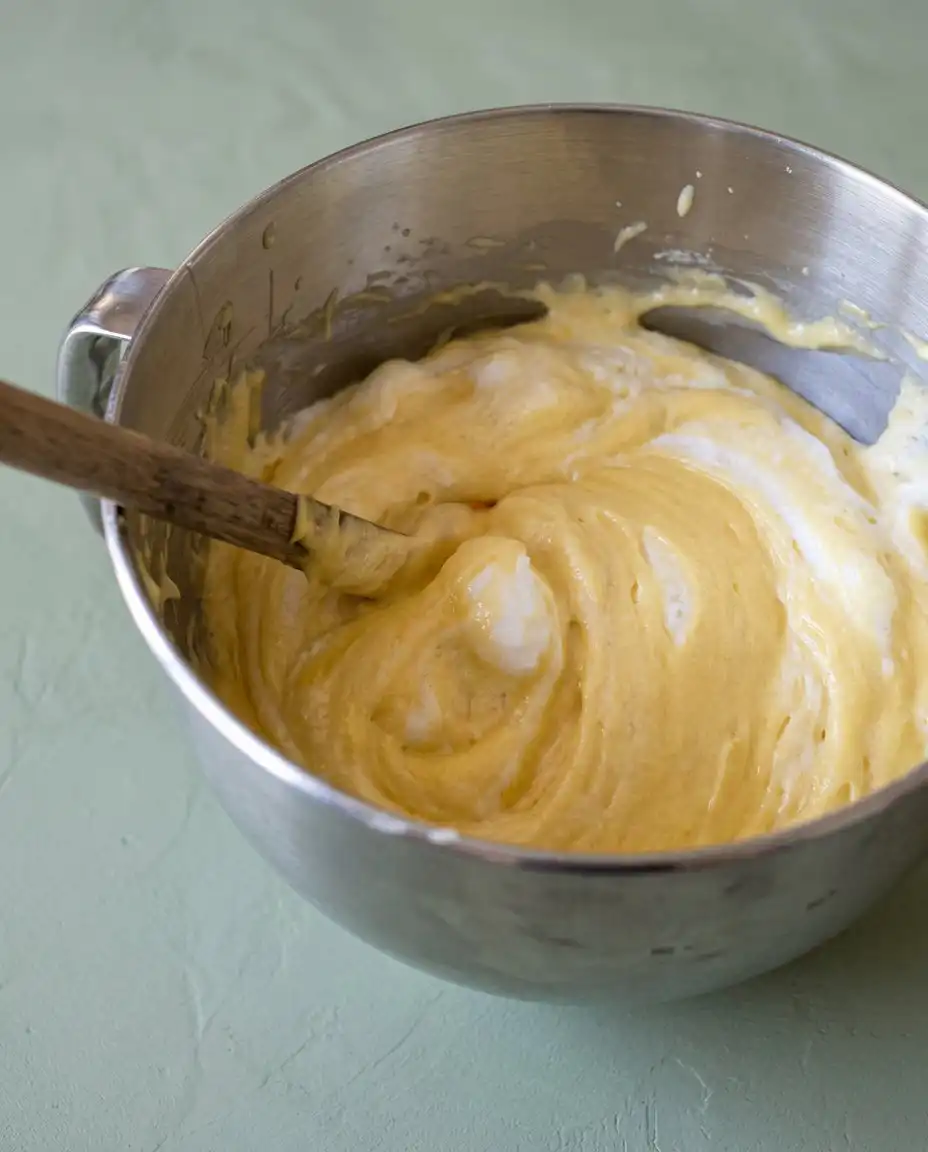
Selection of high-quality fats and leaveners determines the final crumb density and the success of the emulsion. We combine traditional butter with modern olive oil for both flavor and shelf-life, creating a synergy that supports a delicate yet resilient structure.
- Unsalted Butter: Provides the foundational flavor and a tender crumb when creamed or melted properly.
- Extra Virgin Olive Oil: Adds a specific lipid profile that remains liquid at room temperature for superior moisture.
- Buttermilk: The acidity reacts with the leaveners to tenderize the gluten and provide a slight tang.
- Egg Whites: When whipped to stiff peaks, they provide mechanical leavening for a lighter mouthfeel.
- Cornstarch: Softens the all-purpose flour to mimic the protein content of professional cake flour.
- Cream Cheese: Stabilizes the chocolate frosting while adding a sophisticated, subtle acidity to the finish.
| Ingredient | Why It Matters |
|---|---|
| Melted Butter | Creates a dense, rich flavor profile without excessive air |
| Olive Oil | Guarantees the crumb stays soft even after refrigeration |
| Cornstarch | Lowers protein content for a silkier, less bread-like texture |
| Sea Salt | Sharpens the contrast against the deep cocoa sugars |
The Technique Laid Out
Step 1: Prepare the Mise en Place
Position your oven racks in the center to guarantee even heat distribution around the pans. Butter two 9-inch round cake pans, line the bottoms with parchment paper, and flour the sides to create a non-stick environment. Having every ingredient weighed and positioned before beginning prevents the loss of aeration during the mixing process.
Step 2: Aerate the Egg Whites
Whisk the room temperature egg whites until soft peaks begin to form, indicating the protein structure is expanding. Gradually add 1/4 cup of the sugar and continue whisking until the mixture is glossy and holds stiff peaks. This meringue is the primary source of the cake’s lift and must be treated with care.
Step 3: Emulsify the Wet Ingredients
In a medium bowl, whisk together the buttermilk, melted butter, egg yolks, olive oil, and your chosen extract. It is vital that these ingredients are at room temperature to prevent the butter from seizing and breaking the emulsion. You will notice a smooth, uniform liquid that appears pale and slightly thickened.
Step 4: Combine the Dry Base
Sift the remaining sugar, flour, cornstarch, baking powder, baking soda, and sea salt into a large mixing bowl. Sifting removes clumps and introduces air into the dry mixture, which aids in a clean crumb development. Whisk for fifteen seconds to confirm the leaveners are evenly distributed throughout the flour.
Step 5: Incorporate the Liquids
Gradually pour the buttermilk mixture into the dry ingredients while stirring gently with a spatula. Continue mixing only until the batter is just uniform and no pockets of dry flour remain. Over-mixing at this stage will develop gluten, leading to a tough and resilient cake rather than a tender one.
Step 6: Bake the Classic Two-Layer Yellow Cake with Chocolate Frosting
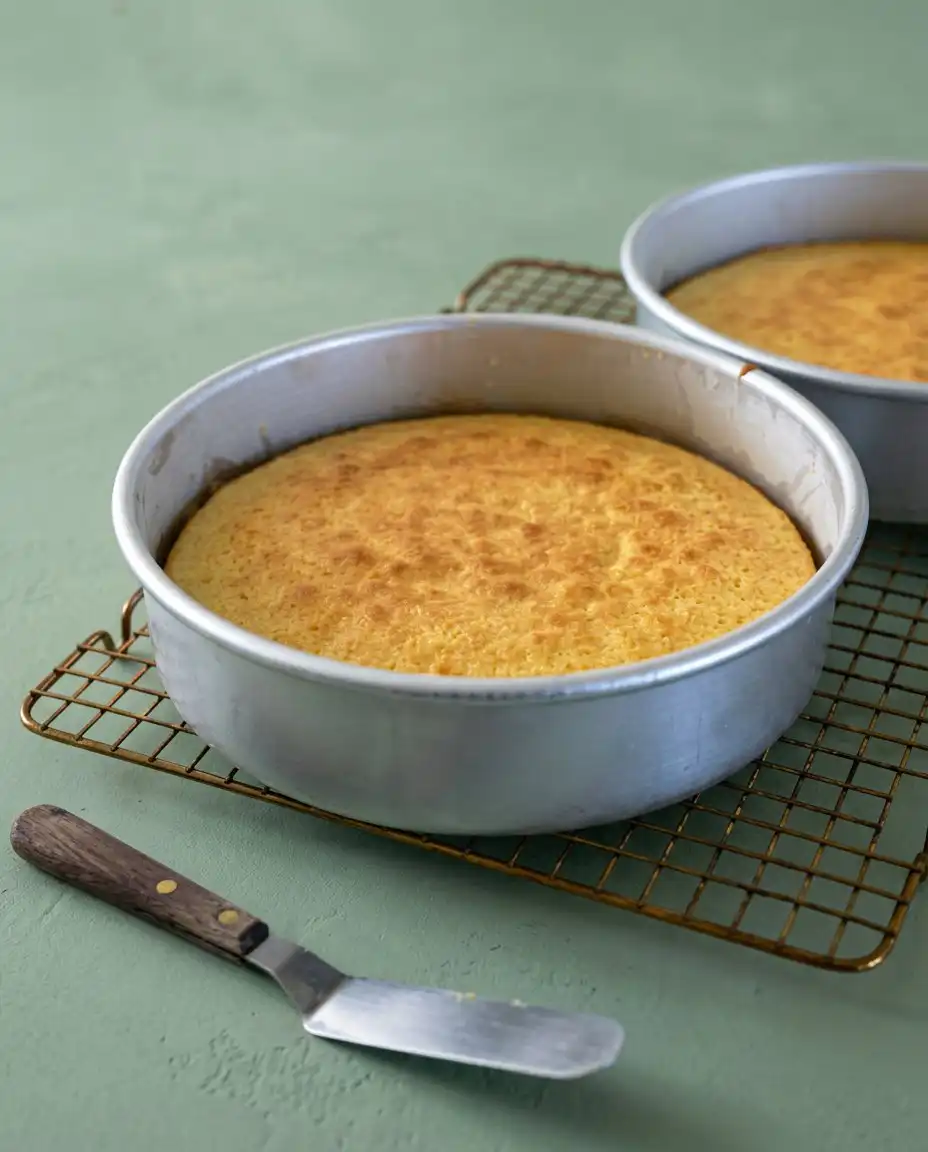
Divide the batter equally between the prepared pans and tap them firmly on the counter to release any trapped air bubbles. Bake for approximately twenty minutes at 350°F / 176°C, rotating the pans halfway through the duration. The cakes are complete when a tester inserted into the center emerges clean and the edges begin to pull away from the pan.
Step 7: The Logic of Cooling
Allow the cakes to rest in their pans for fifteen minutes to set their internal structure before inversion. Move them to a wire rack to cool completely, or place them in the refrigerator to firm up the crumb. A chilled cake is significantly easier to handle and frost without the risk of tearing the delicate surface.
Step 8: Prepare the Billowy Frosting
Beat the room temperature butter and cream cheese together until they form a pale, creamy base. Sift in the cocoa powder and gradually add the powdered sugar, mixing on low speed to prevent a sugar cloud. Add the buttermilk one tablespoon at a time until the consistency is thick, spreadable, and glides across a surface without resistance.
Step 9: Assembly and Finishing
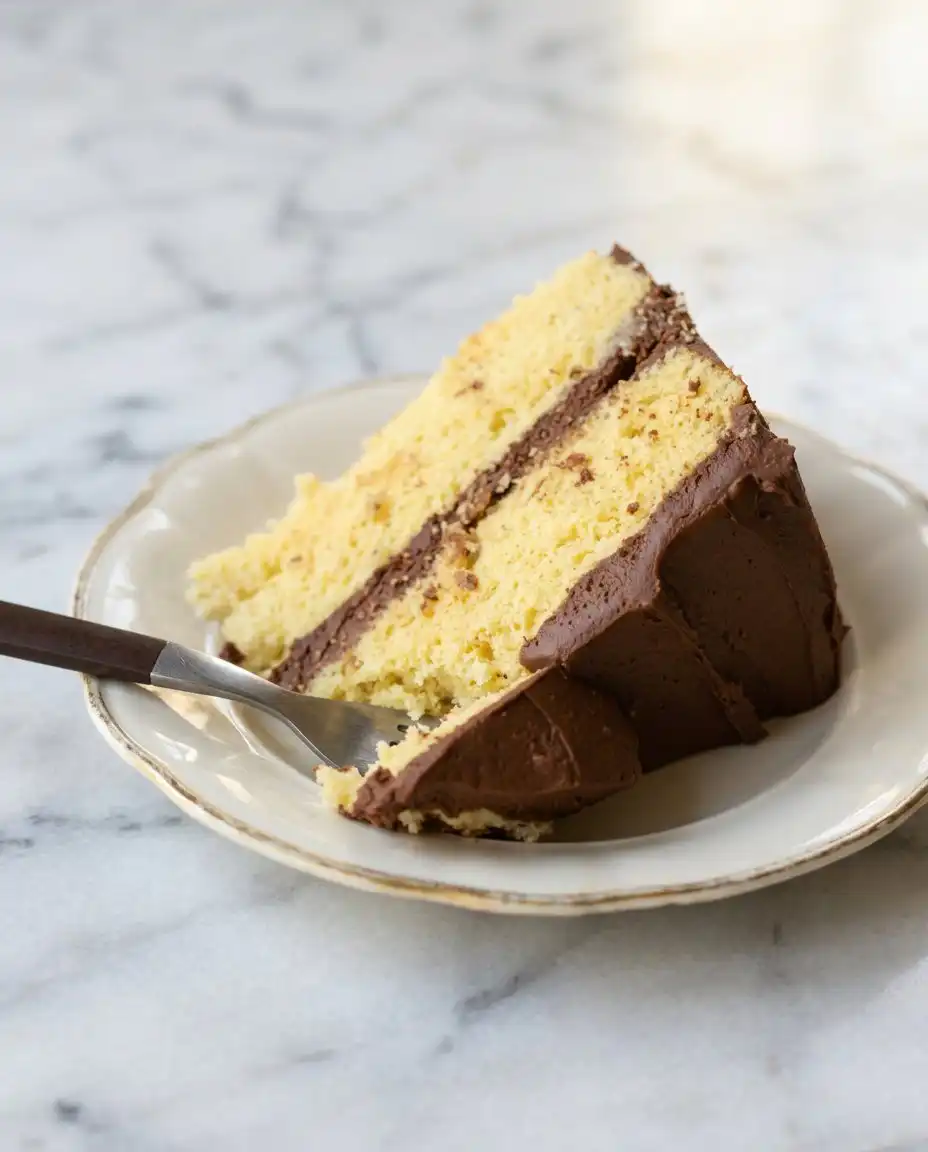
Trim any slight domes from the cake tops using a serrated knife to create perfectly flat surfaces. Place the first layer on a platter, spread a generous amount of frosting to the edges, and top with the second layer. Finish the top and sides with a steady hand, creating the clean, sharp lines of a professional patisserie.
Where Precision Makes the Difference
The temperature of your eggs is not a suggestion; it is a mechanical requirement for proper volume. Cold egg whites will not trap air efficiently, resulting in a flat cake that lacks the characteristic yellow cake lightness. If your whites fail to reach stiff peaks, confirm your bowl is entirely free of residual grease or yolk.
When folding the meringue into the batter, use a wide rubber spatula and a cutting motion through the center. This technique preserves the air bubbles you worked hard to create while ensuring a uniform distribution. If you see white streaks, the folding is incomplete, but if the batter looks liquid and flat, you have folded too aggressively.
If your chocolate frosting appears curdled or broken, it is likely due to a temperature mismatch between the butter and the cream cheese. To fix this, gently warm the base of the bowl with a warm towel or hair dryer for a few seconds and continue beating. The fats will eventually re-emulsify into a smooth, shimmering finish.
Weighing your flour in grams is the only way to guarantee a consistent result every time you bake. Volume measurements are notoriously inaccurate and can lead to a dry, dense crumb that ruins the elegance of the cake. For a deeper understanding of these mechanics, consult this guide on how to achieve a professional yellow cake crumb.
Precision with your leaveners is vital because baking soda and powder lose potency over time. Test your baking soda by dropping a pinch into vinegar; if it does not bubble vigorously, it will not provide the necessary lift. You may also examine the techniques used in a classic vanilla layer cake to compare structural requirements.
Frequently Asked Questions
Can I use natural cocoa powder instead of Dutched cocoa for the frosting?
Yes, both natural and Dutched cocoa powder will function in this frosting recipe as there is no leavening reaction required. Natural cocoa will provide a lighter, more acidic chocolate flavor, while Dutched cocoa results in a darker, more mellow profile. Choose the one that suits your preference for chocolate intensity.
Why does this recipe include both butter and olive oil?
Butter provides the essential flavor and the structure of a traditional yellow cake through its solid fat content. Olive oil, which remains liquid at room temperature, guarantees that the cake stays moist and tender for several days. This combination offers the best of both worlds: superior flavor and exceptional shelf-life.
How should I store a cake that contains cream cheese in the frosting?
Because the frosting contains cream cheese, the cake should be refrigerated if it will not be consumed within two hours. Store it in an airtight container or under a cake dome to prevent the crumb from drying out. Always bring the cake back to room temperature before serving to allow the fats to soften for the best texture.
My cake layers are sticking to the pan despite greasing them. What happened?
Sticking usually occurs if the pans were not floured after buttering or if the cakes were left in the pans too long. The parchment paper liner is a non-negotiable step to confirm the bottom releases cleanly every time. Ensure you run a thin knife around the edge of the cake before attempting to invert the pan.
Can I make the cake layers in advance and freeze them?
Yes, these cake layers freeze exceptionally well due to the olive oil content. Wrap the completely cooled layers tightly in plastic wrap and then foil to prevent freezer burn. Thaw them in the refrigerator overnight before frosting, as working with slightly chilled layers makes assembly much cleaner.
What causes the cake to have a coarse or dry crumb?
A coarse crumb is often the result of over-mixing the batter after the flour has been added, which develops too much gluten. Dryness can occur if the cake is over-baked by even a few minutes or if the flour was measured by volume rather than weight. Always use a timer and a kitchen scale for the most precise and tender results.
Considered Variations
While the traditional yellow cake relies on high-quality vanilla, substituting almond extract provides a sophisticated floral note that pairs beautifully with dark chocolate. Use the same quantity of extract but confirm it is a pure oil rather than a synthetic imitation for the best results. This small change shifts the profile toward a classic European torte.
For those who prefer a more translucent finish, you can omit the cream cheese in the frosting and increase the butter content. This results in a classic American buttercream that is sweeter and firmer at room temperature. You might also consider the crumb structure of a yellow cake recipe if you intend to use a different pan size.
You may also introduce a layer of salted caramel or raspberry preserve between the cake rounds before applying the chocolate frosting. This adds a level of complexity and acidity that cuts through the richness of the cocoa. Always apply a thin crumb coat of frosting first to lock in the preserves and maintain the cake’s structural integrity.
Finishing and Presenting
When you are ready to serve, use a long, thin serrated knife dipped in hot water and wiped dry between each cut. This technique guarantees a clean cross-section where the yellow and chocolate layers are distinctly visible without smearing. A precise cut is the final proof of a well-executed technique and respects the labor put into the bake.
This cake is best enjoyed at a temperature of approximately 70°F, where the butter in the crumb and the cream cheese in the frosting are at their most supple. Serve it alongside a glass of cold milk or a strong espresso to balance the richness of the cocoa. You can also pair it with the suggestions found in our classic vanilla butter cake for a varied dessert table.
For an elegant presentation, place the cake on a marble or glass pedestal to highlight the height of the two layers. Avoid excessive garnishes that detract from the clean lines of the frosting; a simple dusting of cocoa or a few chocolate curls is sufficient. The cake itself should be the focal point of the table, representing the culmination of patient, disciplined baking.
The Result of Your Care
Mastering the Classic Two-Layer Yellow Cake with Chocolate Frosting is a rite of passage for the dedicated home baker. It requires a commitment to temperature control, careful aeration, and the patience to let the crumb set properly before finishing. When these small disciplines are followed without deviation, the result is a cake that stands far above the standard amateur offering.
As you slice into the finished product, take note of the fine grain and the way the frosting clings to the tender yellow crumb. This recipe is more than a dessert; it is an exercise in precision that rewards both the baker and those lucky enough to share a piece. You may also want to explore our chocolate cake recipe for your next technical challenge.
Please share your results with our community of dedicated bakers on Pinterest, Facebook, or TikTok. We look forward to seeing your successful bakes.