Every Christmas Eve, Grandma would set aside a small portion of batter to create these tiny cakes for the children to enjoy before the big feast began.
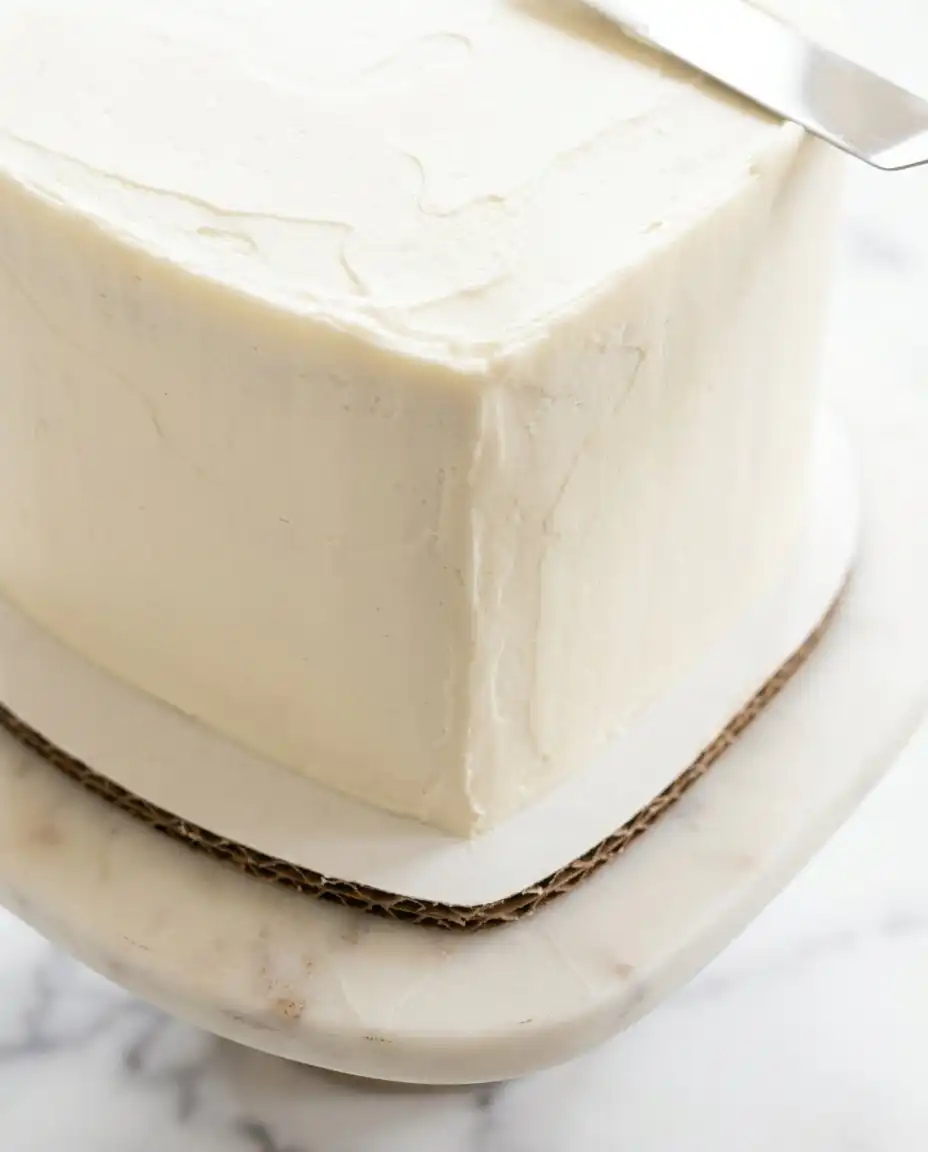
These Mini Vanilla Layer Cakes carry the weight of a dozen Sunday afternoons spent watching the sun crawl across a flour-dusted kitchen floor. They offer a tenderness that larger bakes often lose, capturing the pure essence of vanilla bean in a quiet, intimate form. Choosing to bake these small treasures is a practice in patience and presence, rewarding the baker with a delicate crumb that speaks of heritage and care.
What Makes These Mini Vanilla Layer Cakes Special
Prep: 15 min · Serves: 8 · Difficulty: Medium
- Tender crumb reminiscent of childhood kitchens.
- Scaled sizes perfect for intimate family gatherings.
- Pure vanilla flavor in every bite.
- Traditional methods yield a soft texture.
- Beautifully proportioned for a smaller table.
There is a specific joy in presenting a mini cake that feels personal rather than mass-produced. These tiny layers represent the old way of baking where every measurement was a gesture of affection for those gathered around the table. I remember sitting on the wooden stool in Grandma’s kitchen, watching her carefully level each tier with a silver knife. She always said that the smallest cakes required the most heart, and these little wonders prove her right every time you take a bite. The reverse crumbing method used here creates a velvet-like consistency that reminds me of the sponges served at garden parties decades ago. You do not need a grand occasion to justify these; the act of baking them is the occasion itself. This is the recipe my family gathers for whenever we need a quiet moment of sweetness.
This is the recipe my family gathers for whenever we need a quiet moment of sweetness.
Get The Full Cake Recipe
Print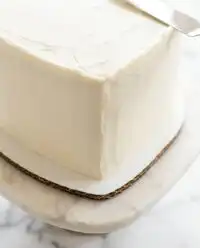
Mini Vanilla Layer Cakes
- Total Time: 1 hour 10 mins
- Yield: 8 servings
Description
These delicate mini vanilla layer cakes feature a tender, velvet-like crumb and a classic flavor profile perfect for intimate gatherings. They are a beautiful, heritage-inspired project that turns baking into a meditative and rewarding experience.
Ingredients
- All-purpose flour
- Granulated sugar
- Baking powder
- Fine salt
- Large egg
- Buttermilk
- Unsalted butter, melted and cooled
- Vegetable oil
- Vanilla bean paste
- Heavy cream
- Powdered sugar
Instructions
- Prepare your oven. Preheat the oven to 350°F (175°C) and line the bottoms of your cake pans with parchment paper.
- Sift dry ingredients. Whisk together the flour, sugar, baking powder, and salt in a large bowl to ensure even distribution.
- Mix wet elements. Stir in the melted butter, vegetable oil, and egg until the mixture forms a thick paste.
- Incorporate remaining liquids. Pour in the buttermilk and vanilla, stirring until the batter is smooth and well combined.
- Bake the layers. Divide batter into pans and bake for 32 to 35 minutes until golden and springy to the touch.
- Chill the cakes. Allow the cakes to cool in pans, release them, and freeze for twenty minutes to firm the crumb before leveling.
- Prepare the buttercream. Beat butter, powdered sugar, vanilla, salt, and heavy cream until the frosting is smooth and holds a soft peak.
- Assemble the cakes. Stack the layers with frosting in between, apply a crumb coat, chill again, and finish with a final layer of buttercream.
Notes
- Ensure all dairy and egg ingredients are at room temperature to prevent the butter from seizing during mixing.
- Using a kitchen scale for flour measurement prevents over-packing and ensures the layers remain tender.
- Freezing the cake layers before assembly is the most effective way to prevent them from sliding or crumbling during frosting.
- If your frosting consistency feels too stiff or loose, adjust by adding a tiny amount of extra cream or powdered sugar until it reaches a spreadable texture.
- Prep Time: 15 mins
- Cook Time: 35 mins
- Category: Desserts
- Method: Baking
- Cuisine: American
What You’ll Need
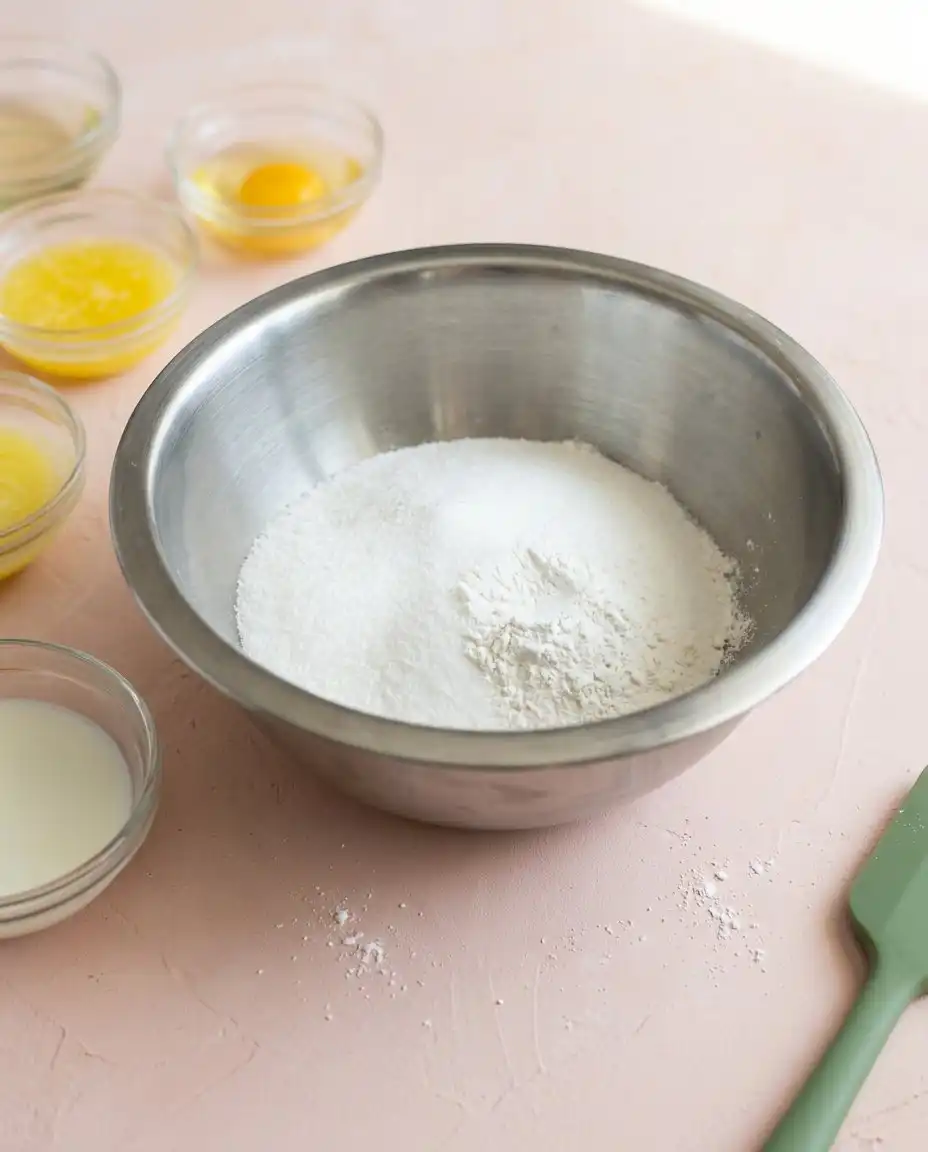
Gathering these staples from your pantry is the first step toward a kitchen filled with the scent of warming sugar and cream. Each component serves a purpose in building a structure that is both sturdy enough to stack and soft enough to melt away.
- All-purpose flour: This provides the foundational strength for our tiny tiers, making certain they hold their shape during the delicate assembly.
- Granulated sugar: Beyond sweetness, this helps create the light, golden crust that seals in the moisture of the crumb.
- Buttermilk: The slight tang and acidity react with the leavening to produce a lift that feels like a summer breeze.
- Unsalted butter: Melted and cooled, it lends a richness that reminds one of farm-fresh cream from a glass jar.
- Vanilla bean paste: Using the highest quality extract or paste makes certain the heritage flavor shines through in every small morsel.
- Vegetable oil: A small addition of oil works alongside the butter to keep the cake moist for several days after baking.
| Ingredient | Why It Matters |
|---|---|
| Large Egg | Binds the delicate structure together |
| Baking Powder | Provides the necessary lift for airy layers |
| Heavy Cream | Adds a velvety weight to the frosting |
How to Make It
Step 1: Preparing the Tiny Tins
Begin by preheating your oven to 350°F (175°C), allowing the heat to build steadily while you work. Take three 4-inch or two 6-inch aluminum pans and line the bottoms with parchment paper circles to prevent sticking. Lightly grease the sides with a coating of non-stick spray or a bit of softened butter from the wrapper. These light-colored pans reflect heat more evenly, which helps the small cakes bake without developing a thick, dark crust. Setting this foundation carefully prevents heartbreak later when you try to release the layers from their tins.
Step 2: Sifting the Dry Foundations
In a large glass bowl, whisk together the all-purpose flour, granulated sugar, baking powder, and fine salt. I find that using a traditional wire whisk helps break up any clumps while aerating the mixture for a lighter finished product. The rhythmic sound of the whisk against the bowl is one of the quietest joys of the baking process. Spend a full minute on this step to make certain the leavening agents are distributed throughout the flour. This uniform distribution is the secret to getting a flat, even rise across all your mini tiers.
Step 3: Mixing the Wet Elements
Add the melted and cooled unsalted butter, the vegetable oil, and the room temperature egg into your bowl of dry ingredients. Stir these together until the mixture forms a thick, pale paste that smells faintly of sweet cream. Using room temperature eggs is vital, as cold eggs can cause the melted butter to seize and create lumps in your batter. The texture at this stage will be quite dense, which is exactly how the reverse crumbing method should look. Take a moment to breathe in the scent of the flour and fats combining, a fragrance that has graced kitchens for generations.
Step 4: Whisking the Mini Vanilla Layer Cakes Batter
Pour the room temperature buttermilk into the thick mixture, following it with the vanilla and any color you desire. Stir with a gentle hand until the liquid is fully incorporated and the batter appears smooth and uniform in color. You should see a few small bubbles rising to the surface, a sign that the leavening is starting to work. Scrape the bottom of your bowl with a rubber spatula to confirm no pockets of flour remain hidden. Mix for another thirty seconds to lighten the texture, allowing the ingredients to fully bond without overworking the gluten.
Step 5: The Gentle Oven Time
Divide the batter evenly between your prepared pans, perhaps using a kitchen scale to make certain each layer is identical in weight. Place the pans on the middle rack of the oven where the air circulates most freely. Bake for 32 to 35 minutes, watching for the moment the tops turn a pale gold and spring back when lightly touched. A toothpick inserted into the center should come away with just a few moist crumbs clinging to it. The kitchen will fill with a warm, nostalgic aroma that signals the cakes are nearly ready to join the world.
Step 6: Chilling for Structure
Allow the pans to rest on a wire rack for ten minutes before running an offset spatula around the perimeter to loosen the edges. Carefully invert the pans to release the layers, then place them into the freezer for twenty minutes. This quick chill firms up the delicate crumb, making it much easier to handle during the stacking and frosting process. Working with cold cake is a trick learned from years of trial and error, as it prevents the tiers from sliding or crumbling. Once they are cold to the touch, use a serrated knife to gently level the tops so they sit perfectly flat.
Step 7: Beating the Buttercream Frosting
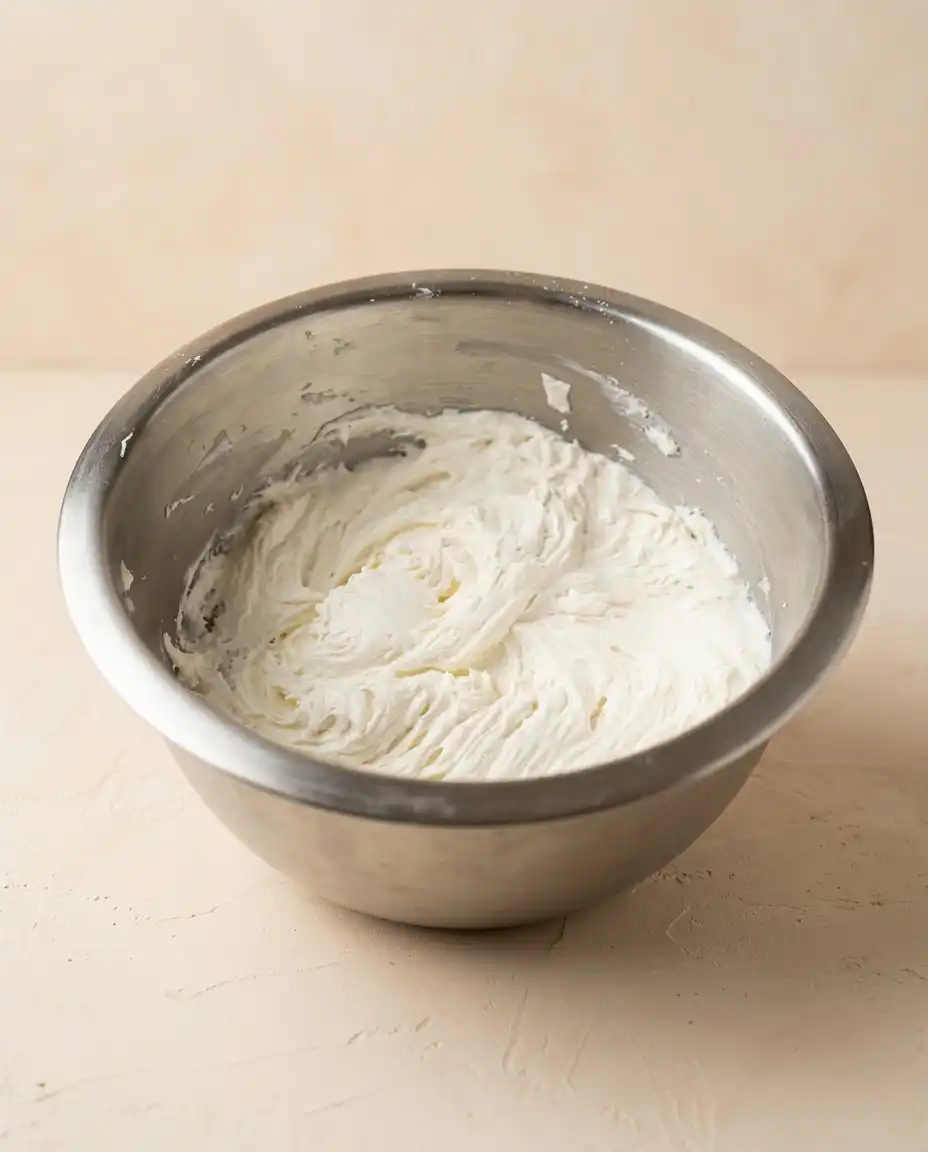
While the cakes are chilling, beat the room temperature butter in a clean bowl until it looks pale and feels like silk. Gradually add the powdered sugar, vanilla, and salt, mixing on a low speed to avoid a cloud of sugar in your kitchen. Add the heavy cream one teaspoon at a time until the frosting reaches a consistency that holds a soft peak. The buttercream should be smooth enough to glide over the cake but stiff enough to support the weight of the layers. Continue beating for a few extra minutes to incorporate air, which creates a lighter mouthfeel that complements the dense vanilla sponge.
Step 8: The Art of Assembly
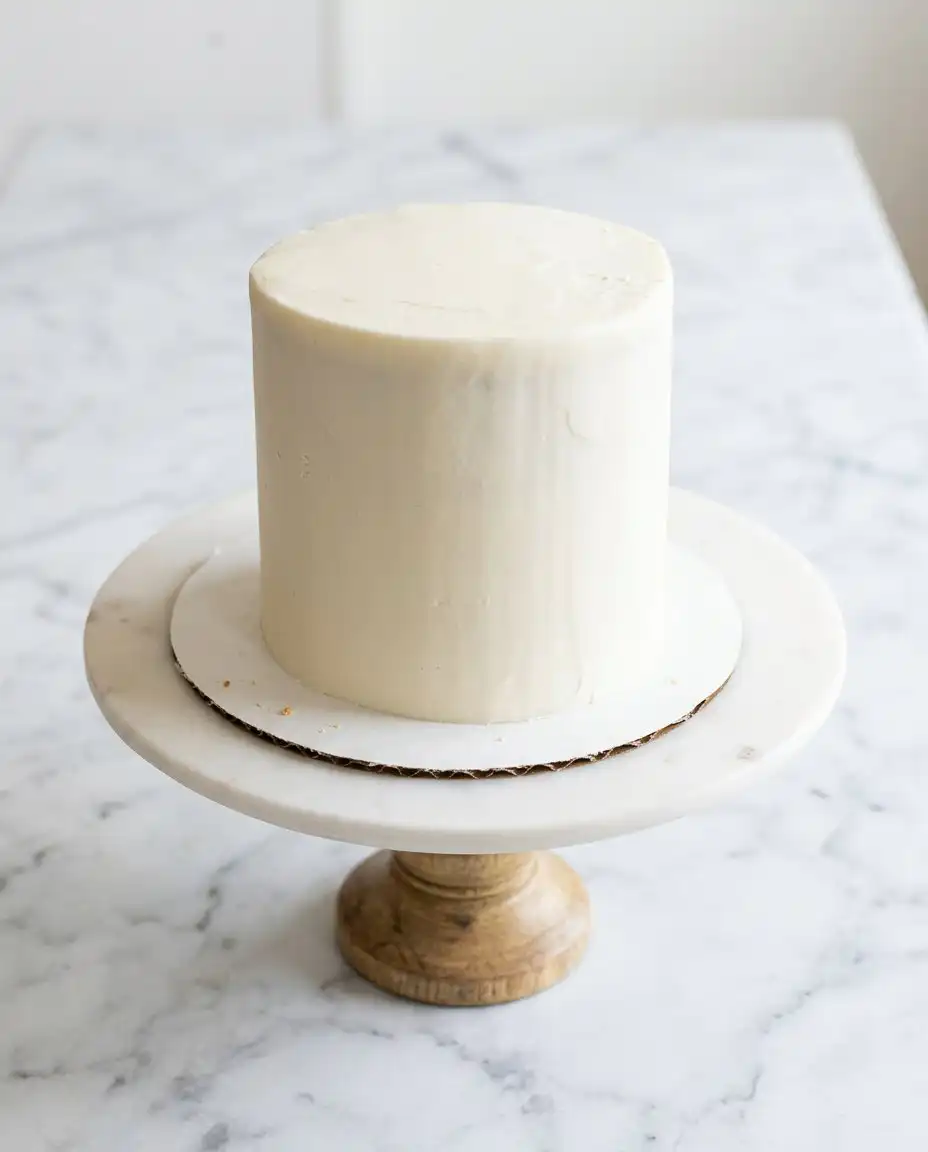
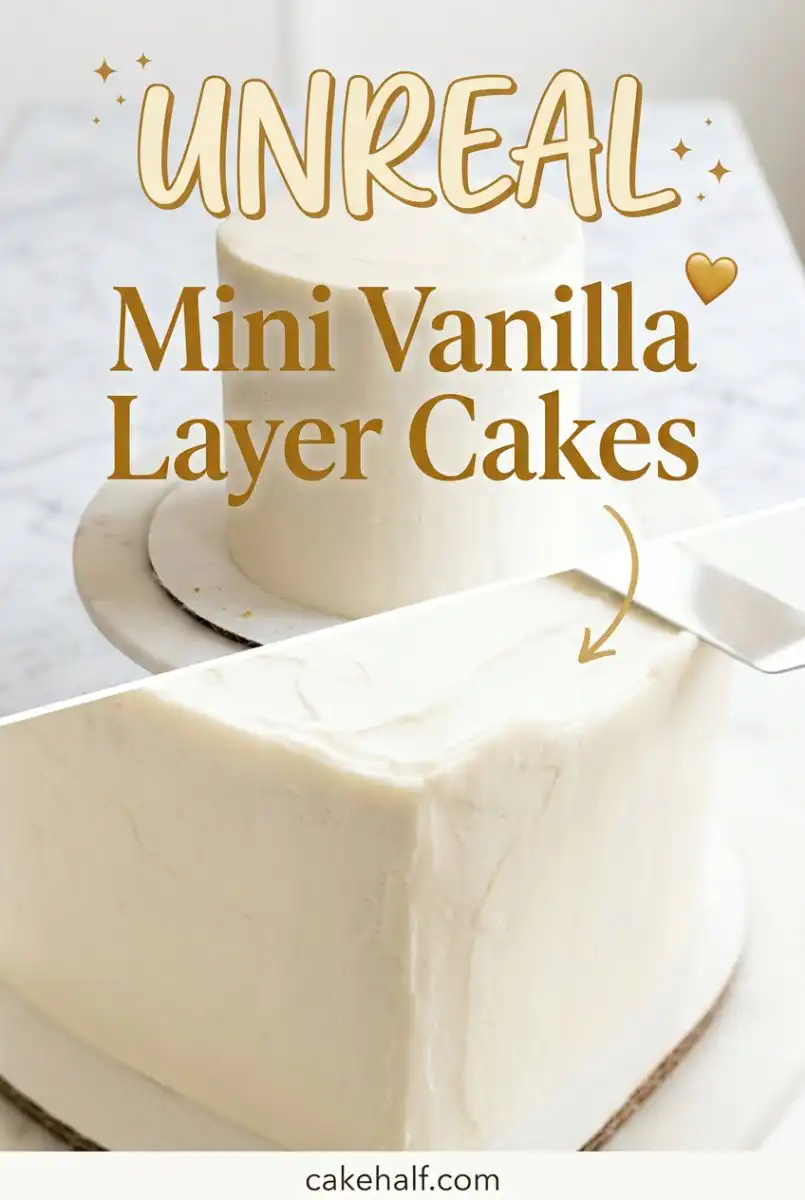
Place a small dab of frosting on your serving plate to act as a glue for the first layer of cake. Spread an even amount of buttercream across the top, then place the second tier carefully on top, checking that it is centered. Repeat this process until all layers are stacked, then apply a very thin coat of frosting over the entire exterior to lock in the crumbs. Chill the cake again for a few minutes before applying the final, thicker layer of velvety buttercream. Decorate with a simple swirl or a few sprinkles, honoring the modest beauty of these small-batch creations.
Baker’s Wisdom
One secret to a successful bake lies in how you handle your dry ingredients. If you find your cakes are consistently dense or dry, you might be using too much flour without realizing it. Learning how to properly measure flour for baking by using the spoon-and-level method or a kitchen scale can transform your results. This precision mirrors the care our grandmothers took, even if they measured by the weight of their hand.
Always use light-colored aluminum pans rather than dark, non-stick versions for these smaller bakes. Dark pans absorb more heat and can cause the edges of a classic vanilla layer cake to burn before the center is fully cooked. If you only have dark pans, reduce the oven temperature by 25 degrees and check for doneness five minutes earlier than the recipe suggests.
If your buttercream appears curdled or broken while mixing, it is likely because the butter was too cold or the cream was added too quickly. To fix this, simply take a small bowl of the frosting and microwave it for five seconds until slightly melted, then beat it back into the main batch. This gentle warmth helps the fats emulsify again, resulting in a smooth and glossy finish.
For the smoothest finish on your tiny cake, dip your metal bench scraper in hot water and wipe it dry before the final pass. The residual heat from the metal will slightly melt the outer layer of frosting, creating a professional look that still feels handmade. This technique requires a steady hand but offers a beautiful reward for your patience.
Storing these small cakes requires a bit more care than their larger counterparts because they have more surface area relative to their volume. Keep them in a domed cake stand or an airtight container to prevent the refrigerator air from drying out the sponge. If you have leftovers, press a piece of plastic wrap directly against the cut surface to keep the moisture trapped inside.
Do not rush the cooling process, as a warm cake will melt the buttercream and cause your tiers to slide apart. If the cake feels even slightly warm to the palm of your hand, give it more time in the freezer. Patience in the cooling stage is the difference between a stately mini tower and a leaning mess on the plate.
Frequently Asked Questions
Can I make these mini cakes in advance?
You can certainly bake the layers several days ahead of time and keep them wrapped in the freezer. Freezing actually helps lock in moisture and makes the assembly process much easier because the cake is firmer. When you are ready to serve, simply frost the frozen layers and let the cake sit at room temperature for an hour to thaw.
What should I do if my cake layers are domed on top?
It is quite common for small cakes to develop a slight dome during the baking process. Once the cakes have cooled, use a long serrated knife to gently saw off the rounded top until the surface is flat. This makes certain your layers stack neatly and prevents the cake from leaning to one side as you frost it.
Why did my mini cakes turn out dry?
Dryness is usually the result of overbaking or using too much flour in the batter. Because these cakes are so small, they can transition from perfect to overdone in just a few minutes. Always start checking for doneness at the 30-minute mark and make certain you are measuring your flour by weight rather than by volume if possible.
Can I use this recipe for cupcakes instead?
This batter works beautifully for cupcakes and will yield approximately twelve standard-sized treats. You will need to reduce the baking time to about 18 to 22 minutes. Keep a close eye on them and use the toothpick test to confirm they are finished before removing them from the oven.
How do I store leftover frosting?
Leftover buttercream can be stored in an airtight container in the refrigerator for up to two weeks. Before using it again, let it come to room temperature and give it a vigorous stir with a spatula to restore its creamy texture. You can also freeze frosting for up to three months if you have a large amount remaining.
What is the best way to color the cake layers?
Gel food coloring is the preferred choice because it provides deep color without adding extra liquid to the batter. Start with a very small amount on the tip of a toothpick and mix it in thoroughly before adding more. This allows you to achieve the exact shade you desire while maintaining the integrity of the cake’s structure.
Through the Seasons
While the pure vanilla version is a timeless choice, you can easily adapt this modern mini to reflect the changing seasons. During the height of summer, consider folding a handful of freeze-dried crushed berries into the dry ingredients for a burst of color and tartness. This adds a bright note that pairs beautifully with the rich butter base without altering the chemistry of the batter.
In the cooler months, you might replace the vanilla extract with a high-quality almond or lemon extract to provide a different aromatic profile. A citrus-scented cake served alongside a warm cup of tea is a wonderful way to spend a rainy afternoon in the kitchen. The structure of this recipe is sturdy enough to handle these small changes while maintaining its signature tenderness.
For a more rustic presentation, you can skip the smooth outer frosting and opt for a naked cake look. Simply stack the layers with generous amounts of buttercream in between and leave the sides exposed, showing off the golden edges of the bake. This style honors the old way of baking where the focus was on the flavor of the sponge rather than the perfection of the decoration.
How to Serve
These small cakes are best presented on a footed stand or an heirloom plate that highlights their delicate proportions. I love to serve them alongside a pot of Earl Grey tea or a light roast coffee during a mid-afternoon gathering with close friends. The small size makes them feel like a special gift, turning a regular visit into a memorable occasion. You might even place a single fresh flower or a sprig of mint on the plate to add a touch of natural beauty.
When it comes time to slice the cake, use a sharp, thin knife dipped in warm water to get clean cuts through the layers. Because the cake is small, you can cut it into traditional wedges or even thin horizontal slices if you prefer. This vanilla cake recipe is rich enough that a small piece is perfectly satisfying. Sharing these tiny tiers is a way to celebrate the philosophy of just enough, where quality far outweighs quantity.
For a more formal dinner, you can serve individual mini cakes to each guest as a plated dessert. Surround the base of the cake with a few fresh raspberries or a drizzle of berry coulis to provide a tart contrast to the sweet vanilla. The sight of a personal layer cake at each place setting never fails to make guests feel cherished and welcomed. It is a gesture that honors the heritage of hospitality we strive to keep alive in our modern kitchens.
Before You Close the Recipe Box
Baking these Mini Vanilla Layer Cakes is a quiet rebellion against the fast-paced world outside our kitchen windows. It is a reminder that beauty often resides in the smallest details and that a handmade gift is the highest form of affection. I hope that as you whisk the batter and frost the tiers, you feel the same peace that Grandma did in her sun-filled corner. These recipes are the threads that connect our past to our present, one small bite at a time.
Please share your own baking stories and photographs of your creations with our community of heritage bakers. You can find more inspiration in the classic vanilla bean layer cake story on our site. Seeing these recipes live on in your kitchens is the greatest reward for a keeper of the old ways. We look forward to seeing how you make these traditions your own.
Until we meet again over a bowl of flour and a dash of vanilla, may your kitchen be warm and your heart be full. Sharing these moments is what makes the craft of baking so deeply meaningful to us all. You can follow our journey and see more vintage inspiration on Pinterest, Facebook, and TikTok.