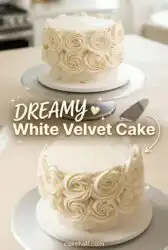
My grandmother always reserved the snowy-white cake for Christmas Eve, when the kitchen windows frosted over and the old oven hummed a quiet, warming song.

This traditional White Velvet Cake is a gentle reminder of times when baking was an act of patience and devotion. Unlike modern cakes that rely on heavy artificial flavorings, this delicate crumb achieves its tenderness through buttermilk and the reverse-creaming method. It is a soft, cloud-like confection that feels both elegant and deeply comforting on the plate. Sharing a slice is like sharing an old, cherished family memory.
Why White Velvet Cake is a Bite of Pure Nostalgia
Prep: 10 min · Serves: 24 · Difficulty: Medium
There is a quiet grace in baking a cake that does not cry out for attention with bright colors or flashy decorations. This particular dessert relies on the gentle interplay of buttermilk and cake flour to create a texture so soft it feels like a whisper from the past. When my grandmother stood at her worn kitchen counter, she always reminded me that the most humble recipes require the deepest reverence.
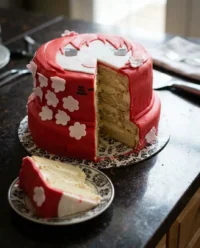
Much like our classic red velvet cake, this version delivers an elegant presentation without requiring modern shortcuts or artificial enhancements. It is a return to authentic, small-batch baking where each ingredient is weighed with care and intention. You will find that this dessert speaks of quiet Sunday afternoons and old-fashioned hospitality.
- Soft, tight crumb that melts away beautifully.
- Delicate vanilla notes warming each tender slice.
- Buttermilk lends a subtle, traditional tang throughout.
- Elegant white color ideal for special gatherings.
This is the cake my family gathers around to celebrate our sweetest moments.
Get The Full Cake Recipe
Print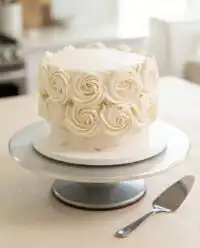
White Velvet Cake
- Total Time: 1 hour 10 mins
- Yield: 24 servings
- Diet: Vegetarian
Description
This traditional White Velvet Cake uses the reverse-creaming method and buttermilk to create a delicate, cloud-like crumb. It is a timeless, snowy-white dessert that offers elegant vanilla notes and a rich, velvety texture perfect for any celebration.
Ingredients
- Cake flour
- Granulated sugar
- Salt
- Baking powder
- Baking soda
- Vegetable oil
- Whole milk
- Egg whites
- Vanilla extract
- Unsalted butter
Instructions
- Prepare the oven. Heat to 335°F (168°C) and coat two eight-inch round cake pans with spray and parchment paper.
- Combine dry ingredients. Weigh the cake flour, sugar, salt, baking powder, and baking soda in a mixer; pulse briefly to distribute.
- Mix oil and milk. Stir half a cup of whole milk and the vegetable oil in a small cup until combined.
- Whisk liquid ingredients. Combine the remaining milk, egg whites, and vanilla extract in a separate bowl.
- Incorporate the butter. Add softened butter to the dry mixture and mix on low until the texture resembles damp sand.
- Build the structure. Add the milk and oil mixture; increase speed to medium and mix for exactly two minutes.
- Add egg mixture. Reduce speed to low and incorporate the egg white mixture in three separate additions, mixing fifteen seconds each time.
- Bake the layers. Divide batter into prepared pans and bake for 35 to 40 minutes until a toothpick comes out clean.
- Cool the cakes. Tap pans on the counter, cool for ten minutes, and invert onto a wire rack.
- Cook frosting base. Whisk flour, sugar, and milk in a saucepan over medium heat until it thickens into a pudding, then cool.
- Finish the frosting. Whip softened butter until fluffy and gradually beat in the cooled flour pudding until smooth.
Notes
- Use a digital kitchen scale for measuring flour to ensure the delicate crumb structure remains consistent.
- Ensure all refrigerator-cold ingredients reach room temperature before mixing to prevent the emulsion from breaking.
- Tapping the pans on the counter immediately after baking is essential for stabilizing the cake’s internal structure.
- For the best results, chill the finished cake layers in the refrigerator for a few hours before frosting.
- Prep Time: 30 mins
- Cook Time: 40 mins
- Category: Dessert
- Method: Baking
- Cuisine: American
Gathering Your Ingredients
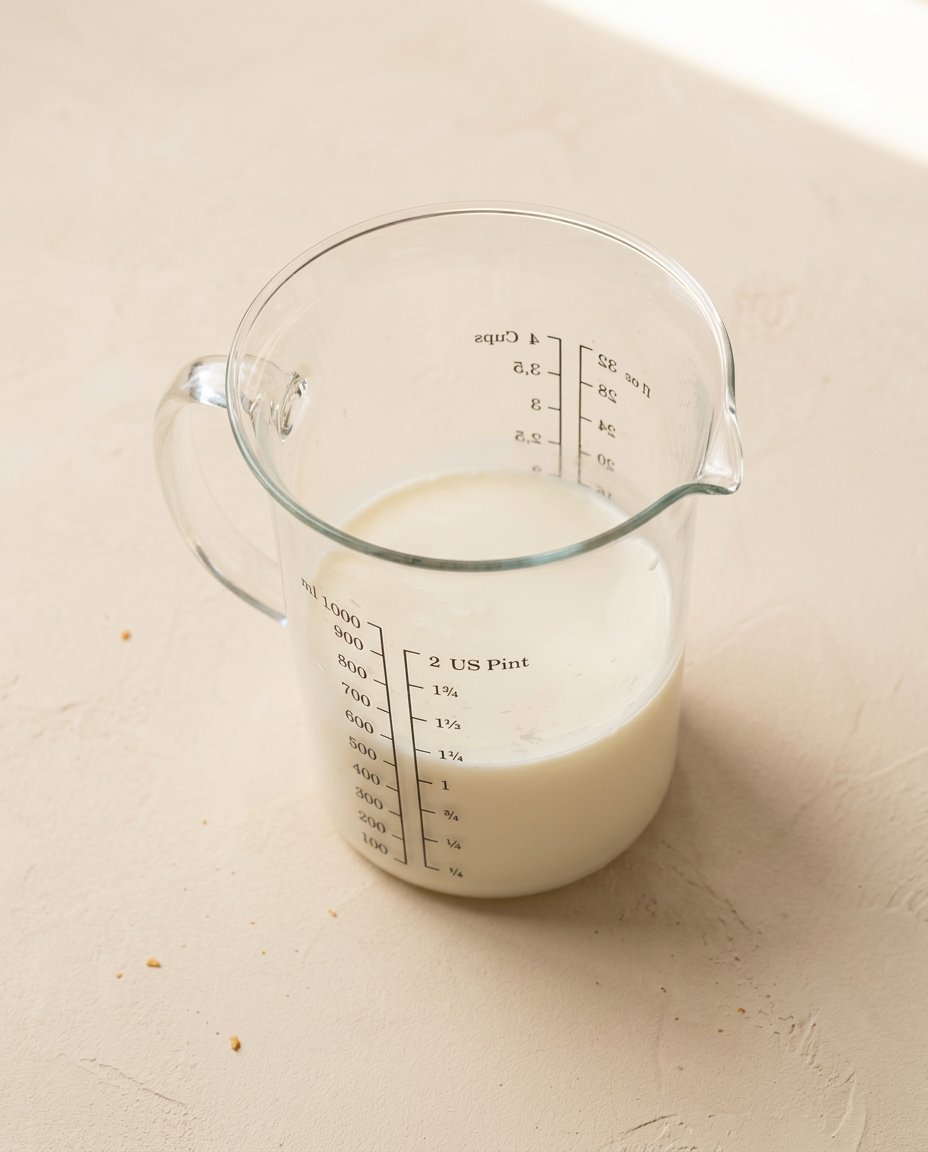
Stepping into the pantry to gather these simple elements always feels like opening a time capsule. My grandmother kept her dry ingredients in heavy glass jars, and she taught me to respect how each humble flour and sugar grain behaves under the wooden spoon. Measuring by weight is the old way, a quiet practice that makes sure your results are consistent and beautiful every single time.
- Cake flour: Low protein content makes sure the crumb remains exceptionally tender and soft.
- Buttermilk: Essential acid that tenderizes gluten and provides a classic, subtle depth.
- Egg whites: Kept separate from yolks to maintain a pristine, snowy-white appearance.
- Softened butter: Creamed gently to establish a rich, traditional foundation.
- Vegetable oil: Works alongside butter to keep the layers incredibly moist for days.
- Granulated sugar: Dissolves during the slow mixing process to sweeten and soften.
- Baking powder: Provides a gentle, uniform rise to lift the delicate layers.
- Ermine frosting flour: Cooked slowly with sugar and milk to create a vintage, pudding-like base.
| Ingredient | Why It Matters |
|---|---|
| Cake Flour | Creates an exceptionally fine, delicate crumb structure. |
| Buttermilk | Tenderizes the gluten gently while adding a classic, old-fashioned depth. |
| Egg Whites | Preserves the snowy-white shade of the traditional layers. |
| Vegetable Oil | Keeps the crumb moist and tender even after days in the larder. |
| Unsalted Butter | Delivers a rich, traditional dairy flavor that vegetable fats cannot match. |
Weighing your liquids alongside the dry ingredients is a vintage baking wisdom that cannot be overlooked. When flour meets the buttermilk in the mixing bowl, a quiet magic happens, transforming simple kitchen staples into a velvet-like masterpiece. Take your time to bring every single cold item to room temperature before you begin, as this makes sure you get a smooth, unbroken emulsion.
Step by Step in Teresa’s Kitchen
Step 1: Prepare Your Pans and Warm the Oven
Begin by heating your oven to a gentle 335°F (168°C). This lower temperature allows the layers to rise evenly without developing dark, thick crusts on the outside before the center is fully baked. Coat two eight-inch round cake pans with your favorite pan spray or a traditional mixture of flour and shortening. Line the bottoms with parchment paper to make sure the delicate layers slip out of their pans without tearing.
Step 2: Combine the Dry Ingredients in the Bowl
Weigh your cake flour, granulated sugar, salt, baking powder, and baking soda directly into the glass bowl of your stand mixer. Fit the mixer with the paddle attachment, which mimics the gentle folding action of an old wooden spoon. Run the machine on its lowest speed for ten seconds to distribute the leaveners evenly throughout the flour. This brief step makes sure that every slice of your cake will rise to the same height.
Step 3: Mix the Oil and Milk
Measure out half a cup of your room-temperature whole milk and the vegetable oil in a small glass measuring cup. Stir them together with a small fork and set the mixture aside on your workspace. Keeping these fats separate at the beginning allows you to control how the flour is coated during the initial mixing phase. The milk must be slightly warm to prevent the butter from seizing later.
Step 4: Whisk the Egg Whites and Remaining Milk
Combine the remaining milk, the room-temperature egg whites, and the vanilla extract in a separate bowl. Whisk the mixture gently for a few seconds to break up the proteins in the egg whites. This step makes it much easier to incorporate the liquids into the thick batter later without overmixing. Set this bowl next to your mixer so everything is within arms reach.
Step 5: Incorporate the Softened Butter
Add the softened, room-temperature unsalted butter directly to your dry ingredients in the mixer bowl. Run the mixer on low speed for about thirty seconds, watching closely as the blades work the fat into the flour. The mixture is ready when it resembles coarse, damp sand with no large lumps of butter remaining. This reverse-creaming method coats the flour in fat, preventing tough gluten from forming.
Step 6: Mix Your White Velvet Cake Batter to Build Structure
Pour the milk and oil mixture into the sandy flour mixture and run the mixer on low speed until the dry ingredients are moistened. Increase the speed to medium and let the machine run for exactly two minutes. You will watch the batter transform into a thick, pale ribbon that clings to the sides of the bowl. Skipping this two-minute step will cause the cake to collapse in the oven, as it builds the essential framework for the delicate crumb.
Step 7: Add the Egg White Mixture in Batches
Scrape down the sides and bottom of your mixing bowl with a flexible spatula to release any trapped flour. Reduce the speed to low and add the egg white mixture in three slow, distinct additions. Let the machine mix for fifteen seconds after each addition to allow the liquid to fully blend into the batter. This slow, unhurried process prevents the delicate emulsion from breaking or curdling.
Step 8: Bake Your Layers to a Pale Golden Finish
Divide the smooth batter evenly between your two prepared baking pans, filling them about three-quarters full. Slide the pans onto the middle rack of your warmed oven and bake for thirty-five to forty minutes. Avoid opening the oven door too early, as the sudden draft of cool air can cause the rising layers to fall. The cakes are finished when a thin wooden toothpick inserted into the center comes out clean and the edges are beginning to pull away.
Step 9: Release the Steam and Cool the Cakes
Remove the hot pans from the oven and immediately tap each pan firmly once against your wooden countertop. This quick, decisive action releases the trapped steam inside the crumb and stops the cake from shrinking excessively as it cools. Let the layers rest in their pans for ten minutes to set their delicate structure. Afterward, gently invert the cakes onto a wire rack to cool completely before you begin the frosting.
Step 10: Cook the Traditional Ermine Frosting Base
Whisk the flour and granulated sugar together in a heavy-bottomed saucepan over medium heat for two minutes to toast the raw flour. Slowly pour in the whole milk, whisking constantly to prevent any lumps from forming. Cook the mixture until it bubbles and thickens into a glossy, pudding-like consistency. Remove it from the heat, press a sheet of plastic wrap directly onto the surface to prevent a skin from forming, and let it cool completely.
Step 11: Whip the Butter and Finish the Frosting
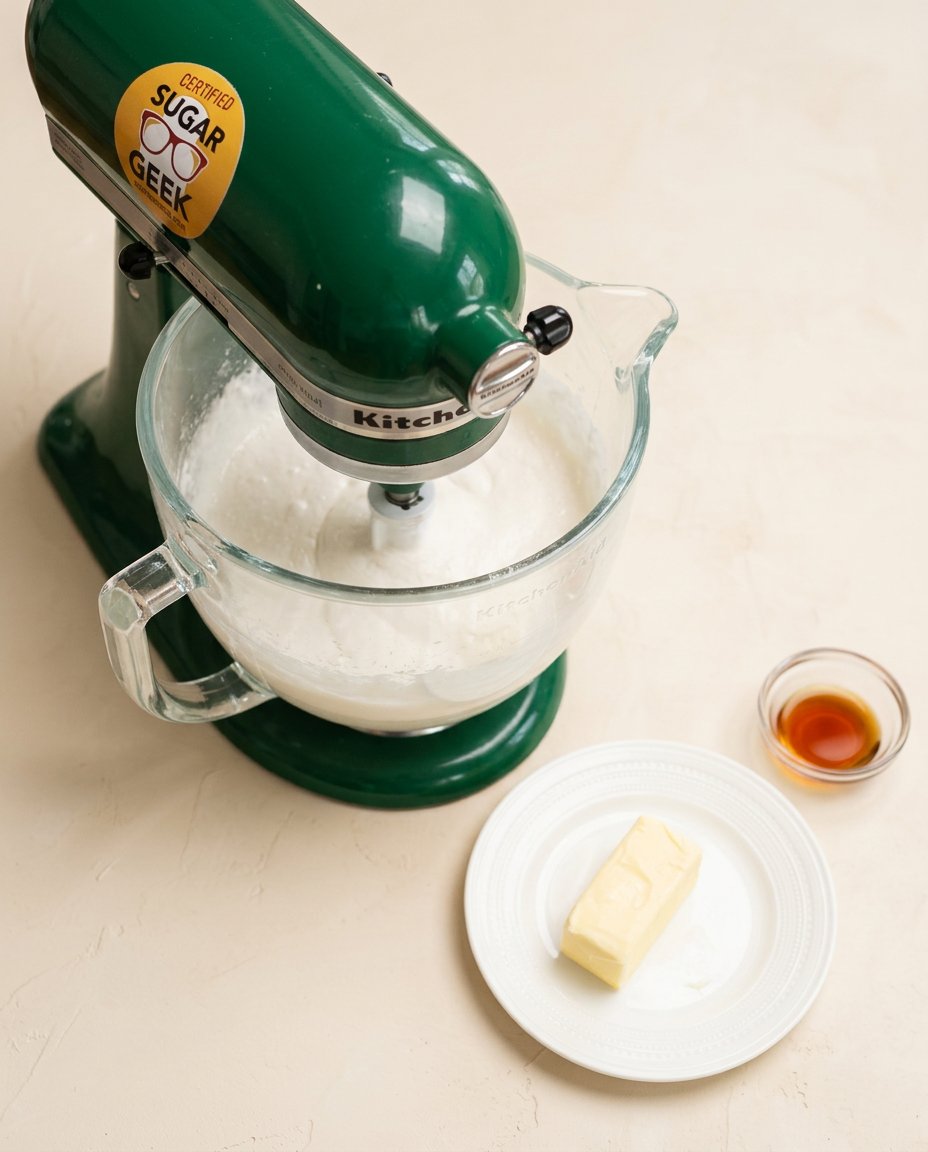
Place your softened unsalted butter in the clean bowl of your stand mixer and whip it on high speed until it is light, pale, and exceptionally fluffy. Add the cooled flour pudding one spoonful at a time, allowing the butter to absorb each addition before adding the next. Pour in the vanilla extract and salt, then whip on high speed until the buttercream is smooth and creamy. This traditional frosting is less sweet than modern American buttercream, offering a silky finish that complements the soft cake.
Secrets from the Recipe Box
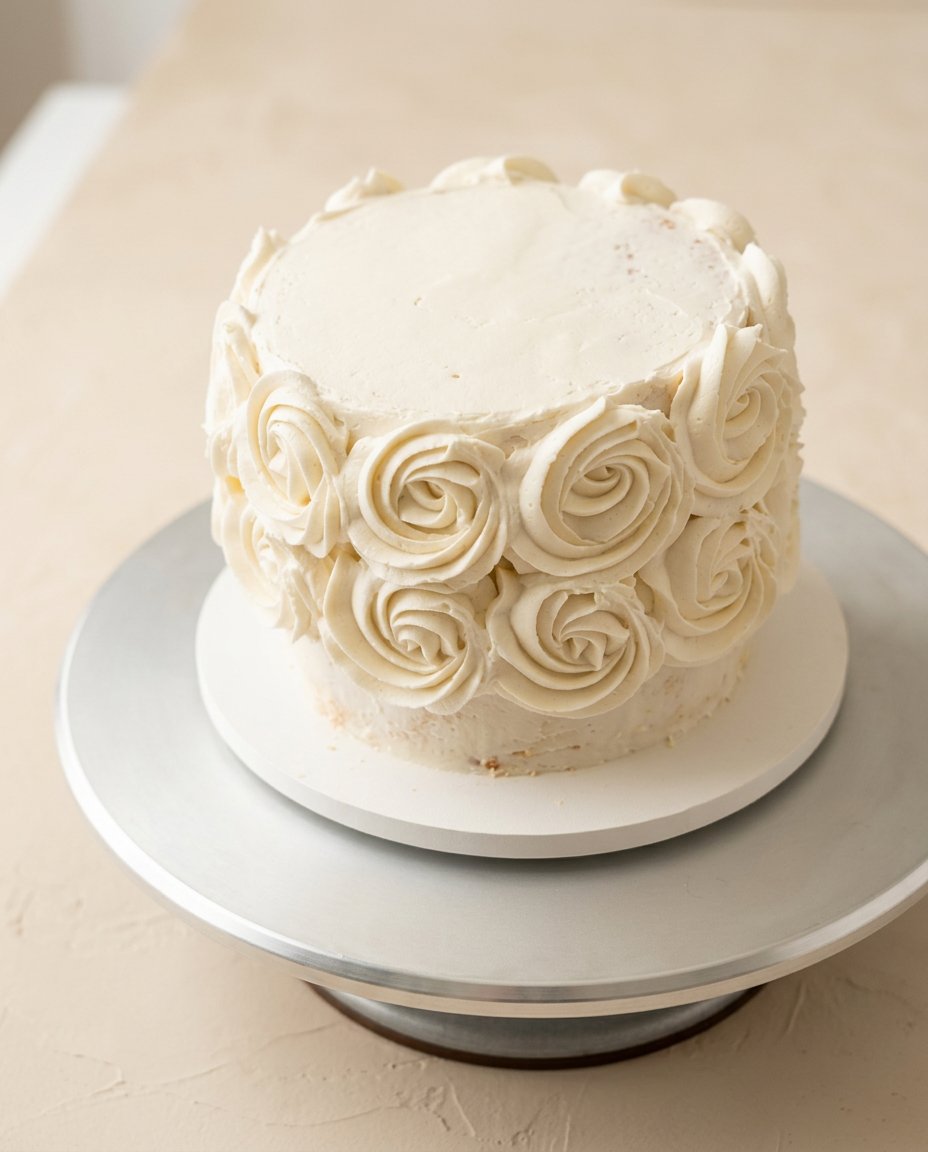
Baking a delicate cake is a conversation with temperature and time. If your cake layers sink in the middle, here is why and how to fix it: this common disappointment usually happens when the ingredients are too cold, causing the emulsion to break, or when the batter is not mixed long enough during the critical two-minute structure-building step. Keeping your kitchen warm and using a kitchen scale to weigh your ingredients will prevent this mishap.
Always bring your eggs, buttermilk, and butter to room temperature at least two hours before you begin mixing. When cold ingredients meet, they cause the fats to seize, resulting in a curdled batter that bakes into a dense, heavy layer. If you are short on time, you can warm your eggs in a bowl of warm water for ten minutes and warm your buttermilk slightly before mixing.
To understand how these ingredients behave on a molecular level, you can read this scientific breakdown of velvet cake crumb. Knowing the science behind the reverse-creaming method will give you confidence as you watch the flour and butter combine in your mixer. This deep understanding transforms baking from a simple set of rules into an intuitive, sensory art.
If you find yourself running low on buttermilk, you can craft a vintage substitute by adding a tablespoon of fresh lemon juice or white vinegar to a cup of whole milk. Let the mixture stand for ten minutes until it curdles slightly before using it in your batter. This acid is critical because it reacts with the baking soda to lift the cake, much like the process used in our delicate lemon velvet cake.
Never skip the step of tapping your hot cake pans on the counter immediately after removing them from the oven. This quick release of steam stabilizes the delicate cell walls within the crumb, keeping your layers tall and level. Once cooled, wrapping the layers tightly in plastic wrap and chilling them in the refrigerator for a few hours makes them much easier to frost without tearing.
Frequently Asked Questions
What is White Velvet Cake vs. White Cake?
A traditional white cake relies on the creaming method of butter and sugar, resulting in a fluffy but somewhat open crumb. White velvet cake uses the reverse-creaming method and buttermilk, which coats the flour in fat before the liquids are added. This technique creates an incredibly tight, soft, and meltingly tender crumb that sets it apart from standard cakes.
What is the Difference Between White Velvet Cake and Red Velvet Cake?
While both recipes share the tender crumb that comes from using buttermilk and vinegar or baking soda, red velvet cake contains cocoa powder and red coloring. This white version focuses entirely on the pure, comforting flavors of vanilla and sweet cream. It omits the chocolate notes completely, resulting in a clean, snowy canvas that is perfect for elegant celebrations.
Why is My White Velvet Cake Turning Yellow?
This color change usually happens when you use whole eggs instead of pure egg whites, as the yellow yolks tint the batter. Additionally, using a dark vanilla extract or unbleached flour can introduce golden tones to your finished layers. To keep your cake a pristine white, choose clear vanilla extract and make sure your cake flour is properly bleached.
What Ingredients Make White Velvet Cake Moist?
The combination of buttermilk and vegetable oil works together to keep this dessert exceptionally moist for days. While butter provides that classic, rich dairy flavor we all love, vegetable oil remains liquid at room temperature, which keeps the crumb soft. The acid in the buttermilk also breaks down gluten, ensuring each bite remains tender rather than tough.
What Frosting Goes Best with White Velvet Cake?
Traditional ermine frosting is the classic companion for this recipe, as its cooked flour base is silky and remarkably light. It is far less sweet than modern buttercreams, allowing the delicate vanilla flavor of the cake to take center stage. If you prefer a bit of contrast, a vintage cream cheese frosting also pairs beautifully with the tangy buttermilk notes.
Can I freeze the baked cake layers before frosting them?
Yes, freezing the layers is an excellent way to lock in their natural moisture and make them easier to handle. Once the cakes have cooled completely on a wire rack, wrap each layer tightly in two layers of plastic wrap and store them in the freezer for up to a month. Thaw the wrapped layers on your kitchen counter before unwrapping and frosting them.
Classic Variations
While this classic recipe is beautiful in its simplicity, our old recipe cards show how bakers would adapt these layers for different seasons. You can make this an elegant celebration cake by adding the scraped seeds of a whole vanilla bean to the batter. This small addition lends a rustic, speckled appearance and a deep, complex aroma that recalls grandmother’s Sunday dinners.
If you are preparing a dessert for an autumn gathering, consider folding a teaspoon of ground cardamom or nutmeg into the dry ingredients. These warm, woody spices pair beautifully with the tangy undertones of the buttermilk without overwhelming the delicate texture of the crumb. This simple adjustment turns a snowy-white cake into a comforting, fragrant dessert that warms a chilly afternoon.
For a summer celebration, you can fill the layers with a bright, homemade lemon curd instead of the traditional ermine frosting. The sharp citrus notes cut through the rich butter, creating a refreshing dessert that feels light on the palate. If you prefer a simpler vanilla profile, you might enjoy our classic vanilla layer cake, which offers a slightly different crumb structure that handles fresh summer berries beautifully.
Sitting Down Together
There is something deeply comforting about slicing a tall, pristine cake at a table filled with family and friends. When serving this elegant dessert, use a long, thin knife dipped in hot water and wiped clean between each cut. This simple trick makes sure you get clean, beautiful slices that showcase the exceptionally tight, velvet-like crumb of your baking. Serve each portion on a small, vintage glass plate to allow the snowy layers to shine.
To complement the delicate vanilla notes of the cake, offer your guests a pot of freshly brewed black tea or a light roast coffee. The bitter notes of a warm drink balance the sweet richness of the ermine frosting beautifully, creating a quiet harmony at the end of a long meal. For a touch of rustic charm, you might place a bowl of fresh, tart raspberries or blackberries on the table for guests to scatter beside their cake.
This cake is the centerpiece of any true celebration, much like our beloved classic vanilla butter cake which has graced our Sunday tables for generations. Whether you are gathering for a quiet family milestone or hosting a holiday dinner, taking the time to present a homemade dessert shows your guests that they are worth the effort. It is a slow, beautiful way to show love that modern bakeries cannot replicate.
Before You Close the Recipe Box
As you wipe the final dustings of flour from your kitchen counter, take a moment to appreciate the quiet peace that baking brings. Making a cake from scratch is more than just combining ingredients; it is a way to connect with the generations of home bakers who came before us. This snowy-white cake is a tribute to those unhurried afternoons spent waiting for the oven door to open, and we hope it brings that same warmth to your home.
If you find comfort in these vintage techniques, we invite you to try our traditional vanilla cake recipe for your next gathering in the kitchen. Each recipe we share is a carefully preserved piece of baking history, written to help you create lasting memories with the people you love. We would be honored to see how your beautiful layers turned out at your table.
Please share your baking journey with us and our community of heritage home bakers on Pinterest or join our conversations on Facebook. Let us keep these beautiful, time-honored baking traditions alive together, one small batch at a time.