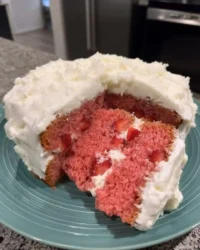
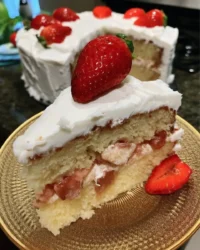
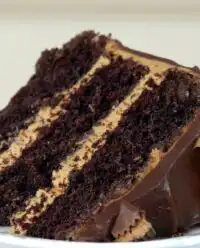
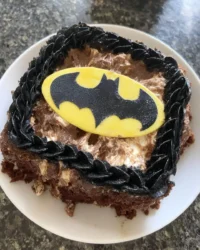
Before you gather your sugar and butter, pause and commit to the quiet discipline of letting your ingredients rest until they reach a uniform room temperature.

Many bakers rush the cooling stage, pressing warm frosting onto a tepid base and watching their hard work dissolve. Crafting the ultimate Funfetti Birthday Cookie Cake requires a deliberate surrender to time, allowing the crumb to set and the structure to mature. When we slow down, we give the starches and fats the necessary space to perform their molecular choreography. The reward is a confection that balances a delicate, buttery chew with a pristine, sculpted crown.
Why Technique Matters in This Funfetti Birthday Cookie Cake
Prep: 25 min · Serves: 12 · Difficulty: Medium
- Achieves a tender, melt-in-your-mouth crumb structure.
- Features a precisely balanced vanilla-almond frosting.
- Requires no complicated cake-layering or slicing.
- Maintains its rich, buttery texture for days.
- Delivers pure, nostalgic flavor in every bite.
If you are gathering inspiration for special occasions, integrating this bake among your birthday cake ideas will secure your status as an accomplished baker. This is the precise bake that transforms any simple gathering into an intentional celebration.
Get The Full Cake Recipe
Print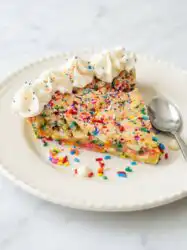
Funfetti Birthday Cookie Cake
- Total Time: 2 hours 25 mins
- Yield: 12 servings
Description
This decadent Funfetti Birthday Cookie Cake features a tender, buttery base packed with colorful sprinkles and a hint of almond extract. Topped with pillowy buttercream rosettes, it serves as the perfect centerpiece for any celebration, offering a nostalgic and professional-grade treat.
Ingredients
- 1 cup unsalted butter, softened to 68°F
- 1 cup granulated sugar
- 1 large egg
- 1 large egg yolk
- 1 teaspoon pure vanilla extract
- 2 cups all-purpose flour
- 1 teaspoon baking powder
- 1/2 teaspoon baking soda
- 1/2 teaspoon salt
- 1 tablespoon cornstarch
- 1/2 cup rainbow sprinkles (jimmies)
- 1/2 cup white chocolate chips
- 1/2 cup butter, softened (for frosting)
- 2 cups confectioners’ sugar
- 2 tablespoons heavy cream
- 1/2 teaspoon almond extract
Instructions
- Cream the butter. Using a stand mixer with a paddle attachment, beat the softened butter for 60 seconds until smooth, then add granulated sugar and cream for 3 minutes until light and fluffy.
- Mix in liquids. Add the egg, egg yolk, and vanilla extract, beating on medium speed until the mixture forms a glossy, stable emulsion.
- Combine dry ingredients. Whisk flour, salt, baking powder, baking soda, and cornstarch, then add to the wet ingredients in three additions on low speed until just incorporated.
- Fold in extras. Gently fold in white chocolate chips and rainbow sprinkles using a silicone spatula to avoid damaging the ingredients.
- Prepare and bake. Press the dough into a greased 9-inch round pan and bake at 350°F for 25 to 30 minutes, ensuring the edges are golden while the center remains slightly soft.
- Cool the cake. Allow the cake to cool completely in the pan for at least 90 minutes to let the crumb set properly.
- Frost and decorate. Whip the remaining butter, confectioners’ sugar, cream, vanilla, and almond extract, then pipe rosettes around the perimeter and top with extra sprinkles.
Notes
- Use a kitchen scale for flour measurements to ensure the perfect chewy consistency.
- Always select wax-coated jimmies for sprinkles to prevent the colors from bleeding into the dough.
- Allow the cake to cool fully before decorating to ensure the buttercream maintains its structure.
- For professional slices, chill the finished cake for 30 minutes and use a warm, dry knife.
- Prep Time: 25 mins
- Cook Time: 30 mins
- Category: Dessert
- Method: Baking
- Cuisine: American
The Mise en Place
Before beginning, organize your workstation and weigh your ingredients with exactitude. The relationship between fat, sugar, and flour in a cookie cake is delicate, and success depends upon the precise balance of these elements. Room temperature is not a suggestion here; it is the physical catalyst required for a proper emulsion.
- Unsalted Butter: This fat provides the tender crumb and richness, acting as the foundation for the entire flavor profile when softened precisely to 68 degrees Fahrenheit.
- Granulated Sugar: Beyond adding sweetness, sugar cuts into the butter during creaming to build tiny air pockets that give the cake its lift.
- Egg and Egg Yolk: The additional yolk introduces extra emulsifiers and fats, yielding a dense, chewy texture rather than a cakey one.
- Cornstarch: This starch interferes with gluten formation, guaranteeing the cookie remains extraordinarily tender and soft throughout its center.
- Rainbow Sprinkles: Classic cylinder sprinkles, or jimmies, maintain their shape and bright colors without bleeding into the surrounding dough during baking.
- Almond Extract: A minute quantity of this extract provides that elusive, nostalgic bakery aroma that separates amateur bakes from professional bactions.
| Ingredient | Why It Matters |
|---|---|
| Unsalted Butter | Creates structural tenderness and rich flavor when properly tempered. |
| Cornstarch | Prevents excessive gluten development to maintain a soft center. |
| Egg Yolk | Adds lecithin and fat for a signature chewy, fudgy bite. |
| Rainbow Sprinkles | Delivers classic festive aesthetics without melting into the batter. |
| Almond Extract | Infuses the frosting with a subtle, professional-grade depth. |
Working Through the Recipe
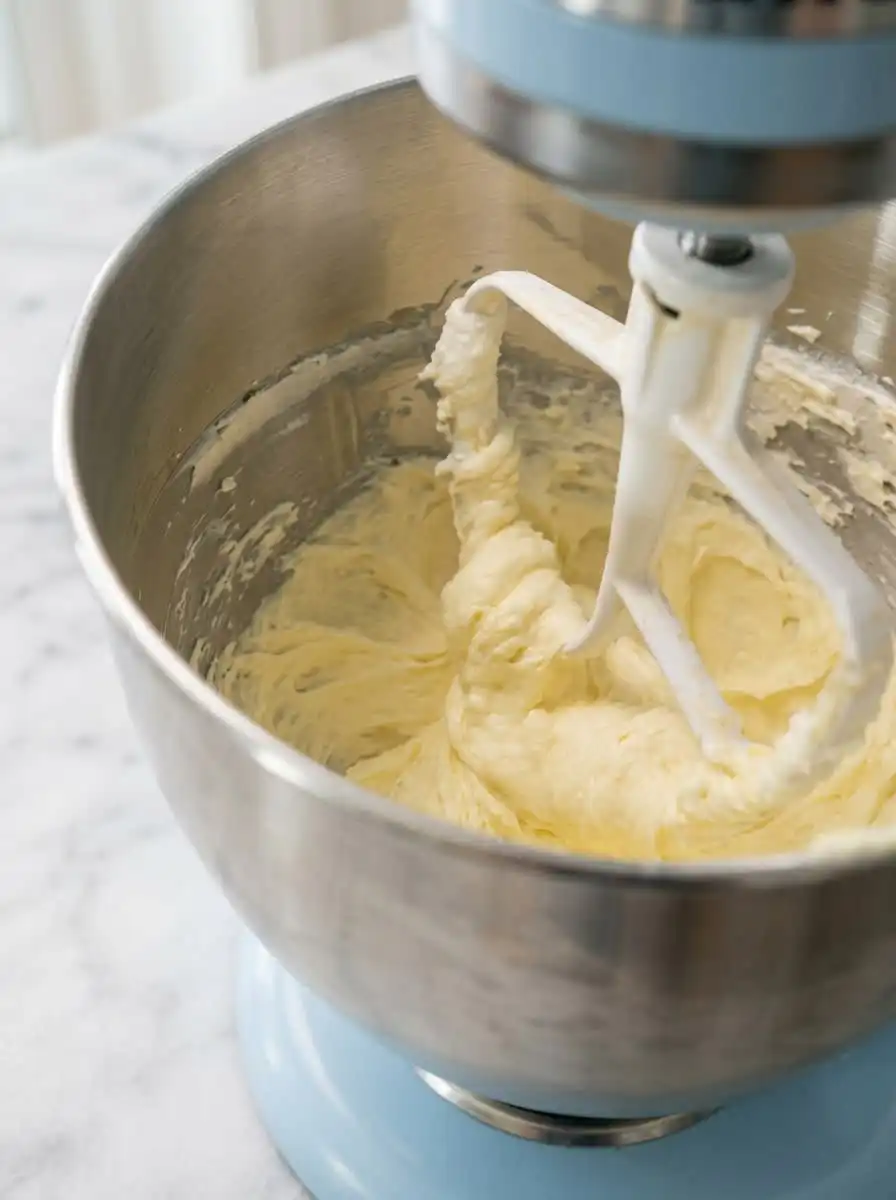
Step 1: Temper and Cream the Fat
Begin by tempering your unsalted butter to exactly 68 degrees Fahrenheit, which ensures it is plastic enough to hold air but cold enough to prevent melting. Fit your heavy-duty stand mixer with the paddle attachment and cream the butter alone on medium speed for sixty seconds until it becomes a smooth, pale paste. Slowly add the sugar over the span of a minute, allowing the sharp crystals to slice through the fat to create microscopic air pockets. Continue creaming for another three minutes until the mixture appears light, fluffy, and clings to the sides of the mixing bowl in delicate, soft waves.
Step 2: Incorporate the Emulsifiers and Aromatics
Introduce the room-temperature whole egg, the extra yolk, and the pure vanilla extract to the creamed butter. Beat on medium speed, stopping once to scrape the bottom of the bowl with your spatula to prevent any unmixed fat pockets from settling. You will observe the mixture transition into a glossy, pale ribbon stage that flows smoothly from the paddle attachment. This physical change indicates that your liquid and fat have bonded into a stable emulsion.
Step 3: Sift and Blend the Dry Ingredients
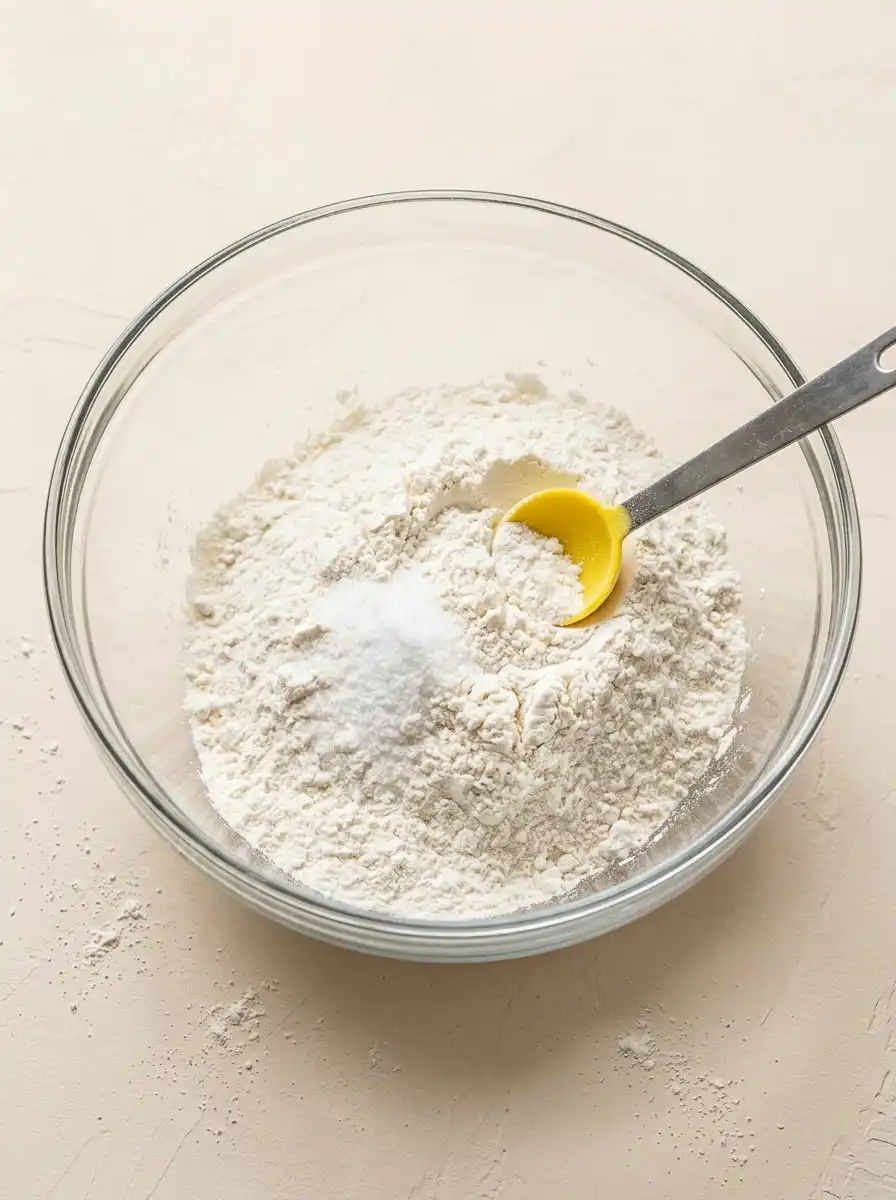
Whisk the all-purpose flour, salt, baking powder, baking soda, and cornstarch in a separate bowl to distribute the leaveners evenly. With the machine running on its lowest setting, add this dry mixture in three separate additions, mixing only until the white flour completely disappears into the dough. Fold the white chocolate chips and rainbow sprinkles in by hand using a flexible silicone spatula, scraping from the bottom up. Working with careful hands at this stage guarantees you do not crush the delicate sugar shells of the sprinkles or overwork the gluten.
Step 4: Bake Your Funfetti Birthday Cookie Cake to Perfection
Lightly coat a nine-inch round cake pan with nonstick spray to guarantee a clean release later. Press the thick, sticky dough evenly into the prepared pan, smoothing the surface with the back of a damp metal spoon until it is perfectly flat. Slide the pan into an oven preheated to 350 degrees Fahrenheit and bake for exactly twenty-five to thirty minutes until the outer edges are set and very lightly golden. The center must remain soft and look slightly underdone, as it will finish setting during the cooling phase.
Step 5: Monitor the Cool and Rest Phase
Remove the pan from the heat and set it undisturbed on a wire cooling rack at room temperature. The residual heat trapped within the pan will continue to cook the interior gently, transforming the soft center into a fudgy crumb. You will notice the center sink slightly as it cools, which is a normal structural response that creates a natural border for your icing. Allow the cake to cool for at least ninety minutes before attempting to decorate or remove it from the pan.
Step 6: Whip the Buttercream Frosting
Whip the remaining room-temperature butter for two minutes on medium speed until it is light, aerated, and pale. Add the confectioners’ sugar, heavy cream, vanilla extract, and almond extract with the mixer running on low speed to prevent a cloud of sugar from escaping. Increase the speed to high and beat the frosting for three full minutes to incorporate maximum air. The buttercream should transform into a billowy, spreadable cloud that holds its shape cleanly when lifted on a spatula.
Step 7: Pipe and Decorate the Borders
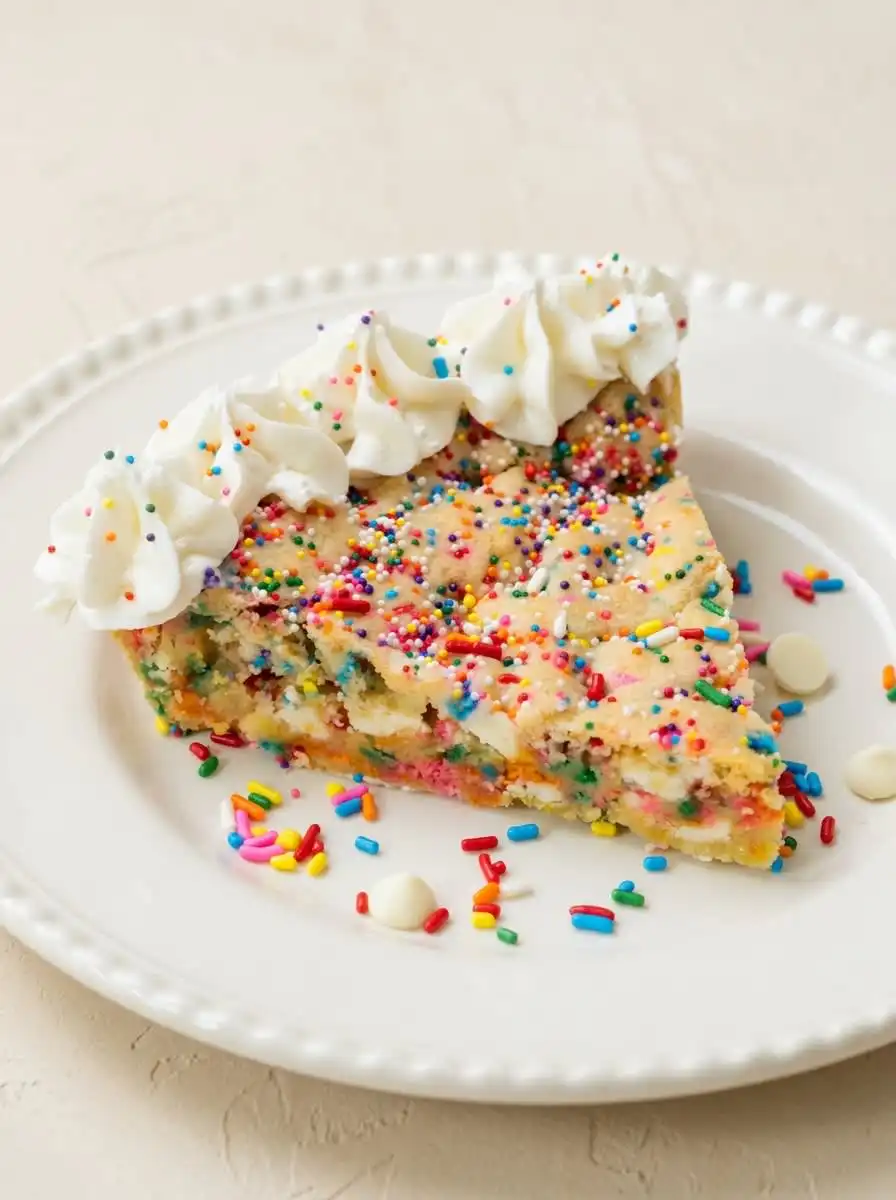
Transfer your whipped buttercream into a pastry bag fitted with a star piping tip, making sure there are no air pockets inside the sleeve. Pipe uniform rosettes along the cooled perimeter of the cookie cake, maintaining steady, even pressure with your dominant hand. Scatter a few additional sprinkles over the freshly piped frosting before it develops a thin, sugary crust. Let the completed dessert rest for ten minutes to set before slicing.
What Experience Teaches Here
Weight is the only path to consistency in the pastry kitchen. If your cookie cake turns out dry and crumbly, you have likely measured your flour by volume rather than weight, which often packs too much flour into the recipe. Always use a digital scale to measure exactly 188 grams of all-purpose flour, avoiding the compression that comes with traditional measuring cups.
The type of sprinkle you select will dictate the final appearance of your crumb. Avoid nonpareils, which are tiny sugar spheres that quickly dissolve and bleed their dye, turning your dough an unappealing shade of gray or green. Stick to wax-coated jimmies for clean, defined pockets of bright color within the baked dough.
Your butter’s temperature must be precisely checked before you begin the mixing process. Butter that is too warm will cause the cookie cake to spread excessively and turn greasy, while cold butter will not trap the air needed for a tender bite. Let your butter sit on the counter for exactly one hour to reach the ideal plastic state.
If your cookie cake sinks excessively in the center and remains wet, your oven temperature may be running lower than the display indicates. Invest in an independent oven thermometer to verify that your appliance is reaching a true 350 degrees Fahrenheit. If this sinking occurs, easily mask the center with an extra layer of whipped buttercream before presenting it to your guests.
For clean, beautiful slices that reveal the pristine cross-section of your bake, chill the cake for thirty minutes before cutting. Warm a long, sharp chef’s knife under hot running water, wipe it completely dry, and make a single downward slice through the crumb. If you appreciate these technical visual guides, viewing our funfetti birthday layer cake story will offer deeper insights into professional pastry presentation.
Selecting the proper baking vessel changes how heat is distributed throughout the dough. A light-colored metal cake pan reflects heat for a gentle, even bake, whereas dark pans can scorch the edges before the center finishes cooking. To understand how pan materials alter sugar cookie chemistry, consult this authoritative guide on classic sugar cookie cake preparation.
Frequently Asked Questions
What makes it a Funfetti (or birthday cake) flavor?
The signature flavor of funfetti is a combination of rich vanilla, sweet butter, and a touch of almond extract. This specific aromatic blend mimics the nostalgic flavor profile of vintage bakery cakes from childhood. The addition of colorful rainbow sprinkles throughout the dough completes the festive visual identity.
What is the best type of sprinkle to use?
You should always use classic rainbow jimmies, which are the rod-shaped sprinkles, inside the cookie dough. These are wax-coated and designed to withstand the heat of the oven without melting or bleeding color. Avoid nonpareils, as their dye dissolves instantly into the wet dough, turning it a muddy shade.
How do I keep my cookie cake from getting hard or dry?
The key to maintaining a soft, chewy texture is to avoid overbaking the dough. Remove the cake from the oven when the edges are set but the center still looks slightly soft and underdone. Storing the cooled cake in a tightly sealed airtight container with a slice of plain white bread will also keep the crumb moist.
Can I make a cookie cake ahead of time?
Yes, you can easily prepare this bake ahead of your scheduled celebration. You can bake the cookie base one day in advance, wrapping it tightly in plastic wrap once fully cooled to preserve its moisture. Whip and apply the buttercream frosting on the day of serving for the freshest texture and appearance.
Can you use box cake mix to make a cookie cake?
While it is technically possible to adapt a box mix by reducing the liquids, the resulting structure will lack the dense, buttery chew of a true cookie. Box mixes contain emulsifiers designed to create light, airy crumbs rather than a satisfying cookie texture. For the best chewy experience, we recommend following this scratch method.
Can I freeze the baked cookie cake?
You can freeze the unfrosted cookie base for up to three months by wrapping it securely in double layers of plastic wrap and aluminum foil. Thaw the cake slowly in the refrigerator overnight before bringing it to room temperature. Apply the fresh buttercream frosting just before serving to maintain the best quality.
What can I use if I do not have heavy cream for the frosting?
If heavy cream is unavailable, you can substitute half-and-half or whole milk in the frosting. Be aware that this substitution will make the buttercream slightly less rich and airy. Add the milk slowly, teaspoon by teaspoon, to prevent the frosting from becoming too runny.
Considered Variations
A delicate citrus modification can distinguish the butter notes of the cookie base. Grate the zest of one fresh lemon directly into the sugar before creaming, pressing the oils into the crystals with your fingertips. This addition cuts through the sweetness of the white chocolate chips and adds a refined, bright top note to the finish.
For those who prefer a darker canvas, you can substitute twenty grams of the all-purpose flour with high-quality Dutch-process cocoa powder. This yields a rich, chocolate-sugar cookie base that contrasts beautifully with the colorful sprinkles and sweet almond buttercream. If you are interested in simplified bakes with similar textures, you might also examine our method for cake mix cookies which offers a faster path to chewy treats.
To deepen the flavor profile, you can brown half of the butter and let it cool completely until solid before starting the recipe. This technique infuses the dough with toasted, nutty aromas that complement the sweet white chocolate beautifully. Ensure you chill the browned fat back to room temperature so it creams properly with the sugar.
Finishing and Presenting
Presentation is the final step in the baker’s discipline, where visual neatness reflects the care taken during preparation. Place the cooled cake on a footed pedestal to give it a proper sense of occasion, allowing the piped border to catch the light. Slice the cake into slender wedges using a warm knife, cleaning the blade between every cut to keep the edges pristine.
To balance the sweetness of the sugar cookie base and the rich almond buttercream, serve each slice with a bitter beverage. A cup of unsweetened black tea or a dark roast espresso provides a sophisticated contrast that cleanses the palate between bites. If you are hosting a larger gathering and need a darker option to accompany this colorful treat, consider offering a slice of chocolate cake birthday alongside it.
A scoop of high-quality vanilla bean ice cream makes an exceptional companion to a slightly warmed slice of this cookie cake. The cold cream slowly melts into the chewy crumb, creating a luxurious play of temperatures and textures. Keep the garnishes simple, letting the colorful sprinkles and the structured frosting remain the primary focus of the plate.
A Word Before You Slice
Mastering the small details of pastry is a journey of patience, where every gram measured and every minute rested contributes to the final masterpiece. This cookie cake stands as a testament to what home bakers can achieve when they treat simple ingredients with respect. By slowing down and honoring the science of baking, you have created something far superior to any commercial bakery offering.
As you share this slice with friends and family, reflect on the techniques you have refined today, from cream emulsification to precise temperature control. If you enjoyed the play of sprinkles and vanilla in this bake, you may want to expand your skills further with our traditional funfetti cake recipe. Each formula we offer is designed to build your confidence and precision at the bench.
We invite you to document your baking successes and join our community of dedicated pastry enthusiasts. Share your photos and connect with us on Pinterest, Facebook, and TikTok to continue your culinary education. Until we bake together again, approach every recipe with measured steps and an unhurried hand.