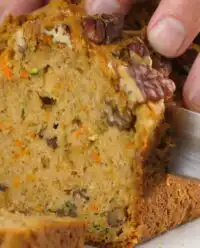
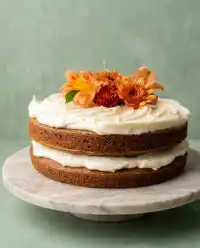
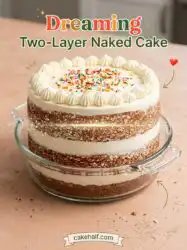
While conventional bakers drown their layers in heavy buttercream to hide mistakes, exposing the sponge reveals real confidence and creates a texture that actually breathes.

Ditching the traditional plastering of frosting is not a shortcut; it is a deliberate design choice that changes how you taste cake. This Two-Layer Naked Cake strips away the excess sweet barrier to highlight the moist buttermilk crumb and clean vanilla flavor underneath. We are taking a simple vanilla buttermilk cake, slicing it down, and frosting it with exactly enough classic buttercream to seal in moisture while keeping things structurally interesting. The result is a striking, minimalist masterpiece that shows off every crumb and demands your attention on any dessert table.
The Case for Making This Two-Layer Naked Cake
Prep: 15 min · Serves: 15 · Difficulty: Medium
- Highlights beautiful, golden sponge layers naturally.
- Prevents sugar overload with balanced frosting.
- Creates an elegant, rustic centerpiece effortlessly.
- Delivers exceptional moisture in every single bite.
- Hones your crumb structure with every slice.
The recipe is a starting point. You are the variable. This minimalist approach lets you try the simple cake design landscape without hiding behind a mountain of sugar.
When you choose to make a small-batch cake, you are making a deliberate decision that values flavor and structural advantages over sheer volume. A two-layer naked cake does not require you to plaster over flaws with cups of overly sweet powdered sugar. Instead, it invites the home baker to focus on the baking process itself, transforming the sponge into the star of the show.
This styling technique is incredibly versatile and works for almost any occasion, from an intimate celebration to a rustic outdoor wedding. By reducing the volume of frosting, you allow the delicate texture of the vanilla crumb to harmonize with the rich buttercream rather than being overpowered by it. It is a modern, sophisticated presentation that proves less really is more.
Get The Full Cake Recipe
Print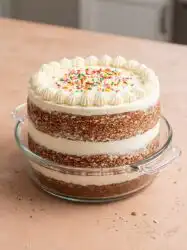
Two-Layer Naked Cake
- Total Time: 45 mins
- Yield: 15 servings
- Diet: Vegetarian
Description
This elegant two-layer naked cake features a moist vanilla buttermilk sponge filled with just enough classic buttercream to highlight its rustic charm. By stripping away heavy frosting, this recipe focuses on pure flavor, tender crumb structure, and a sophisticated, minimalist aesthetic suitable for any occasion.
Ingredients
- Cake flour
- Baking powder
- Baking soda
- Salt
- Buttermilk
- Vegetable oil
- Vanilla extract
- Unsalted butter
- Granulated sugar
- Large eggs
- Powdered sugar
- Milk
Instructions
- Prep oven and pans. Preheat your oven to 350°F and grease three 8-inch round cake pans, dusting them lightly with flour after lining with parchment paper.
- Whisk dry ingredients. In a medium bowl, whisk together the cake flour, baking powder, baking soda, and salt until well aerated.
- Combine wet ingredients. In a separate container, whisk the buttermilk, vegetable oil, and vanilla extract until fully uniform.
- Cream butter and sugar. Beat the softened butter and sugar in a stand mixer for 3 to 5 minutes until pale and fluffy, then beat in the eggs one at a time.
- Mix the batter. Alternate adding the dry and wet mixtures to the butter in five additions, mixing on low speed until the final streaks of flour disappear.
- Bake and cool. Divide batter among the pans and bake for 25 to 30 minutes, then let cool completely on wire racks.
- Assemble and scrape. Stack layers with buttercream in between and apply a thin, sheer outer coating, using a bench scraper to reveal the sponge underneath.
Notes
- Always use room temperature ingredients to ensure a proper emulsion and prevent curdled batter.
- Freeze cooled cake layers for 30 minutes before frosting to minimize crumbs and achieve a cleaner look.
- Use a digital scale to measure flour precisely rather than relying on measuring cups for consistent results.
- Keep your bench scraper clean and dry between passes to avoid smearing the icing across the exposed cake edges.
- Prep Time: 15 mins
- Cook Time: 30 mins
- Category: Dessert
- Method: Baking
- Cuisine: American
What You Actually Need
Great baking is not about luck; it is about selecting the exact chemical players that make your cake crumb perform. When you are leaving the sides of your two-layer naked cake exposed, every single ingredient needs to work together to maintain structural integrity and a tender bite. Let’s look at the key elements that make this sponge reliable and flavorful.
- Cake Flour: This low-protein flour keeps the gluten structure light, making sure a delicate and soft crumb does not turn tough or dry when exposed to the air.
- Buttermilk: The natural acidity of this liquid tenderizes the gluten and activates the leaveners, providing a subtle tang that balances the sweet buttercream.
- Unsalted Butter: Using softened butter allows you to cream it successfully with sugar, trapping tiny air pockets that expand during baking for a magnificent rise.
- Vegetable Oil: A crucial addition of fat that keeps the sponge moist for days, preventing the naked edges from drying out quickly.
- Powdered Sugar: This forms the backbone of our rustic frosting, ground fine enough to dissolve into the butter without leaving a gritty texture.
- Vanilla Extract: Real vanilla provides a warm, aromatic baseline that raises both the cake batter and the sweet buttercream to bakery-grade heights.
| Ingredient | Why It Matters |
|---|---|
| Cake Flour | Yields a low-protein, ultra-tender crumb that maintains softness. |
| Buttermilk | Adds acidity to tenderize the cake and activate leavening agents. |
| Vegetable Oil | Retains moisture at the exposed edges of the sliced layers. |
| Unsalted Butter | Forms the essential emulsion for a sturdy, tall-rising structure. |
To understand why these ingredients work so well together, we have to look at the chemistry of the bake. Unsalted butter provides that classic, rich flavor we all crave, but vegetable oil is the unsung hero that keeps the crumb soft even when stored in the refrigerator. Meanwhile, the lactic acid in buttermilk breaks down tough gluten strands, resulting in a cake that practically melts in your mouth.
Each of these items plays a specific role in making sure your cake stands tall without collapsing under its own weight. We have carefully balanced the dry and wet ingredients so that the crumb is sturdy enough to be sliced cleanly but tender enough to feel luxurious. Preparing your mise en place beforehand guarantees a smooth, stress-free baking experience.
Let’s Bake
Step 1: Prep Your Oven and Pans
Start by preheating your oven to 350 degrees Fahrenheit. You want the rack positioned right in the center so the heat circulates evenly around each pan. Take three eight-by-two-inch round cake pans, grease them thoroughly with butter or non-stick spray, and dust them lightly with flour. Tap out any excess flour over the sink to prevent a thick, pasty skin from forming on your baked layers.
Taking these preparatory steps seriously guarantees that your baked sponges release effortlessly without tearing. A torn edge is difficult to hide when you are not using a thick blanket of frosting to cover up mistakes. Taking the time to line the bottoms with parchment paper rounds is an excellent extra insurance policy for clean releases.
Step 2: Combine the Dry and Wet Ingredients
In a medium-sized bowl, whisk together your cake flour, baking powder, baking soda, and salt for thirty seconds. This aerates the flour and guarantees the leavening agents are distributed evenly throughout the dry mixture. In a separate bowl or measuring cup, whisk the buttermilk, vegetable oil, and vanilla extract until they form a uniform liquid. Having these two components ready to go prevents you from overworking the batter later.
Using a whisk for the dry ingredients mimics the effect of sifting, breaking up any large clumps of flour or leaver. This simple step guarantees that your cake rises evenly without any unsightly tunnels or large air pockets inside the crumb. Keeping your wet ingredients at room temperature is also critical because cold liquids will curdle the creamed butter emulsion.
Step 3: Cream the Butter and Sugar
Place your softened unsalted butter in the bowl of a stand mixer fitted with the paddle attachment. Mix on medium speed until it is smooth and creamy, then gradually pour in the sugar. Beat this mixture for three to five minutes until it turns pale ivory and looks light and fluffy. Add the large eggs one at a time, mixing after each addition until the yellow yolk fully disappears into the cream.
This creaming step is where we build the actual structure of the cake by trapping tiny air bubbles in the fat. Skipping or rushing this process will result in a heavy, dense sponge that lacks the signature lift of a professional bake. Watch for the color shift from deep yellow to pale cream as your visual cue that enough air has been incorporated.
Step 4: Mix the Batter with Precision
With your mixer set to low speed, alternate adding the dry and wet mixtures in five additions. Begin and end with the flour mixture, allowing each addition to incorporate before pouring in the next. Mix only until the last streaks of flour disappear, as over-mixing will activate the gluten and make your cake dense. This batter should look thick, smooth, and smell strongly of sweet vanilla and buttermilk.
The moment batter changes color or texture mid-mix is a crucial sensory checkpoint for any passionate baker. You want to see a cohesive, glossy batter that holds its shape slightly when dropped from a spatula. If you notice any stubborn pockets of flour at the bottom of the bowl, fold them in gently by hand using a flexible silicone spatula.
Step 5: Bake and Cool the Layers
Divide the batter evenly among your three prepared cake pans, smoothing the tops with an offset spatula. Bake at 350 degrees for twenty-five to thirty minutes. You will know they are done when a toothpick inserted into the center comes out clean or with a few moist crumbs. Let the layers cool in their pans for ten minutes before turning them out onto wire racks to cool completely.
Your kitchen will fill with the warm, comforting scent of toasted vanilla and butter as the cakes reach their peak. Avoid opening the oven door too early in the baking process, as a sudden draft of cold air can cause the delicate centers to collapse. Once turned out, the sponges must cool completely to room temperature before you attempt any assembly or frosting.
Step 6: Assemble and Scrape Your Two-Layer Naked Cake
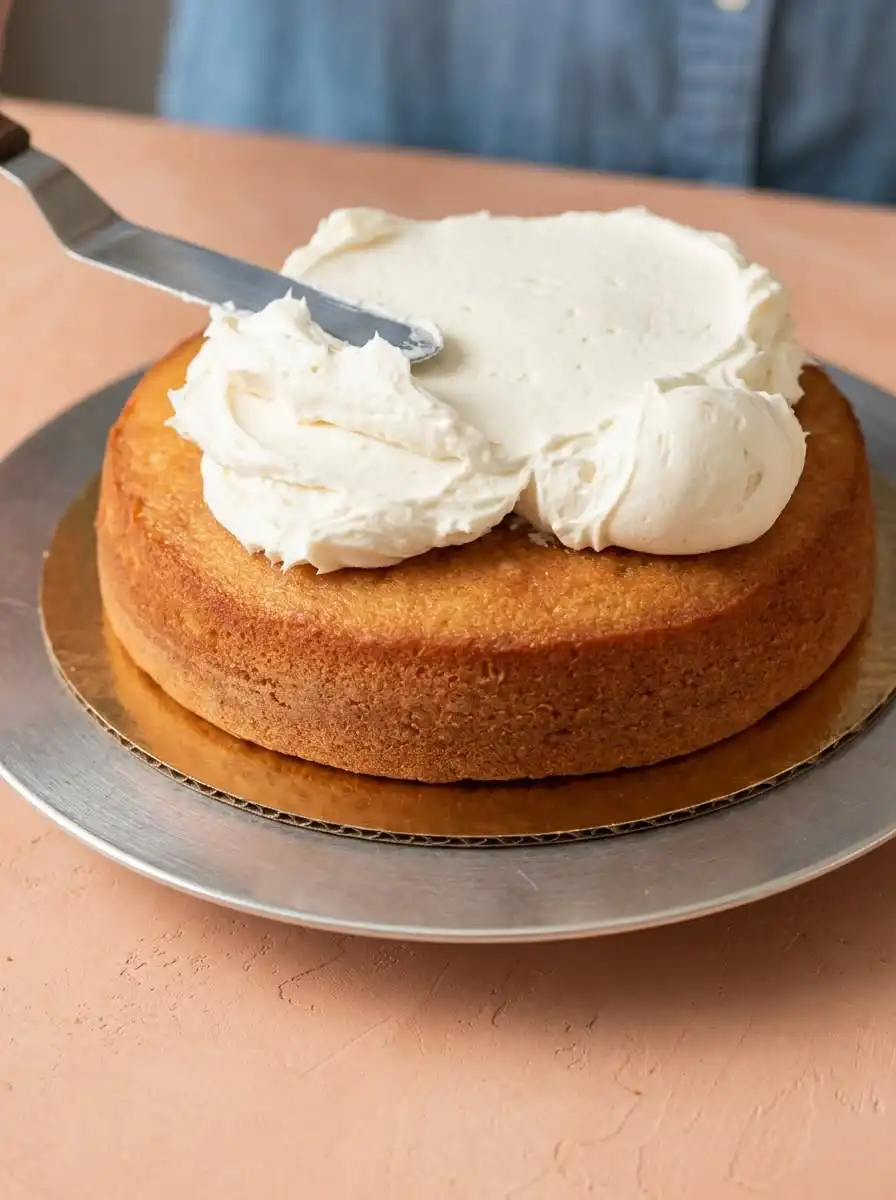
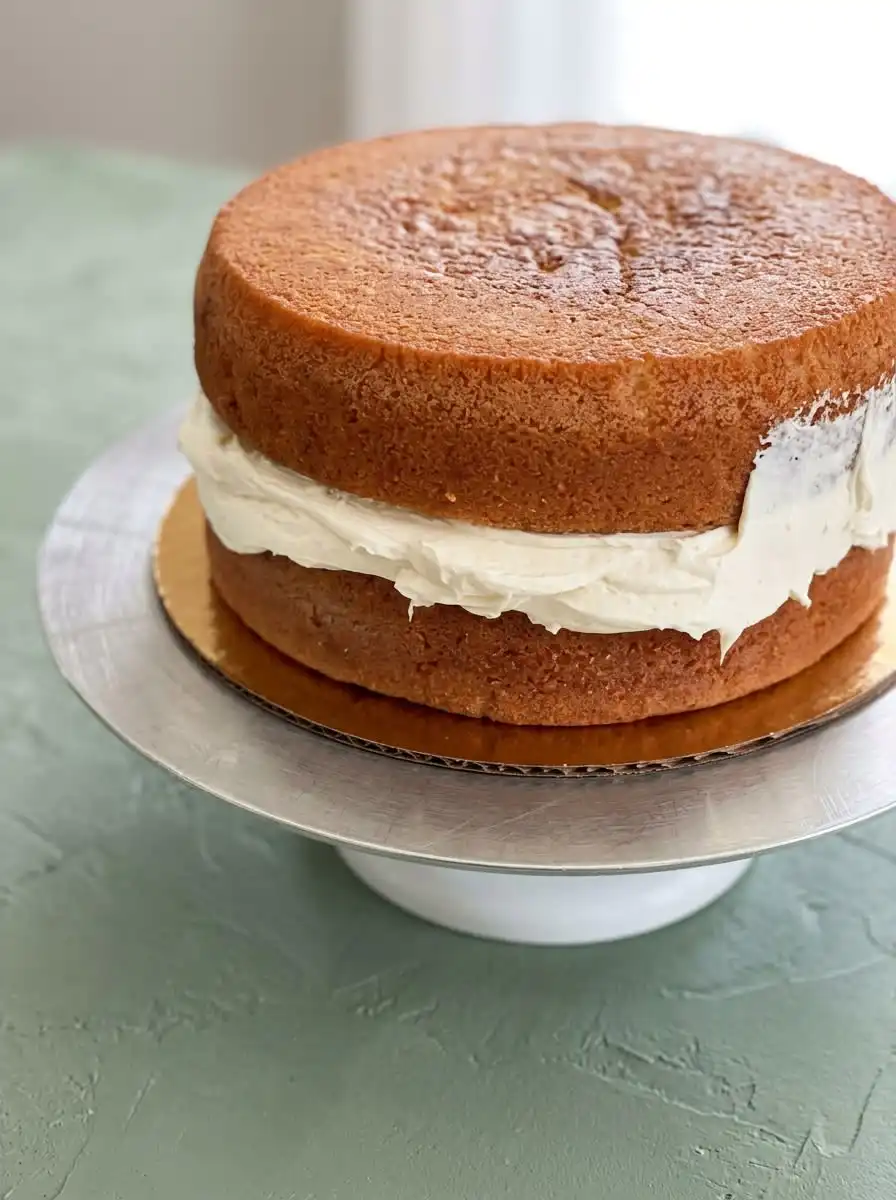
Cream your butter, vanilla, powdered sugar, and milk together until you have a smooth, stable buttercream. Place your first cake layer on a rotating turntable and spread a generous layer of frosting on top. Stack the second layer on top, fill in any gaps between the layers with extra frosting, and apply a very thin coat all over the outside. Use a clean bench scraper held at a forty-five-degree angle to scrape away the excess frosting until the golden-brown edges of the cake peek through beautifully.
Applying that final scraped coat is where the visual drama of a cross-section cut begins to take shape. You want the frosting to look intentionally sheer, like a delicate veil that protects the cake while revealing its internal character. If you prefer a three-layer presentation, you can easily stack all three baked layers using this identical method.
The Details That Matter
Using a digital kitchen scale is your ultimate liberation device because it removes the frustrating guesswork from flour measurement. Spooning and leveling flour is helpful, but weighing it guarantees that your layers bake up light rather than heavy and dry. Precision here allows you to focus on the creative design instead of worrying about density.
If your buttercream turns out too thick or curdled, here is why and how to fix it. This happens when the butter is too cold or you added too much sugar too quickly, which breaks the emulsion. Pour in a teaspoon of warm milk or place the bowl over a pot of warm water for ten seconds to restore the smooth texture.
If your cake layers dome heavily in the oven, your oven temperature might be running too high, which forces the edges to bake faster than the center. You can fix this by using damp cake strips wrapped around the outside of your pans to encourage flat, even layers. To find more ways to design beautiful, flat layers for your special events, check out our guide on celebration cakes.
Chilling your baked cake layers before you start frosting them is a non-negotiable step for clean edges. Warm cake is incredibly fragile and will shed thousands of crumbs into your pristine buttercream, ruining the rustic aesthetic. Wrap each cooled layer in plastic wrap and freeze them for thirty minutes to make them firm and exceptionally easy to handle.
For the outer scrape, keep your bench scraper completely clean and wiped dry between every single pass. If you leave excess frosting on the scraper, it will drag across the exposed cake and smear the design instead of creating clean lines. You can learn more about mastering the semi-naked frosting technique to hone your scraper angles and pressure.
If your cake looks lopsided during assembly, your layers were likely uneven before you stacked them. Use a long serrated knife to shave off any domed tops before putting them together, making sure you have a level surface. A level cake is structurally sound and will not slide or lean once you apply the final details.
Edge pieces, domed tops, and off-cuts serve as excellent proof-of-concept bites that exist before the finished cake does. Crumble these pieces over ice cream or eat them warm with a smear of leftover buttercream to test your crumb structure. This sensory check lets you confirm the texture is spot-on before presenting the final masterpiece to your guests.
Frequently Asked Questions
How do you keep a naked cake from drying out?
To keep the exposed sponge from drying out, you should apply a simple syrup brush over the layers before frosting. Additionally, store the finished cake in an airtight container or wrap it securely in plastic wrap until a few hours before serving. This seals in the moisture and prevents the air from staling the edges.
What is the difference between a naked cake and a semi-naked cake?
A completely naked cake has absolutely no frosting on the outer sides, leaving the sponge entirely exposed to the elements. A semi-naked cake features a thin, scraped layer of buttercream that seals in moisture while allowing the cake layers to peek through. The semi-naked style is much easier to keep fresh because the thin crumb coat protects the cake.
How do you get straight, even layers on a naked cake?
The secret to straight layers is trimming the domed tops off your cakes with a long serrated knife before assembly. You should also use a rotating turntable and hold your bench scraper at a precise forty-five-degree angle to keep the sides vertical. This removes the excess frosting evenly and prevents the cake from leaning.
What is the best frosting for a naked cake?
A stiff, stable buttercream or cream cheese frosting is the ideal choice for this style of cake because it holds its shape and acts as a structural mortar. Whipped cream or meringue-based frostings are too soft and will squish out under the weight of the layers. You need a frosting that can stand up to being scraped without sliding.
How do you decorate a two-layer naked cake?
When you design a **two-layer naked cake**, you can decorate the top with fresh, seasonal berries, edible flowers, or a simple dusting of powdered sugar. A dramatic spiral pattern created with an offset spatula on the top frosting layer also adds a professional touch. Keep the decorations minimal to complement the rustic aesthetic of the exposed layers.
How do you store a naked cake before an event?
Store the cake in the refrigerator for up to twenty-four hours in a covered cake dome or box. Bring it to room temperature about two hours before serving so the butter in the cake and frosting can soften. This timing guarantees your guests enjoy a tender cake rather than a cold, dense one.
Can you make this cake gluten-free?
Yes, you can substitute the cake flour with a high-quality, 1-to-1 gluten-free baking flour blend that contains xanthan gum. You may need to add an extra tablespoon of buttermilk to prevent the gluten-free batter from drying out. The structure will still be sturdy enough to support the semi-naked style.
Rebel Swaps
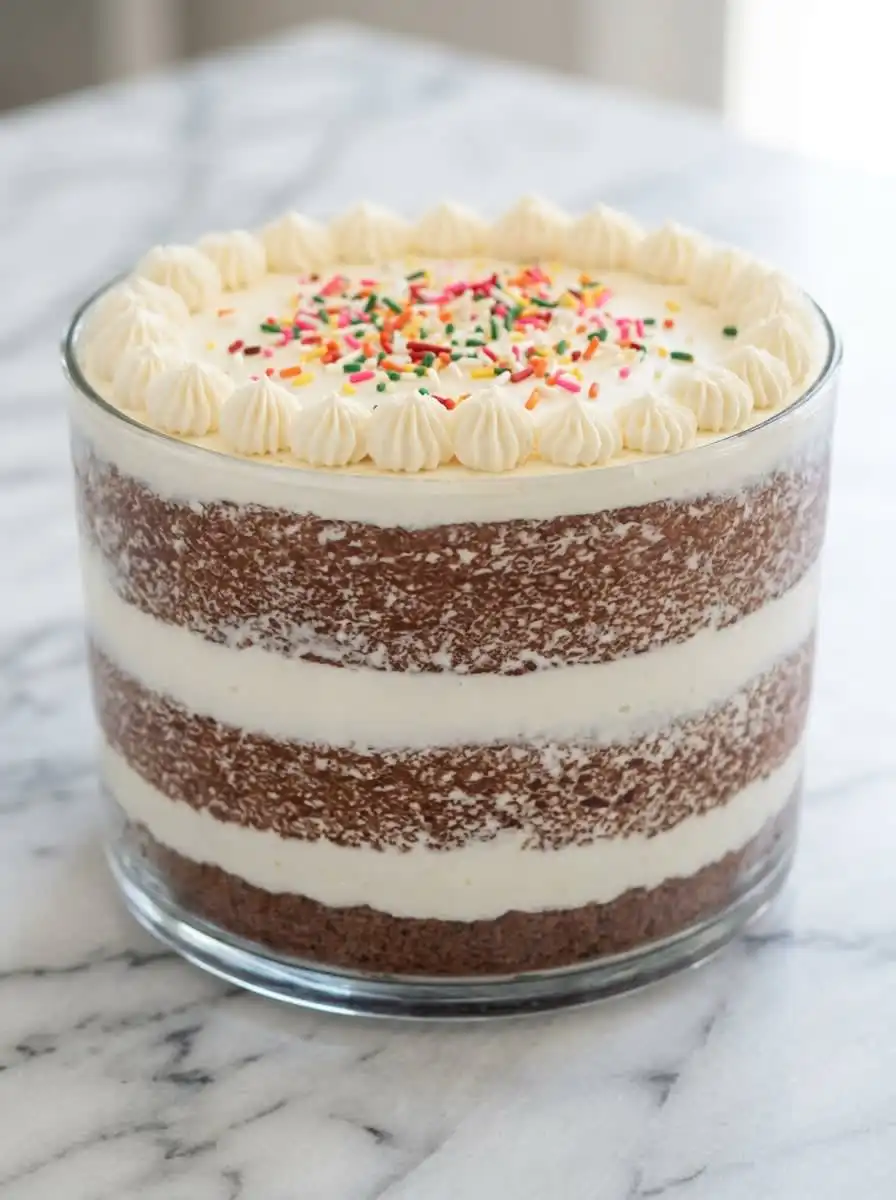
If you want to play with the color contrast of your layers, you can swap the vanilla buttermilk sponge for a darker base. A rich cocoa sponge provides a beautiful dark brown backdrop that contrasts sharply with the white vanilla buttercream. For a classic flavor combination that uses this stunning visual contrast, read our classic two layer yellow cake chocolate frosting story.
You can also adapt this recipe for different seasons by infusing the buttercream with freeze-dried fruit powders instead of vanilla. Strawberry or raspberry powder adds a bright, natural pink color and a tart berry flavor that cuts through the rich butter. This swap keeps the aesthetic rustic while introducing a lively fruity note that pairs wonderfully with fresh fruit toppings.
Another excellent modification is changing the size of the cake to a smaller, taller format. You can bake this recipe in four six-inch pans instead of three eight-inch pans to create a towering, dramatic cake. This small-batch logic guarantees you get spectacular visual height without needing to bake an enormous amount of batter.
For an aromatic twist, try steeping the milk for your buttercream with culinary lavender or Earl Grey tea leaves before mixing. This subtle infusion adds a sophisticated, botanical dimension that pairs beautifully with the simple vanilla buttermilk cake. It is an unexpected, mischievous flavor twist that will surprise your guests in the best way possible.
Before You Slice
When presenting your rustic creation, place it on a clean wooden pedestal or a vintage glass cake stand to heighten the visual appeal. This two-layer naked cake is perfect for intimate gatherings, casual backyard weddings, or simple birthday parties. For a smaller, playful adaptation of this double-layer concept, you can check out our two layer smash cake story to see how to create a miniature version.
Pair each slice with a hot cup of black coffee or a delicate herbal tea to cut through the sweetness of the buttercream. Fresh berries like raspberries or blackberries served on the side add a wonderful acidity that refreshes the palate between bites. The simplicity of the presentation should match the honest, straightforward flavors of the buttermilk sponge.
To clean up your cuts and show off the internal structure, dip your sharp chef’s knife in hot water and wipe it clean before every slice. This melts through the buttercream layers cleanly instead of dragging them into the exposed crumbs. Your guests will appreciate the sharp, clean lines that highlight the contrast between cake and frosting.
The Takeaway
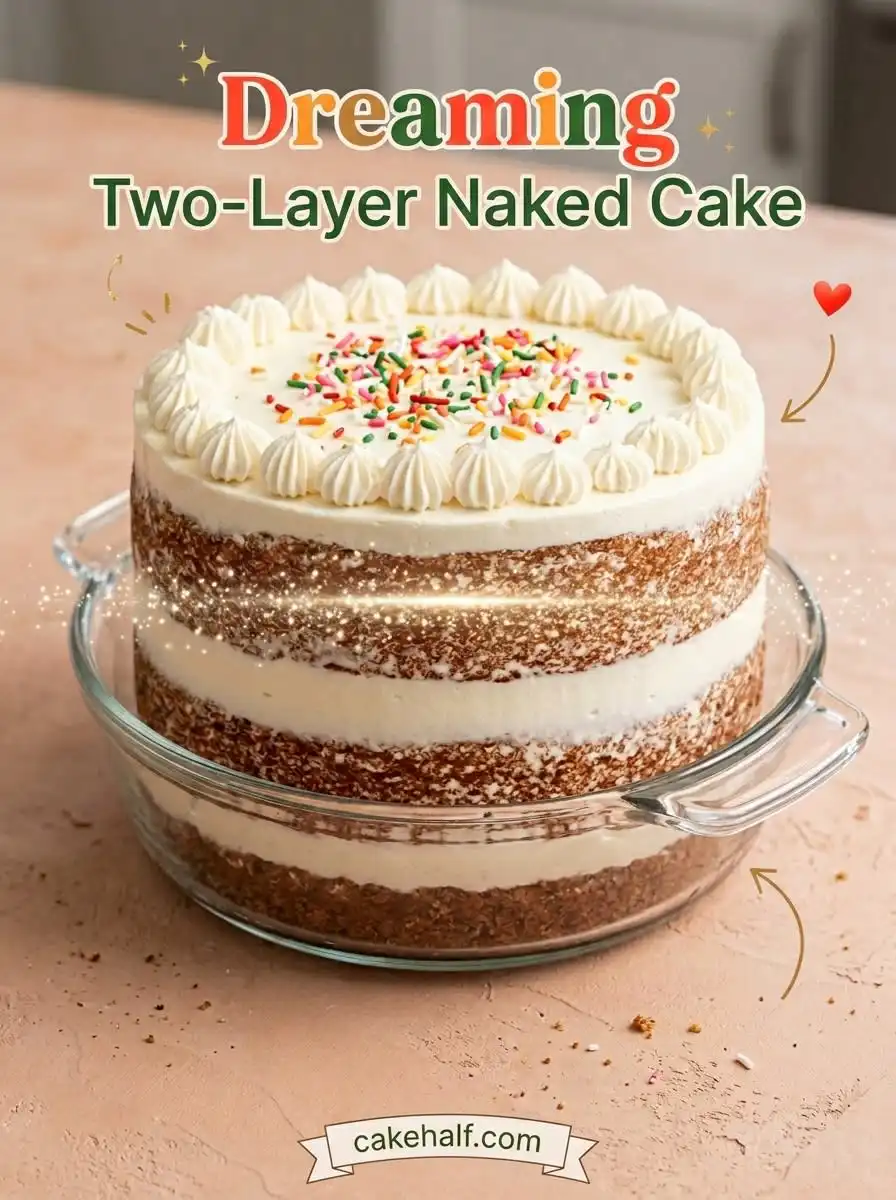
Baking a two-layer naked cake proves that you do not need complicated techniques or professional tools to create something beautiful. Embracing the imperfections of a rustic finish shows your confidence as a baker and highlights the quality of your ingredients. If you want to find more classic multi-layered desserts, read our two layer boston cream cake story to expand your pastry repertoire.
That is not a mistake — that is data. Let your kitchen be a place of experimentation, where every crumb taught you something new about temperature and texture. We love seeing how you customize our recipes and make them your own.
Share your baking journey with us and post your rustic creations online. You can connect with our community on Facebook, find more visual inspiration on Pinterest, or watch quick tutorials on TikTok. Let’s keep baking with full conviction and making every layer count.