Grandma always said that the most beautiful things in life are never quite perfect, much like the soft pink and golden hues of a fresh peach warming on the kitchen windowsill.

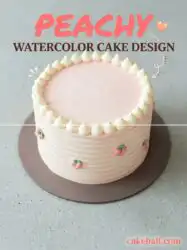
This delicate Peach Watercolor Cake Design brings that soft, painted beauty of late summer right to your dessert table. Layered with a velvety peach mousse and enveloped in sweet vanilla buttercream, this cake feels less like a modern creation and more like a quiet work of art from a slower era. Every slice carries the gentle sweetness of real fruit, prepared the slow way to honor the season’s quiet transition. We gather in the kitchen to bake this when the afternoon sun starts to lean long and amber through the screen door, casting a warm glow over our worn wooden counters.
Why We Keep Coming Back to This Peach Watercolor Cake Design
When late August arrives, we always find ourselves yearning for the sweet taste of fresh orchard stone fruits. This particular cake captures that fleeting seasonal magic in a way that feels both elegant and wonderfully rustic. It offers a beautiful balance of textures that makes every single bite feel like a special occasion.
Prep: 105 min · Serves: 10 · Difficulty: Medium
- Gentle peach sweetness in every single bite.
- Stunning watercolor layers made with rustic buttercream.
- Quiet, slow-baked layers that remain incredibly tender.
- Made with real summer fruit purée throughout.
- Classic decoration that requires no special tools.
This is the vintage dessert our family gathers to share whenever the orchard trees hang heavy with fruit. While we often bake a classic peach upside down cake during the height of July, this painted masterpiece is what we save for our most cherished family milestones.
Get The Full Cake Recipe
Print
Peach Watercolor Cake Design
- Total Time: 160 mins
- Yield: 10 servings
- Diet: Vegetarian
Description
This elegant, multi-layered cake features tender yellow sponge filled with a velvety, stabilized fresh peach mousse. Finished with a stunning hand-painted watercolor effect using vanilla buttercream, it is the perfect vintage-inspired centerpiece for summer gatherings.
Ingredients
- Fresh peaches, peeled and sliced
- Yellow cake mix
- Instant vanilla pudding mix
- Egg whites
- Sour cream
- Vegetable oil
- Vanilla extract
- Almond extract
- Salt
- Gelatin powder
- Granulated sugar
- Lemon juice
- Heavy cream
- Unsalted butter, softened
- Powdered sugar
- Pink gel food coloring
- Red gel food coloring
- Yellow gel food coloring
Instructions
- Cook peach purée. Blend peaches until smooth and simmer in a saucepan over medium-low heat for fifteen minutes until reduced to two cups, then cool completely.
- Bake cake layers. Whisk cake mix, pudding mix, egg whites, sour cream, oil, extracts, salt, and one cup of cooled purée, then divide into four 6-inch pans and bake at 350ºF for twenty-five minutes.
- Prepare peach mousse. Heat remaining purée with sugar, gelatin, and salt, stir in lemon juice and vanilla, cool over an ice bath, and fold in freshly whipped heavy cream.
- Beat vanilla buttercream. Whip softened butter and salt until fluffy, gradually incorporate powdered sugar, vanilla, almond extract, and heavy cream until clouds-like.
- Assemble cake layers. Stack the four cake layers with even portions of peach mousse in between, then chill the assembly for fifteen minutes to stabilize.
- Apply crumb coat. Spread a thin layer of untinted buttercream over the exterior to seal loose crumbs and refrigerate for thirty minutes.
- Prepare color palette. Tint separate portions of buttercream with gel colors to create soft rose, pale peach, and keep a portion as plain white.
- Paint watercolor design. Dab small patches of colored frosting onto the chilled cake and smooth with a bench scraper to blend into a soft watercolor effect.
Notes
- Ensure all dairy ingredients like butter and heavy cream are at room temperature to prevent lumping and ensure proper volume.
- Always chill the assembled cake between steps to keep the mousse stable and the buttercream canvas firm for painting.
- Use a light touch with your scraper when applying the watercolor effect to avoid muddying the distinct pastel colors.
- If using canned peaches, ensure they are drained thoroughly of all syrup to maintain the correct consistency of the cake batter and mousse.
- Prep Time: 105 mins
- Cook Time: 55 mins
- Category: Dessert
- Method: Baking
- Cuisine: American
What You’ll Need
Baking this gorgeous dessert starts with gathering wholesome, simple pantry staples from your dark wooden cabinets. We focus on real fruit and rich dairy to build layers of genuine flavor that taste of old-fashioned Sunday gatherings. Each element plays an important part in creating a cake that feels both familiar and deeply comforting. Taking the time to select fresh ingredients guarantees that every layer turns out tender and full of natural flavor.
- Real Peaches: Select ripe, fragrant fruit to cook down into a thick, concentrated purée that flavors both the sponge and the light mousse filling. The cooking process removes excess water, which prevents your cake layers from becoming soggy or dense during baking.
- Sour Cream: Adding this rich dairy staple keeps the cake crumb beautifully tender and adds a subtle tang that balances the natural sweetness of the fruit. It works alongside the vegetable oil to provide a rich, soft texture that mimics Grandma’s classic scratch-made recipes.
- Instant Vanilla Pudding: Mixing this into the dry ingredients helps lock in moisture, giving our layers a soft, melt-in-your-mouth texture that lasts for days. This little bakery secret helps keep the crumb structurally sound so it can support the weight of the fresh fruit mousse.
- Gelatin Powder: This simple setting agent stabilizes our fresh fruit purée, transforming it into a velvety, sliceable mousse layer that holds its shape beautifully. Without it, the fresh peach purée would seep into the cake layers, causing the entire assembly to slide apart on the platter.
- Unsalted Butter: Using high-quality butter beaten until pale and fluffy creates the traditional base for our watercolor buttercream canvas. The butter must be properly softened to room temperature so it incorporates smoothly with the powdered sugar and heavy cream.
- Almond Extract: Dropping a tiny splash of this vintage flavoring into the batter highlights the natural stone-fruit notes of the peaches. It adds a subtle depth of flavor that makes guests wonder what secret ingredient makes the cake taste so exceptionally nostalgic.
- Heavy Cream: Whipping this rich liquid to stiff peaks provides the airy, luxurious volume for our delicate peach mousse filling. It is also used in the buttercream to create a silky, spreadable consistency that glides effortlessly across the cake.
- Yellow Cake Mix: Using a high-quality cake mix as our dry base provides a consistent, reliable structure that saves precious time in the kitchen. This allows us to focus our creative energy on perfecting the handmade peach reduction and the artistic watercolor painting process.
| Ingredient | Why It Matters |
|---|---|
| Real Peaches | Provides the concentrated fruit base for the natural mousse and sponge, ensuring genuine stone-fruit flavor throughout. |
| Sour Cream | Softens the gluten structure for an incredibly tender cake crumb that remains moist and delicious for days. |
| Gelatin Powder | Provides vital structure to the delicate mousse so the tall, stacked layers stay perfectly aligned and stable. |
| Almond Extract | Complements the peach flavor with a nostalgic, subtle warmth that mimics old-fashioned bakery recipes. |
| Heavy Cream | Adds luxurious loft and silkiness to both the stabilized peach mousse and the fluffy vanilla buttercream frosting. |
Step by Step in Teresa’s Kitchen
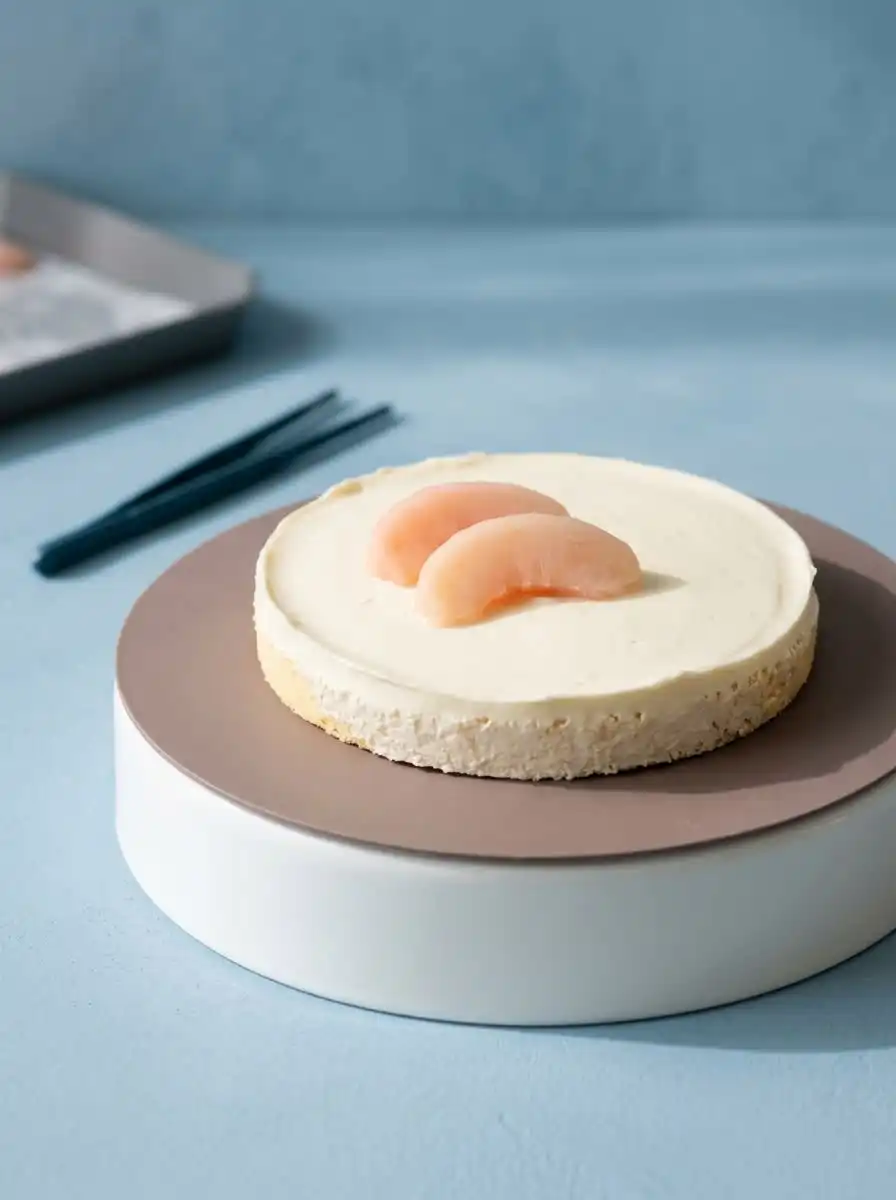
Baking this beautiful dessert is a slow, meditative process that should never be rushed. We begin by preparing each component with care, letting the aromas of fresh fruit and sweet vanilla warm our quiet kitchens. Follow these detailed steps to bring this painted masterpiece to life on your own counter.
Step 1: Cook the Peach Purée
Place the peeled, sliced peaches into your food processor and blend until completely smooth. Pour the golden liquid into a small, heavy-bottomed saucepan over medium-low heat. Stir the mixture slowly with a wooden spoon for fifteen minutes until it reduces to exactly two cups (473 ml). Set it aside to cool completely, letting the rich aroma of warm fruit fill your quiet kitchen as the purée thickens naturally.
Step 2: Bake the Tender Yellow Cake Layers
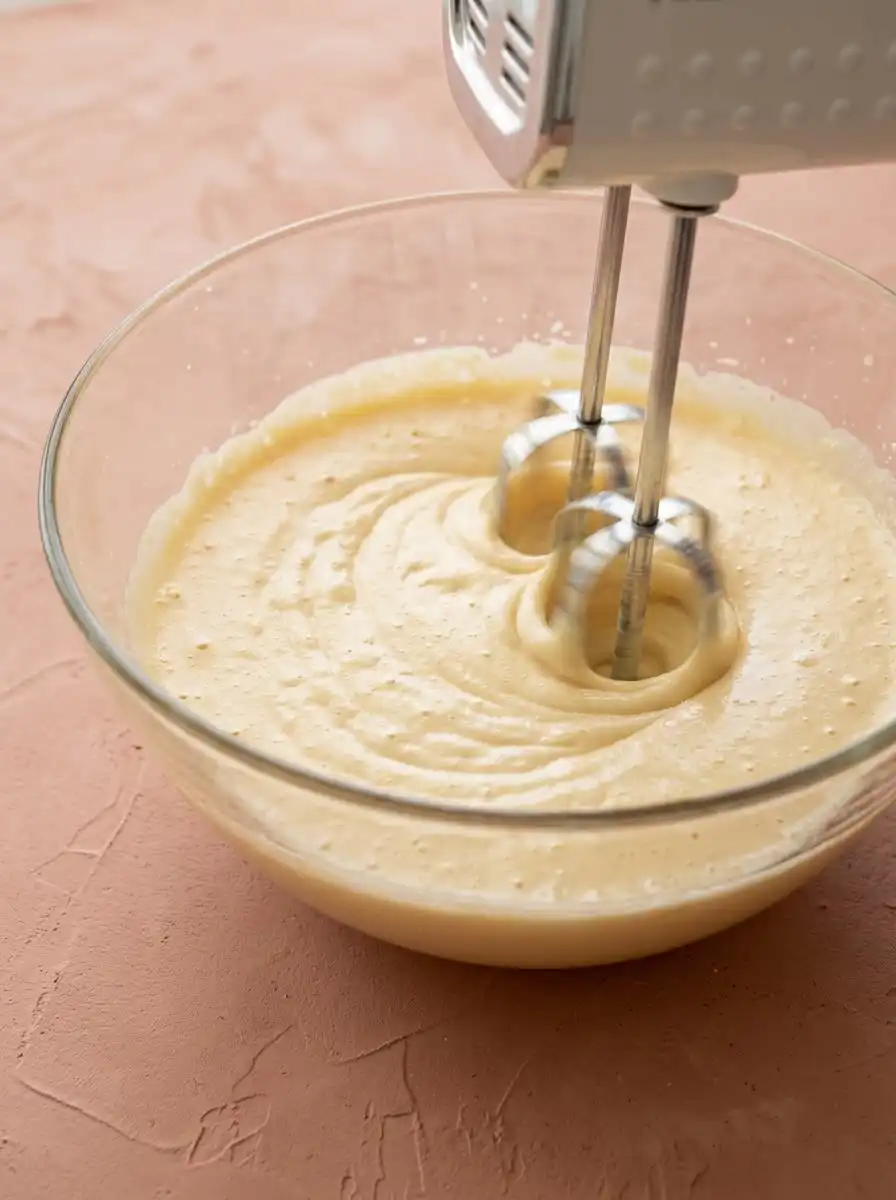
Preheat your oven to 350ºF (177ºC) and grease four small six-inch round baking pans with nonstick spray. Combine the yellow cake mix, pudding mix, egg whites, sour cream, vegetable oil, vanilla, almond extract, salt, and one cup of your cooled purée in a large glass bowl. Stir the thick batter until smooth, divide it evenly among your prepared pans, and bake for twenty-five minutes until a wooden toothpick inserted in the center comes out clean.
Step 3: Prepare the Fresh Peach Mousse
Heat the remaining peach purée, sugar, gelatin, and salt in a small saucepan until tiny bubbles begin to break the surface. Remove the pot from the heat and stir in the fresh lemon juice and pure vanilla extract. Place the saucepan into a larger bowl filled with ice water, stirring constantly with a rubber spatula until the mixture thickens to the texture of soft pudding. Gently fold in your freshly whipped heavy cream until the mixture is uniform and pale orange.
Step 4: Beat the Rich Buttercream Frosting
Beat your room-temperature unsalted butter and salt in a stand mixer on high speed for six minutes until pale and exceptionally fluffy. Slowly add the powdered sugar with the mixer on low speed, then pour in the vanilla, almond extract, and heavy cream. Increase the speed to medium-high and beat the frosting for four minutes until it looks like clouds. Set aside a portion of this white icing to use for your delicate final presentation on the cake.
Step 5: Assemble the Delicate Cake Layers
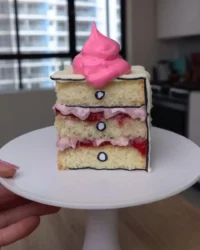
Place your first cooled yellow cake layer onto a sturdy pedestal or ceramic cake plate. Spread one-third of the cold peach mousse evenly across the surface of the cake. Repeat this process with your remaining layers, finishing with the fourth cake layer on top. Make sure the sides of your tall stack are straight and aligned before placing the cake in the refrigerator for fifteen minutes to set and stabilize.
Step 6: Apply the Protective Crumb Coat
Spread a thin layer of your untinted vanilla buttercream over the top and sides of the cold cake to trap any loose crumbs. Smooth the surface with a metal bench scraper, then return the cake to the refrigerator to chill for thirty minutes. While the cake chills, divide your remaining buttercream into separate bowls to prepare your color palette of soft pinks and warm peach tones.
Step 7: Color the Vanilla Buttercream
Tint one small bowl of buttercream with a drop of pink gel food coloring until it matches a soft rose petal. Tint another bowl with a mix of yellow and a tiny touch of red gel coloring to create a pale peach hue. Keep the largest portion of your frosting untinted white to help blend the tones. This soft palette of three distinct colors is the key to creating a beautiful watercolor look on your finished dessert.
Step 8: Apply Your Peach Watercolor Cake Design
Use a small offset spatula to dab irregular patches of pink, peach, and white buttercream all over the chilled cake. Smooth the sides with your scraper, allowing the pastel colors to gently blend together like wet paint on a canvas. Add extra dabs of color to fill any bare spots, then garnish the top border with soft piped dollops and delicate sprinkles before serving to your loved ones.
What Grandma Would Tell You
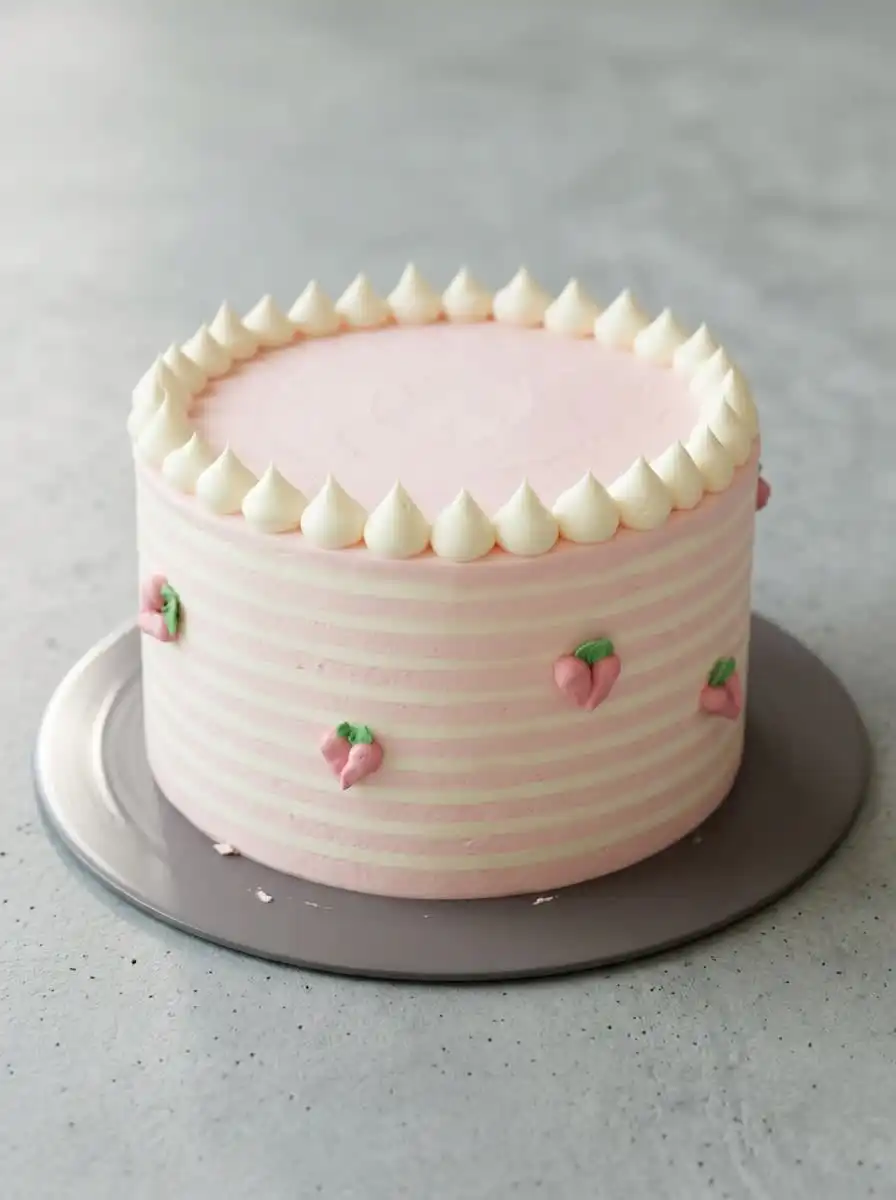
Our grandmothers always knew that the secret to beautiful baking lies in the details that cannot be written on a simple recipe card. These extra bits of wisdom will help you master the delicate art of watercolor frosting and scratch-like cake textures. Read through these tips carefully before you begin your kitchen journey.
Always let your reduced peach purée cool to room temperature before adding it to your delicate batter or gelatin mixture. Warm purée can melt the butter in your cake mix, which results in a dense, heavy layer rather than a light and fluffy crumb. Taking this extra time honors the slow pace of vintage baking and helps your layers rise beautifully in the oven heat.
If your peach mousse seems too runny to layer, do not panic or discard the mixture. Set the bowl back into the refrigerator for ten minutes to allow the gelatin to firm up slightly before you attempt to assemble your layers. For more guidance on working with delicate pastel icings, you can read our two layer watercolor buttercream cake story which details these frosting techniques in greater depth.
When smoothing your watercolor frosting, use very light pressure with your bench scraper or offset spatula. Too much pressure will scrape the colors off completely or muddy them together into a single dull shade rather than distinct, painted strokes. Keep your wrist loose and let the tool glide over the surface like a paintbrush on textured paper.
Make sure your butter is truly at room temperature—around 65°F (18°C)—before you begin beating your vanilla buttercream frosting. Cold butter will create tiny, stubborn lumps that ruin the smooth canvas needed for your delicate painted designs. If your kitchen is cool, let the butter sit out on the counter for several hours beforehand to soften naturally.
Peel your peaches effortlessly by dropping them into boiling water for thirty seconds, then immediately transferring them to a bowl of ice water. The skins will slip off effortlessly with gentle pressure from your fingers, saving you from losing precious fruit to a paring knife. This old-fashioned method is how home bakers have prepared stone fruits for generations in their summer kitchens.
Chill your cake layers thoroughly before assembling the tall structure to prevent the light peach mousse from squeezing out the sides. Warm cake layers will melt the gelatin in the mousse, leading to a messy, unstable cake that leans. Giving the assembled cake ample time in the cold refrigerator helps lock the structure in place before you apply the decorative buttercream.
Frequently Asked Questions
What colors do you mix to get a peach watercolor effect?
To achieve a soft peach tone, start with a base of untinted white vanilla buttercream. Mix in a few drops of yellow gel food coloring, then add a tiny speck of red gel coloring with a toothpick. Stir slowly until the colors merge into a warm, natural peach shade that mimics the real fruit. Always add the color in tiny increments to avoid making the frosting too dark or saturated.
What accent colors pair best with a peach watercolor cake?
Soft pastel shades like sage green, dusty rose, and warm gold complement this design beautifully. These gentle colors evoke the natural landscape of a quiet summer orchard at sunset. Avoid bold, saturated colors that might overpower the delicate painted look of your frosting. Keeping the accent palette muted allows the soft peach tones of the cake to remain the true center of attention.
What type of flowers look best on a peach watercolor cake?
Fresh, edible flowers like chamomile blooms, pansies, or organic rose petals add a lovely vintage touch to the cake. Gently tuck them into the frosting borders just before serving to bring a garden-fresh feel to your table. Always verify that your selected flowers are completely pesticide-free and safe for culinary use. Remove them before slicing the cake to keep the serving process neat and simple.
Can you flavor a peach watercolor cake naturally?
Yes, this recipe relies on a slow-cooked peach purée to provide natural sweetness and flavor to the sponge and mousse. Reducing the fresh fruit juice on the stovetop concentrates the natural sugars and flavor without thinning your batter. A tiny touch of pure almond extract also helps highlight the natural warmth of the stone fruit. This classic combination delivers a deep, authentic peach flavor without any artificial extracts.
What is the best frosting for a watercolor effect?
A classic American buttercream or a smooth Swiss meringue buttercream works best for this painted style. These frostings remain soft enough to glide and blend smoothly when you run a bench scraper around the cake. Avoid using whipped cream frosting, as it lacks the stability needed to hold the delicate colored patches. The higher fat content in buttercream ensures your painted design remains intact for several days in the refrigerator.
Are peach watercolor cakes good for weddings?
These beautiful cakes are a lovely choice for rustic, vintage-style weddings and outdoor afternoon receptions. The hand-painted appearance feels deeply personal and romantic, offering a refreshing departure from formal fondant designs. It brings a touch of homemade warmth that guests will remember long after the celebration ends. You can scale the recipe up to create a larger multi-tiered masterpiece for your special day.
Can you make a square peach watercolor cake?
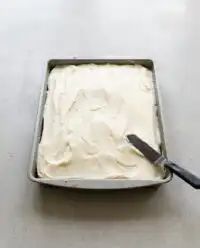
You can certainly apply this decorative technique to a square or rectangular sheet cake with beautiful results. Smooth the white base frosting over the square cake, then dab your pink and peach frosting patches along the flat sides and top. Glide your offset spatula gently over the surface to create those soft, sweeping watercolor strokes. This shape is wonderfully rustic and makes slicing and serving large gatherings very straightforward.
Through the Seasons
While we love the classic presentation of this painted cake, there are several ways to adapt the recipe to suit your kitchen pantry or the changing seasons. These simple variations maintain the timeless character of the dessert while offering a fresh twist for your family table. Here are a few ways to make this recipe your own.
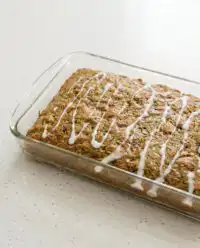
You can adapt this design for a simpler family gathering by baking it in a classic rectangular pan. Instead of stacking four delicate layers, spread the batter into a greased nine-by-thirteen-inch metal baking pan and bake for thirty minutes. Once cooled, spread the light peach mousse over the top and garnish with dollops of vanilla frosting to mimic our beautiful painted design without the need for stacking.
If fresh peaches are out of season during the deep winter months, high-quality canned peaches make a wonderful substitute. Drain the fruit thoroughly before puréeing to avoid adding excess moisture to your delicate batter. This adaptation reminds us of the resourceful methods found in our family archives, much like the timeless pantry swaps used in our ina garten peach cake recipe.
For an elegant touch of warmth, add a pinch of freshly grated nutmeg and a teaspoon of ground cinnamon to the dry ingredients. These sweet spices pair beautifully with the natural stone-fruit flavors and bring a cozy, autumnal feel to your dessert. This variation is wonderful for early autumn gatherings when the air begins to turn crisp and we gather indoors around the hearth.
Sitting Down Together
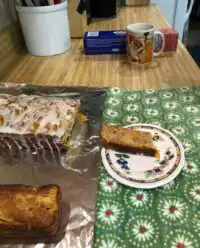
This painted cake is best enjoyed when sliced with a warm knife and shared among close family on a quiet afternoon. Place each delicate slice on a vintage porcelain plate alongside a sterling silver fork to honor the slow, beautiful traditions of the past. The soft pastel colors make it a beautiful centerpiece for a baby shower, a quiet anniversary, or a Sunday dinner. The gentle design speaks of care and attention, making your guests feel truly welcomed and cherished.
Serve this dessert with a pot of hot Earl Grey tea or a glass of chilled, unsweetened iced tea to balance the sweet buttercream. If you are hosting a larger summer gathering, you might also offer slices of our classic peach cobbler pound cake to give your guests a variety of old-fashioned orchard desserts. Sharing these homemade baked goods with the people you love is a beautiful way to show care and keep old memories alive. The combination of different textures will keep everyone talking around the table.
Keep the cake stored in a covered keeper in your refrigerator until about fifteen minutes before your guests arrive at the table. Allowing the cake to sit briefly at room temperature softens the buttercream, letting the rich vanilla and peach flavors shine. Slice the cold cake carefully to guarantee clean, beautiful layers in every single serving. This presentation highlights the contrast between the tender cake, the orange mousse, and the painted frosting.
Before You Close the Recipe Box
Baking is a quiet way to connect with those who came before us, and this hand-painted cake carries that spirit in every tender crumb. Taking the time to reduce the fresh fruit, fold the light mousse, and paint the buttercream reminds us that some things are worth the slow, careful effort. We hope this beautiful dessert brings a sense of comfort and sweet nostalgia to your kitchen table. Let this be a reminder that the best things are created when we slow down and bake with love.
If you find yourself longing for more fruit-filled bakes, we invite you to read our classic peach buttercream birthday cake story for more nostalgic kitchen inspiration. Please share your beautiful baking creations with our community on Pinterest, Facebook, and TikTok so we can celebrate these vintage traditions together. Until next time, keep your flour dusted, your oven warm, and your heart open to the sweet memories only home baking can bring.