Every autumn, as the first frost touched the kitchen window, Grandma would pull her heavy glass bowls from the high shelf to begin our yearly baking.

The scent of roasting nuts and warming sugar always signaled the arrival of Sunday family gatherings. This classic Two-Layer Peanut Butter Cake represents the heart of those quiet afternoons, offering a tender crumb that melts on your tongue. We do not rush this process, choosing instead to measure each cup with care and patience. It is a dessert that carries the weight of memory, wrapped in a silky frosting that tastes of pure comfort. Each slice offers a gentle reminder of simpler times when the kitchen was the warmest room in the house.
Why We Keep Coming Back to This Two-Layer Peanut Butter Cake
Prep: 15 min · Serves: 12 · Difficulty: Medium
- Deeply nostalgic peanut butter flavor
- Incredibly moist and tender crumb
- Rich, silky frosting that spreads beautifully
- Simple pantry ingredients you have on hand
- Ideal balance of sweet and salty
This is the recipe my family gathers for every harvest season.
When we gather around the dining table, this cake brings a quiet hush over the room. If you enjoy our reeses peanut butter cup poke cake, you will find a similar comfort in this traditional double-layer version. The crumb is soft and delicate, holding just enough moisture to feel decadent without being heavy. It honors the old way of creaming butter and sugar until they are light as autumn clouds. Every single bite is a testament to the beauty of slow, deliberate baking. We use simple tools and traditional techniques to achieve a texture that modern shortcuts cannot replicate.
Get The Full Cake Recipe
Print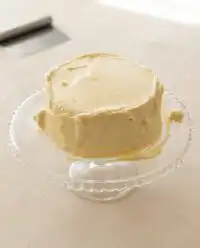
Two-Layer Peanut Butter Cake
- Total Time: 1 hour 50 mins
- Yield: 12 slices
- Diet: Vegetarian
Description
A timeless two-layer peanut butter cake featuring an incredibly tender, moist crumb and a silky, rich peanut butter frosting that melts in your mouth.
Ingredients
- 1⅔ cups (210 g) all purpose flour
- 3 tbsp (24 g) cornstarch
- ½ tsp baking soda
- 2 tsp baking powder
- ½ tsp salt
- ⅓ cup (80 g) unsalted butter, room temperature
- ⅓ cup (75 g) unflavored vegetable oil
- ½ cup (100 g) white granulated sugar
- ¾ cup (150 g) soft brown sugar
- ⅔ cups (150 g) smooth unsweetened peanut butter
- 3 large eggs, room temperature
- 1½ tsps vanilla extract
- 1 cup (225 g) buttermilk, room temperature
- 1½ cups (340 g) unsalted butter, room temperature (for frosting)
- 3 cups (375 g) powdered sugar
- 2 tsps vanilla extract (for frosting)
- ½ cup (120 g) heavy cream, room temperature
- ½ tsp salt (for frosting)
- 1 cup (250 g) smooth unsweetened peanut butter (for frosting)
Instructions
- Prep the oven. Preheat oven to 180°C (350°F) and grease and line two 8-inch cake tins.
- Sift dry ingredients. In a bowl, sift together flour, cornstarch, baking soda, baking powder, and salt. Whisk to combine.
- Cream the wet ingredients. In a large bowl, cream together butter, oil, white sugar, brown sugar, and peanut butter on medium speed for 3 minutes until light.
- Add eggs. Mix in eggs one at a time on low speed, blending well after each addition.
- Incorporate liquids. Add vanilla and buttermilk, mixing on medium speed until smooth.
- Fold together. Gently fold in the dry ingredients by hand using a spatula until just combined. Do not overmix.
- Bake the layers. Divide batter into tins and bake for 30-35 minutes until a toothpick comes out clean. Cool in tins for 15 minutes, then turn out onto wire racks.
- Make the frosting. Beat butter, powdered sugar, vanilla, cream, peanut butter, and salt on medium-high speed for 10 minutes until silky smooth.
- Assemble the cake. Frost between the cooled layers and cover the top and sides of the cake.
Notes
- Use a processed, creamy peanut butter rather than a natural one to prevent separation.
- Make sure all dairy and eggs are at room temperature to ensure proper emulsification.
- If frosting is too stiff, warm in the microwave for 5 seconds and re-whip.
- If frosting is too soft, chill in the refrigerator for 30 minutes before whipping again.
- Prep Time: 15 mins
- Cook Time: 35 mins
- Category: Cake
- Method: Bake
- Cuisine: American
From the Kitchen Shelf
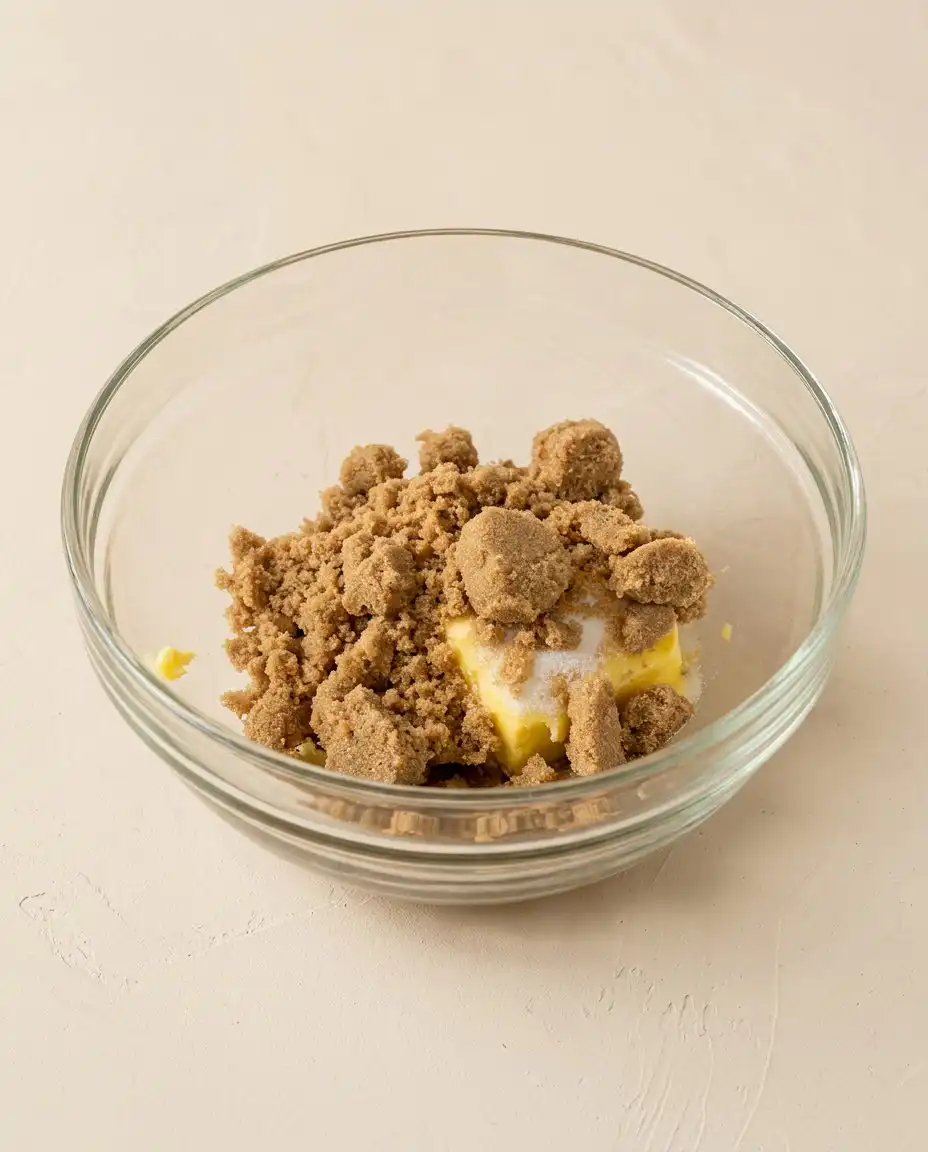
Gathering these simple ingredients is the first step in creating something truly special. Each element has its place, working together to create a cake that is both structured and incredibly tender. We use standard kitchen staples that you likely already have tucked away in your pantry. Taking the time to select high-quality butter and fresh eggs makes all the difference in the final flavor.
- All-purpose flour: This provides the essential structure for our cake layers. We sift it carefully to keep the crumb light and delicate. Measuring it accurately guarantees the cake does not become heavy or dense.
- Cornstarch: Mixing this with our flour softens the proteins. It helps mimic cake flour, ensuring a tender bite. This is an old baker’s secret for achieving a velvety texture.
- Smooth unsweetened peanut butter: This is the heart of the flavor. We use a creamy, processed version to keep the batter smooth and consistent. It distributes the rich, nutty oils evenly throughout the cake layers.
- Soft brown sugar: This ingredient adds deep moisture and a subtle caramel note. It works alongside white sugar to create the ideal texture. The molasses in the brown sugar keeps the crumb soft for days.
- Buttermilk: The natural acidity in buttermilk activates our leaveners. It yields a soft, velvety crumb that stays moist for days. It also balances the sweetness of the sugars beautifully.
- Unsalted butter: We cream this at room temperature to trap air. This step gives the cake its gentle rise and classic buttery flavor. It forms the foundation of both our cake batter and our silky frosting.
| Ingredient | Why It Matters |
|---|---|
| All-purpose flour | Builds the structure of the cake crumb |
| Creamy peanut butter | Adds rich flavor and essential fats |
| Buttermilk | Keeps the cake crumb tender and moist |
| Soft brown sugar | Provides moisture and a deep caramel sweetness |
| Large eggs | Binds the batter and aids in rising |
Bringing It Together
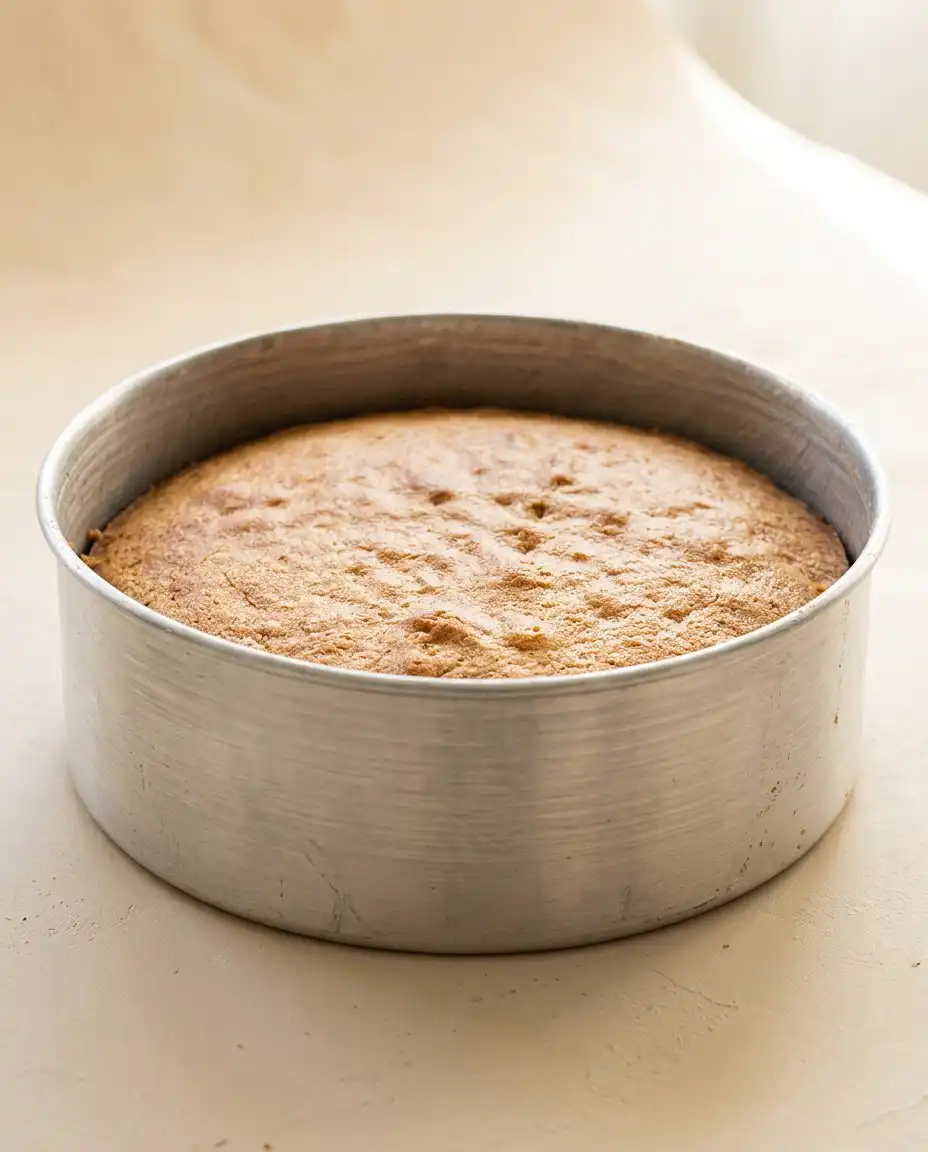
Step 1: Prep Your Tins
Preheat your oven to 180°C (350°F) and grease two 8-inch cake tins thoroughly. You can line the bottoms with parchment paper to guarantee the layers release cleanly. This preparation prevents any sticking and gives you beautiful, smooth edges on your baked layers. Taking this small step early saves a lot of worry later when turning out your delicate cakes.
Step 2: Sift the Dry Ingredients
Sift together the flour, cornstarch, baking soda, baking powder, and salt into a medium glass bowl. Whisk these dry ingredients gently until they are fully combined and uniform. This sifting aerates the flour, which is crucial for a light and fluffy cake texture. It also guarantees that the leaveners are evenly distributed throughout the flour mixture.
Step 3: Cream the Butter and Peanut Butter
Combine the unsalted butter, vegetable oil, granulated sugar, soft brown sugar, and smooth peanut butter in a large mixing bowl. Beat this mixture on medium speed for three full minutes until it becomes light, fluffy, and pale in color. This process builds the air pockets that will help our cake rise beautifully in the oven. Do not rush this step, as the creaming process is the secret to a high-rising cake.
Step 4: Add the Eggs One by One
Incorporate the room temperature eggs one at a time, mixing on low speed after each addition. Allow about fifteen seconds of mixing between each egg to make sure they are fully emulsified into the creamed butter. This slow addition keeps the batter from splitting or curdling. Scraping down the sides of the bowl guarantees every bit of egg is fully incorporated.
Step 5: Mix in Vanilla and Buttermilk
Pour in the vanilla extract and room temperature buttermilk, mixing on medium speed until the batter is smooth and liquid. The mixture might look slightly separated at this stage, but that is entirely normal. Set your electric mixer aside now, as we will finish the rest of the batter by hand. Mixing the remaining steps by hand prevents overworking the delicate batter.
Step 6: Fold in the Sifted Dry Ingredients
Add the sifted flour mixture to your wet ingredients in the large bowl. Using a rubber spatula, gently fold the mixture together using slow, figure-eight motions. Stop folding as soon as the last streaks of flour disappear to avoid overworking the gluten. Overmixing at this stage can result in a tough, bread-like texture rather than a soft cake.
Step 7: Bake the Two-Layer Peanut Butter Cake Layers
Divide the batter evenly between your two prepared 8-inch cake tins. Tap the tins gently on your counter to release any trapped air bubbles before placing them in the preheated oven. Bake for thirty to thirty-five minutes, or until a wooden toothpick inserted into the center comes out clean with just a few moist crumbs. The tops should be a beautiful golden brown and spring back lightly when touched.
Step 8: Cool the Cake Layers
Remove the cake tins from the oven and let them rest on a cooling rack for fifteen to twenty minutes. Carefully run a butter knife around the edges, then turn the cakes out onto the wire rack to cool completely. They must be cold to the touch before you begin frosting them. Trying to frost warm cake layers will cause the butter in the frosting to melt.
Step 9: Prepare the Peanut Butter Frosting
Combine the unsalted butter, powdered sugar, vanilla, heavy cream, salt, and smooth peanut butter in a large bowl. Mix on low speed for one minute until the sugar is incorporated, then increase the speed to medium-high. Beat the frosting for ten full minutes until it becomes incredibly silky, light, and spreadable. Don’t worry if it looks dense at first, as the long beating time will transform it.
Step 10: Assemble and Frost
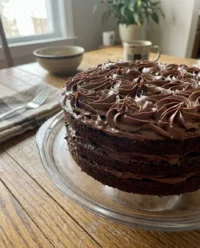
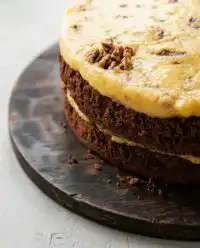
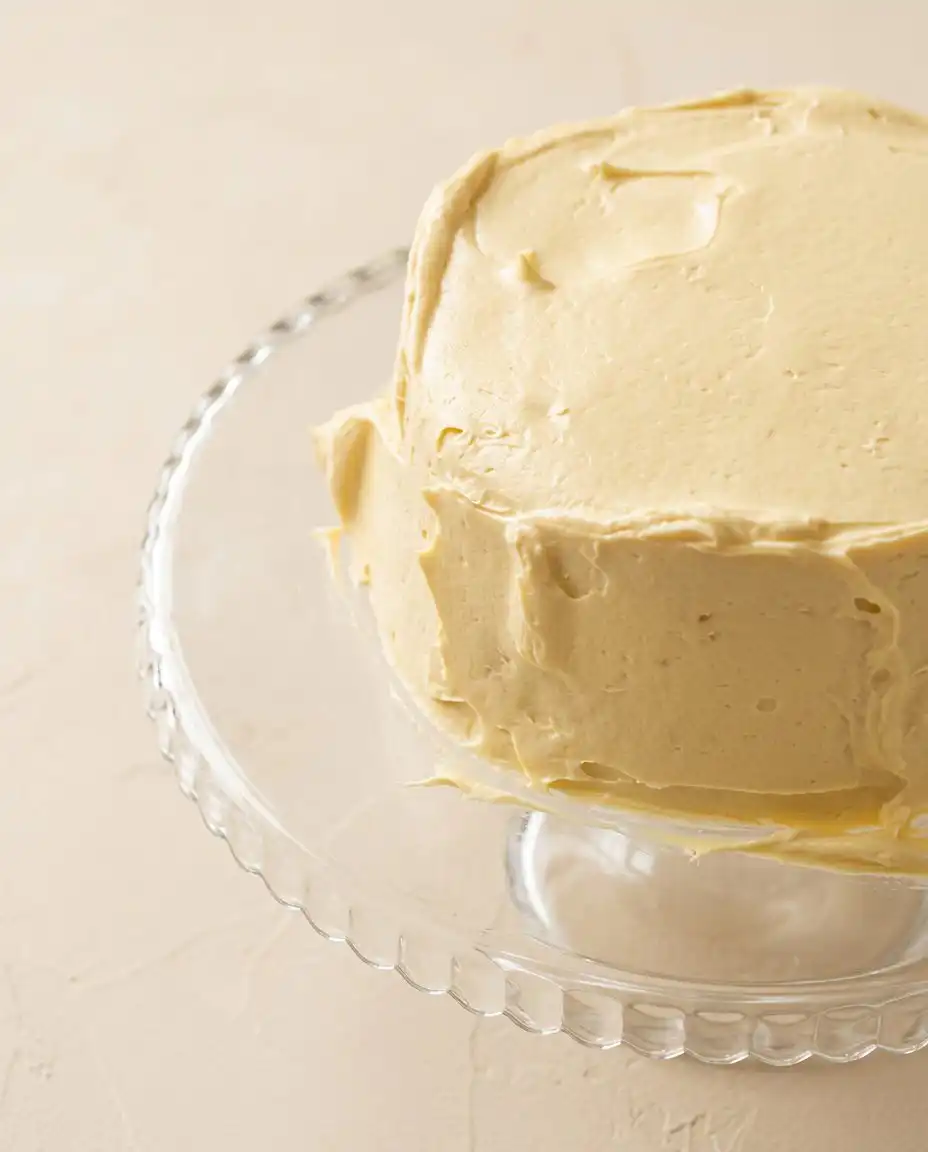
Place your first cake layer on a serving platter and spread a generous amount of frosting over the top. Place the second layer gently on top, then cover the top and sides with the remaining silky frosting. Use an offset spatula to smooth the edges and create beautiful, rustic swirls. Take your time to enjoy this creative step as the cake comes together.
Teresa’s Tips
Baking is an art that requires patience and attention to detail. To guarantee your cake turns out beautifully, always make sure your buttermilk, eggs, and butter are at room temperature before you begin. Cold ingredients do not emulsify properly, which can lead to a dense, heavy cake crumb rather than a light and tender one. Taking them out of the refrigerator an hour before baking is a simple habit that makes a world of difference.
When measuring your flour, always use the spoon-and-sweep method rather than scooping directly from the bag. Scooping packs the flour down, leading to excess flour and a dry cake. You can find more helpful advice on basic baking techniques in our extensive recipe index. Taking the time to understand these small details will build your confidence in the kitchen.
If your frosting feels too stiff or has too many air bubbles, it usually means your butter or cream was too cold. To fix this, gently warm the frosting in the microwave for five seconds, then beat it again for a few minutes. For those who want to learn more about achieving the ideal texture, you can refer to this excellent guide on a moist peanut butter cake recipe for additional insights. It is always better to adjust the temperature of your ingredients rather than adding more sugar.
Always let your cake layers cool completely before you begin the frosting process. Spreading frosting on a warm cake will cause the butter to melt, resulting in a messy, sliding disaster. If you are in a hurry, you can wrap the cooled layers in plastic wrap and place them in the refrigerator for thirty minutes to firm up. This chilling step also makes the layers much easier to handle and reduces loose crumbs.
Use a processed, creamy peanut butter rather than a natural, oil-separating variety for both the cake and the frosting. Natural peanut butters lack the stabilizers needed to keep the batter emulsified and the frosting smooth. The excess oil in natural peanut butter can cause your cake to sink in the center or become greasy. Standard commercial brands work best for achieving that nostalgic, bakery-style texture.
If you notice your cake layers are dome-shaped after baking, do not worry. You can easily trim the tops with a long serrated knife once they are completely cool to create flat surfaces for stacking. Trimming the layers also gives you a delicious little baker’s snack to enjoy with a cup of tea before the cake is fully assembled.
Frequently Asked Questions
Can I use natural peanut butter in a cake?
We do not recommend using natural peanut butter for this recipe. Natural varieties tend to separate, leaving a thick layer of oil at the top of the jar. This excess oil can disrupt the balance of fats in the batter, leading to a greasy crumb or a cake that sinks in the middle. Stick to standard processed creamy peanut butter for the ideal results.
Should a peanut butter cake have peanut butter or chocolate frosting?
While chocolate frosting is a wonderful companion, we believe a double dose of peanut butter is truly special. The creamy peanut butter frosting in this recipe highlights the nutty, salty-sweet flavors of the cake layers beautifully. However, you can easily swap it for a classic chocolate fudge frosting if you prefer that combination. Both options have their own nostalgic charm.
Why is my peanut butter cake dry?
A dry cake is usually the result of overbaking or using too much flour. To prevent this, always measure your flour using a kitchen scale or the spoon-and-sweep method. Keep a close eye on your oven, and test the cake with a toothpick a few minutes before the baking time is up. Once the toothpick comes out clean, remove the cakes immediately.
How do you prevent peanut butter frosting from becoming too stiff?
To keep your frosting soft and spreadable, ensure your butter and heavy cream are at room temperature before mixing. Beating the frosting for the full ten minutes is also crucial, as this incorporates air and creates a silky texture. If it still feels too stiff, you can beat in an extra tablespoon of heavy cream. Avoid adding extra powdered sugar unless entirely necessary.
How do you decorate a two-layer peanut butter cake?
We prefer a simple, rustic look with beautiful swirls of frosting created by an offset spatula. You can also sprinkle chopped roasted peanuts around the top border or press them gently into the bottom edge of the cake. A simple drizzle of melted chocolate or peanut butter across the top also adds a lovely touch. Let your own creativity guide you as you finish the cake.
Can I make the cake layers ahead of time?
Yes, you can easily bake the cake layers a day in advance. Once they are completely cool, wrap them tightly in plastic wrap and store them at room temperature. This actually makes the cake layers easier to frost, as they will be firmer and produce fewer crumbs. You can also freeze the wrapped layers for up to three months.
How should I store leftover peanut butter cake?
Store any leftover cake in an airtight container at room temperature for up to three days. If your kitchen is very warm, you can keep it in the refrigerator instead, but let it come to room temperature before serving. This guarantees the butter in the frosting softens back to its silky state. It tastes just as wonderful the next day.
A Little Something Different
While we love this classic recipe exactly as it is written, there are a few simple ways to adapt it for different occasions. For a nostalgic twist, you can spread a thin layer of high-quality raspberry or strawberry jam on top of the first cake layer before adding the frosting. This creates a delightful peanut butter and jelly cake that children and adults alike will adore. It is a wonderful way to bring a childhood favorite to the dessert table.
Another lovely option is to bake this batter in a traditional 9×13-inch baking pan instead of two round tins. If you choose this method, adjust your baking time to about thirty-five to forty minutes. This flat style is perfect for casual potlucks and picnics, much like our beloved old fashioned peanut butter cake. It is easy to transport and slice directly from the pan.
For a touch of elegance, you can garnish the frosted cake with chopped roasted peanuts or a drizzle of warm chocolate ganache. The crunch of the roasted peanuts contrasts beautifully with the silky smoothness of the frosting. Keep the decorations simple and classic to let the rich peanut butter flavors remain the true star of the show. You could also sprinkle a few flakes of sea salt over the top to complement the savory notes. This is a classic variation from our recipe box.
Sitting Down Together
This rich and comforting cake is best enjoyed surrounded by those you love. Serve generous slices on vintage plates alongside a pot of hot black tea or freshly brewed coffee. The bitterness of the coffee cuts through the sweetness of the frosting, making each bite even more delightful. It is the ideal centerpiece for a Sunday afternoon gathering.
For an extra special dessert course, you can serve this cake alongside a light, airy treat like our chocolate mousse cake. Offering a contrast of textures makes for a wonderful afternoon tea or holiday dessert spread. It is the kind of cake that invites people to linger at the table long after the meal has ended. You will find that guests naturally stay to talk when there is good cake to share.
Always let the cake sit at room temperature for at least thirty minutes before serving if it has been stored in the refrigerator. Cold temperatures firm up the butter in both the cake and the frosting, masking the delicate flavors. Serving it slightly warm or at room temperature allows the peanut butter notes to shine fully. The frosting becomes incredibly silky and melts in your mouth.
Baking Memories
There is a quiet joy in taking the time to bake a cake from scratch, watching simple ingredients transform into a beautiful dessert. This cake is more than just a sweet treat; it is a way to share warmth and comfort with your family. We hope this recipe brings a sense of nostalgia and peace to your kitchen, just as it has to ours for many years. It is a wonderful way to slow down and appreciate the simple things in life.
If you find yourself craving other classic bakes, we invite you to try our traditional red velvet cake for your next gathering. Each recipe in our collection is chosen to help you create lasting memories around the family table. Take your time, enjoy the process, and cherish the moments spent with those you love. There is nothing quite like the feeling of sharing home-baked goodness with friends.
We would love to hear about your baking journey and see your beautiful creations. Please share your photos and stories with us on our Pinterest page, or connect with our community on Facebook and TikTok. Until we meet again in the kitchen, happy baking.