The early morning light filters through the kitchen window, catching the fine dust of flour in the air as I prepare the spice jars for today’s baking.

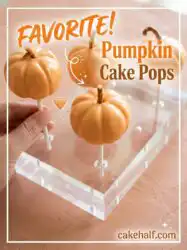
There is a quiet joy in crafting sweet confections that capture the gentle essence of autumn. These Classic Pumpkin Cake Pops bring together the rich warmth of cinnamon and nutmeg with the moisture of real pumpkin, crumbled and bound with sweet cream cheese frosting. They are shaped into miniature pumpkins, complete with tiny chocolate stems, to remind us of childhood kitchen counters covered in flour. Placing these on a serving platter brings the comfort of the old ways back into our modern homes.
Classic Pumpkin Cake Pops: A Bite of Pure Nostalgia
Prep: 20 min · Serves: 28 · Difficulty: Medium
- Rich pumpkin spices in every single bite.
- Tender crumbs bound with smooth cream cheese.
- Nostalgic shapes crafted with quiet patience.
- Sweet autumn spices warming the quiet kitchen.
- Handcrafted treasures to share with loved ones.
In my grandmother’s kitchen, baking was never a race against the clock. It was a slow, deliberate act of devotion, a way to mark the turning of the leaves with the comforting scents of the earth. These delicate pumpkin creations carry that same spirit of patience.
When you roll these sweet confections, you are holding a piece of family history in your hands. Much like our classic pumpkin layer cake story, this recipe relies on simple ingredients to create lasting memories. Each bite is a bridge to those quiet Sunday afternoons of our past.
This sweet recipe brings back the simple warmth of grandmother’s kitchen during the autumn harvest.
Get The Full Cake Recipe
Print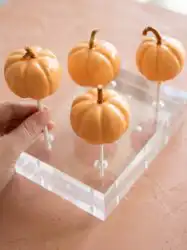
Classic Pumpkin Cake Pops
- Total Time: 3 hours
- Yield: 28 pops
Description
These delightful pumpkin-shaped cake pops combine the cozy, spiced essence of autumn with a moist, tender cake crumb. Hand-dipped in an orange candy shell and finished with a chocolate stem, they make for a nostalgic and charming treat perfect for any seasonal gathering.
Ingredients
- 1 box yellow cake mix
- 15 ounces pure pumpkin puree
- 3 large room temperature eggs
- 1 1/2 teaspoons pumpkin pie spice
- 3 tablespoons cream cheese frosting
- 12 ounces orange candy melts
- Chocolate chips for stems
Instructions
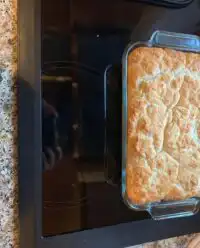
- Warm the oven. Preheat to 350°F and coat a 9×13 baking dish with cooking spray and parchment paper.
- Combine the ingredients. Mix the cake mix, pumpkin puree, and eggs in a large bowl until smooth.
- Add the spices. Sprinkle in the pumpkin pie spice and beat on low speed for two minutes until the batter is thick.
- Bake the cake. Spread the batter into the dish and bake for 22 to 25 minutes until a toothpick comes out clean.
- Cool and crumble. Allow the cake to cool completely before crumbling it into fine, uniform pieces using a stand mixer.
- Bind the dough. Mix in the cream cheese frosting until the crumbs form a pliable, play-doh like dough.
- Shape the pumpkins. Portion into one-ounce balls and use a stick to press ridges into the top, forming the classic pumpkin shape.
- Secure the sticks. Dip the ends of your treat sticks into melted candy coating and insert them into the base of each pumpkin ball.
- Dip and decorate. Coat each ball in melted orange candy, tapping off excess, and top with a chocolate chip stem before the coating hardens.
Notes
- Ensure the baked cake is completely cool before crumbling to avoid a greasy dough texture.
- Avoid any water contact with your melting candy to prevent the chocolate from seizing and becoming grainy.
- Use a cookie scoop to ensure all pumpkin pops are uniform in size for consistent dipping and presentation.
- Let the shaped cake balls sit for ten minutes at room temperature before dipping to prevent the candy shell from cracking.
- Prep Time: 20 mins
- Cook Time: 25 mins
- Category: Dessert
- Method: Baking and dipping
- Cuisine: American
From the Kitchen Shelf
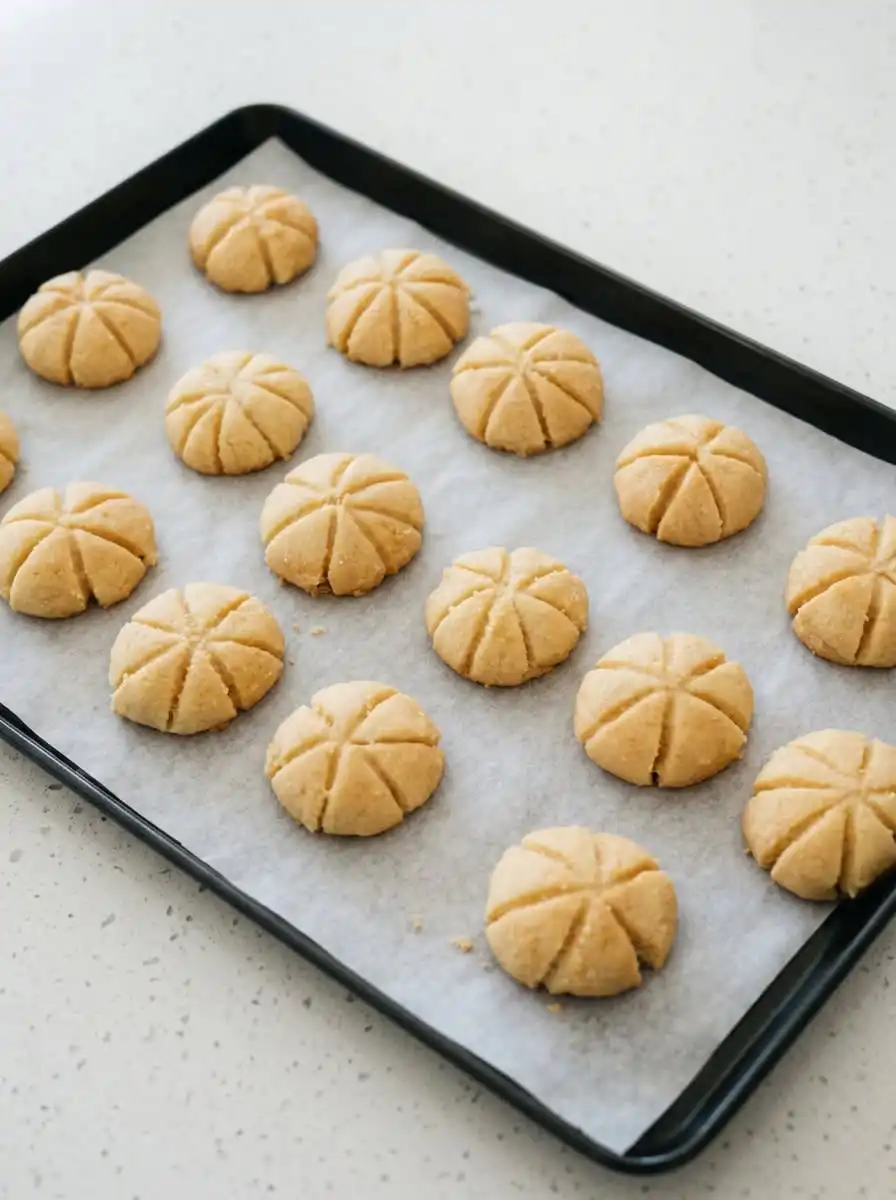
Gathering the ingredients for this recipe is like opening a drawer of sweet memories. Each jar and package carries the promise of autumn warmth, waiting to be combined in a worn glass bowl. Let us look closely at what we will need to create these nostalgic treats.
- Yellow cake mix: This serves as our reliable, tender canvas, ready to absorb the rich moisture of autumn.
- Pumpkin puree: Real pumpkin provides the deep orange color and natural softness that makes every crumb melt-in-your-mouth tender.
- Pumpkin pie spice: Warm cinnamon, nutmeg, ginger, and cloves combine to awaken memories of cool evenings and family dinners.
- Large eggs: Left at room temperature, they bind our cake batter gently, allowing it to rise with a delicate structure.
- Cream cheese frosting: A small amount creates the ideal texture, acting as the sweet mortar that holds our crumbs together.
- Orange candy melts: This sweet coating seals in the moisture, giving our treats their iconic autumn look.
- Chocolate chips: Placed gently on top, these chips become the lovely rustic stems for our miniature pumpkins.
| Ingredient | Why It Matters |
|---|---|
| Pumpkin Puree | Provides rich moisture and natural earthy sweetness to the crumb. |
| Pumpkin Pie Spice | Infuses the cake with the comforting aromas of traditional autumn baking. |
| Cream Cheese Frosting | Binds the crumbled cake into a soft, shapeable dough without being greasy. |
| Orange Candy Melts | Creates a smooth, sweet shell that keeps the cake moist inside. |
It is important to select pure canned pumpkin rather than the pre-sweetened pie filling. The pure puree allows us to control the spices and the sweetness, making sure that the true, earthy flavor of the squash shines through. This is how grandmother always did it, choosing simple, unadorned staples and building the flavor with her own trusted spice jars.
Additionally, keeping your eggs at room temperature before mixing is a small but vital step. Cold eggs can shock the batter, causing the fats to tighten and resulting in an uneven bake. Taking the time to let them sit on the counter is a quiet reminder that good things cannot be rushed.
Step by Step in Teresa’s Kitchen
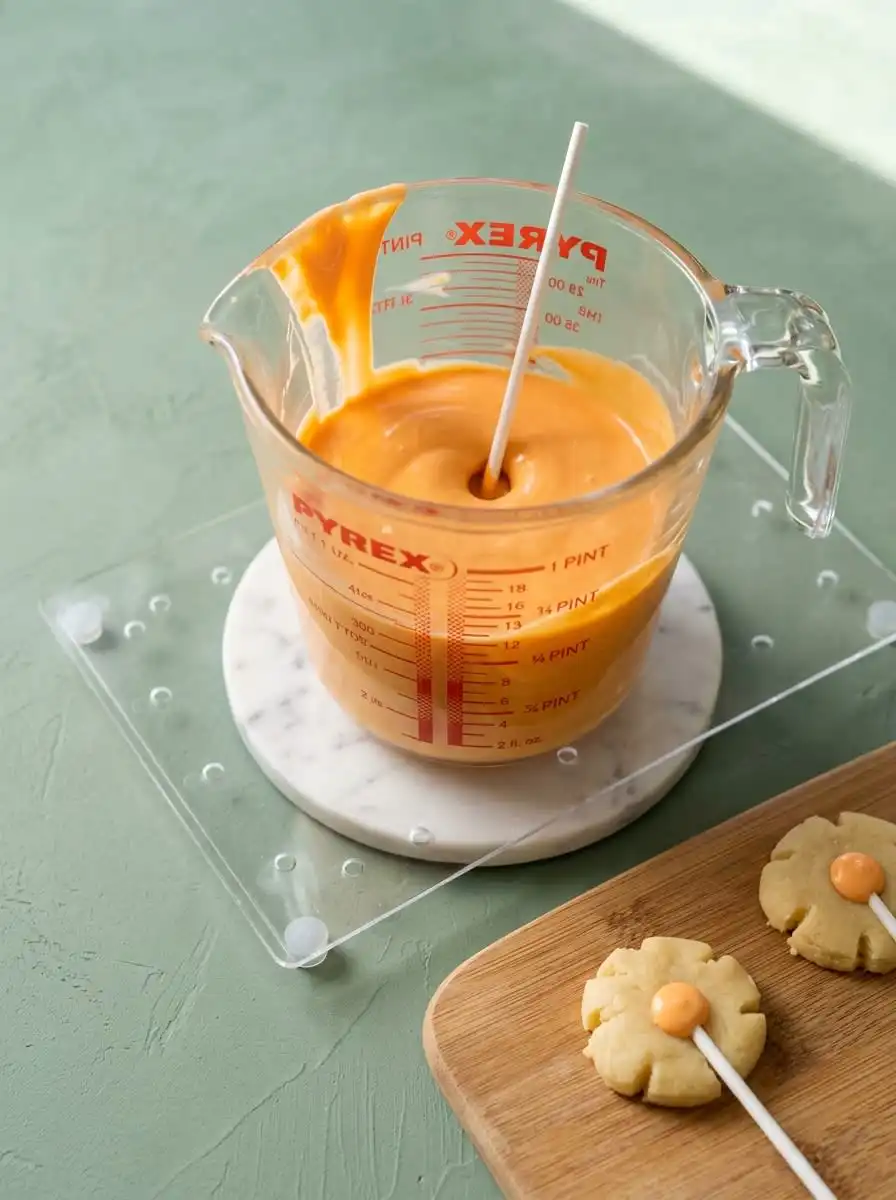
Step 1: Warm the Oven and Pan
Begin by preheating your oven to 350°F (175°C/Gas Mark 4). Take a standard 9×13-inch baking dish and coat it gently with a light mist of cooking spray. Use a piece of parchment paper to distribute the spray evenly into the corners, making sure no spots are left dry. This preparation is a quiet ritual that sets the stage for a successful bake.
Step 2: Combine the Pantry Staples
In a large, heavy glass bowl, measure out your box of yellow cake mix. Add the fifteen ounces of pure pumpkin puree directly to the bowl, noticing its thick, earthy texture. Crack the three large room temperature eggs one by one into a small cup before adding them to the flour mixture. This careful practice is something my grandmother always insisted on to keep our batter pure.
Step 3: Spice and Beat the Batter
Sprinkle one and a half teaspoons of warm pumpkin pie spice over the mixture. Use a hand mixer set to low speed to gently combine the ingredients, watching the pale flour turn to a beautiful warm terracotta shade. Scraping down the sides of the bowl with a wooden spoon helps incorporate every dry pocket. Beat the batter for two minutes until it becomes thick, smooth, and incredibly fragrant.
Step 4: Bake to a Warm Golden Hue
Pour the spiced batter into your prepared baking dish, smoothing the top with your spatula so it sits level. Place the dish on the center rack of your warm oven, letting the dry heat do its slow work. Bake for twenty-two to twenty-five minutes, keeping the oven door closed to preserve the delicate rise. You will know it is done when a wooden toothpick inserted into the thickest part comes out clean.
Step 5: Cool and Crumble the Loaf
Remove the cake from the oven and set it on a wire cooling rack to rest for at least two hours. Once the cake is completely cool to the touch, break it into thick rustic chunks with your clean hands. Place these pieces into the bowl of a stand mixer fitted with the traditional paddle attachment. Turn the mixer to low speed and let it crumble the cake into fine, uniform crumbs resembling soft autumn soil.
Step 6: Bring the Dough Together
Add three tablespoons of rich cream cheese frosting directly to the bowl of fine crumbs. Mix on low speed, watching the dry crumbs bind together into a soft, cohesive dough. If the dough feels a bit too dry to hold a shape, add another teaspoon of frosting, being careful not to make the mixture greasy. The final texture should feel exactly like play-doh, pliable and smooth in your hands.
Step 7: Shape the Classic Pumpkin Cake Pops
Portion the dough into neat one-ounce balls, rolling each one between your palms with a light touch. Use a clean wooden treat stick to press a cross into the top of each ball, then divide those quarters in half to create eight even ridges. Press gently on the top and bottom of each ball to slightly flatten its spherical shape. Use your fingertip to make a small indentation at the top center where the ridges meet.
Step 8: Secure the Treat Sticks
Melt twelve ounces of orange candy melts in a deep microwave-safe glass bowl, heating in brief thirty-second intervals. Dip the end of each treat stick into the warm melted orange coating before pressing it gently into the bottom of your shaped pumpkins. Set these aside on a parchment-lined baking sheet for five minutes to let the chocolate harden completely. This small step forms a strong seal that keeps your pops from sliding down the stick.
Step 9: Dip and Decorate the Autumn Pumpkins
Hold a cake pop by its stick and dip the pumpkin ball completely into the warm orange coating in one single, fluid motion. Lift it straight up, then tap your wrist gently to allow any excess coating to slide back into the bowl. While the orange shell is still wet, press a chocolate chip onto the top indentation to form a rustic stem. Pipe small green candy spirals next to the stem to create winding garden vines, then let them dry completely before serving.
What Grandma Would Tell You
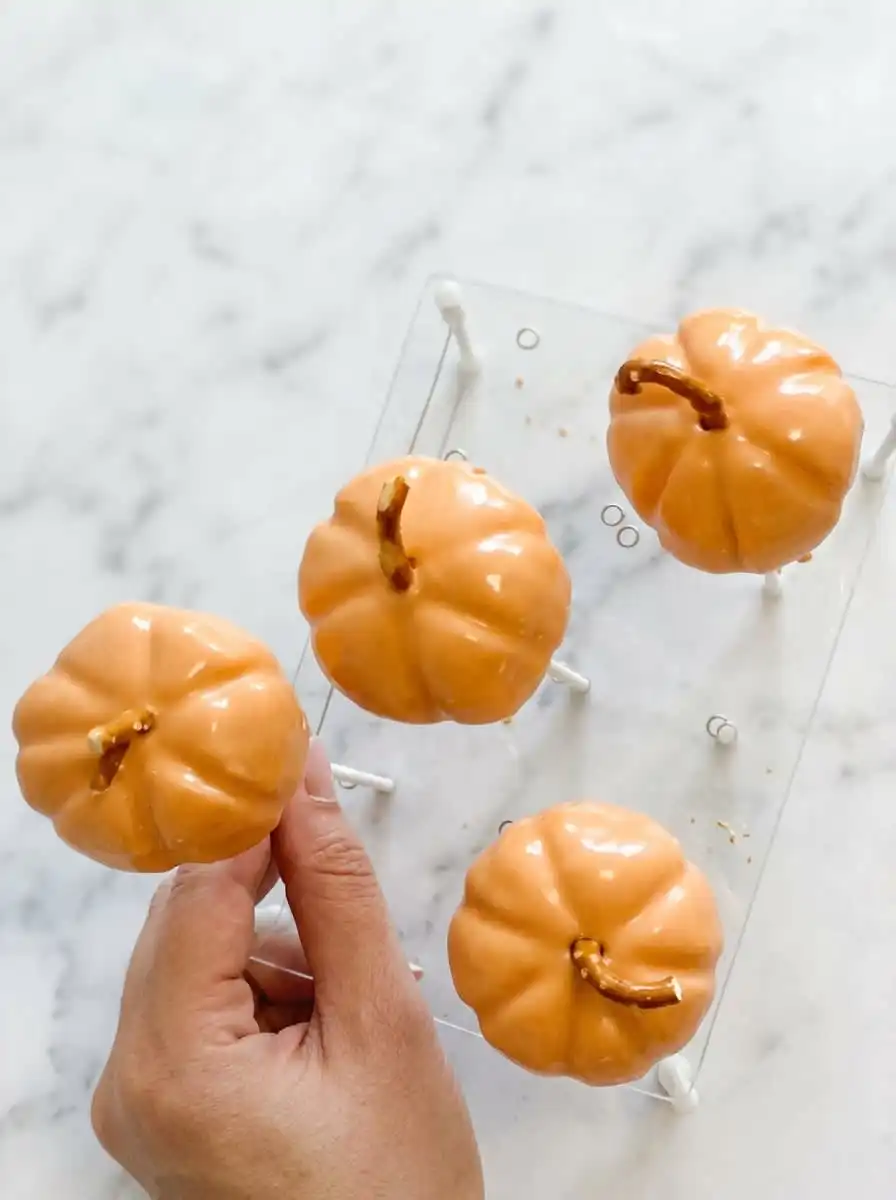
Before you begin shaping, make sure your cake is completely cool to the touch, as warm crumbs will melt the frosting and create a greasy dough. It is often helpful to bake the cake the evening before, letting it rest under a clean cloth overnight to develop its structure. If you enjoy this slow baking process, you might also find comfort in making our traditional cake balls during the holidays.
If your chocolate coating cracks after dipping, here is why and how to fix it. This common mistake occurs when there is a significant temperature difference between the chilled cake balls and the warm melted candy melts. To prevent this, let your shaped cake balls sit on the kitchen counter for ten minutes before dipping, making sure they are cool but not ice-cold.
When melting the candy coating, avoid letting even a single drop of water enter the bowl, as moisture will cause the chocolate to seize and become thick and grainy. If this happens, you can stir in a teaspoon of vegetable shortening or coconut oil to restore its smooth texture. For more helpful guidance on melting techniques, you can refer to this guide on traditional pumpkin cake pops preparation.
To keep the treat sticks from slipping out of the cake pops, always dip the end of the stick into the melted candy coating before inserting it into the dough. This step acts as a sweet glue, securing the stick in place as the chocolate hardens and prevents the heavy cake balls from sliding down the stick when you dip them.
Using a small kitchen scale or a standard cookie scoop will help you portion the dough evenly, making sure all your treats are uniform in size. Uniformly sized pops not only look beautiful on a serving platter but also coat much more easily because you can predict their weight and balance. This simple discipline was something my grandmother practiced with every cookie and pastry she made.
When tapping off the excess coating, hold the stick securely and gently tap the wrist of your holding hand rather than the stick itself. This soft vibration is enough to encourage the excess chocolate to run off smoothly without risking the cake ball falling off the stick. Patience is key during this step, as rushing will only result in messy drips down the stick.
Frequently Asked Questions
How to prevent cake pops from cracking?
Cracking occurs when the temperature difference between the cake ball and the coating is too extreme. If you chill the cake balls in the freezer, they will expand as they warm up, causing the hard shell to crack. Let the rolled balls sit at room temperature for a few minutes before dipping to prevent this issue.
What is the best frosting-to-cake ratio for cake pops?
For a single standard cake, start with three tablespoons of frosting and adjust only if necessary. Adding too much frosting will make the dough heavy, greasy, and prone to falling off the stick. The ideal consistency should feel like soft play-doh, holding together without any stickiness.
How do you make the pumpkin shape for cake pops?
Roll the portioned dough into smooth balls, then use a treat stick to press vertical ridges around the sides. Gently flatten the ball slightly with your hands to mimic the natural squat shape of a pumpkin. Press a small indentation into the top center where the chocolate stem will later be placed.
Can you use a box mix for cake pops?
Yes, using a high-quality yellow or spice cake mix is an excellent foundation for these treats. It provides a reliable, tender crumb that absorbs the pumpkin puree beautifully without becoming dense. This traditional shortcut allows you to focus your care and attention on the shaping and decorating steps.
How do you make the stems and vines for pumpkin cake pops?
Gently press a single chocolate chip onto the top of the wet orange coating to create the stem. Once the orange layer has hardened, pipe tiny squiggly lines of melted green candy melts using a fine pastry tip. This creates the delicate, winding vines that make each treat look like a miniature heirloom pumpkin from the patch.
What is the best way to coat cake pops smoothly?
Ensure your melted chocolate is warm and flowing smoothly, using a deep cup rather than a wide bowl for dipping. Dip the cake pop in one single, fluid motion until the entire sphere is covered, then lift it straight out. Tap your wrist gently to allow the excess coating to slowly run off without creating air bubbles.
How long should cake pops be chilled before dipping?
Chilling the shaped cake balls for about twenty minutes in the refrigerator helps them hold their shape when dipped. Avoid freezing them, as extreme cold will cause the warm chocolate coating to crack later. A gentle, brief chill is all that is required to make the dough firm enough for dipping.
Can cream cheese frosting be used in pumpkin cake pops?
Traditional cream cheese frosting is the perfect binder because its slight tang balances the sweetness of the pumpkin cake. Ensure you use a firm, store-bought variety or a very thick homemade version so the dough remains moldable. A loose or runny frosting will make the mixture too soft to hold the pumpkin shape.
Through the Seasons
While we cherish the classic pumpkin shape, you can also roll these spiced bites in sparkling amber sugar for a simpler, rustic appearance. To do this, dip the cake balls in the orange coating and immediately roll them in coarse sanding sugar before the glaze sets. This variation catches the light beautifully, reflecting the frosty mornings of late autumn.
If you prefer a deeper flavor profile, consider substituting the yellow cake mix with a spiced spice cake mix. This adjustment intensifies the aromatic cloves and nutmeg, providing a deeper flavor reminiscent of our pumpkin spice cake story that we share every year. It is a wonderful option for those chilly November evenings when you crave a bit more warmth in your desserts.
You can also try using white chocolate or almond bark tinted with natural food coloring instead of candy melts. Tinting white chocolate with a drop of gel food coloring allows you to achieve a softer, pastel orange that mimics the muted tones of heirloom fairytale pumpkins. This subtle shift in color brings an elegant, antique feel to your dessert table.
Sitting Down Together
Serving these handmade treats is an opportunity to create a beautiful focal point on your autumn dessert table. I love to display them by pushing the sticks into a rustic block of wood or a basket filled with dried wheat stalks. This presentation honors the harvest season, bringing the textures of the outdoors inside to warm our hearts and homes.
These spiced pumpkin treats pair beautifully with a warm pot of apple cider or a freshly brewed pot of chicory coffee. The contrast between the sweet, smooth candy shell and the hot, slightly bitter drink creates a cozy moment that invites slow conversation. If you are hosting a larger gathering, you can serve these alongside our vintage push pop cakes to offer your guests a delightful variety of portable desserts.
For an elegant touch, arrange them on grandmother’s old transferware platters surrounded by small, real pumpkins and dried oak leaves. This simple display reminds everyone that baking is an art form meant to be shared slowly and thoughtfully. It encourages guests to linger around the table, sharing stories of past autumns long after the last crumb has disappeared.
Until Next Time
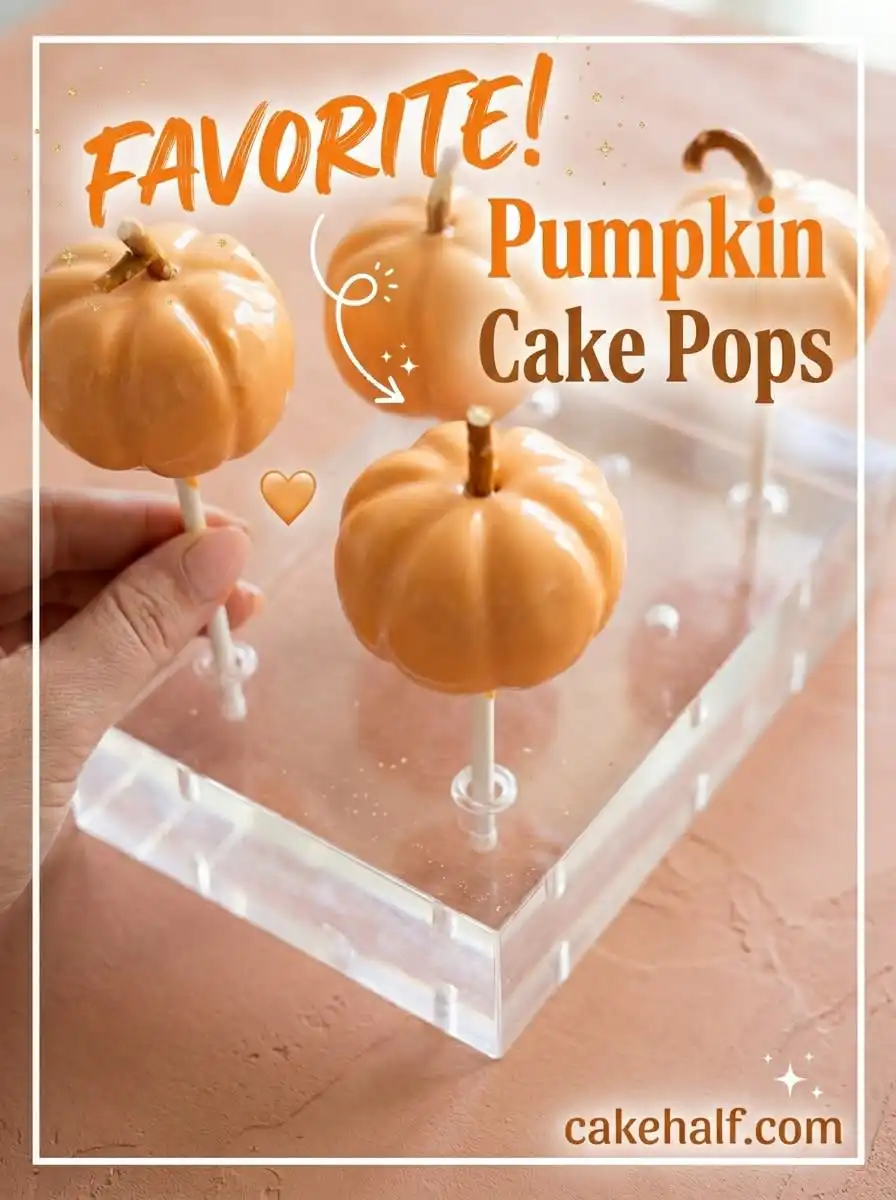
As the afternoon sun fades and the kitchen grows quiet, we are left with a platter of beautiful, hand-shaped pumpkin pops. Each one represents a small moment of patience and care, a sweet reminder that the old ways of baking still have a place in our modern lives. I hope these treats bring a sense of warmth and history to your own home this season.
If you enjoyed the slow, meditative process of crafting these autumn pumpkins, you might also cherish our simple classic vanilla cake pops story for your next gathering. Baking is a journey of memories, and each recipe we share from our recipe box is a new chapter to be written with those we love.
We invite you to join our quiet community of home bakers by sharing your creations and leaving a rating on our recipe card. Connect with us on Pinterest, follow our kitchen stories on Facebook, and watch our quiet baking moments on TikTok. Until we meet again in the warmth of the kitchen, keep the flour dusted and the oven warm.