Canned pineapple rings, when coaxed under the slow heat of caramelized sugar, undergo a remarkable transfiguration from sharp acidity to deep, butter-burnished sweetness before they ever touch the batter.
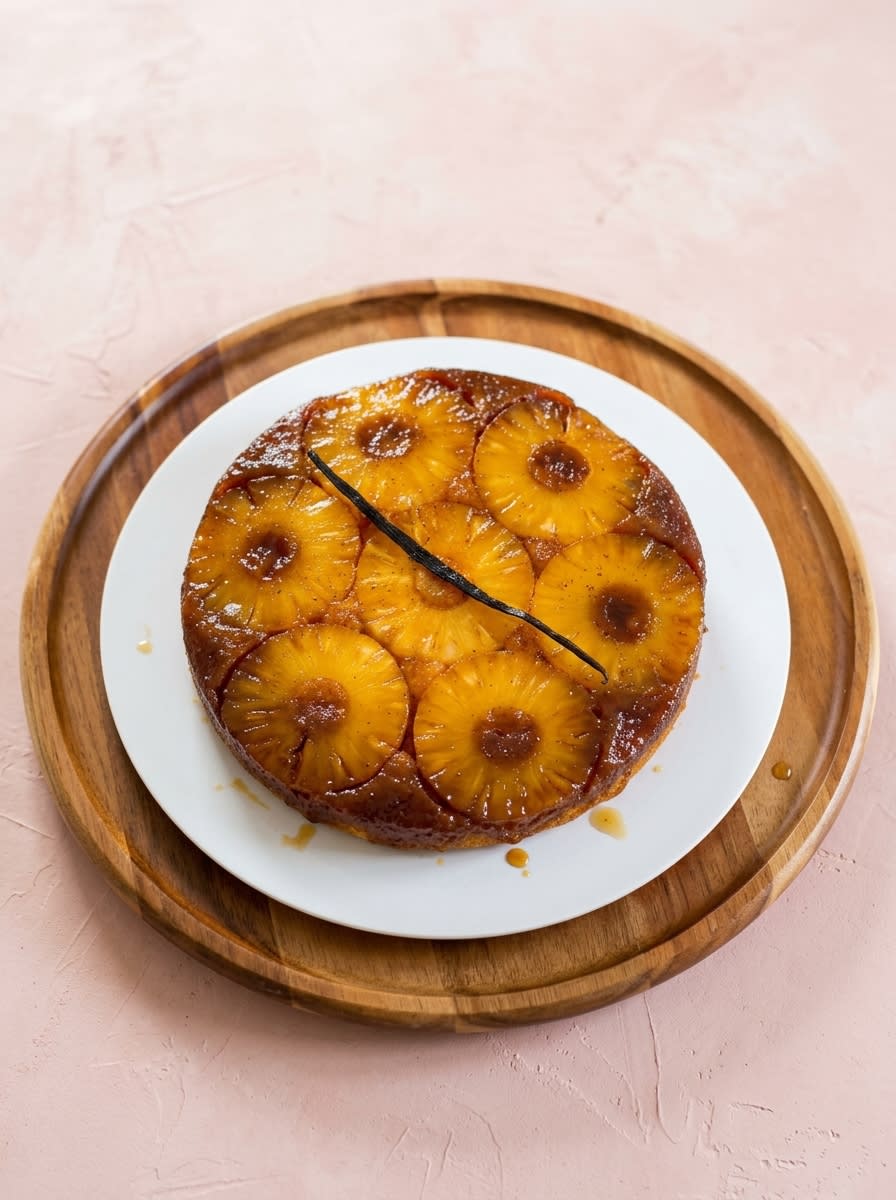
To bake a classic Pineapple Upside-Down Cake is to participate in a deliberate act of culinary faith, where the true masterpiece remains entirely hidden until the final, dramatic turn. This method relies not on superficial decoration, but on the chemical harmony of butter, sugar, and fruit juices fusing at the base of your pan. As the cake bakes, these elements meld into a rich, lacquered glaze that bastes the crumb from beneath. When you invert the pan, you reveal a mosaic of golden rings that require no further embellishment.
Why This Pineapple Upside-Down Cake Rewards Attention
Prep: 25 min · Serves: 8 · Difficulty: Medium
Baking is a language of details, and this recipe offers a masterclass in how modest elements, when handled with absolute respect, yield extraordinary results. We do not look for shortcuts here; instead, we welcome the quiet discipline of preparing the pan and tempering the ingredients.
- Lacquered fruit topping caramelized with meticulous precision.
- Crumb structure stays exceptionally tender and uniform.
- Classic presentation that commands quiet respect.
- Basic pantry elements transformed through disciplined technique.
- Flipping the warm pan becomes effortless.
Your kitchen will fill with the rich scent of toasted sugar and warm fruit, much like the comforting aroma when preparing a peach upside down cake in the height of summer. This is the dependable method you will return to whenever elegance must be achieved without pretense.
Get The Full Cake Recipe
Print
Pineapple Upside-Down Cake
- Total Time: 1 hour 10 mins
- Yield: 8 servings
- Diet: Vegetarian
Description
This classic Pineapple Upside-Down Cake features caramelized fruit rings nestled in a buttery, tender sponge. It is a masterclass in elegant, simple baking where disciplined technique results in a perfectly lacquered, golden finish.
Ingredients
- 1/2 cup salted butter, melted
- 1 cup light brown sugar, packed
- 1 can pineapple rings, drained and patted dry
- 1 jar maraschino cherries, drained
- 1/2 cup unsalted butter, softened
- 3/4 cup granulated sugar
- 2 large eggs, room temperature
- 1 teaspoon vanilla extract
- 1 1/2 cups all-purpose flour
- 1 1/2 teaspoons baking powder
- 1/4 teaspoon salt
- 1/2 cup whole milk
Instructions
- Preheat your oven. Set the oven to 350°F (175°C) and prepare a 9.5-inch pie plate.
- Prepare the base. Pour melted salted butter into the pan and sprinkle the brown sugar evenly across the bottom.
- Arrange the fruit. Place pineapple rings and maraschino cherries on top of the sugar layer, pressing halved rings against the sides.
- Cream the butter. Beat the softened unsalted butter and granulated sugar in a bowl until the mixture is fluffy and pale.
- Add wet ingredients. Mix in the eggs one at a time, followed by the vanilla extract, until the batter is smooth.
- Combine dry ingredients. Whisk together the flour, baking powder, and salt in a separate container.
- Fold the batter. Alternating with the milk, gently fold the dry ingredients into the butter mixture until just combined.
- Bake the cake. Pour the batter into the pan and bake for 30 minutes, cover with foil, then bake for another 15 minutes.
Notes
- Ensure all ingredients are at room temperature to achieve a smooth, stable emulsion for the batter.
- Always pat the pineapple rings and cherries very dry with paper towels to prevent the glaze from becoming watery.
- Let the cake rest for 10-15 minutes after baking so the caramel sets enough to release cleanly from the pan.
- Avoid using springform pans to prevent the butter and sugar mixture from leaking into your oven.
- Prep Time: 25 mins
- Cook Time: 45 mins
- Category: Dessert
- Method: Baking
- Cuisine: American
The Mise en Place
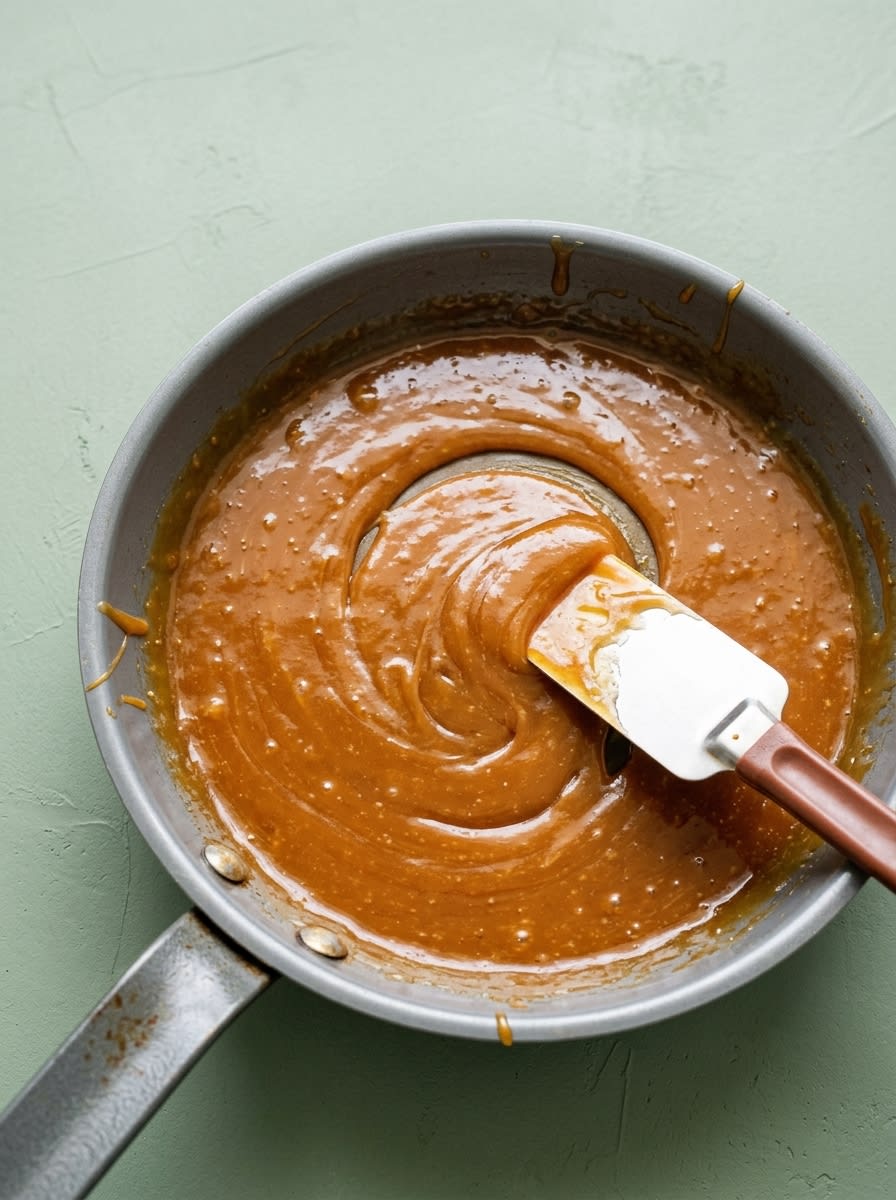
Before lighting your oven, gather your elements with quiet intention. Having every item weighed and resting at room temperature represents the foundational discipline of the pastry kitchen, guaranteeing your batter emulsifies without friction. Cold ingredients introduce temperature shocks that split your batter, whereas tempered ingredients bind harmoniously to lock in moisture.
- Salted Butter: Melted directly in the base of your baking pan to create the rich fat layer that prevents the sugars from burning or sticking. Using salted butter here balances the intense sweetness of the brown sugar.
- Light Brown Sugar: This provides the deep, molasses-tinted base that coats each pineapple ring in a glossy caramel glaze during its time in the oven. It melts into a smooth syrup under the heat of the oven.
- Pineapple Rings: Canned pineapple slices offer uniform thickness and predictable moisture, which prevents the structural collapse of your cake. They possess the ideal balance of acidity and sugar to complement the sponge.
- Maraschino Cherries: These iconic sweet jewels fit snugly inside each ring, providing bright visual contrast and pockets of concentrated sweetness. They must be drained thoroughly to keep their dye from bleeding into the yellow fruit.
- Unsalted Butter: Creamed with the granulated sugar to form a sturdy, aerated crumb that supports the heavy crown of caramelized fruit. Confirm it is softened to room temperature so it incorporates air efficiently.
- Whole Milk: Provides the necessary hydration and fat content to tenderize the gluten, yielding a soft, velvety texture. It acts as the liquid bridge that binds the dry elements into a cohesive batter.
| Ingredient | Why It Matters |
|---|---|
| Salted Butter | Creates a non-stick, butter-rich barrier on the pan bottom |
| Light Brown Sugar | Caramelizes with fruit juices to form the glossy top glaze |
| Pineapple Slices | Delivers the signature sweet-tart flavor and moist crowning layer |
| Whole Milk | Softens the crumb structure while keeping the batter fluid |
The Method, Step by Step
Step 1: Prep and Preheat
Preheat your oven to 350°F (175°C) and clear your workspace so that your mise en place is ready. Weighing your ingredients beforehand prevents pauses that can disrupt the chemical reactions of your leaveners. Your oven must be fully heated before the cake enters, guaranteeing an immediate and even rise.
Step 2: Prepare the Caramelized Pan Base
Pour the melted salted butter directly into the bottom of your nine-and-a-half-inch pie plate, coating the surface thoroughly. Sprinkle the packed light brown sugar evenly over the warm butter, creating a uniform sandy layer across the entire base. Use a small offset spatula to ensure the mixture is distributed into every corner of the vessel, which forms the foundation of your glaze.
Step 3: Assemble the Pineapple Mosaic
Lay your dried pineapple slices firmly onto the sugar bed, arranging them close together to maximize coverage. Halve the remaining slices and place them along the sloping sides of the pan to form an elegant decorative border. Press a bright maraschino cherry into the center of each ring, observing how the red centers anchor the yellow fruit visually.
Step 4: Cream the Butter and Sugar
In your medium mixing bowl, beat the softened unsalted butter and granulated sugar until the mixture becomes pale and light. You are looking for a fluffy, aerated texture that indicates enough air has been whipped into the fat. This step determines the final rise, so continue beating for several minutes until the texture resembles wet sand. Patience here is not a virtue — it is an instruction.
Step 5: Emulsify the Wet Ingredients
Add the room-temperature eggs one at a time, beating thoroughly after each addition to guarantee they fully combine without separating. Stir in the vanilla extract, watching for the mixture to smooth out into a glossy, unified batter. If the mixture appears curdled, your eggs were likely too cold; continue mixing gently until the batter regains its smooth, ribbon-like cohesion.
Step 6: Combine the Dry Elements
Whisk the flour, baking powder, and salt together in a separate clean bowl to distribute the leavening agents evenly. Aerating the flour beforehand removes clumps and yields a uniform crumb structure. This step prevents pockets of baking powder from creating large, unsightly holes in your finished sponge.
Step 7: Alternate the Dry Elements and Milk for Your Pineapple Upside-Down Cake
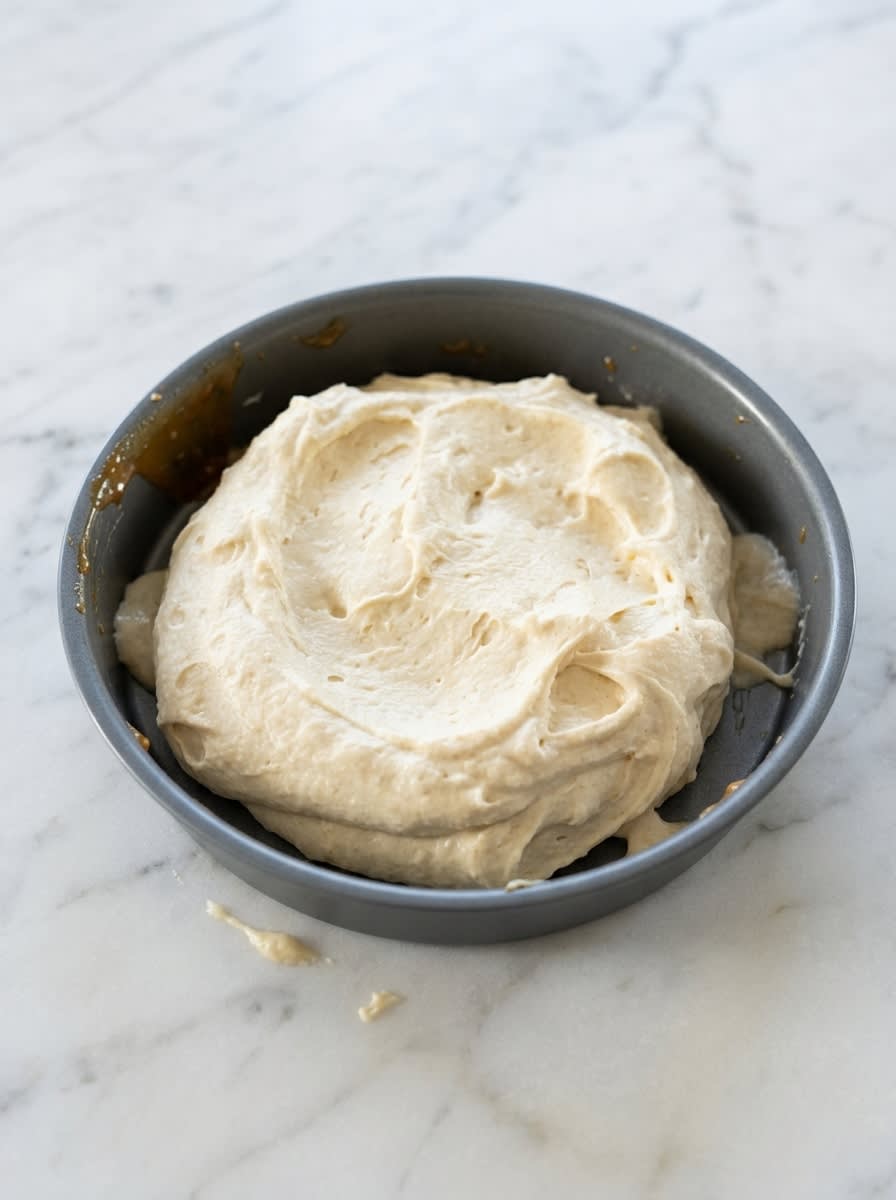
Slowly fold the dry ingredients and whole milk into your creamed butter mixture, alternating in three distinct additions. Use a silicone spatula and move with gentle, sweeping strokes to avoid overworking the flour. Stop mixing the instant you see the last streak of flour disappear, leaving you with a thick, velvety batter.
Step 8: Bake and Monitor the Crumb
Pour the smooth batter evenly over the pineapple layer, smoothing the surface with your spatula to cover all the fruit. Bake at 350°F (175°C) for thirty minutes, then drape a sheet of aluminum foil loosely over the top to prevent over-browning. Continue baking for fifteen additional minutes until a wooden skewer inserted into the center emerges with only a few dry crumbs.
Where Precision Makes the Difference
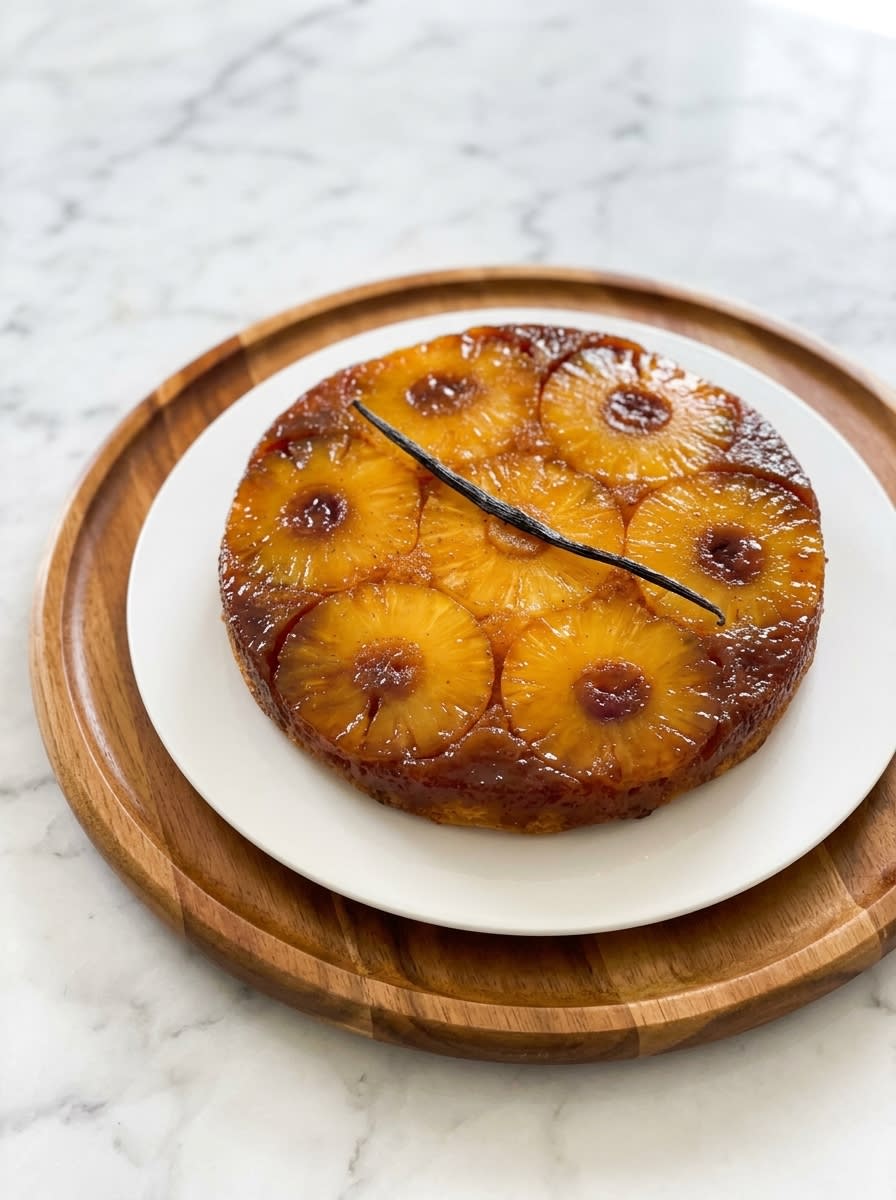
To avoid a soggy topping, you must dry your pineapple slices thoroughly. Press them between thick layers of paper towels for several minutes before placing them in the pan. Excess moisture will thin the caramel, turning your beautifully lacquered glaze into a runny syrup that washes away. Taking this small step guarantees the fruit caramelizes beautifully rather than steaming in its own juices.
The timing of the flip requires absolute precision. Allow the cake to rest on a wire rack for exactly ten to fifteen minutes after leaving the oven. If you flip too soon, the hot caramel will run off the sides; if you wait too long, the sugar will cool and stick to the pan. A warm pan releases its contents cleanly, leaving the beautiful fruit mosaic completely intact.
If your cake sticks to the pan during the turn, the sugar has cooled too much. To resolve this, gently warm the bottom of your pan over a low stovetop flame for thirty seconds to liquefy the caramelized butter. The heat relaxes the grip of the hardened sugar, allowing the cake to release cleanly onto your serving plate. Never attempt to pry the cake out with a knife, as this will tear the delicate fruit.
Choosing butter with high fat content makes a noticeable difference in both the glaze and the cake. If you want to understand the profound impact of fat content, read about selecting ingredients for our best pineapple cake to guide your choices. The fat behaves differently when heated, providing a stable emulsion. It creates a velvety mouthfeel that lower-fat alternatives cannot replicate.
For the most reliable crumb structure, rely on weight measurements rather than volume cups. A kitchen scale guarantees you do not inadvertently pack your flour, which can lead to a dry, dense crumb. You may also consult traditional baking techniques for upside-down cakes to understand how professional bakers maintain consistency. The precision of grams will always outperform the approximation of cups. Precision is not a constraint. It is the freedom to repeat success.
Avoid using springform pans for this recipe, as the caramelized butter mixture will leak through the seams and create smoke in your oven. A solid cake pan or a deep glass pie plate is the ideal vessel for keeping the caramel contained. This allows the fruit to bathe in the sweet syrup throughout the bake, keeping the flavor deep within the crumb.
Frequently Asked Questions
What is a pineapple upside-down cake?
This traditional dessert is baked with its fruit toppings and caramel glaze at the very bottom of the pan. Once the baking process is complete, the entire cake is inverted onto a serving platter, revealing the beautiful caramelized fruit on top. The fruit juices baste the cake as it bakes, producing an exceptionally moist crumb that stays soft for days.
Why do they call it upside-down cake?
The name originates from the unique method of assembly and presentation. Unlike traditional layered cakes that are decorated after baking, this dessert is assembled in reverse order. Inverting the pan after baking brings the bottom-dwelling fruit to the top, turning the cake upside-down. This historic method dates back to skillet baking before modern ovens were common.
What is the secret to flipping a pineapple upside-down cake?
The secret lies in precise timing and confidence. You must let the cake rest for exactly ten to fifteen minutes after removing it from the oven so the caramel can set slightly. Place your serving platter firmly over the top of the pan, grip both sides with oven mitts, and invert the pan in one swift, fluid motion. Hold the pan in place for a few seconds to let gravity release the fruit cleanly.
Can I use fresh pineapple instead of canned?
While fresh pineapple is delicious, canned pineapple rings are preferred for their uniform moisture levels and consistent thickness. If you choose to use fresh fruit, slice it thinly and pre-cook it slightly in a pan to release excess water. This step guarantees your cake will not become waterlogged and soggy during baking.
Can I use boxed cake mix?
Yes, a high-quality yellow cake mix can be used to save time in the kitchen. Simply prepare the batter according to the box instructions and pour it over your hand-caramelized pineapple base. However, a homemade batter provides a more robust structure to support the heavy fruit layer. The texture of scratch-made cake remains unmatched in its fine crumb.
How do I stop the pineapple from making the cake soggy?
Thoroughly drying the pineapple slices before arranging them in the pan is essential. Press them firmly between paper towels to remove all excess juice from the canning process. This simple discipline prevents water from diluting the caramel and soaking into the delicate vanilla crumb. It preserves the clear boundary between the fruit topping and the sponge.
How do I keep the cake from sticking to the pan?
Confirm your pan is generously coated with the melted butter before you sprinkle the brown sugar. Do not let the cake cool completely in the pan, as the cooled caramel will act like glue. If sticking occurs, gently warm the bottom of the pan over a burner to liquefy the sugar before attempting the flip again. This melts the butter-sugar bond instantly.
Should I serve this cake warm or cold?
This dessert is at its absolute peak of flavor when served warm, shortly after it has been inverted. The caramel remains soft and buttery, and the sponge cake is incredibly tender. Leftovers can be gently reheated in the oven to restore this delightful texture before serving. Cold cake is tasty, but warmth unlocks the full richness of the caramelized topping.
Considered Variations
A sophisticated alternative involves incorporating citrus zest into the sugar base. Grating fresh orange or lime zest over the melted butter before scattering the sugar adds a bright, aromatic dimension that balances the sweetness of the fruit. This approach mirrors the bright citrus notes found in our classic cherry dump cake. The essential oils in the zest bloom in the hot butter, scenting the entire cake.
For a warmer flavor profile, replace the vanilla extract in the batter with dark rum or almond extract. A tablespoon of spiced rum whisked into the butter creates a rich, complex syrup that deepens during baking. The almond extract brings out a cherry-like stone-fruit aroma that complements the maraschino cherries beautifully. This variation adds a layer of sophistication to an otherwise nostalgic dessert.
You may also adapt this recipe to a cast-iron skillet for a more rustic, deeply caramelized crust. The heavy iron distributes heat with exceptional uniformity, creating a thick, crunchy edge that contrasts beautifully with the tender vanilla crumb. Confirm your skillet is well-seasoned and generously greased before pouring in the melted butter. This method harks back to traditional baking styles, offering a wonderful texture.
To introduce a warm French twist, sprinkle a pinch of ground cardamom or ginger into the flour mixture. These warm spices bring out the natural sweetness of the pineapple without overpowering the delicate vanilla notes of the sponge. The subtle spice undercurrent pairs wonderfully with a warm afternoon tea, making the cake feel incredibly refined. It is an easy way to vary the flavor profile without altering the core structure.
Finishing and Presenting
Presenting this cake requires nothing more than a plain, elegant cake stand that allows the glowing pineapple mosaic to command the table. A clean, sharp knife dipped in hot water and wiped dry between cuts will yield pristine slices that showcase the distinct layers of caramelized fruit and soft vanilla crumb. Arrange each slice with the caramelized fruit facing upward to celebrate the classic geometry of the design.
To balance the deep sweetness of the caramelized sugar, accompany each slice with a dollop of unsweetened crème fraîche or lightly whipped double cream. The subtle tang of cultured dairy cuts through the rich glaze, highlighting the natural acidity of the pineapple. If you prefer a warmer pairing, a slice of this cake alongside our classic apple cake recipe makes for a beautiful autumn dessert spread. The contrast between spiced apple and caramelized pineapple offers a delightful sensory experience.
Serve this dessert alongside a pot of hot, black tea or a dark roast coffee. The bitter notes of a high-quality brew cleanse the palate between bites, making each forkful of caramelized cake taste as fresh as the first. This is a cake meant for quiet afternoons and deliberate conversation, where the pace of the gathering matches the patience of the bake. It invites your guests to slow down and savor the results of disciplined pastry craft.

The Result of Your Care
As you lift the pan away to reveal the glossy, caramelized top, you will understand why this recipe has remained a beloved classic for generations. The small disciplines of drying the fruit, creaming the butter, and waiting for the precise moment to flip yield a dessert that is far greater than the sum of its parts. It stands as a testament to the rewards of patient, precise baking. Every golden ring represents a small discipline executed without deviation.
Should you wish to expand your repertoire of comforting fruit-forward bakes, consider sampling our warm apple dump cake for your next gathering. Each of these recipes celebrates the beautiful union of tender cake and cooked fruit, offering reliable comfort with every slice. Take your time, enjoy the process, and share the results of your hard work with those you love. There is deep satisfaction in mastering a classic technique.
For more classic baking inspiration and step-by-step guidance, follow our journey on Pinterest, join our baking community on Facebook, and watch our kitchen techniques in action on TikTok. We invite you to share your baking journey with us as you hone your skills.