An ordinary chocolate birthday cake often suffers from a dry, open crumb and overly sweet frosting, whereas a truly exceptional Classic Chocolate Birthday Layer Cake relies on balanced acidity and a silky, emulsified crumb.
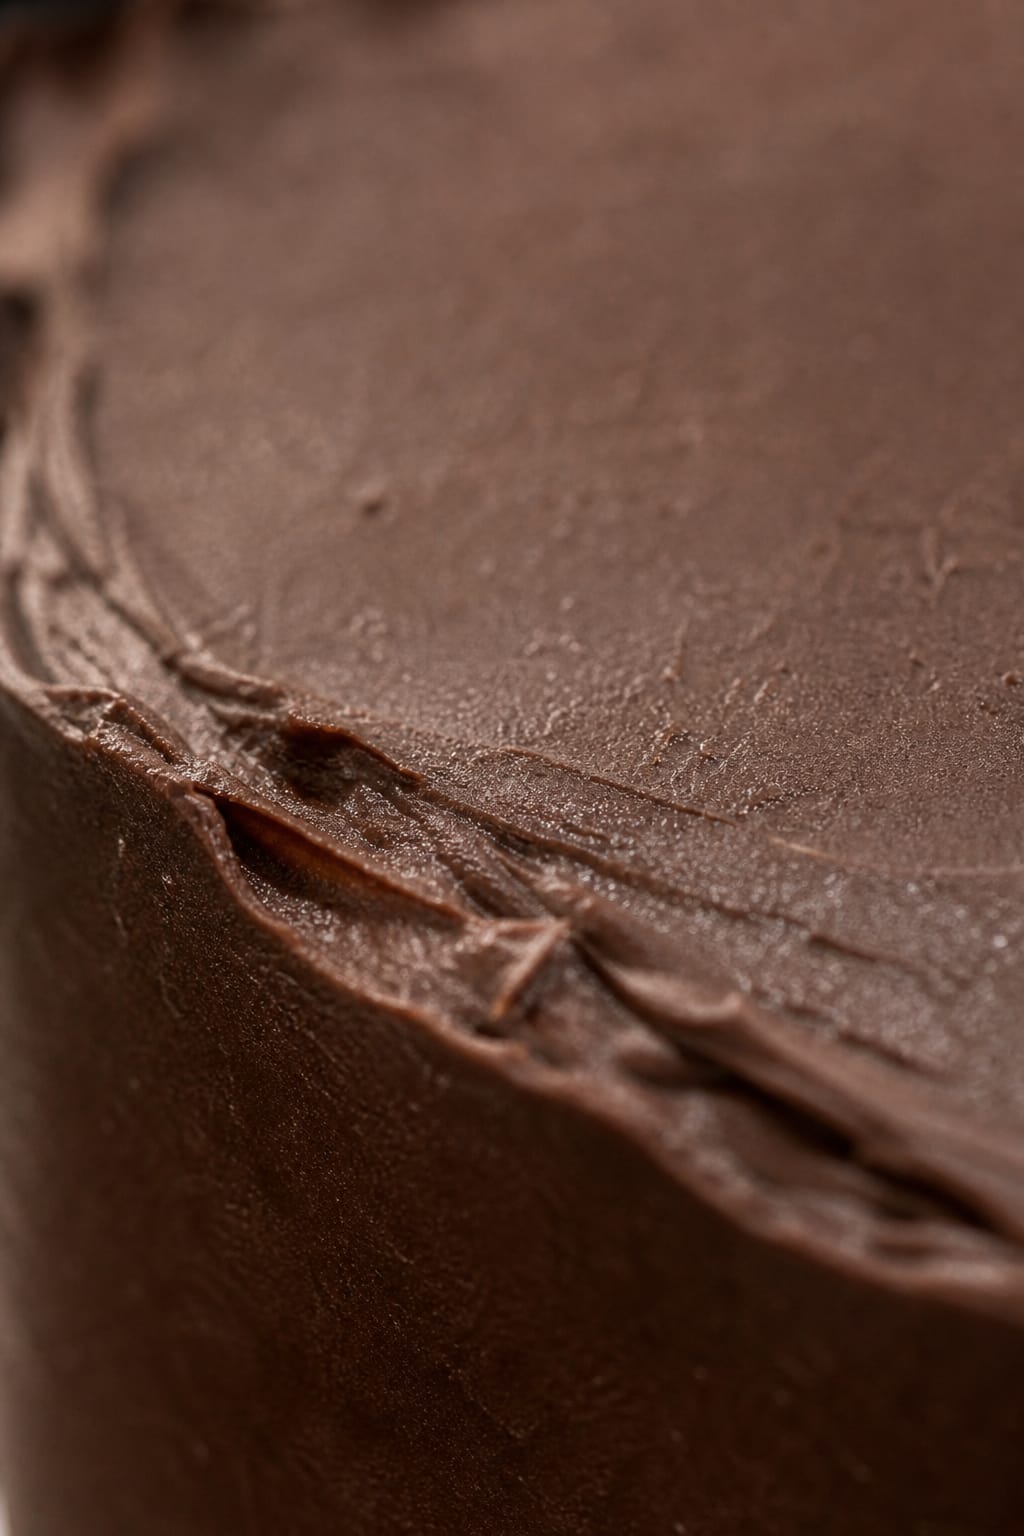
When you set out to bake this Classic Chocolate Birthday Layer Cake, you are practicing a quiet discipline of temperature and texture. This cake relies on the chemical interaction between acidic sour cream and alkaline baking soda to produce an exceptionally tender crumb. At CakeHalf.com, we believe that the technique is the recipe. There is a deep satisfaction in watching simple, measured components transform into a towering, elegant masterpiece that demands your presence and attention.
The Craft Behind This Classic Chocolate Birthday Layer Cake
Prep: 20 min · Serves: 12 · Difficulty: Medium
Every step of this Classic Chocolate Birthday Layer Cake is calibrated to deliver a flawless celebration dessert.
- A remarkably tender and uniform crumb structure.
- Deep flavor enhanced by natural cocoa powder.
- Exceptionally rich frosting made with real chocolate.
- Reliable rising without complex folding techniques.
- Stays beautifully fresh for several days.
When you want to celebrate a special occasion, baking a classic chocolate cake birthday style ensures a masterpiece that commands attention on the table. This is the chocolate birthday cake that transforms a simple gathering into a cherished culinary memory.
Get The Full Cake Recipe
Print
Classic Chocolate Birthday Layer Cake
- Total Time: 2 hours
- Yield: 12 servings
- Diet: Vegetarian
Description
This decadent chocolate layer cake features a tender crumb achieved through the precise interaction of sour cream and baking soda. Finished with a silky, glossy bittersweet chocolate frosting, it is a sophisticated centerpiece perfect for any special celebration.
Ingredients
- 1 1/2 cups all-purpose flour
- 1/2 cup natural cocoa powder
- 1 teaspoon baking soda
- 1/4 teaspoon kosher salt
- 1 1/4 cups granulated sugar
- 1 1/4 cups sour cream
- 2/3 cup vegetable oil
- 2 large eggs
- 1 teaspoon vanilla extract
- 1 teaspoon instant espresso powder
- 20 tablespoons softened butter
- 1 cup confectioners’ sugar
- 3/4 cup plus 1 tablespoon natural cocoa powder
- 2/3 cup light corn syrup
- 10 ounces bittersweet chocolate, melted and cooled
Instructions
- Prepare the equipment. Position your oven rack in the center and heat the oven to 350°F (175°C). Line two 9-inch cake pans with parchment paper and coat lightly with nonstick spray.
- Sift dry ingredients. In a large bowl, sift together the flour, cocoa powder, baking soda, and salt. Whisk until the mixture is uniform in color and texture.
- Emulsify wet ingredients. In a separate bowl, whisk together the sugar, sour cream, oil, eggs, vanilla, and espresso powder until smooth and glossy.
- Combine the batter. Pour wet ingredients into the dry mixture and whisk gently until just combined. Divide the batter evenly between the prepared pans.
- Bake the layers. Bake for 22 to 25 minutes until a skewer inserted in the center comes out with a few moist crumbs. Cool in pans for 15 minutes.
- Unmold and cool. Invert cakes onto a wire rack, remove parchment paper, and cool completely at room temperature for at least 75 minutes.
- Process the frosting. Combine butter, confectioners’ sugar, cocoa, and salt in a food processor. Add corn syrup, vanilla, and melted chocolate, processing until a thick, luxurious cream forms.
- Assemble the cake. Spread one cup of frosting over the first layer, top with the second layer, and frost the remaining top and sides using an offset spatula.
Notes
- Ensure all refrigerated ingredients like sour cream and eggs reach room temperature before starting to maintain a stable emulsion.
- Use a high-quality baking bar for the frosting rather than chips to avoid a gritty texture from added stabilizers.
- Always cool cake layers completely before frosting to prevent the butter-based icing from melting or sliding off the sides.
- A clean, hot knife wiped dry between cuts will ensure perfectly smooth slices that showcase the cake’s internal structure.
- Prep Time: 20 mins
- Cook Time: 25 mins
- Category: Dessert
- Method: Baking
- Cuisine: American
The Mise en Place

Before you light your oven, assemble your ingredients with meticulous attention to their state and temperature. In classical baking, the success of your emulsion depends entirely on the readiness of your components. Having everything measured and at room temperature prevents structural failure and promotes even integration.
- Natural Cocoa Powder: This provides the foundational chocolate flavor and, unlike alkaline-treated alternatives, reacts perfectly with the baking soda to leaven the cake layers. We avoid Dutch-processed cocoa here because its reduced acidity would fail to activate our leavening agent.
- Sour Cream: The heavy fat content and acidity of sour cream tenderize the gluten, ensuring the crumb remains exceptionally soft and tight. It provides a richness that milk or water alone cannot replicate, keeping the cake hydrated for days.
- Instant Espresso Powder: It behaves as an invisible enhancer, deepening the natural cocoa notes without leaving any distinct coffee flavor behind. The bitterness of the coffee compounds contrasts with the sugar to create a more sophisticated flavor profile.
- Light Corn Syrup: Added to the frosting, this ingredient provides a professional satin sheen and prevents sugar recrystallization. It is the secret to a glossy finish that does not crack or dry out as the cake rests.
- Bittersweet Chocolate: High-quality melted chocolate forms the luxurious body of the frosting, creating a silky texture that holds its shape beautifully. Ensure it cools to room temperature before adding it to prevent melting the butter base.
- Softened Butter: Softened to precisely 60°F (16°C), the butter emulsifies with the sugar to form a stable base for the frosting. If your butter is too warm, the frosting will lose its aeration and become greasy.
| Ingredient | Why It Matters |
|---|---|
| Natural Cocoa Powder | Reacts with baking soda for a perfect rise |
| Sour Cream | Weakens gluten for an ultra-soft texture |
| Instant Espresso Powder | Amplifies chocolate notes without coffee taste |
| Light Corn Syrup | Yields a glossy, stable, professional glaze |
| Bittersweet Chocolate | Establishes a firm yet spreadable structure |
The Technique Laid Out
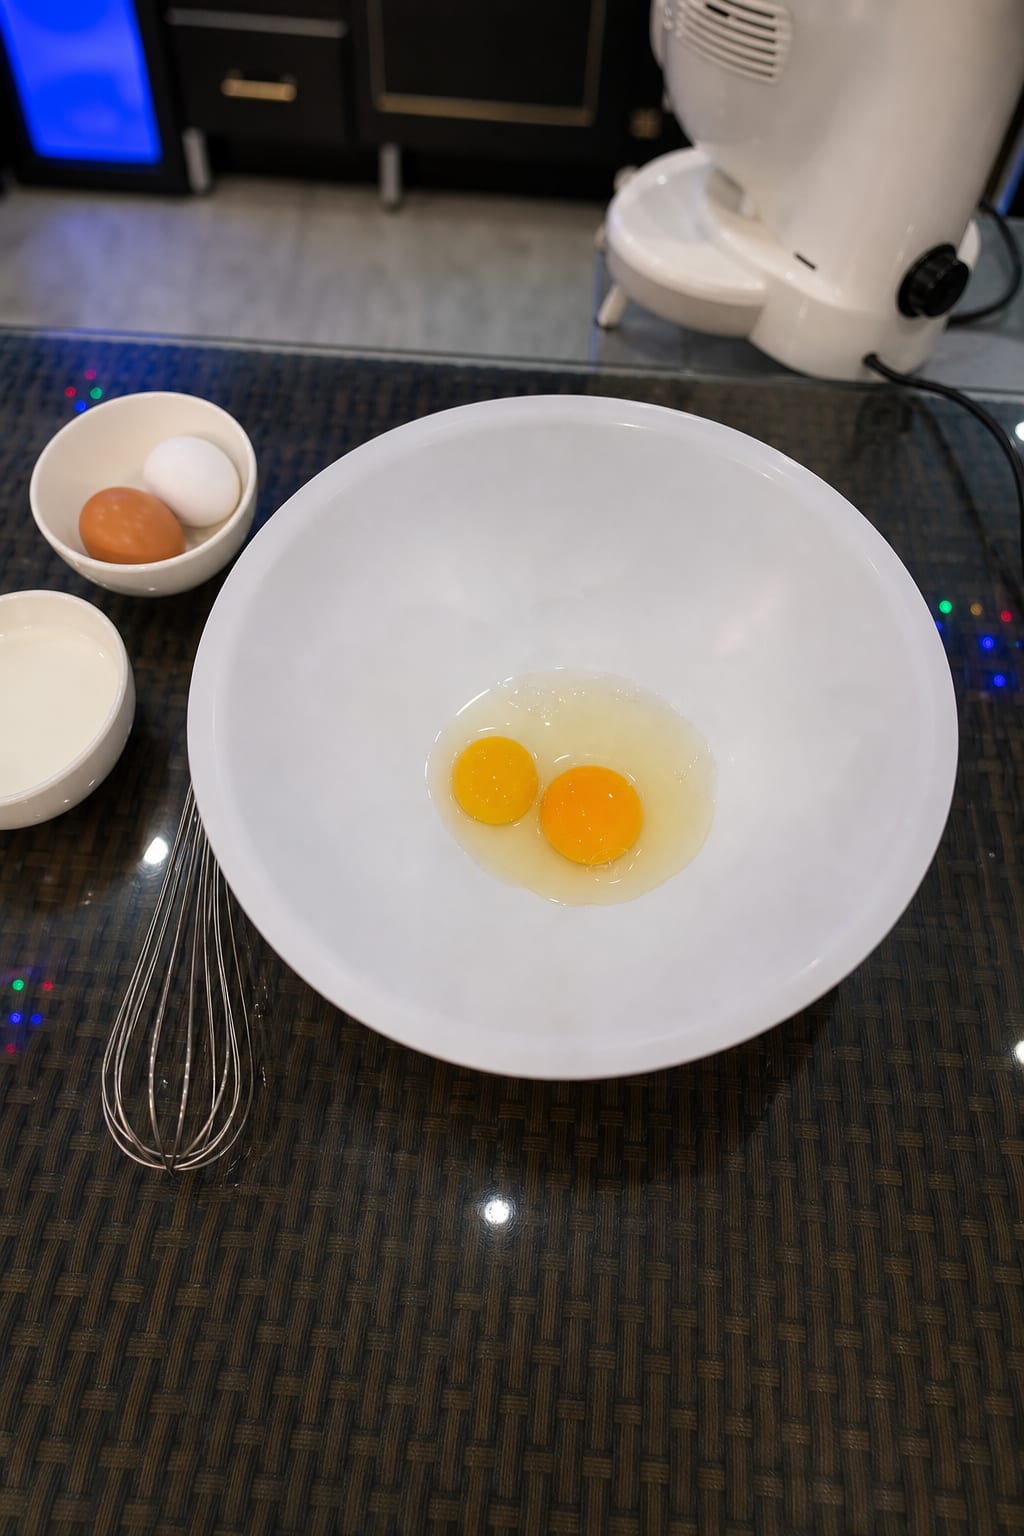
Step 1: Prepare Your Equipment and Workspace
Begin by positioning your oven rack in the center and heating the oven to 350°F (175°C). Line the bottoms of two 9-inch cake pans with parchment paper, then lightly coat the interiors with nonstick cooking spray. This dual barrier ensures clean removal, which is the apprentice’s first lesson in preventing frustrating tears in the delicate sponge. Organizing your workspace beforehand allows you to move with calm, deliberate efficiency.
Step 2: Sift and Whisk Your Dry Ingredients
In a spacious mixing bowl, sift together 1 1/2 cups of all-purpose flour, 1/2 cup of natural cocoa powder, 1 teaspoon of baking soda, and 1/4 teaspoon of kosher salt. Use a fine-mesh sieve to eliminate any compact lumps of cocoa, which can resist hydration. Whisk the mixture thoroughly until the pale brown powder is completely uniform in hue and texture. This step ensures that the leaveners are evenly distributed, preventing tunnels during baking.
Step 3: Emulsify Your Wet Ingredients
In a separate medium bowl, combine 1 1/4 cups of granulated sugar, 1 1/4 cups of sour cream, 2/3 cup of vegetable oil, 2 large eggs, 1 teaspoon of vanilla, and 1 teaspoon of instant espresso powder. Whisk with a firm, steady hand until the mixture flows in a smooth, thick stream. You will notice that the sugar dissolves slightly, creating a glossy, homogeneous liquid that is ready for integration. This careful emulsification ensures a uniform crumb and prevents the oil from separating.
Step 4: Combine to Achieve a Ribbon Stage Batter
Pour the wet ingredients into your prepared dry ingredients and whisk gently from the center outward. Stop mixing the moment the last trace of flour disappears, as over-mixing develops tough gluten. Lift your whisk; the batter should fall in a slow, unbroken stream, briefly resting on the surface before disappearing. Divide this batter evenly between your two prepared pans, smoothing the tops with a flexible rubber spatula.
Step 5: Bake Your Classic Chocolate Birthday Layer Cake
Slide the pans onto the middle rack and bake for 22 to 25 minutes. Watch for the visual cue of the surface becoming matte and slightly domed. The cake is baked when a wooden skewer inserted into the center emerges with a few moist, clinging crumbs. Let the layers rest in their pans on a wire rack for 15 minutes before unmolding, allowing the delicate structure of your Classic Chocolate Birthday Layer Cake to set.
Step 6: Unmold and Cool Your Layers
Invert the warm pans onto your wire cooling racks and carefully peel away the parchment circles. Peeling the paper requires gentle focus; patience here is not a virtue — it is an instruction. Allow the layers to cool completely at room temperature for at least 1 hour and 15 minutes. The layers must feel completely cool to the touch before you attempt assembly, ensuring structural stability.
Step 7: Process the Silky Chocolate Frosting
In a food processor, combine 20 tablespoons of softened butter, 1 cup of confectioners’ sugar, 3/4 cup plus 1 tablespoon of natural cocoa, and a pinch of salt. Process for 30 seconds until completely smooth, pausing to scrape down the sides with a spatula. Pour in 2/3 cup of light corn syrup and 1 teaspoon of vanilla, processing for another 30 seconds. Finally, stream in 10 ounces of melted, cooled bittersweet chocolate, processing until a thick, luxurious cream forms.
Step 8: Assemble and Finish with Precision
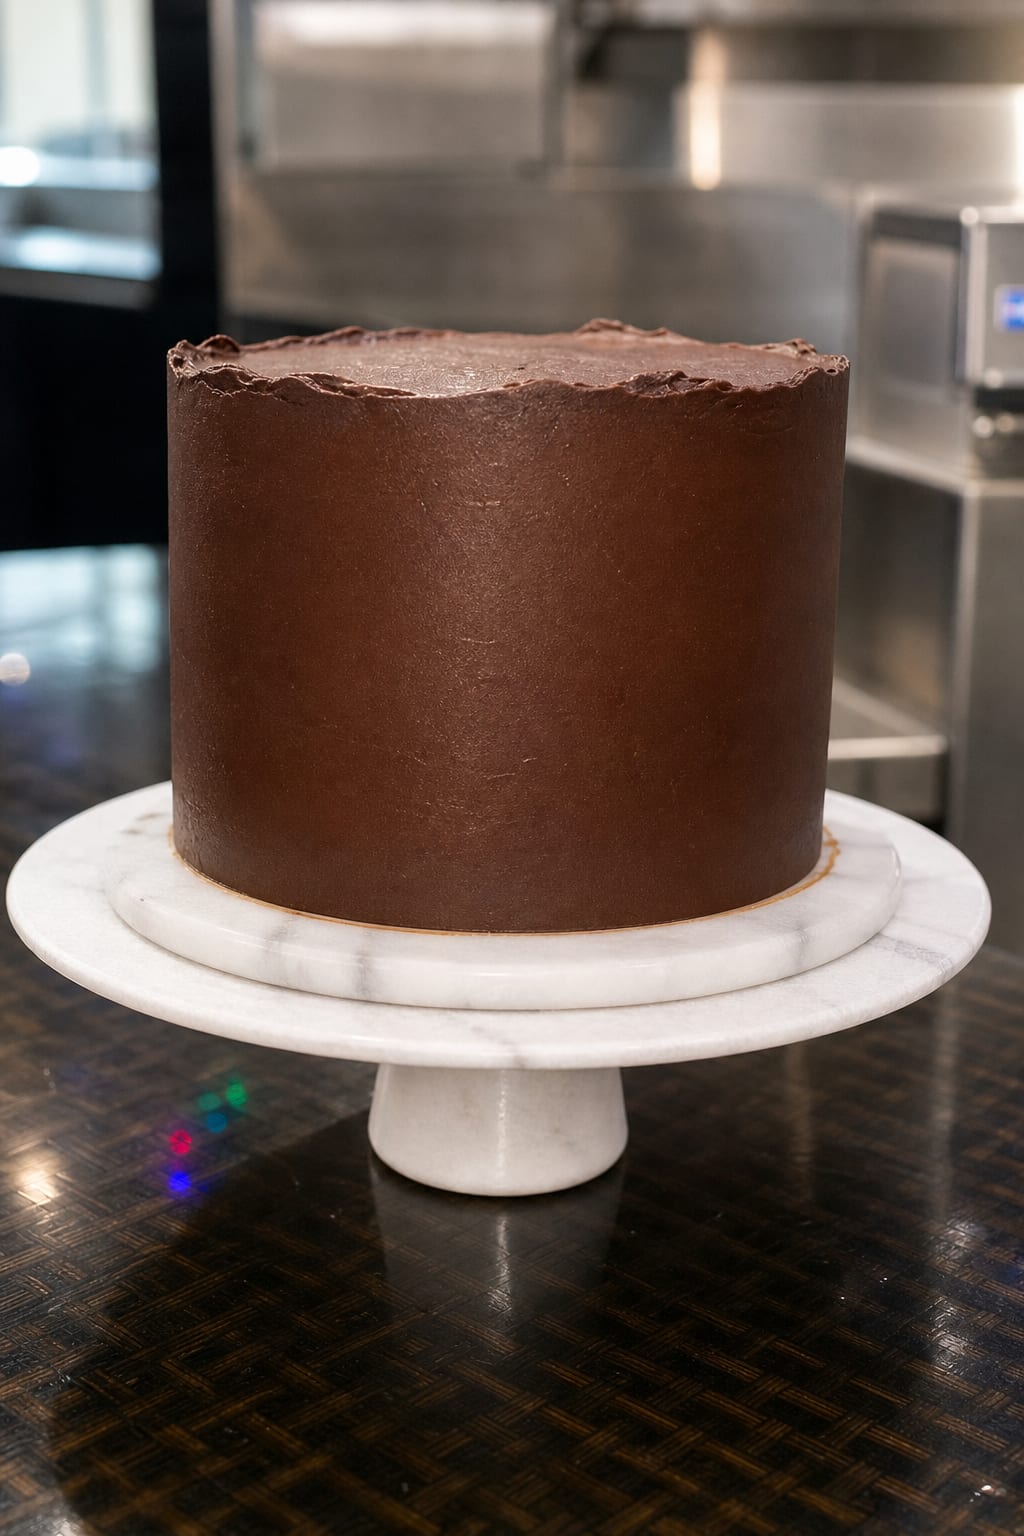
Place the first cake layer top side up on a serving pedestal and spread 1 cup of frosting evenly across its surface. Center the second layer bottom side up on top, pressing gently to secure it. Spread the remaining frosting over the top and sides, using an offset spatula to smooth the surface of your Classic Chocolate Birthday Layer Cake. Use the back of a large spoon to create decorative, elegant swirls in the frosting for a timeless, professional finish.
Where Precision Makes the Difference
Tip 1: The temperature of your butter is non-negotiable for achieving a stable frosting. If your butter is too warm, the frosting will become soupy and greasy; if this happens, place the bowl in the refrigerator for 10 minutes to restore structure before whipping again. Your butter should yield slightly to a gentle press but still hold its shape at roughly 60°F (16°C).
Tip 2: To achieve a flat cake that is easy to stack, you must manage how heat enters the pan. Using damp cake strips around your pans prevents the outer edges from baking too quickly, leading to a level rise. If you want to understand more about layering techniques, you can explore our guide on the triple chocolate layer cake which details advanced assembly methods for a Classic Chocolate Birthday Layer Cake.
Tip 3: The chocolate you select for the frosting must be high-quality baking bars rather than chocolate chips. Chocolate chips contain stabilizers designed to prevent melting, which results in a gritty, stubborn texture. Select a bittersweet bar with around sixty percent cacao content to balance the sweetness of the corn syrup.
Tip 4: Sifting your dry ingredients twice is a small discipline that yields a lighter crumb. The first sift removes lumps, while the second aerates the flour and distributes the baking soda perfectly. This ensures that the leavener performs uniformly throughout the bake.
Tip 5: If your frosting is too soft to spread smoothly, the chocolate was likely added while still too warm. To correct this, refrigerate the entire processor bowl for fifteen minutes, then pulse briefly to restore its spreadable texture. This is a common error that is easily remedied with patience.
Tip 6: For an incredibly clean slice, dip a long, sharp knife in hot water and wipe it dry before each cut. The heat from the metal melts the chocolate frosting slightly as it glides through, revealing the beautiful cross-section of your chocolate birthday cake. You can learn more about how chocolate fats behave during temperature shifts by reading about the mechanics of chocolate cake emulsion.
Frequently Asked Questions
What is the secret to an exceptionally moist chocolate cake?
The secret lies in the fat structure and the acidity of your ingredients. Using vegetable oil instead of butter keeps the cake tender even when cold, while sour cream adds acidity that tenderizes the gluten. This combination guarantees a soft, melting texture that remains fresh for days.
Why do recipes add coffee to chocolate cake?
Coffee contains chemical compounds that amplify the flavor receptors for chocolate without introducing a distinct coffee taste. The instant espresso powder acts as a catalyst that makes the cocoa taste richer and more intense. If you omit it, the cake will still bake perfectly, but the chocolate profile will be flatter.
Should I use natural or Dutch-processed cocoa powder?
You must use natural cocoa powder in this recipe because it is acidic and reacts with the alkaline baking soda to rise. Dutch-processed cocoa has had its acidity neutralized, meaning your cake will not rise properly and may turn out dense. Always check the label to ensure you are using natural cocoa for the proper chemical reaction.
How do you keep cake layers from sticking?
The most effective method is a double layer of defense: grease the pan, line the bottom with parchment paper, and grease the parchment itself. Once baked, let the cakes cool for exactly fifteen minutes in the pan before running a thin knife around the edge and inverting them. This discipline ensures clean, undamaged edges every time.
How do I level a cake to make perfect layers?
Let your cake layers cool completely, or chill them in the refrigerator for thirty minutes to firm up the crumb. Place one hand flat on top of the cake, and use a long serrated knife to gently saw through the crown while rotating the cake on a turntable. Keeping the knife perfectly level with the counter is the key to an even surface.
Can I freeze the cake layers before frosting them?
Yes, you can wrap the cooled cake layers tightly in a double layer of plastic wrap and freeze them for up to one month. Frosting cake layers while they are slightly cold actually makes assembly much easier because it prevents loose crumbs from mixing into your frosting. Allow them to thaw for about twenty minutes on the counter before starting the frosting process.
How do you store a finished chocolate layer cake?
The assembled cake can be stored under a cake dome at room temperature for up to two days. If you need to keep it longer, refrigerate it for up to four days, but make sure to bring it to room temperature for an hour before slicing. This resting time allows the butter in the frosting to soften, restoring its luxurious, creamy texture.
Considered Variations
Variation 1: The Espresso Infused Sponge. To amplify the coffee notes, you can increase the instant espresso powder in the cake batter to one full tablespoon. This addition does not make the cake taste like coffee, but instead gives the natural cocoa a darker, almost smoky depth. It pairs exceptionally well with a dark chocolate ganache filling for your Classic Chocolate Birthday Layer Cake.
Variation 2: The Vanilla Buttercream Alternative. If you prefer a visual and flavor contrast, you may replace the chocolate frosting with a classic Swiss meringue buttercream. This silky vanilla coating highlights the dark chocolate crumb of the cake beautifully. For a reliable vanilla formula, you can refer to our recipe for a classic vanilla layer cake which serves as an excellent foundation.
Variation 3: The Orange Blossom Twist. Adding the finely grated zest of one organic orange to the wet ingredients introduces a delicate citrus aroma. The bright, floral notes of the orange cut through the rich fats of the sour cream and chocolate frosting. This variation offers a traditional European flavor profile that is both sophisticated and refreshing for a chocolate birthday cake.
Before You Serve
When presenting your finished Classic Chocolate Birthday Layer Cake, let simplicity guide your hand. A clean, white ceramic pedestal highlights the deep, glossy dark chocolate frosting and creates a striking contrast on your table. If you are preparing this for a celebration and want to compare presentation styles, you might enjoy reading about our festive funfetti birthday layer cake which takes a colorful approach to birthday styling.
Before you make the first cut, ensure you have a clean vessel of hot water and a dry cloth ready. Slicing with a warm, clean blade ensures that the cross-section remains immaculate, showcasing the distinct layers of cake and frosting. Pair each rich slice of this chocolate birthday cake with a glass of cold milk or a fresh espresso to balance the intense chocolate flavor.

What You Have Learned Here
Baking a Classic Chocolate Birthday Layer Cake from scratch is a quiet conversation between your ingredients and your patience. By honoring the details—from sifting the cocoa to letting the layers cool completely—you transform simple pantry staples into an extraordinary culinary achievement. If you appreciate this balance of textures but prefer a different flavor profile, consider trying our recipe for a classic two layer yellow cake chocolate frosting, which offers another beautiful study in baking precision.
We invite you to share your baking journey and the beautiful results of your careful work. Connect with our community and find more structured baking inspiration on Pinterest or join our discussions on Facebook. Let us continue to perfect our craft together, one precise layer of chocolate birthday cake at a time.