Before you measure your flour, pause to consider the butter: rushing the melting process ruins the delicate chew of a proper cookie cake.

A proper bake demands that we resist the urge to speed through the cooling phase. When creating a Rainbow Sprinkle Cookie Cake, the home baker often rushes to slice the warm dough, only to watch the structural crumb collapse. By understanding the behavior of melted butter and the setting of starches, you will achieve a professional finish that remains tender for days. Let us prepare our workspace with intention before beginning. The beauty of this bake lies in its deliberate restraint and precise temperatures.
We must treat this giant cookie cake not as a casual treat, but as a studied lesson in moisture control. The interaction of brown sugar and melted butter creates a tight, chewy network that must set slowly. Allowing the cake to rest in its pan is not a suggestion; it is the final step of the baking process itself.
The Craft Behind This Rainbow Sprinkle Cookie Cake
Prep: 10 min · Serves: 12 · Difficulty: Medium
- Achieves a dense, chewy texture without creaming.
- Demands minimal equipment for a refined result.
- Balances sweet white chocolate with fine sea salt.
- Requires patience during the crucial cooling window.
When you master the balance of sugars and fat, you reveal a crumb that rivals any classical pastry. This recipe does not rely on chemical leavening to mimic softness; instead, it uses the natural density of melted butter to create a rich, satisfying bite. For those seeking to build their collection of reliable bakes, our recipe index offers a foundation of tested formulas. This is the precise formula you will return to for every celebration.
Get The Full Cake Recipe
Print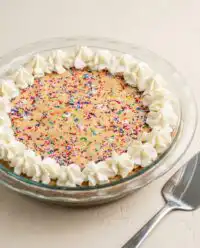
Rainbow Sprinkle Cookie Cake
- Total Time: 30 mins
- Yield: 12 servings
- Diet: Vegetarian
Description
This elegant Rainbow Sprinkle Cookie Cake features a dense, chewy crumb packed with premium white chocolate chips and colorful sprinkles, finished with a piped vanilla buttercream border.
Ingredients
- 1/2 cup unsalted butter, melted
- 1/2 cup light brown sugar
- 1/2 cup granulated sugar
- 1 large egg, room temperature
- 2 teaspoons vanilla extract
- 1/2 teaspoon baking powder
- 1 teaspoon salt
- 1 tablespoon cornstarch
- 1 1/4 cups all-purpose flour
- 1/2 cup white chocolate chips
- 1/4 cup rainbow sprinkles
- Vanilla Buttercream Frosting (Optional):
- 1/2 cup unsalted butter, softened
- 2 teaspoons vanilla extract
- 1 pinch salt
- 2 1/2 cups powdered sugar
- 2–3 tablespoons milk
Instructions
- Prep. Preheat your oven to 350ºF (177ºC) and grease an 11-inch cookie cake pan, optionally lining the bottom with parchment paper.
- Melt. Warm the unsalted butter in a small saucepan over low heat until it is just melted, then transfer to a large mixing bowl.
- Combine. Whisk the melted butter with the light brown sugar and granulated sugar until fully integrated and slightly cooled.
- Emulsify. Whisk in the egg and vanilla extract, followed by the baking powder and salt, until the mixture is smooth and slightly thickened.
- Fold. Stir in the cornstarch and all-purpose flour until a soft dough forms, then gently fold in the white chocolate chips and rainbow sprinkles.
- Press. Spread the dough into an even layer in the prepared pan, pressing it to the edges, and top with extra sprinkles and chocolate chips.
- Bake. Bake for 16 to 18 minutes until the edges are lightly golden, then cool completely on a wire rack before decorating.
- Frost. Beat the softened butter, vanilla, and salt until smooth, slowly add the powdered sugar, then mix in milk one tablespoon at a time until pipeable.
- Decorate. Pipe a decorative border around the cooled cookie cake using a star tip and immediately scatter extra sprinkles on top.
Notes
- Butter Temperature: Ensure your melted butter is warm, not hot, to prevent cooking the egg.
- Do Not Overbake: The center should look soft when removed; residual heat will finish the baking process.
- Sprinkle Quality: Use classic rainbow jimmies rather than nonpareils to prevent color bleeding.
- Patience Pays: Allow the cake to cool completely for at least two hours to secure a clean, sharp slice.
- Prep Time: 10 mins
- Cook Time: 20 mins
- Category: Dessert
- Method: Bake
- Cuisine: American
Ingredients, Chosen with Purpose
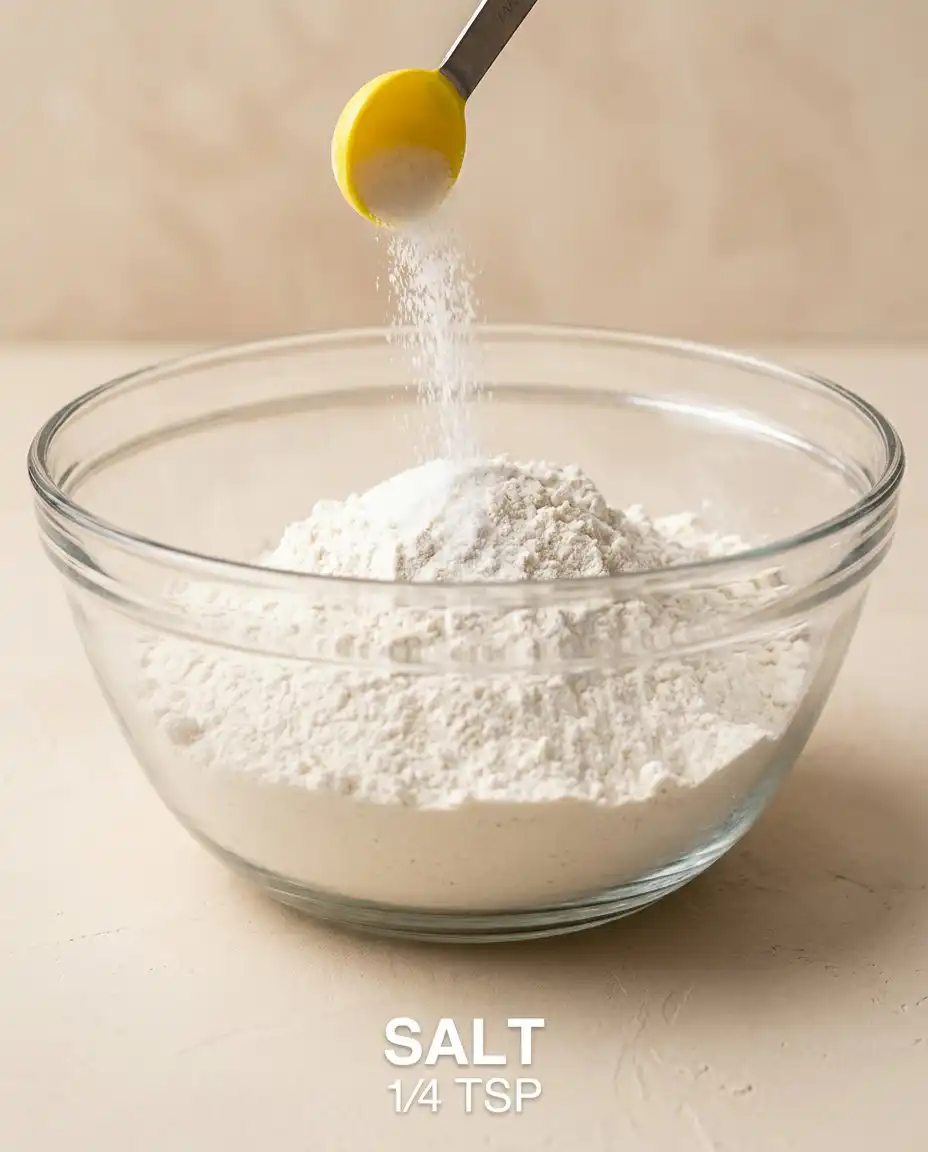
Every component in this formula plays a structural role that dictates the final texture. We select our fats and sugars not merely for sweetness, but to control spread and moisture retention. By assembling your mise en place with care, you set the stage for a flawless bake.
- Unsalted Butter: Melted gently to encourage a dense, chewy crumb rather than a cake-like texture. Butter with an eighty-two percent fat content is preferred for its low water volume. Heating it just until melted keeps the fat from separating completely.
- Light Brown Sugar: The high moisture content and natural molasses provide chewiness and a deep caramel undertone. It works in tandem with the granulated sugar to balance the spread. The acid in brown sugar also activates the leavening slightly.
- Granulated Sugar: Creates crisp edges and balances the moisture of the brown sugar. It provides the necessary structure to support the heavy mix-ins. Without it, the cookie cake would lack the structural integrity to slice cleanly.
- Cornstarch: Softens the proteins in the all-purpose flour, yielding a tender, melt-in-your-mouth bite. It is the secret to preventing a dry, tough crumb. It absorbs moisture during baking to keep the center incredibly soft.
- Rainbow Sprinkles: Classic jimmies are chosen because they retain their shape and color without bleeding into the surrounding dough. Avoid thin nonpareils which dissolve upon contact with moisture. Testing your sprinkles beforehand ensures they do not carry a waxy flavor.
- White Chocolate Chips: High-quality chips provide pockets of rich cocoa butter that complement the sweet dough. They melt smoothly and offer a creamy contrast to the crisp edges. Selecting a premium brand prevents a chalky or artificial finish.
| Ingredient | Why It Matters |
|---|---|
| Unsalted Butter | Controls gluten development and creates a dense, chewy crumb. |
| Light Brown Sugar | Retains moisture and lends a subtle caramel flavor. |
| Cornstarch | Interferes with gluten formation to keep the texture tender. |
| Rainbow Sprinkles | Adds visual structure and festive color without bleeding. |
The Method, Step by Step
Step 1: Prepare the Oven and Pan
Before beginning, preheat your oven to 350ºF (177ºC) to confirm immediate heat transfer. Generously grease an 11-inch metal cookie cake pan with butter or oil. If you plan to invert the finished bake onto a presentation board, line the bottom with a circle of parchment paper. This small discipline prevents the delicate center from sticking when flipped.
Step 2: Melt the Butter Gently
Place your unsalted butter in a small saucepan over low heat until it is melted. Avoid letting the butter bubble or boil, as water loss will dry out the finished cookie. The butter should be warm to the touch, not hot, when you proceed to the next stage. This temperature control is critical to avoid cooking the egg.
Step 3: Combine the Sugars and Fat
Pour the melted butter into a large mixing bowl and add both sugars. Whisk the mixture by hand until the sugars are integrated and no dry pockets remain. You will notice the mixture resembles wet sand and begins to cool. Let this sit for one minute to allow the sugars to begin dissolving.
Step 4: Emulsify the Egg and Leavening
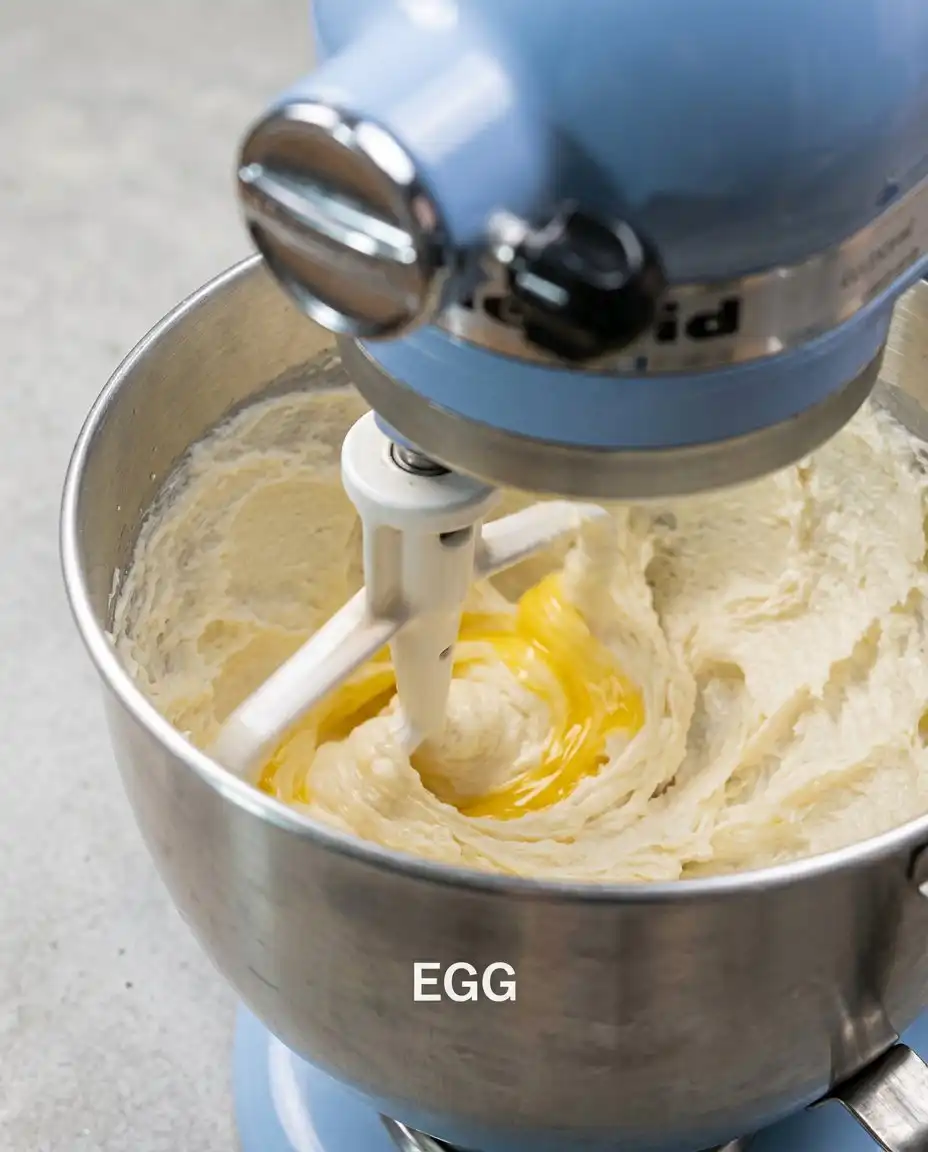
Add the room temperature egg and vanilla extract to the sugar mixture. Whisk vigorously until the mixture lightens in color and thickens into a pale ribbon. Stir in the baking powder and salt, confirming they are distributed throughout the wet base. A uniform emulsion here guarantees an even rise across the entire pan.
Step 5: Incorporate the Flour and Cornstarch
Sift the all-purpose flour and cornstarch directly into the bowl. Switch to a sturdy spatula and fold the ingredients together until a soft dough forms. Stop mixing the moment the last trace of flour disappears to prevent tough gluten development. The dough should be thick, pliable, and slightly glossy.
Step 6: Fold in the Mix-ins
Gently fold the white chocolate chips and rainbow sprinkles into the dough. Distribute them evenly with a few light strokes of your spatula. Working quickly prevents the warmth of your hands or the dough from melting the white chocolate. The colorful sprinkles should remain intact and distinct within the pale dough.
Step 7: Shape the Rainbow Sprinkle Cookie Cake
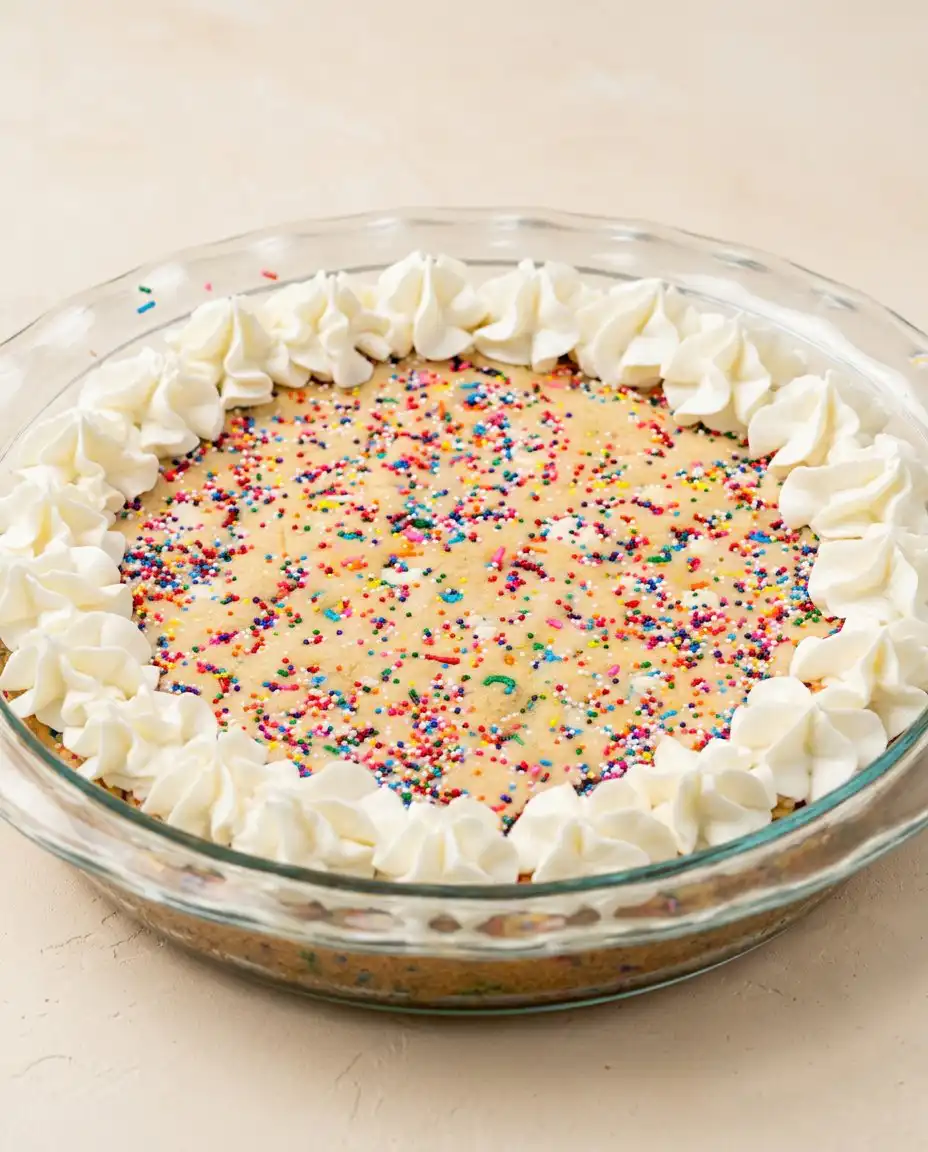
Transfer the dough into your prepared 11-inch pan. Use your fingertips or an offset spatula to press the mixture into an even layer, reaching all the way to the edges. Scatter a few additional sprinkles and white chocolate chips over the surface for a polished presentation. Press them lightly into the dough so they adhere during baking.
Step 8: Bake and Monitor the Crumb
Bake at 350ºF (177ºC) for 16 to 18 minutes, watching for the edges to turn a light golden brown. The center of the cake should still look soft and under-baked when removed from the oven. Do not be tempted to leave it in longer, as the residual heat of the pan will finish the cooking process. A clean toothpick inserted near the edge should emerge with a few moist crumbs.
Step 9: Cool and Prepare the Buttercream
Place the pan on a wire rack and allow the cake to cool completely before decorating. While the cake rests, prepare the optional buttercream by beating softened butter, vanilla, and salt until smooth. Slowly add the powdered sugar, followed by milk, beating until the frosting holds its shape on a spatula. Pipe a decorative border around the cooled edges using a star tip.
Where Precision Makes the Difference
The temperature of your egg is a critical variable in this emulsion. If you add a cold egg to melted butter, the fat will immediately seize and solidify, creating pockets of grease in your dough. Warm the egg in a cup of warm water for five minutes before cracking it. This small step guarantees a smooth, uniform dough that bakes evenly.
Weighing your flour with a digital scale is the only way to confirm consistency. Scooping flour directly from the bag packs it down, adding up to twenty percent more than required. For a cake that mirrors the texture of a professional chocolate mousse cake, precision is your greatest tool. Accurate measurements prevent the cookie cake from becoming dry or crumbly.
If your cookie cake rises too much in the center and becomes puffy, here is why and how to fix it. This occurs when too much air is whipped into the butter and egg mixture during the early stages. To correct this, gently tap the hot pan against the counter immediately after removing it from the oven to release trapped air. This settles the crumb back into its signature dense state.
Select your sprinkles with care to protect the flavor profile. Cheap confectionary pearls often contain wax and artificial flavorings that degrade during baking. High-quality rainbow jimmies offer the best structural stability and clean flavor. They melt slightly but hold their shape, providing beautiful pockets of color without bleeding.
Patience here is not a virtue — it is an instruction. Slicing into a warm cookie cake will cause the center to collapse and lose its chewy density. Allow the pan to cool for at least two hours before attempting to invert or slice the cake. The starches need this quiet interval to set completely.
When preparing the buttercream, make certain your butter is soft but not melting. Butter that is too warm will create a greasy, runny frosting that cannot hold its shape. If the frosting seems too soft, chill it for ten minutes before piping. This helps restore the structural integrity of the fat crystals.
Choose a high-quality metal pan rather than glass or silicone for this bake. Metal conducts heat rapidly and evenly, which is essential for creating those coveted crisp edges. Glass pans retain heat too long and can easily over-bake the bottom of your cookie cake before the center is done.
Frequently Asked Questions
What makes a cookie cake different from a giant cookie?
A cookie cake is formulated to be thicker, softer, and more tender than a standard cookie. It relies on a higher ratio of moisture-retaining ingredients, like brown sugar and cornstarch, to keep the crumb dense. This ensures it can be sliced cleanly into wedges like a traditional cake without crumbling.
How do I keep my cookie cake from getting hard?
The secret to maintaining a soft texture is preventing over-baking and storing the cake correctly. Always remove the cake from the oven when the center still appears slightly soft. Once cooled, store any leftovers in an airtight container at room temperature with a slice of white bread to retain moisture.
Can I make the dough ahead of time?
Yes, you can prepare the dough and store it in the refrigerator for up to twenty-four hours. Bring the dough back to room temperature before pressing it into the pan to ensure even baking. Cold dough will resist spreading and may bake unevenly in the center.
What kind of sprinkles are best for cookie cakes?
Classic rainbow jimmies are the ideal choice for this recipe. They hold their color well and do not bleed into the dough during mixing or baking. Avoid nonpareils, which are tiny round sprinkles, as they melt quickly and will turn your dough gray.
What is the best frosting for a rainbow sprinkle cookie cake?
A traditional vanilla buttercream provides the perfect sweet contrast to the buttery cookie base. It holds its shape beautifully when piped through a star tip, creating a clean border. You can also use a rich cream cheese frosting if you prefer a slightly tangy finish.
How do you decorate a cookie cake?
Fit a piping bag with a large star tip and fill it with your prepared buttercream. Pipe small stars or swirls around the perimeter of the cooled cake to create a decorative border. Immediately scatter fresh sprinkles over the wet frosting so they adhere securely.
Considered Variations
For a sophisticated twist, replace the vanilla extract in the dough with high-quality almond extract. This subtle alteration shifts the flavor profile toward a classic French frangipane. If you enjoy this nutty depth, you might also appreciate the complex layers of our limoncello mascarpone cake. The almond notes pair beautifully with the sweet white chocolate.
You can adapt this recipe for a smaller, thicker presentation by using an 8-inch round cake pan. This variation requires you to increase the baking time to 22 to 25 minutes to make certain the thick center cooks through. Cover the top loosely with foil during the last five minutes if the edges brown too quickly. This keeps the top from burning while the interior sets.
To introduce a seasonal contrast, substitute the white chocolate chips with dark chocolate chunks and sea salt flakes. This creates a richer, more mature cookie cake that pairs beautifully with black coffee. For more ideas on adapting classic bakes, consult the techniques featured on Design Eat Repeat. The salt flakes cut through the rich dough elegantly.
Finishing and Presenting
To serve this cake with elegance, use a long, sharp chef’s knife wiped clean between each slice. This technique guarantees clean, sharp edges that showcase the colorful cross-section of sprinkles and white chocolate. Present the wedges on individual dessert plates alongside a scoop of vanilla bean ice cream. The cold ice cream melts slightly against the dense cookie, creating a delightful contrast.
For an afternoon gathering, pair slices of this cookie cake with a pot of hot Earl Grey tea. The bergamot notes in the tea cut through the sweetness of the buttercream beautifully. If you are planning a larger dessert table, consider adding our red velvet cheesecake to offer a striking visual and flavor contrast. The deep cocoa notes of the cheesecake balance the vanilla-forward cookie cake.
This cake travels exceptionally well, making it an excellent choice for outdoor gatherings or casual celebrations. Keep the decorated cake in a sturdy cake box until ready to slice to protect the piped buttercream. The sturdy crumb makes certain each slice remains intact from the kitchen to the plate, even when transported over long distances.
The Result of Your Care
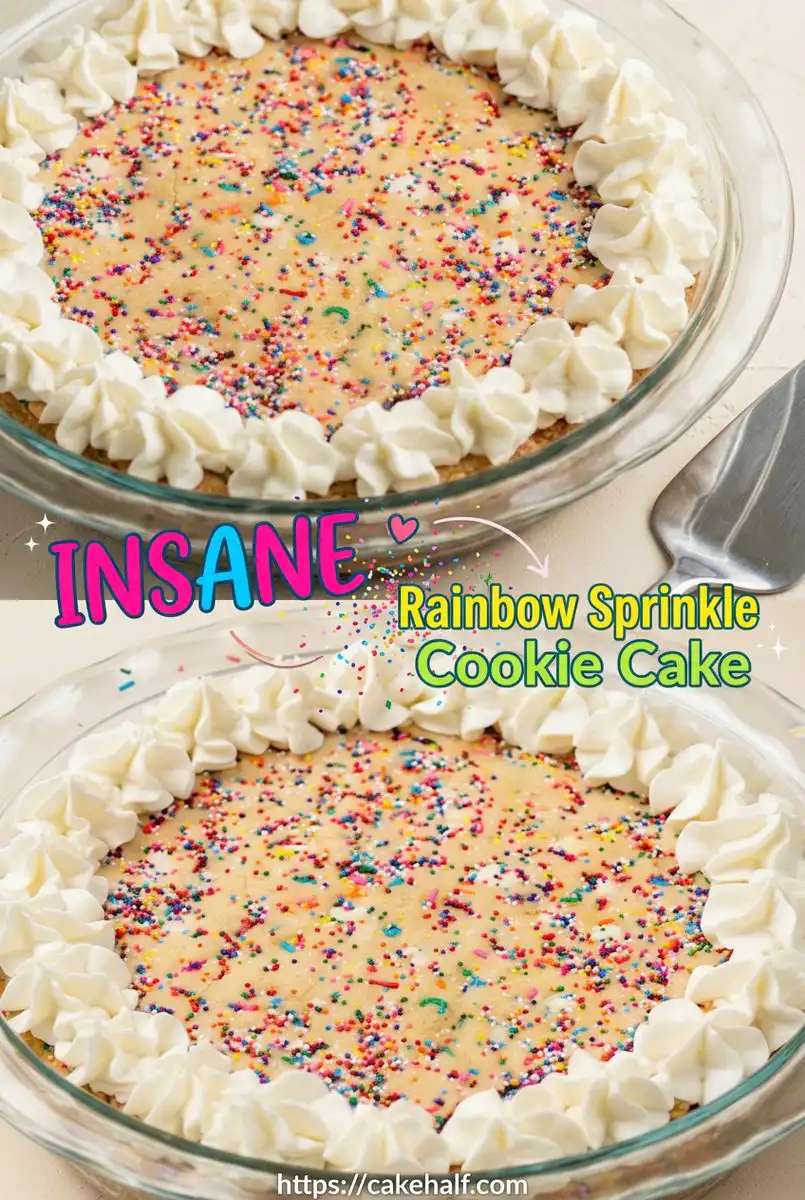
Baking is a series of small, deliberate choices that culminate in a shared moment of joy. By respecting the temperatures of your ingredients and resisting the urge to over-bake, you have created something truly exceptional. This cake is a testament to the beauty of simple ingredients treated with professional respect. It demonstrates that precision is not a constraint, but the freedom to repeat success.
We invite you to share your baking journey and show us your beautiful creations. Connect with our community on Facebook or find more inspiration on Pinterest. For more detailed tutorials on classical pastry techniques, explore our step-by-step guide to the perfect crepe cake. Sharing your progress helps other bakers build their confidence at the bench.
As you slice into your creation, take a moment to appreciate the clean cross-section and the soft, chewy texture. Your dedication to the craft of baking is visible in every single crumb. We look forward to guiding you through your next kitchen triumph.